Sublimation Printer Set Up: Step-by-Step Guide
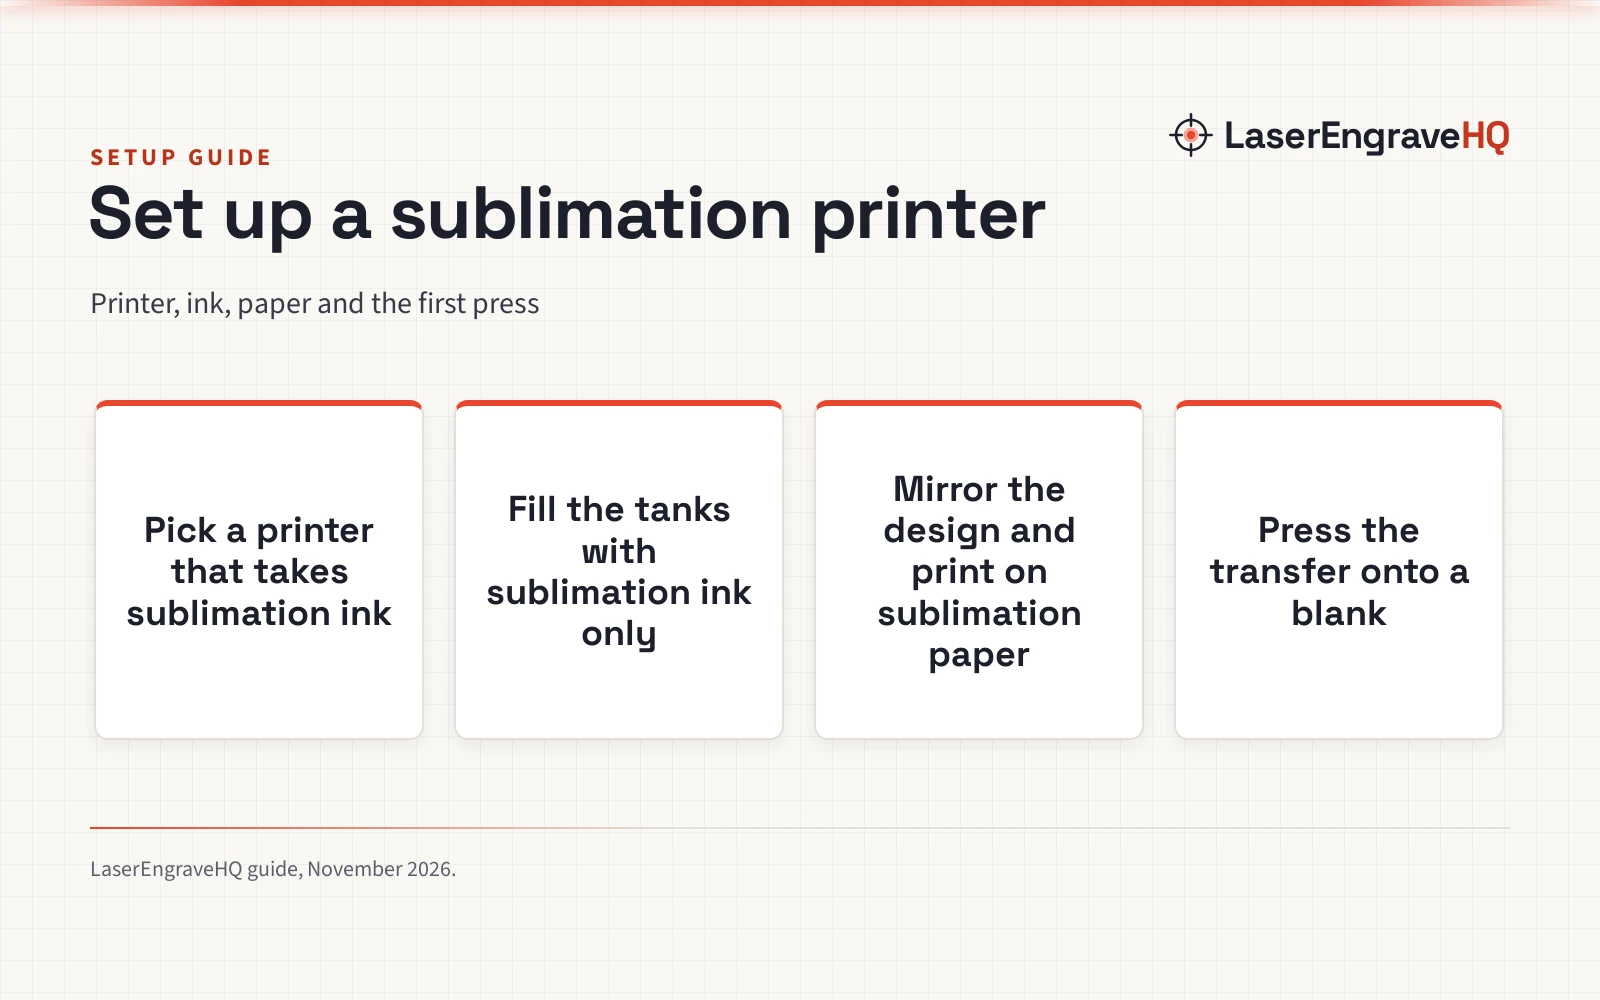
A step-by-step guide to sublimation printer set up: pick a printer, fill it with sublimation ink, load sublimation paper, mirror the design and press the transfer onto a blank.

On this page
Top picks at a glance
As an Amazon Associate I earn from qualifying purchases.
- 1
 CenDale DTF Sublimation Kit9.7/10View on Amazon
- 2
 Enlite Premium DTF Ink 500ML Combo Pack9.6/10View on Amazon
- 3
 GOZYE DTF Transfer Film and DTF Powder Set9.6/10View on Amazon
Sublimation printer set up turns a compatible inkjet printer into a printer that makes transfers for mugs, tumblers and shirts. The setup has a clear order: pick a printer that accepts sublimation ink, fill it with sublimation ink only, load sublimation paper, mirror the design in the print settings, print the design, then press the printed paper onto a blank with a heat press. This guide walks through the order step by step, with the supplies that make the first press go smoothly.
LaserEngraveHQ earns a commission from purchases made through these links, at no extra cost to you. Read our affiliate disclosure.
Press settings vary by press and by blank, so this guide gives no fixed temperature or time for every job. Follow the guidance that comes with the press and the blank, and run a small sample before a full batch.
Step 1: Pick a printer that takes sublimation ink
Many sublimation setups start with a converted EcoTank printer. Ink makers list models such as the ET-2720, ET-2760, ET-2800, ET-2803, ET-2400, ET-4700, ET-4800 and ET-15000 across their refill sets. A dedicated sublimation printer is the other route: the Sawgrass SG500 and SG1000 take sublimation cartridges, with the Xcinkjet Version 3.3.0 cartridge (on Amazon) listed as compatible with the SG500 and SG1000. Read do you need a special printer for sublimation before choosing between a converted printer and a dedicated printer.
Whichever route is chosen, the printer must run on sublimation ink from the start. Regular inkjet ink and sublimation ink do not mix in the same tanks, so a converted printer needs tanks and lines free of regular ink before the first sublimation print. Keep the printer on a flat surface near the heat press, with room to load paper and reach the tanks.
Step 2: Fill the printer with sublimation ink
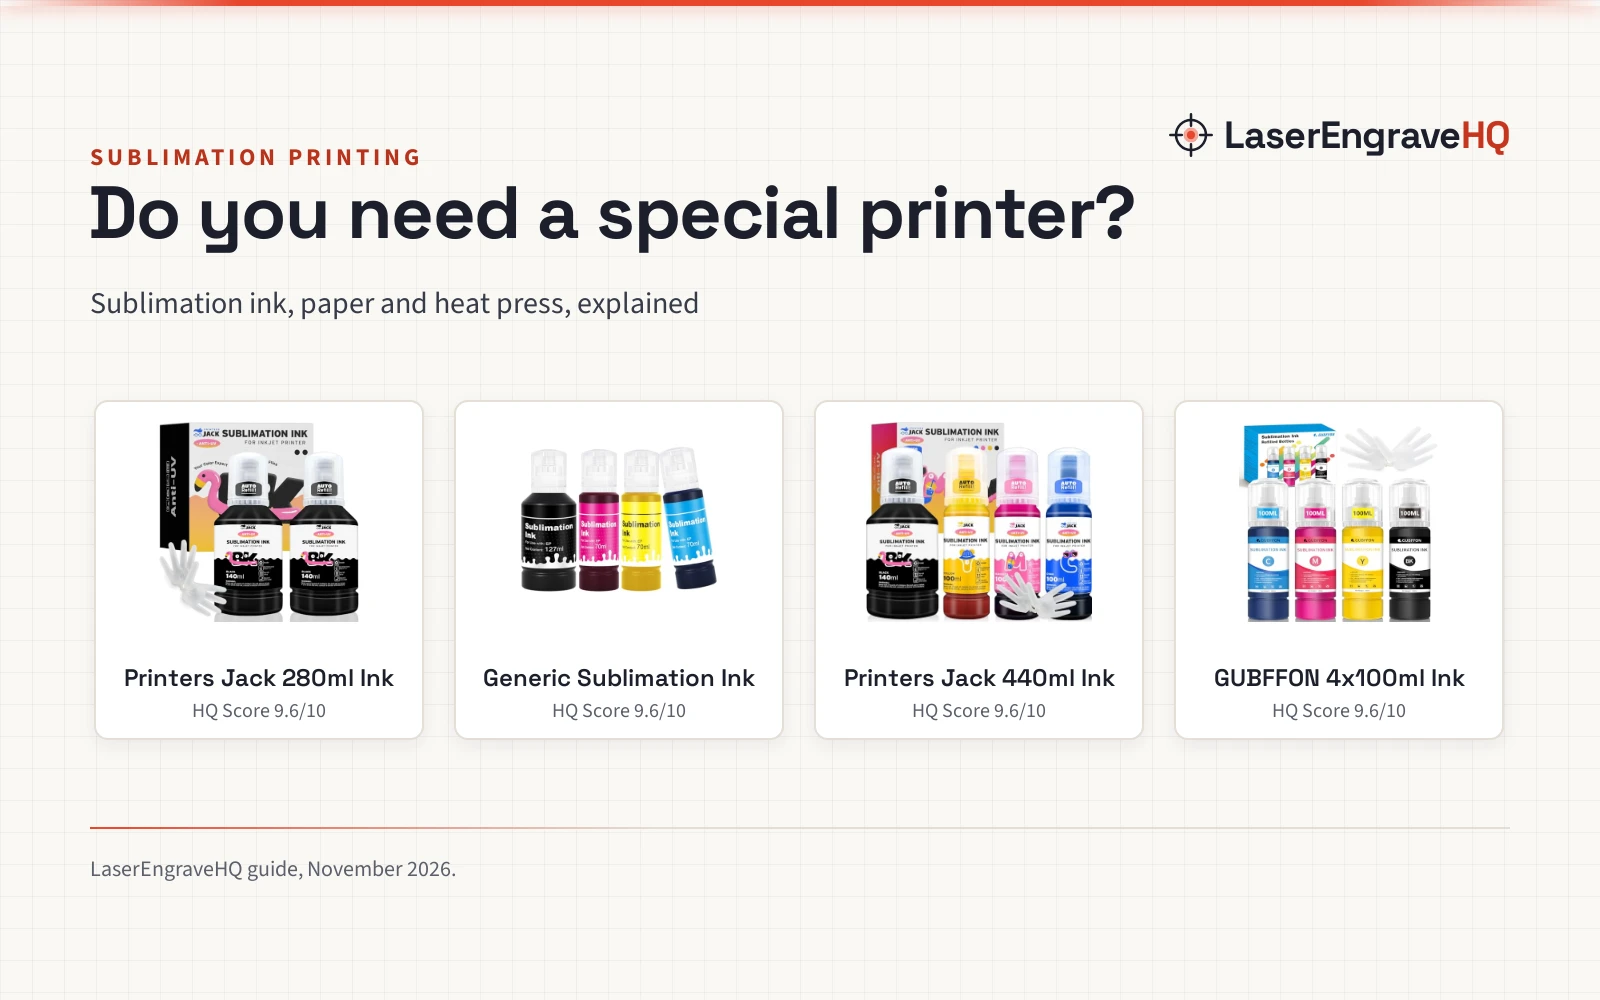
Sublimation ink comes as refill bottles or cartridges. Refill sets from Hiipoo, L&C and BAOYAN list 1 bottle of 127ml black ink with 1 bottle of 70ml cyan, 70ml magenta and 70ml yellow ink, while the NUGU set lists 6 bottles of 100ml ink in 6 colors: black, cyan, magenta, yellow, light cyan and light magenta. The Xcinkjet cartridge set for the SG500 and SG1000 lists 4 cartridges of 35ml, 1 in black, cyan, magenta and yellow. Compare refill sets in the best sublimation ink guide before buying.
Fill the tanks with the matching color and no other ink. Bottles in the L&C set use an auto-stop design that stops the flow when the tank is full, which keeps the fill clean. Check the ink level in the tanks before printing, and keep spare bottles on hand so a long print run does not stop mid-design.
Step 3: Load sublimation paper and the rest of the supplies
Sublimation paper carries the design from the printer to the blank. Hiipoo lists 110 sheets of sublimation paper at 8.5 by 11 inches and 120G in the set, with 2 Teflon sheets, heat tape and gloves in the same box. Load the paper with the white side up, since Hiipoo states the white side is the printing side and the pink side is the back. Keep the paper flat and dry, since curled or damp paper feeds badly and blurs the print.
Heat tape holds the printed paper tight to the blank during the press, and a Teflon sheet sits between the press and the paper to guard the press surface. Gloves guard hands when the hot blank comes out of the press. Lay out the blank, the printed paper, the tape and a Teflon sheet before heating the press, so nothing is hunted for with the press already hot.
Step 4: Mirror the design and print it
Open the design in the print software and turn on the mirror setting before printing. Hiipoo names the “Mirror Image” setting, and it matters: the design flips again when it presses onto the blank, so an unmirrored print lands backwards. Print on the white side of the sublimation paper, then let the sheet dry fully before handling it.
Print at the size the blank needs, and leave a small margin around the design so the tape has clean paper to grip. Check the print for streaks or gaps before pressing, since a thin spot in the ink shows up as a pale patch on the blank.
Step 5: Press the transfer onto the blank
Heat the press to the setting the press maker and the blank maker suggest for the material, then tape the printed paper to the blank with the printed side against the surface. Sublimation works on polyester-coated blanks and on fabric with less than 30% cotton, which covers mugs, tumblers, shirts, pillowcases, bags and caps. For mugs, the how to use Cricut mug press with sublimation guide walks through a mug press, and how to make a sublimation tumbler covers tumblers. Check the temperature guide for heat press and the parts of a heat press guide when learning the press controls.
Close the press and leave it closed until the press cycle ends, then open it and peel the paper away from the blank. Hiipoo describes the same order: print, adjust the press setting, place the blank on the press, then peel the paper after heating. Let the blank cool before handling it with bare hands, and check the print for even color across the design.
Step 6: Keep the printer printing
Sublimation ink clogs when it sits unused, so print on a regular schedule even when no orders are waiting. A short print on scrap paper keeps the nozzles clear and shows whether the colors still flow. See sublimation printer maintenance for cleaning and care between jobs.
Store the ink bottles upright with the caps on, and keep the paper sealed and flat. The Hiipoo and L&C inks list ISO-9001 and MSDS certification, and the OFFICENTER ink (on Amazon) lists the same pair, which is a useful check when comparing ink brands. BAOYAN states a wash claim of 50+ machine washes without cracking, and NUGU states a 2 Year warranty.
Common mistakes to avoid
- Loading regular inkjet ink into a printer meant for sublimation.
- Printing the design without the mirror setting turned on.
- Loading the paper with the pink side up instead of the white printing side.
- Pressing onto cotton fabric or an uncoated blank.
- Leaving the printer unused until the ink clogs.
- Guessing the press setting instead of checking the guidance for the press and the blank.
Sublimation printer set up: the short version
- Pick a printer that takes sublimation ink, such as a converted EcoTank model or a Sawgrass SG500 or SG1000.
- Fill the tanks with sublimation ink only, matching the color to its tank.
- Load sublimation paper with the white side up.
- Mirror the design in the print settings and print it.
- Tape the print to the blank and press it.
- Peel the paper, let the blank cool and check the color.
FAQ: lasers and CNC
Can any inkjet printer be used for sublimation?
Not every inkjet printer suits sublimation. The ink makers list EcoTank models such as the ET-2720, ET-2800, ET-2803, ET-15000, ET-4700 and ET-4800, and dedicated printers such as the Sawgrass SG500 and SG1000 take sublimation cartridges. Check the maker notes for the printer model before buying.
Do I need a special printer for sublimation?
A dedicated sublimation printer is built for sublimation ink and needs no conversion, while a converted EcoTank printer needs sublimation ink from the start and no regular ink in its tanks. A converted printer suits a small craft setup, while a dedicated printer suits steady output.
What paper do I print sublimation designs on?
Print on sublimation paper, with the white side as the printing side. Hiipoo lists 110 sheets at 8.5 by 11 inches and 120G in the set, which suits letter-size designs for mugs, shirts and small blanks.
Can I use sublimation ink on cotton shirts?
Sublimation ink suits fabric with less than 30% cotton, which means polyester shirts and blends take the print well. Pure cotton does not hold sublimation ink, so check the fabric blend before printing a shirt design.
What blanks work with sublimation?
Polyester-coated mugs, tumblers, phone cases, mouse pads and fabric with less than 30% cotton all take sublimation prints, based on what the ink makers state. For mug blanks, see the best mugs for mug press guide.
How do I keep the ink from clogging?
Print on a regular schedule and run a short print on scrap paper when the printer has sat unused. The L&C and OFFICENTER inks list anti-clog design, and OFFICENTER lists 24-hour technical support for ink trouble.
Related: the craft machines hub, best sublimation ink and best heat press for home use. Also see sublimation printer maintenance.