Why Is My Sublimation Printer Printing Lines: Fixes
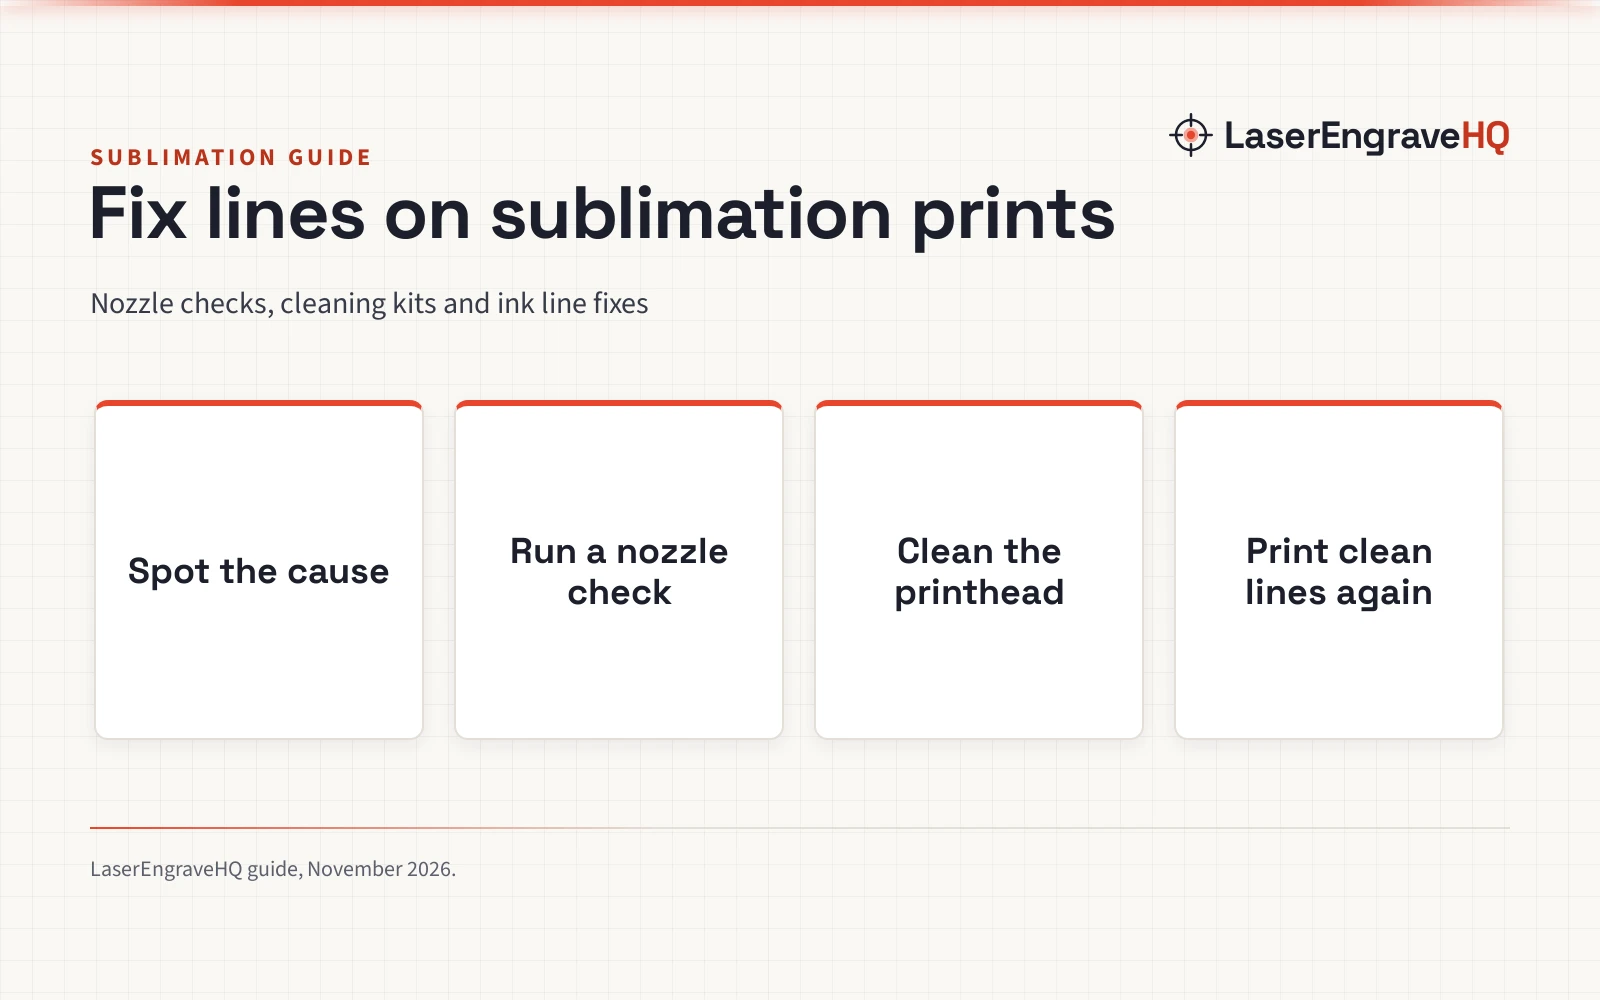
Lines across a sublimation print usually point to a clogged nozzle or dried ink, and this guide walks through the checks and cleaning steps that clear them.

On this page
Top picks at a glance
As an Amazon Associate I earn from qualifying purchases.
- 1
 Printer Head Cleaning Kit for Epson9.6/10View on Amazon
- 2
 Osinkjet Printhead Cleaning Kit for Epson9.7/10View on Amazon
- 3
 E-Z Ink Printer Cleaning Kit for Epson/HP/Canon/Brother9.7/10View on Amazon
Why is my sublimation printer printing lines? Lines across a sublimation print usually mean ink is not reaching the paper evenly, and the usual cause is a clogged nozzle or dried sublimation ink sitting in the printhead. Air trapped in the ink lines can leave the same marks, and so can paper feeding through unevenly, so the fix starts with matching the marks on the page to the cause behind them. This guide walks through each cause in order, from a nozzle check printout to a printhead cleaning kit, and ends with a fresh print and a pressed sample to confirm the lines are gone.
LaserEngraveHQ earns a commission from purchases made through these links, at no extra cost to you. Read our affiliate disclosure.
Why is my sublimation printer printing lines: the common causes
A sublimation printer lays down ink through tiny nozzles, and any gap in that flow shows up as a line. Dried ink is a common blockage, because sublimation ink thickens and hardens when a printer sits unused. A nozzle can also clog with dust or paper fibers, air can enter the ink lines during a cartridge change, and paper that curls or feeds at an angle can drag and smear, which looks much like a nozzle problem. The pattern on the page matters more than a guess about the cause.
- Clogged nozzles: dried sublimation ink or debris blocks ink flow, leaving pale or blank lines where color should be.
- Dried ink in the printhead: ink left standing hardens inside the nozzles and resists a normal cleaning cycle.
- Air in the ink lines: air bubbles break the ink flow and leave gaps that come and go across the page.
- Paper feed trouble: curled or damp paper slips or drags, smearing ink in straight lines along the feed direction.
Step 1: Run a nozzle check and read the pattern
Start with the nozzle check printout from the printer menu. A nozzle check printout with broken, incomplete, or faded lines points to clogged nozzles, since a clogged printhead leaves vertical stripes, horizontal stripes and incomplete patterns. A gap in one color points to the nozzles for that color, while gaps across every color point to wider clogging or a feed problem. Keep the printout beside the printer, since it shows whether each step helped.
Step 2: Run the printer cleaning cycle
Use the cleaning cycle in the printer menu before reaching for any kit. The cycle pushes ink through the nozzles and often clears a light clog on its own. Run the cycle, then print a fresh nozzle check and compare it with the earlier printout. If the lines are fainter, the cycle is working. If the lines look unchanged, move on to a manual cleaning kit, since one kit maker warns against cleaning too often in a short period.
Step 3: Clean the printhead with a cleaning kit
A printhead cleaning kit flushes cleaning fluid through the nozzles to dissolve dried ink that a cleaning cycle cannot shift. Kits made for inkjet printers list sublimation ink among the inks they dissolve, and the fluid clears hardened ink without corroding the printhead. The Fosgoit kit (on Amazon) contents list 100ml of cleaning solution with a syringe, a silicone hose, stoppers and gloves, and its color-coded nozzles mark yellow for Epson printers and white for HP and Canon printers. The Osinkjet kit (on Amazon) also lists a 250ml bottle, with a 20ml syringe, 4 swabs, 3 connectors and a pair of disposable gloves. The Vivid Colors kit (on Amazon), made for dye sublimation ink, lists a 100ml bottle with a 10ml syringe, a needle, tubing, an elbow connector, a rubber stopper and a pair of disposable gloves. The CoYlBod flush kit and the E-Z Ink kit (on Amazon) list a 100ml bottle, so fluid volume is a simple way to compare kits.
Before cleaning, unplug the power supply, as the Fosgoit and E-Z Ink kits advise. Follow the instructions in the kit, connect the syringe and hose to the ink port, and push fluid through gently until the flow runs clear. The CoYlBod kit needs no disassembly of the printhead. Then run a nozzle check to see whether the lines have cleared.
Step 4: Clear air from the ink lines
Air in the ink lines leaves gaps that appear and vanish, unlike a clog, which stays in the same place. Syringe sets made for printer cleaning help here: the PATIKIL sets list 12 syringes with a 10ml capacity and 6 syringes with a 5ml capacity, each with caps and adapters for ink ports. Fill a syringe with cleaning fluid, attach the adapter that fits the ink port, and push the plunger gently to flush residue through the nozzle, or draw the plunger back slowly to pull air out of the line. The maker advises rinsing each syringe with warm water after use to stop buildup and cross-contamination between ink colors.
Step 5: Check the ink, paper and feed path
With the nozzles clear, look at the rest of the path. Use sublimation ink made for the printer, and keep cartridges seated so air cannot enter the lines. Load flat, dry sublimation paper with the coated side facing the right way, and fan the sheets before loading so they feed one at a time. Look inside the feed path for curled paper scraps or dust. A setup done in the right order prevents many repeat problems, and the sublimation printer setup guide walks through the full sequence.
Step 6: Print a fresh page and press a sample
Print a fresh nozzle check, then print the design on sublimation paper and look at it before pressing. If the paper print is clean, press a sample on a spare blank and check the pressed result, since lines can also come from the press rather than the printer. The sublimation tumbler guide shows the pressing sequence for drinkware, and the heat press maintenance guide covers cleaning and care for the press itself. If lines still show on the paper print, go back to Step 3 and flush again.
Common mistakes to avoid
- Running cleaning cycles endlessly instead of moving to a manual flush when the pattern stops improving.
- Pushing fluid through with force, which can damage the printhead; gentle pressure is enough.
- Cleaning with the power on, against the advice printed in the kit instructions.
- Mixing cleaning fluid between ink colors without rinsing the syringe, which can tint the next flush.
- Pressing a flawed print to save paper, then blaming the printer for lines the press added.
Why is my sublimation printer printing lines: the short version
- Run a nozzle check and note which colors show broken, incomplete, or faded lines.
- Run the printer cleaning cycle and compare a fresh printout with the earlier one.
- Flush the printhead with a cleaning kit, with the power unplugged, and use the syringe and hose in the box.
- Clear air from the ink lines with a syringe set, and rinse the syringe after use.
- Check the ink, paper and feed path, then print a fresh page and press a sample.
FAQ: lasers and CNC
Why does my sublimation printer print lines in one color only?
Lines in one color usually mean the nozzles for that color are clogged while the rest flow freely. Run a nozzle check to confirm which color is affected, then clean the printhead and check again. If the same color stays broken after a flush, air in that ink line is a likely cause.
Can I use a printhead cleaning kit made for regular inkjet printers on a sublimation printer?
Yes, if the kit lists sublimation ink among the inks it handles. The Fosgoit and CoYlBod kits list sublimation ink, dye ink and pigment ink, and the Vivid Colors kit is made for dye sublimation ink. Use the color-coded nozzle that matches the printer.
How often should I clean the printhead?
Clean it when lines appear on a nozzle check or a print, rather than on a fixed schedule. A printer that sits unused gathers dried ink faster than one that prints often, so a regular nozzle check is a better habit than routine flushing. One kit maker warns against cleaning too often in a short period.
Will a cleaning kit fix lines caused by dried sublimation ink?
In many cases, yes. The kits in this guide list fluids that dissolve dried ink and hardened residue, and the CoYlBod kit describes dissolving OEM, dye, pigment and sublimation inks. A light clog often clears with a cleaning cycle, while a hardened clog needs a manual flush.
Can the heat press cause lines on a finished sublimation item?
Yes. Lines that appear only after pressing, while the paper print looks clean, point to the press or the blank rather than the printer. Uneven pressure, a dirty press surface or a blank that shifts during pressing can all mark the transfer. The best heat press for home use guide compares presses for even pressure.
Related: the craft machines hub, DTF printer troubleshooting and best epoxy resin for tumblers.