V Bit vs Engraving Bit: Which One Should You Buy?
Learn the key differences between a V bit and an engraving bit, including tip geometry, shank size, cutting depth, and how to match each cutter to your CNC projects.

On this page
Top picks at a glance
As an Amazon Associate I earn from qualifying purchases.
- 1
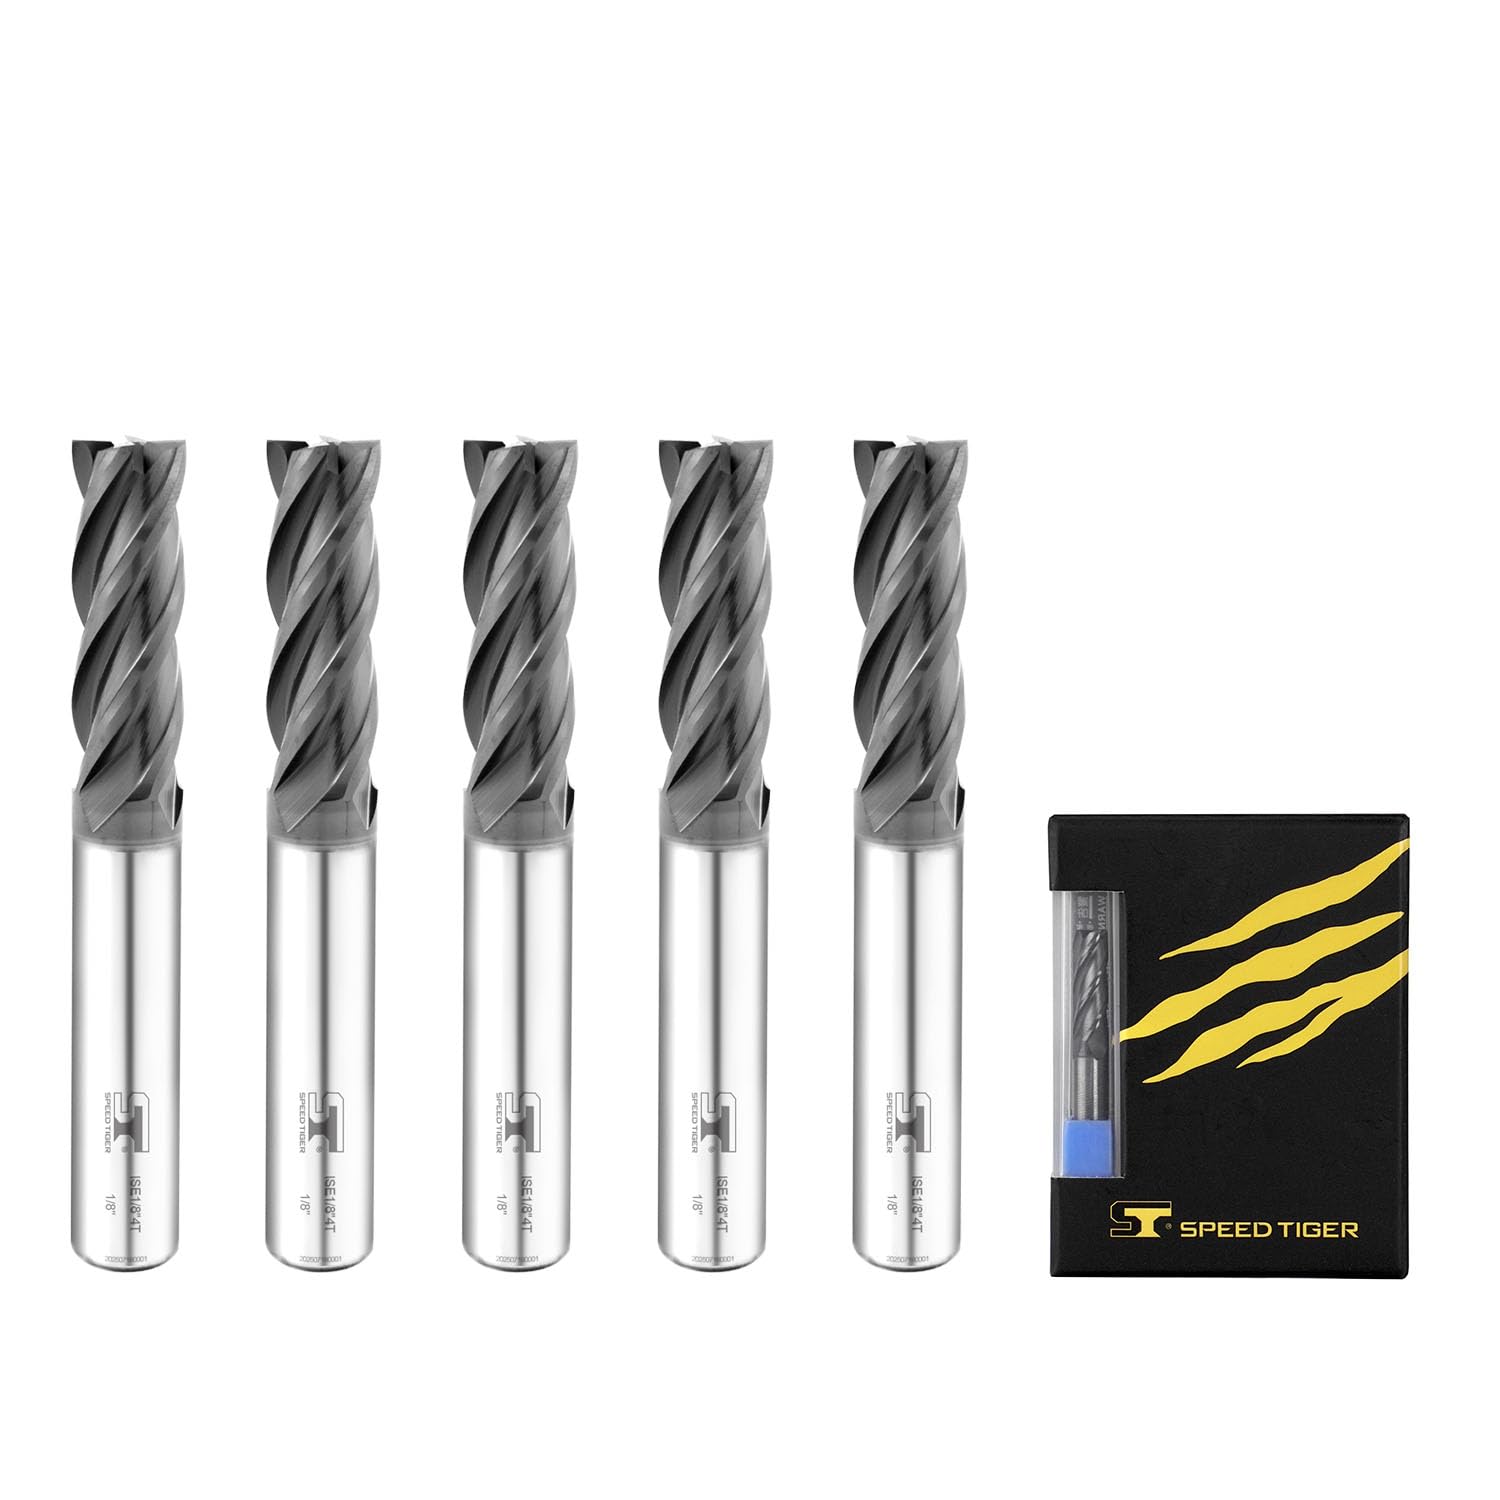 SPEED TIGER ISE Carbide End Mill 1/8”9.8/10View on Amazon
- 2
 HQMaster 5pcs CNC Router Bits Set9.7/10View on Amazon
- 3
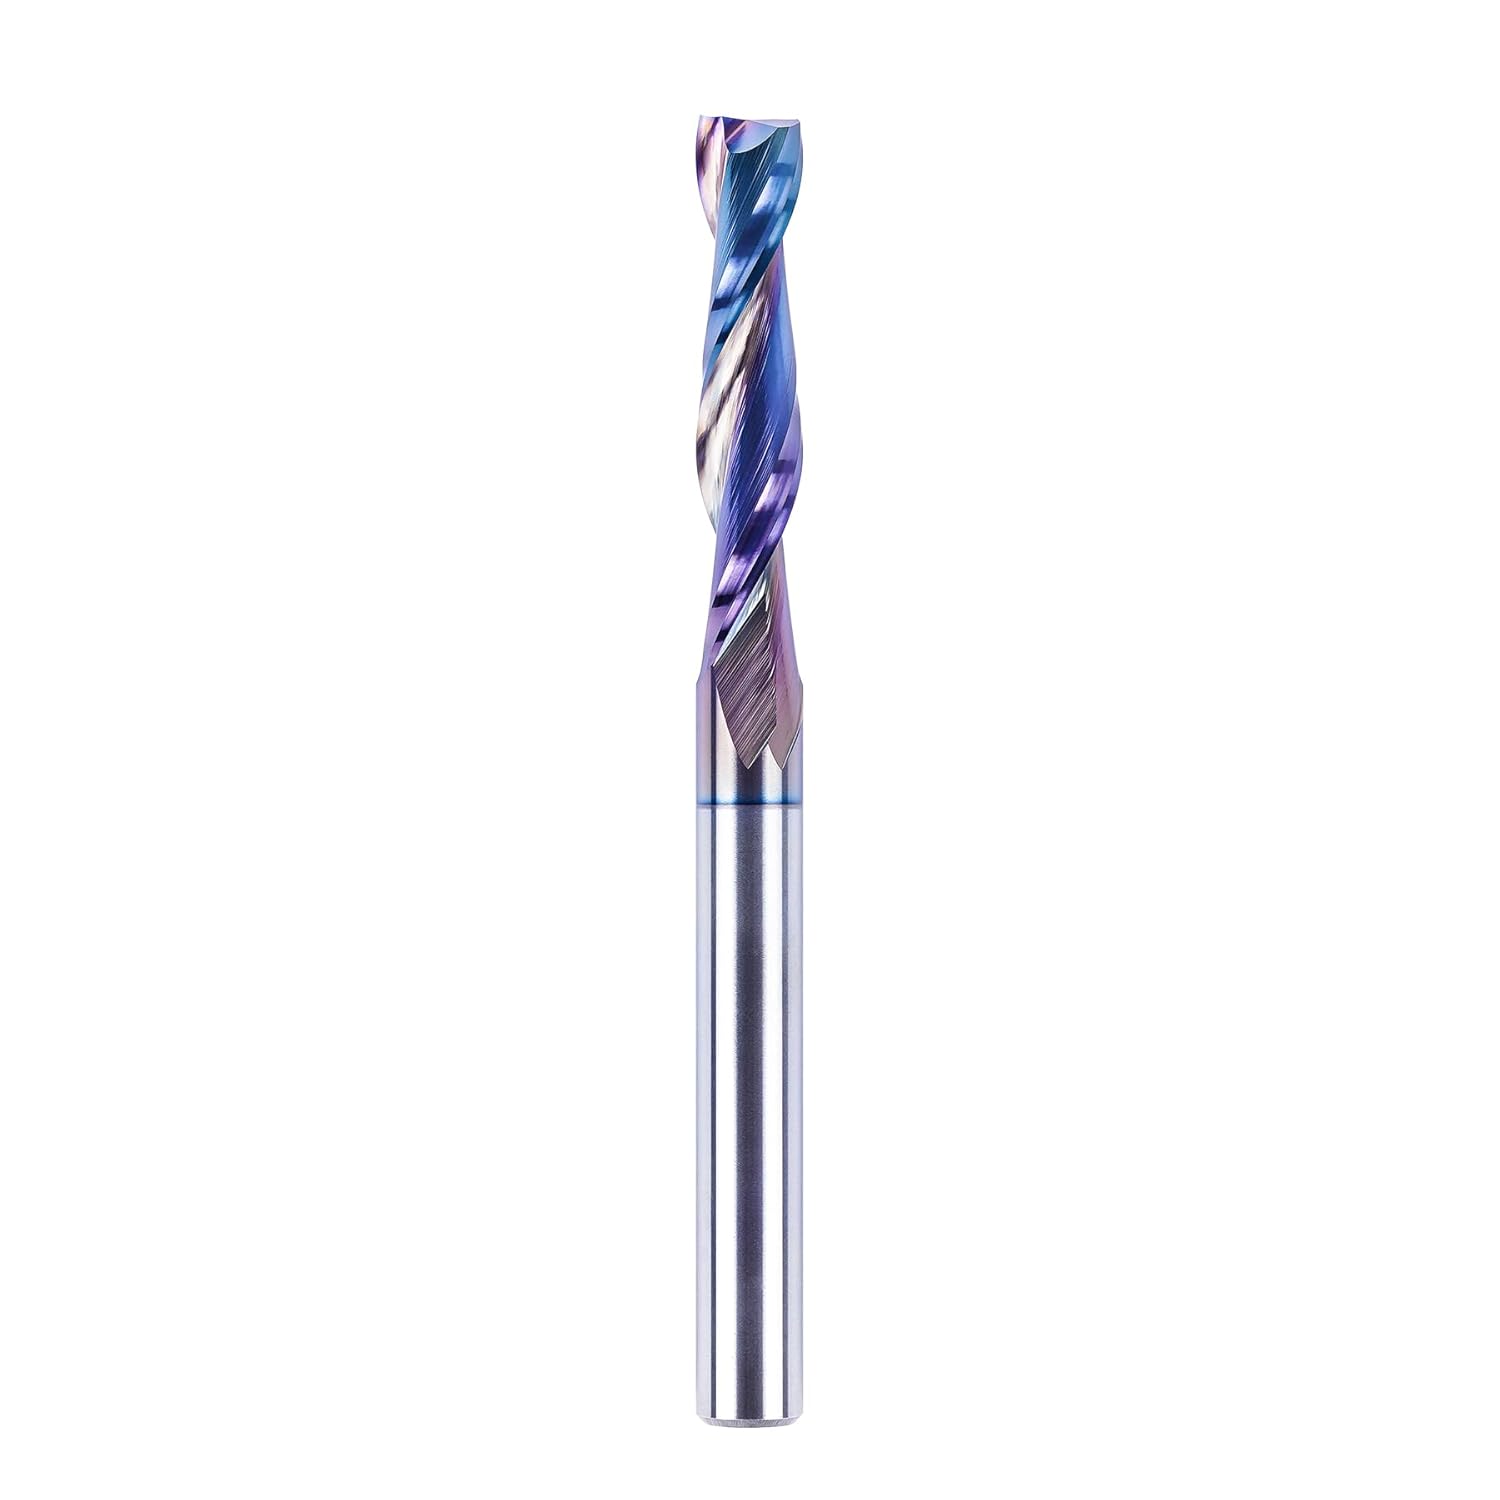 SpeTool Upcut Spiral Router Bits 1/4 Inch Shank with Coating9.7/10View on Amazon
- 4
 SpeTool 45 Degree V Groove Router Bit Carbide Tip V Bit withView on Amazon
- 5
 30 Degree Router Bit for CNCView on Amazon
- 6
 60 Degree Router Bit for CNCView on Amazon
- 7
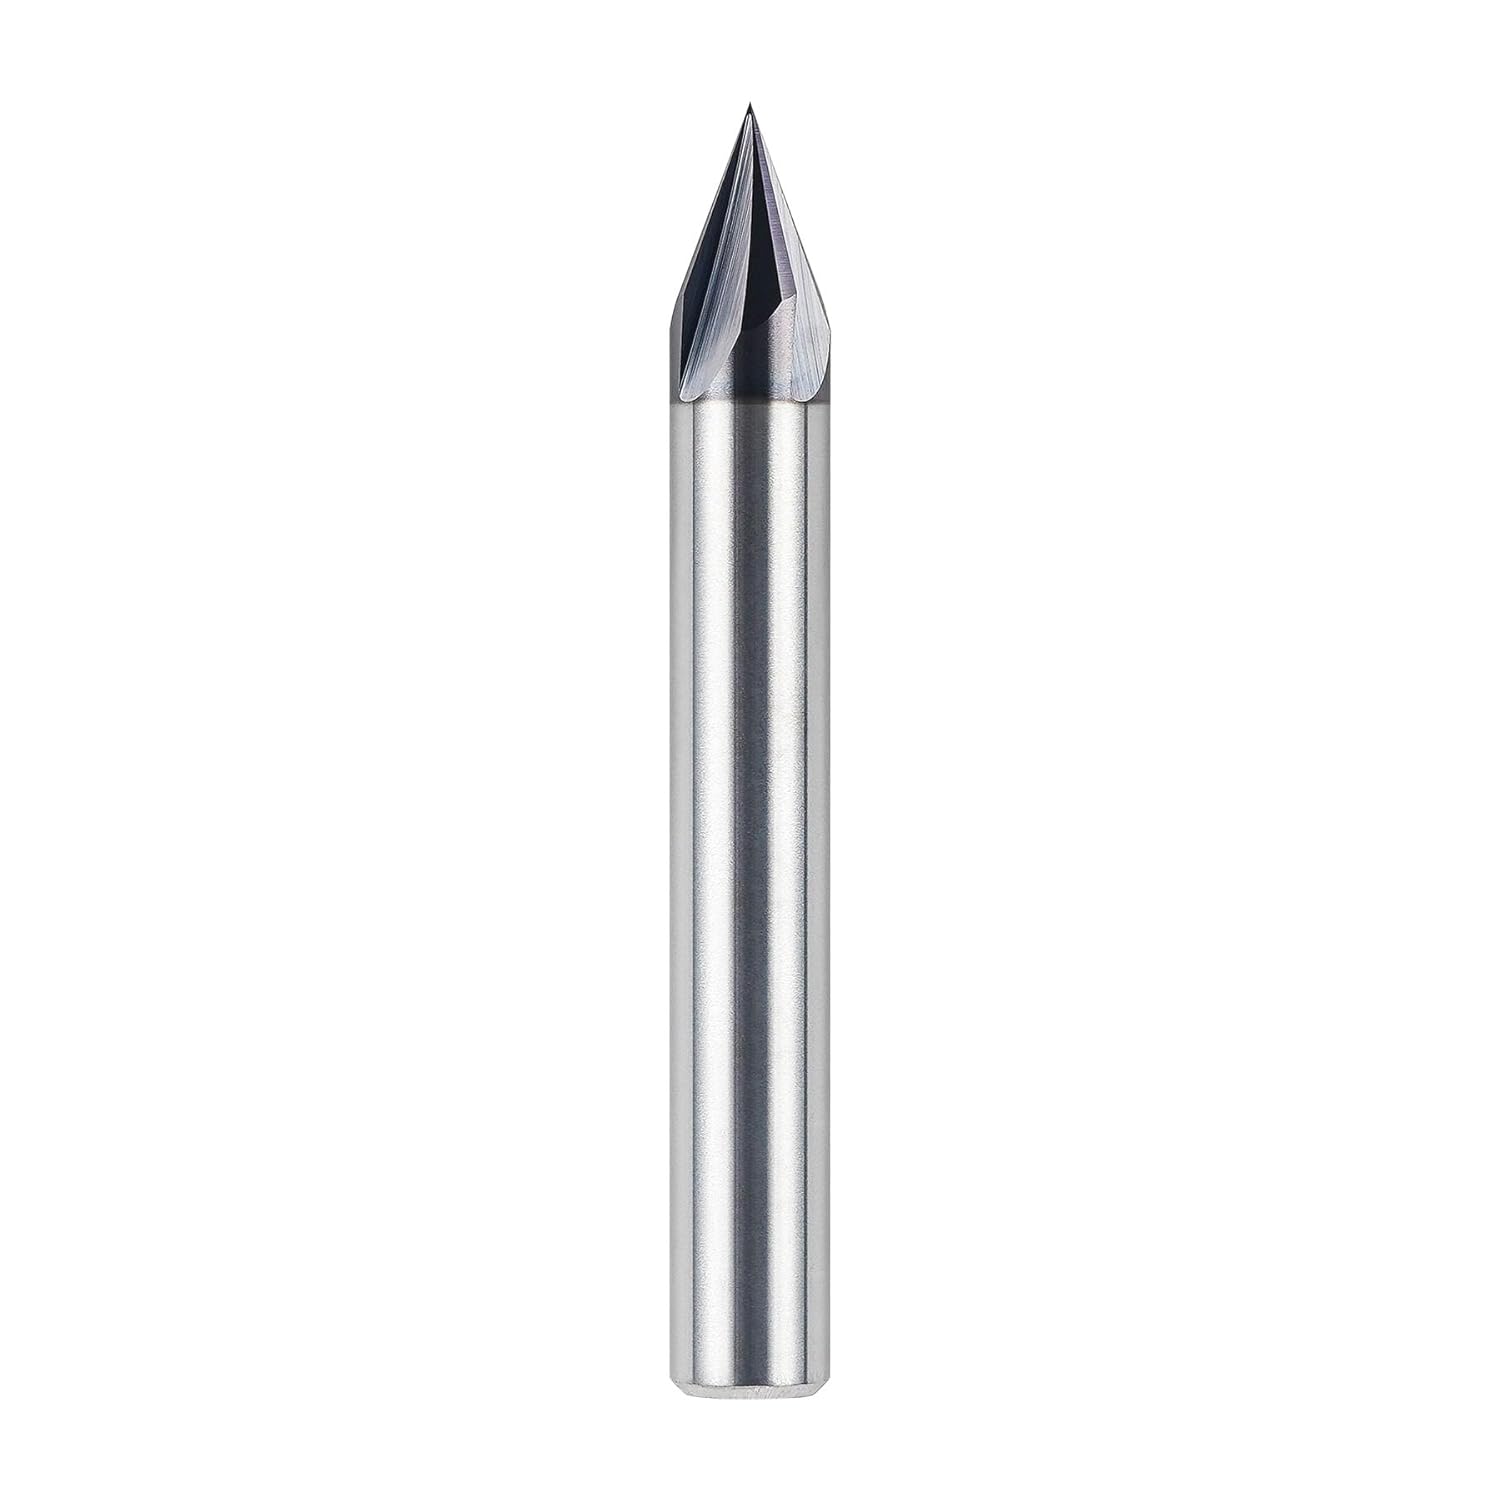 SpeTool 45 Degree V Groove Router Bit 1/4 Inch ShankView on Amazon
- 8
 FOOSView on Amazon
- 9
 Yakamoz V-Groove and Round Nose Router Bit SetView on Amazon
When you carve custom wooden signs, decorative plaques, or engraved acrylic badges in your workshop, choosing between a v bit vs engraving bit determines your groove depth, detail clarity, and edge finish. The direct answer is that a V bit is designed for bold, deep grooves, beveled lettering, and structural sign carving, while an engraving bit is designed for fine surface etching, tiny lettering, and shallow trace isolation. A V bit typically carries full cutting flutes across a larger cutting diameter to remove bulk material during carving, whereas an engraving bit terminates in a defined micro tip designed for detailed shallow lines. Matching the right tool to your design saves time, prevents broken cutters, and delivers crisp edges on every workpiece.
Other machines to compare
 SpeTool 45 Degree V Groove Router Bit Carbide Tip V Bit withCheck price on Amazon
 30 Degree Router Bit for CNCCheck price on Amazon
 60 Degree Router Bit for CNCCheck price on Amazon
 SpeTool 45 Degree V Groove Router Bit 1/4 Inch ShankCheck price on Amazon
 FOOSCheck price on Amazon
 Yakamoz V-Groove and Round Nose Router Bit SetCheck price on Amazon
LaserEngraveHQ earns a commission from purchases made through these links, at no extra cost to you. Read our affiliate disclosure.
Bit geometry dictates feed behavior. Because an engraving bit tapers to a microscopic flat, its tip velocity approaches zero at the center of rotation. Always prioritize gentle plunge moves and shallow passes rather than aggressive feeds to avoid snapping the point.
Step 1: Understand bit geometry and included angles
Included angle defines the wall taper of the cut and determines how wide a groove opens as the tool carves deeper into stock. However, both tool categories offer multiple angle configurations rather than falling into a single narrow or wide classification. Choosing the right angle balances detail resolution against groove depth.
V-bits commonly feature 45, 60, or 90 degrees for grooving, beveling, and decorative lettering. For example, Whiteside lists a 60-degree V-groove bit, SpeTool lists a 45-degree cutter, and Freud lists a 90-degree bit. These profiles provide substantial carbide backing behind the cutting edges. The extra support allows the cutter to absorb heavy cutting forces when machining timber or dense composites, making them well suited for chamfers, decorative grooves, and dimensional lettering. Our guide to CNC router bit types explores how different edge profiles handle rotational loads.
Engraving bits are notable because they offer acute angles that standard V-groove bits rarely cover, such as 10, 15, 20, 25, or 30 degrees, alongside broader angle options. For example, Genmitsu lists a 15-degree conical engraving bit, as well as a 10-piece set spanning 10, 15, 20, 25, 30, 40, 45, 60, and 90 degrees. SHARPRO also provides conical cutters in 30-degree and 60-degree profiles. Narrow angles between 10 and 30 degrees allow the tool to cut delicate serifs, tight contours, and narrow PCB traces without widening the stroke, while 60-degree or 90-degree engraving bits create shallow, wide-faced marks.
Step 2: Compare tip widths and cutting diameters
Tip design governs how finely a cutter can resolve vector artwork. While both bit styles taper toward a point, their actual cutting dimensions and tip geometries serve distinct machining purposes.
A V bit cuts along its entire profile up to its maximum cutting diameter. For example, Whiteside specifies a 1/4-inch cutting diameter with a 7/32-inch point length, while Freud and SpeTool list a 1/2-inch cutting diameter, and Yonico specifies a 1/2-inch cutting diameter with a 5/8-inch total cutting height and a 7/16-inch V-section height. Because a V-bit maintains cutting flutes across a width up to 1/2 inch, computer numerical control software can ramp the tool upward and downward to create variable-width lettering strokes and beveled sign borders in a single toolpath.
An engraving bit terminates in a miniature flat or micro-radius rather than a wide cutting flute. For example, Genmitsu specifies a 0.1mm tip diameter on its 15-degree bit, while offering a 0.3mm tip on one 90-degree bit in its multi-angle set. SHARPRO lists a 0.2mm tip diameter on its 30-degree and 60-degree cutters. This tiny flat determines the minimum line width on shallow cuts. Rather than carving deep prismatic grooves, an engraving bit scores delicate vector lines, rotary serial tags, and miniature lettering where a 1/4-inch or 1/2-inch V-bit would gouge the workpiece. See our guide on CNC bits explained for beginners for more on tip configurations.
Step 3: Check shank diameter and machine collet compatibility
Shank diameter directly affects tool rigidity and dictates which collet your CNC spindle or trim router must use. Running a bit in an improper collet or using loose adapter sleeves causes runout, chatter, and broken carbide points.
The reference listings from Whiteside, Freud, SpeTool, and Yonico all feature 1/4-inch shanks. Freud also lists an overall length of 1-3/4 inches, while Whiteside specifies a 2-inch overall length. A 1/4-inch shank provides ample shank stiffness, dampens cutting vibration, and fits directly into standard 1/4-inch router collets found on popular handheld routers and hobby CNC machines.
Engraving bits are frequently supplied on 1/8-inch shanks for desktop engravers, though 1/4-inch shanks are also common for high-load applications. For example, Genmitsu specifies an 1/8-inch shank (3.175mm) and a 30mm overall length on its conical cutters, alongside 1/4-inch shank (6.35mm) options. SHARPRO mounts its 0.2mm tip bits directly on a 1/4-inch shank for added rigidity. If your machine uses an 1/8-inch collet, standard 1/8-inch engraving bits mount effortlessly. If you operate a larger machine, verify your collet set before mounting slender bits. Review our overview of desktop CNC machine for beginners for common spindle and collet setups.
Step 4: Match the cutter to your project material
Both tool types can machine wood, plastics, and composites, but their edge geometry handles material removal at different scales. Matching your cutter geometry to the stock prevents surface tear-out, burrs, and heat buildup.
V-groove bits excel at deep carving and decorative shaping across timber and plastics. For example, Freud lists applications in plastics, plywood, hardwood, softwood, and composites, Whiteside lists natural woods, composite woods, and hard plastics, and SpeTool specifies hardwood, plywood, softwood, oak, and MDF. The substantial cutting flutes evacuate heavy chips cleanly, making them well suited for dimensional lettering and beveled edges. When planning sign projects, consult our tutorial on how to V carve signs on a CNC to dial in clean wood lettering.
Engraving bits excel at shallow surface marking, circuit milling, and detail tracing across diverse materials. For example, Genmitsu lists applications spanning acrylic, plastics, carbon fiber, chipboard, MDF, PCB, solid surface, aluminum, and wood. SHARPRO lists wood, plastic, acrylic, plywood, MDF, and PVC, noting its 60-degree cutter also handles linear rough milling on hardened steel. The fine tip profiles score clean boundaries without tearing delicate surfaces or chipping brittle acrylic. For makers working with synthetic stock, our guide to V bit for acrylic details how to prevent edge melting.
Step 5: Inspect flute count and chip clearing
Flute count and flute geometry dictate chip evacuation, cutting temperature, and feed speed. The number of cutting edges must match your spindle capabilities and feed rate.
V-bits commonly feature one, two, or three cutting edges. For example, SpeTool and Yonico utilize a 1-flute geometry, Freud uses 2 cutters, and Whiteside utilizes 3 flutes. A single flute offers wide open gullets that eject large wood chips quickly, reducing friction in gummy stock. A bit with 2 or 3 flutes provides multiple cutting strikes per revolution, creating a mirror-smooth surface on hard timbers when the spindle speed is properly balanced against table travel.
Engraving bits usually feature a single cutting edge or half-round flat. For example, Genmitsu and SHARPRO specify a 1-flute design on their engraving bits. SHARPRO utilizes an O-flute spiral geometry designed to prevent chip accumulation and avoid chip winding when cutting softer plastics. Because an open flute geometry promotes smooth chip flow, it helps prevent swarf from packing inside narrow cuts and avoids chip winding when machining ductile materials. Our guide to CNC feeds and speeds for beginners explains how to calculate feed rates to keep flutes clear.
Common mistakes to avoid
- Plunging an engraving bit too deeply in a single pass, which overloads the 0.1mm or 0.2mm tip and snaps the carbide point.
- Using a wide 90-degree V-bit for tiny text, causing adjacent letter strokes to overlap and muddy the design.
- Failing to clear swarf from deep grooves, which leads to packed chips, heat buildup, and melted plastic edges.
- Setting inaccurate Z-axis surface zeroing, resulting in engraving strokes that cut too wide or miss shallow contours entirely.
- Using loose reduction sleeves instead of dedicated 1/4-inch or 1/8-inch precision collets, introducing runout and premature bit wear.
V bit vs engraving bit: the short version
- Profile geometry: V-bits are shaped to cut deep beveled grooves with full flutes, while engraving bits often feature acute angles (such as 10, 15, 20, or 30 degrees) alongside standard angles to trace delicate details.
- Tip width: V-bits cut across a broad diameter up to 1/2 inch for bold lettering, while engraving bits taper to a tiny flat such as 0.1mm, 0.2mm, or 0.3mm for hairline precision.
- Shank diameter: V-bits commonly use 1/4-inch shanks in router setups, while engraving bits are offered in both 1/8-inch and 1/4-inch shanks.
- Project role: V-bits excel at deep prismatic carving, chamfers, and large sign lettering, while engraving bits target fine line engraving, PCB isolation, and shallow surface marking.
- Cut depth: V-bits support deeper multi-pass carving, while fine engraving bits perform best with light, shallow cuts to protect delicate tips.
In summary, choose a V bit when you want prominent, three-dimensional grooves and beveled letters in signs or plaques. Choose an engraving bit when you need fine, intricate vector outlines, PCB traces, or delicate text.
FAQ: lasers and CNC
Can a V bit be used for engraving metal?
A solid carbide V-bit can mark soft non-ferrous metals like brass or aluminum when using shallow passes, but its wide included angle creates significant lateral cutting resistance. For metal nameplates and fine serial numbers, a dedicated conical engraving bit with a narrow included angle and a small tip flat creates crisper marks with less spindle deflection.
What is the difference between a 60-degree and a 90-degree V bit?
A 60-degree V-bit produces steeper sidewalls, allowing it to carve deeper into wood before the groove becomes excessively wide. This makes 60-degree cutters ideal for narrow lettering and intricate sign details. A 90-degree bit, such as the Freud 20-104 cutter, produces wide, shallow bevels that catch overhead light across large signs and chamfered edges.
Why do engraving bits break so easily?
Engraving bits terminate in microscopic tip flats, such as 0.1mm or 0.2mm. Because there is very little carbide mass at the tip, excessive plunge rates, machine vibration, or improper feed speeds can easily snap the point. Taking shallow passes and using rigid collets prevents premature tip failure.
Can I carve wooden signs with an engraving bit?
An engraving bit can trace fine surface text and delicate decorative motifs on wood, but it cannot clear deep background pockets or carve large dimensional letters. For deep lettering and structural V-carving in wood, a sturdier V-bit is the appropriate tool.
Which bit should I buy first for my CNC router?
If your primary focus is wooden signs, decorative plaques, and chamfered edges, buy a 60-degree V-bit on a 1/4-inch shank, such as the Whiteside 1541. If you plan to make PCB isolation traces, acrylic badges, or fine jewelry tags, start with a set of conical engraving bits on an 1/8-inch shank.
Do I need different collets for V bits and engraving bits?
Yes, depending on your spindle. Many router V-bits feature a 1/4-inch shank, while desktop engraving bits often use an 1/8-inch shank. Always use precision collets matched exactly to each tool shank diameter rather than split reduction sleeves to minimize runout.
Related: explore our CNC tooling guide, V bit for CNC router review, and best CNC router bits guide. Also see our comparisons on tapered ball nose vs V bit and how to V carve signs on a CNC.