How to V Carve Signs on a CNC: A Step-by-Step Sign Making Guide
A step-by-step guide to v carving signs on a CNC router: choose the right v-bit angle, prepare clean vector artwork, zero your machine, and finish crisp carved letters.

On this page
Top picks at a glance
As an Amazon Associate I earn from qualifying purchases.
- 1
 HQMaster 5pcs CNC Router Bits Set9.7/10View on Amazon
- 2
 FoxAlien Triangular CNC Router Bits V-Bit9.6/10View on Amazon
- 3
 FoxAlien 20/30/45/60/90deg 0.1mm Triangular CNC Router Bits9.5/10View on Amazon
- 4
 10Pcs CNC Router Bits SetView on Amazon
- 5
 5 Piece Engraving CNC Wood Carving Router Bit with Nano BlueView on Amazon
- 6
 Yakamoz V-Groove and Round Nose Router Bit SetView on Amazon
- 7
 6Pcs CNC Router Bits SetView on Amazon
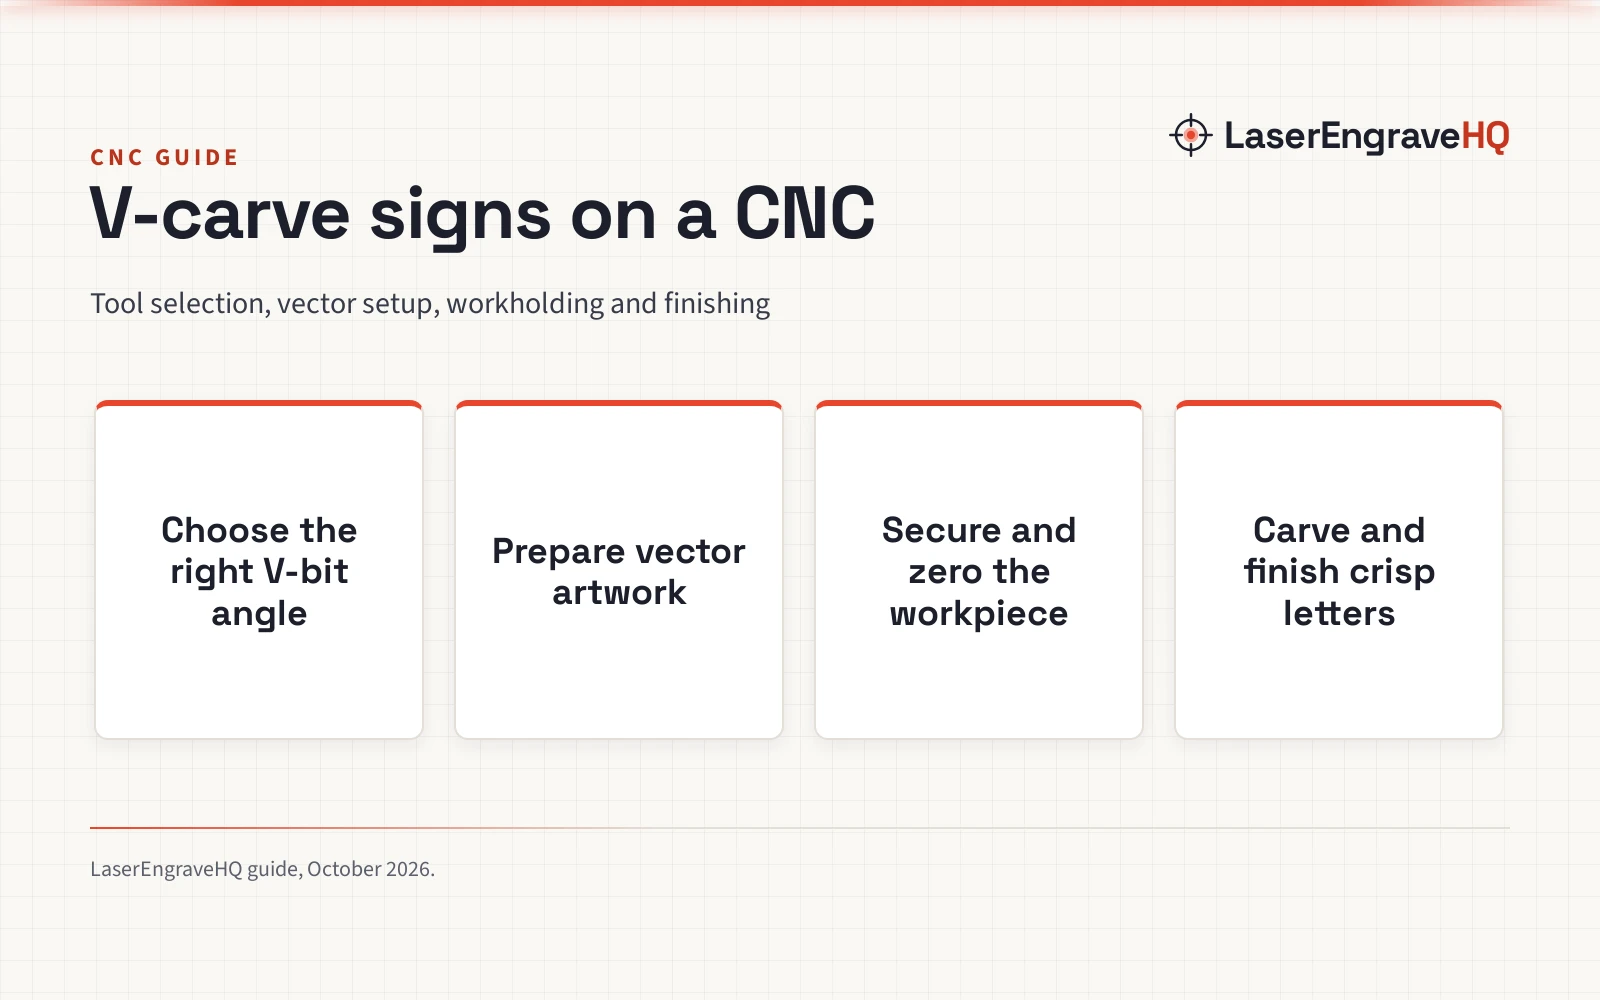
How to v carve signs on a cnc comes down to selecting an appropriate V-bit angle, preparing clean vector artwork with closed outlines, configuring carving toolpaths in CAM software, securing flat wood stock, zeroing your axes accurately, and painting the carved lettering for high contrast. The sections below explain each step in order.
Other machines to compare
 10Pcs CNC Router Bits SetCheck price on Amazon
 5 Piece Engraving CNC Wood Carving Router Bit with Nano BlueCheck price on Amazon
 Yakamoz V-Groove and Round Nose Router Bit SetCheck price on Amazon
 6Pcs CNC Router Bits SetCheck price on Amazon
LaserEngraveHQ earns a commission from purchases made through these links, at no extra cost to you. Read our affiliate disclosure.
Feed rates and spindle speeds depend on machine rigidity, spindle power, and wood species. Start with conservative feed rates recommended by your tooling maker and adjust based on chip formation.
Step 1: Choose the right V-bit angle and cutter profile
V-carving uses an angled cutter to produce three-dimensional lettering with beveled sidewalls. Unlike standard end mills that cut flat pockets, a V-groove bit varies cut depth based on the distance between vector outlines. A 90° V-bit produces shallow, broad grooves suited for large outdoor signs and bold text. A 60° V-bit plunges deeper, creating prominent shadow lines for medium letters. A steep 30° bit plunges deeper to span narrow gaps, ideal for fine script and delicate details.
Carbide tooling provides the wear resistance needed for clean cutting. Eyryfui lists a 5-piece carbide V-groove router bit set spanning 15°, 20°, 30°, 60°, and 90° cutting angles with 1/4 inch shanks and a 0.5 inch cutting length. For multi-tool sets, HQMaster lists an 8-piece set that includes 30-degree and 60-degree V-groove bits with 1/4 inch shanks and 2 flutes. For fine lettering where a tiny flat tip prevents point breakage, LMT Onsrud lists an engraving bit with a 30 angle, a 0.020 inch tip width, a 0.25 inch shank diameter, and 1 flute. For combined lettering and pocketing, Freud lists a 3-piece sign making set with a 1/4 inch shank designed for 2D and 3D carving. To compare cutters, see our guide to the best V-bit for CNC router setups and explore CNC tooling.
Step 2: Prepare clean vector artwork and closed lettering outlines
V-carve toolpaths require clean vector geometry. In your design software, sign text and graphics must consist of closed vector loops. Open endpoints or overlapping outlines cause CAM software to misinterpret boundaries or produce toolpath errors.
Convert typed text into vector curves and inspect for intersecting loops, common where cursive letters overlap. Use the vector welding tool to join overlapping letters into a unified outline, and remove duplicate nodes. Clean serif and sans-serif typefaces carve reliably because their stroke widths stay consistent. For script fonts with thin connecting strokes, verify that vector spacing allows the bit tip to trace without tearing wood fibers along the grain.
Step 3: Configure the V-carve toolpath and flat depth settings
In CAM software, the V-carve strategy calculates cuts by driving the bit center along the midline between vector outlines while adjusting Z-height. Where lines widen, the cutter plunges deeper; where lines converge, it rises to form a sharp apex.
Unrestricted V-carving on wide letters can plunge deeper than your board thickness. To control deep features, enable flat depth in CAM. This limits maximum cut depth to a flat floor: the V-bit bevels the perimeter walls, while a flat clearing end mill or the V-bit clears the pocket bottom. For clearing wide pockets, check our guide to CNC router bits for cutting wood. Set a conservative pass depth per layer in your tool database so the cutter takes multiple shallow passes, preventing tool deflection and wood burning.
Step 4: Prepare the wood blank and secure it firmly to the spoilboard
Carving crisp signs requires flat stock. Because V-carve stroke width depends on depth relative to the wood surface, warped boards cause stroke widths to vary across the sign face. Where wood bows upward, cuts are deeper and wider; where it dips, cuts are shallow or broken.
Plane your stock flat before mounting. Fine-grained hardwoods like maple, cherry, and walnut yield crisp edges with minimal fuzzing, while MDF carves cleanly without grain. Material thickness also dictates depth limits. For plastic nameplates, M METERXITY lists a 6-pack of double-color ABS plastic sheets in 1.3mm (0.05 inches) thickness measuring 7 by 11 inches, where standard V-carving cuts through unless restricted to shallow engraving depth. For thin panels, DGwood lists tempered hardboard panels in 1/8 inch (3mm) thickness in sizes including 12 by 24 inches and 24 by 24 inches, which likewise need shallow depth limits. To choose suitable lumber, see our guide to the best wood for CNC machine projects and recommendations for the best CNC router bits for hardwood.
Clamp the workpiece firmly to prevent vibration. Perimeter clamps keep stock rigid, while double-sided tape prevents center lifting. For workholding options, see our review of the best CNC hold down clamps.
Step 5: Set workpiece zero and execute the carving pass
Accurate zeroing is vital for V-carving. Set X and Y origins to match the datum defined in your CAM software. Zero the Z-axis precisely to the stock top surface using a touch plate or paper slip. If Z-zero is calibrated above the wood, cuts will be too shallow and serifs will not form; if zeroed below, strokes plunge deeper and appear heavier than planned.
Run a dry pass above the stock to confirm clamp clearance before cutting. Allow the spindle to reach operational speed before entering material. Effective chip clearing prevents friction and burning inside narrow V-grooves. Learn more about dust extraction in our guide to the dust collector shoe for CNC router setups.
Step 6: Paint the carved lettering and apply the final finish
High-contrast lettering makes V-carved signs readable from a distance. Two methods produce crisp painted letters without grain bleeding.
The masking film method uses vinyl stencil mask. Apply a clear sealing coat to the sanded wood blank and let it dry before applying masking film. Burnish the mask down with a squeegee. The V-bit cuts through the film into the wood. Spray a light clear coat into carved grooves to seal mask edges, then spray paint into the letters. Once dry, peel the film away to reveal clean wood around crisp lettering.
The sand-through method works without film. Seal the raw wood surface with clear sealer before routing. Carve the sign, then spray paint into the recessed letters. After paint dries completely, sand the sign face flat with fine-grit sandpaper. The pre-applied sealer prevents paint from absorbing into the surface grain, leaving paint only in the recessed V-grooves. Finish with protective clear coats.
Common mistakes to avoid
- Carving unflattened lumber: cupped boards cause depth and stroke width to vary across the sign.
- Inaccurate Z-zeroing: setting Z-zero off alters letter weight and erases delicate serifs.
- Open vector paths: unjoined vectors cause CAM toolpath calculation errors.
- Omitting flat depth on wide text: carving wide letters without flat depth forces the bit excessively deep.
- Painting unsealed wood: paint wicks through wood grain capillaries, causing fuzzy edges.
- Poor chip clearing: packed chips inside grooves cause friction and scorch marks.
How to v carve signs on a cnc: the short version
- Choose an appropriate V-bit angle for your font size and detail.
- Convert text into closed, welded vector paths in design software.
- Generate the V-carve toolpath in CAM, using flat depth if letters are wide.
- Plane the wood blank flat and clamp it securely to the spoilboard.
- Set X, Y, and Z axes precisely, zeroing Z to the stock top surface.
- Carve the sign with active dust extraction to clear chips cleanly.
- Paint recessed lettering using mask film or the sand-through method, then seal.
Following these steps produces sharp lettering, balanced cutting depth, and clean contrast.
FAQ: lasers and CNC
What V-bit angle is best for CNC sign making?
A 60-degree V-bit is standard for sign making, offering a practical balance between depth and width for medium letters. Use a 90-degree bit for large text on shallow blanks, and a 30-degree bit for fine script and detail.
What wood species is best for V-carved signs?
Dense hardwoods with fine grain like hard maple, cherry, and walnut produce the cleanest edges without splintering. Softwoods like cedar work for outdoor signs but require sharp cutters to prevent fiber crushing.
How do I prevent paint from bleeding into the wood grain?
Seal the wood before applying color paint. When using mask film, spray a light clear coat into carved grooves to seal mask edges before painting. When painting without a mask, seal the wood blank before routing so overspray sands away easily.
Why are my carved letters uneven across the sign?
Uneven lettering is commonly caused by warped wood, an unlevel spoilboard, or inconsistent stock thickness. Plane your lumber flat and surface your spoilboard to ensure consistent cut depth.
What is the difference between a V-carve toolpath and an engraving toolpath?
An engraving toolpath traces vector lines at a constant depth with uniform stroke width. A V-carve toolpath varies Z-depth based on the width between vector boundaries, creating angled walls and sharp corners.
When should I use a flat depth setting with a V-bit?
Use flat depth whenever vectors are wide enough that a standard V-carve path would cut deeper than desired. It limits maximum depth while a flat end mill clears the wide pocket center.
Related: our guide to v-bits for CNC routers, our roundup of the best CNC router bits for hardwood, and our guide to the best wood for CNC machines. For workholding, see our review of the best CNC hold down clamps, and explore our complete CNC tooling category.