Desktop CNC Machine for Beginners: A Step-by-Step Starter Guide
A step-by-step starter guide to desktop CNC machines: how they work, choosing spindle power, workspace setup, CAD and CAM software, and making your first cuts.

On this page
Top picks at a glance
As an Amazon Associate I earn from qualifying purchases.
- 1
 Genmitsu Cubiko Desktop CNC Router Machine with Enclosure for9.5/10View on Amazon
- 2
 FoxAlien Masuter Pro 3-Axis CNC Router Machine9.6/10View on Amazon
- 3
 SainSmart Genmitsu 3018-PROVer V2 CNC Router Machine for9.5/10View on Amazon
- 4
 Genmitsu Cubiko Desktop CNC Router Machine with Enclosure forView on Amazon
- 5
 Genmitsu 3018-PROVer V2 CNC Milling Machine for BeginnersView on Amazon
- 6
 WECREAT Vista 10W Laser Engraving Machine with 9-in 1 RotaryView on Amazon
- 7
 LONGER Ray5 Laser EngraverView on Amazon
- 8
 Laser EngraverView on Amazon
- 9
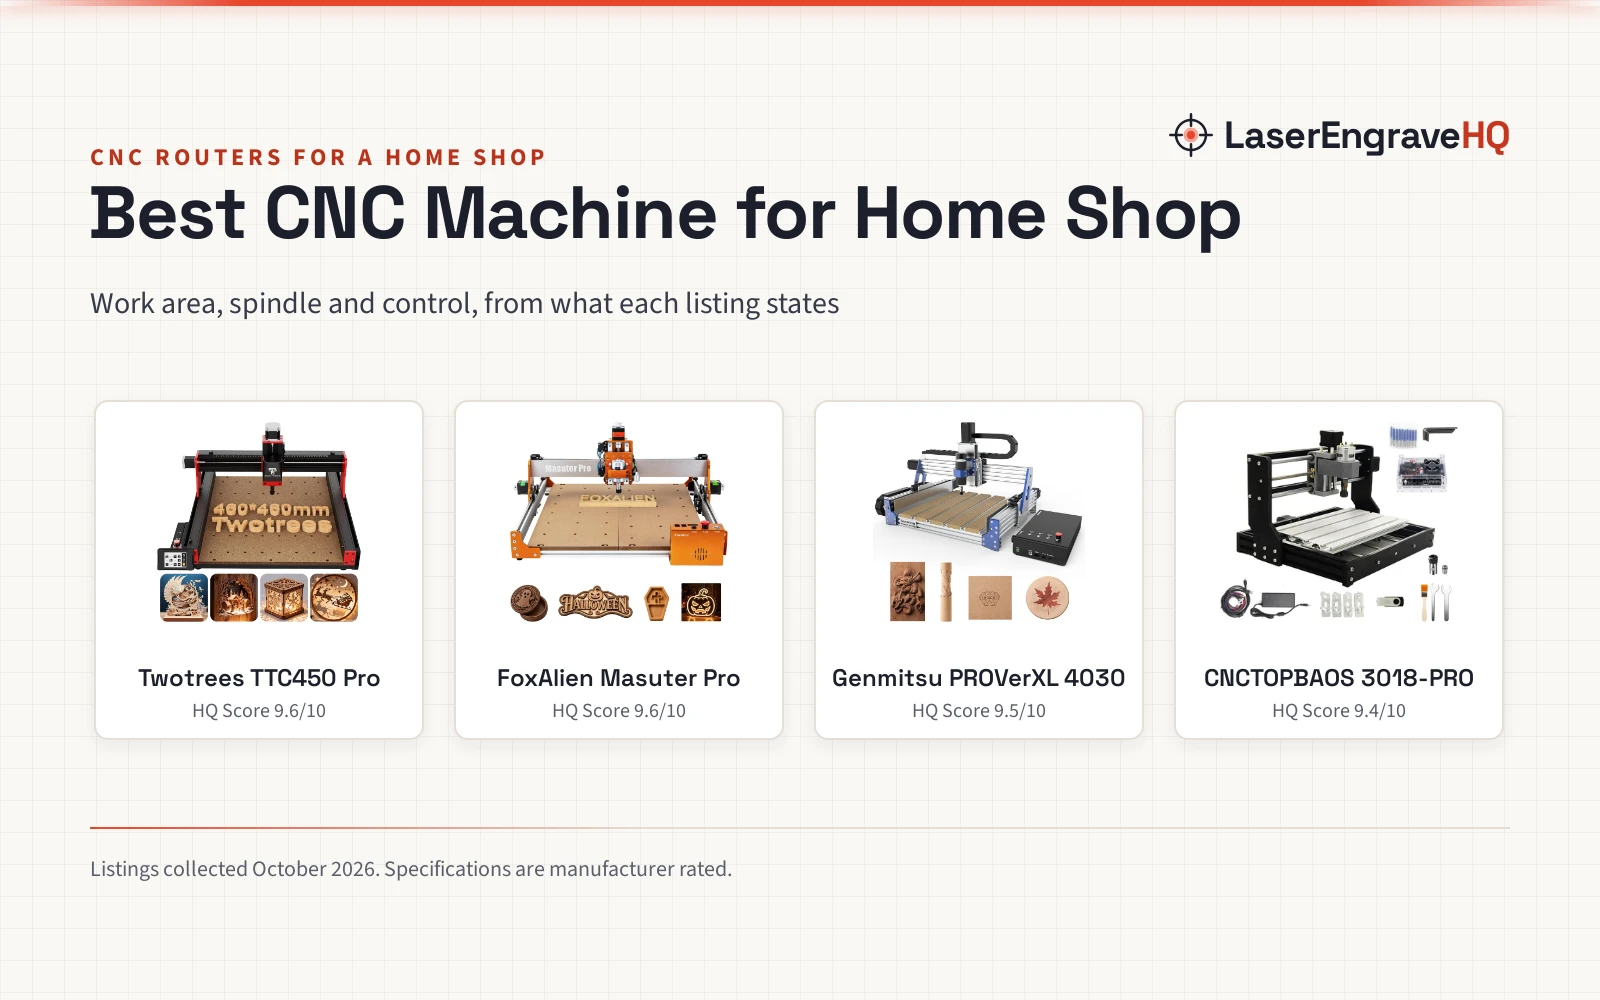
 Twotrees TTC450 Pro All-Metal CNC Router Machine with NEMA 57View on Amazon
A desktop CNC machine for beginners is a compact, computer-controlled router or mill that carves, engraves, and cuts wood, plastics, and soft metals directly on a workbench. Getting started with a desktop CNC machine for beginners comes down to choosing the right spindle power, setting up a safe workspace, learning the CAD to CAM digital workflow, and mastering workholding before your initial cut. The sections below explain each step in order, highlighting the common mistakes that cost new makers time and broken bits.
Other machines to compare
 Genmitsu Cubiko Desktop CNC Router Machine with Enclosure forCheck price on Amazon
 Genmitsu 3018-PROVer V2 CNC Milling Machine for BeginnersCheck price on Amazon
 WECREAT Vista 10W Laser Engraving Machine with 9-in 1 RotaryCheck price on Amazon
 LONGER Ray5 Laser EngraverCheck price on Amazon
 Laser EngraverCheck price on Amazon
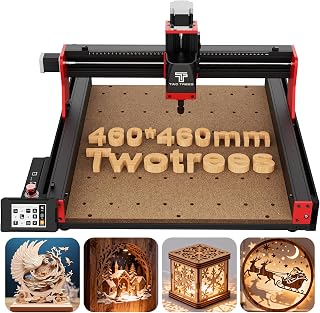 Twotrees TTC450 Pro All-Metal CNC Router Machine with NEMA 57Check price on Amazon
LaserEngraveHQ earns a commission from purchases made through these links, at no extra cost to you. Read our affiliate disclosure.
CNC machining has a steeper initial learning curve than 3D printing because rotating cutters exert real mechanical force against your workpiece. Take time to verify toolpaths and secure workholding before cutting expensive stock.
Step 1: Understand how desktop CNC routers cut
CNC stands for Computer Numerical Control. Unlike 3D printers that build objects by adding material, a CNC router is a subtractive machine. A spinning cutting tool called an end mill removes material from a solid block according to programmed spatial coordinates across three axes: X (left and right), Y (front to back), and Z (up and down).
Hobby machines are typically built as 3-axis units. For example, the Genmitsu 3018-PRO listing specifies a 3-axis format with a 300 x 180 x 45 mm working area, while the RATTMMOTOR 3018-PRO listing specifies a 3-axis machine driven by a 12-volt stepper motor with 0.25 N.m of torque. Advanced machines add rotational capability; for example, the Makera Carvera Air listing documents an optional 4th axis module with a 3.6 inch diameter by 7.9 inch length working envelope for machining cylindrical objects and 3D models.
Step 2: Choose spindle power and frame construction
Spindle power and frame rigidity determine how fast a machine cuts and which materials it can carve. Starter machines use modest DC motors suited for light engraving in soft materials. For example, the Genmitsu 3018-PRO listing notes a 120-watt spindle operating up to 20,000 rpm, and the Genmitsu Cubiko lists a 96-watt spindle running up to 9,000 rpm. These motors handle sign carving in pine, acrylic engraving, and circuit board routing.
Carving hardwoods and non-ferrous metals requires more motor power and a rigid frame. The Genmitsu 3020-PRO Ultra features a 710-watt spindle with 6-speed settings spanning 6,500 to 30,000 rpm, an 1/8-inch ER11 collet, and all-metal construction, with the maker advertising single-pass cuts up to 1.5 mm in aluminum across an 11.8 x 8.1 x 3.1 inch work area. Stepping up in bed size, the Genmitsu PROVerXL 4030S pairs a 710-watt router with a 130 mm Z-height pass clearance, repeatable positioning accuracy of 0.05 mm, and feed speeds up to 5,000 mm/min driven by a 32-bit controller.
Compare starter models in our best desktop CNC for beginners guide. If budget is the primary constraint, our guide to budget CNC routers covers affordable desktop options.
Step 3: Set up a dedicated and clean workspace
CNC machining produces fine dust, flying chips, and continuous noise. Placing your machine on an unstable surface causes frame flex and poor precision, so always use a flat, heavy workbench.
Enclosure design directly affects workshop cleanliness and sound. Fully enclosed desktop machines contain chips and reduce operating noise; for example, the Genmitsu Cubiko includes an integrated enclosure with a safety switch that automatically pauses operation when the cover opens, and the Makera Carvera Air listing specifies a fully enclosed footprint of 19.7 x 17.7 x 17.7 inches. On open-frame routers, upgraded drive electronics can also reduce operational sound; for example, the Genmitsu PROVerXL 4030S listing documents operating sound levels kept under 65 dB through redesigned drive chips.
Every workspace requires essential precautions:
- Eye protection: High-speed end mills can snap if overloaded. Wear safety glasses whenever the spindle is powered.
- Hearing protection: Router motors generate high sound levels during long carving passes.
- Dust collection: Wood dust and chips pack into cut channels if not cleared. Use a vacuum shoe mounted around the spindle.
- Emergency controls: Keep the emergency stop switch accessible to halt motion instantly if a bit binds.
Step 4: Learn the CAD to CAM software workflow
Operating a desktop CNC requires three software steps to turn an idea into physical cuts: design, toolpath generation, and machine control.
First, Computer-Aided Design (CAD) software is where you draw your project. For simple signs, trays, or nameplates, 2D vector drawing programs are sufficient. For dimensional parts and relief carvings, 3D modeling programs define solid geometry.
Second, Computer-Aided Manufacturing (CAM) software converts CAD geometry into toolpaths. In CAM, you select the cutter, set spindle speed and horizontal feed rate, and define depth per pass. The CAM program exports these toolpaths as a G-code file.
Third, a machine controller or G-code sender transfers instructions to your machine motherboard. For example, the Genmitsu 3018-PRO relies on open-source GRBL firmware using Candle control software over USB, while also offering an offline controller. Similarly, the RATTMMOTOR 3018-PRO provides an offline controller reading files from a 1G memory card. The Makera Carvera Air listing integrates dedicated CAM and controller software compatible with Mac OS, Windows, and mobile apps, while accepting toolpaths from Fusion360, SolidWorks, and VCarve Pro.
Step 5: Select tooling bits and compatible materials
Your cutter geometry must match your material and project goals:
- Flat end mills: Clear flat pockets and cut part perimeters. Upcut spirals pull chips upward to clear deep grooves efficiently, while downcut spirals push chips downward toward the bed to leave a clean top edge on plywood and veneers.
- Ball nose end mills: Feature a rounded tip used for smooth 3D contoured surfaces and relief carvings.
- V-bits: Feature an angled tip used for engraving lettering, sign carving, and chamfering edges.
Collet sizing determines compatible cutter shank diameters; for example, the Genmitsu 3020-PRO Ultra listing includes an 1/8-inch ER11 collet. When choosing materials, the Genmitsu 3018-PRO listing cites compatibility with wood, acrylic, PVC, plastic, PCB, and soft aluminum, while the Makera Carvera Air listing covers hardwoods, softwoods, MDF, acrylic, carbon fiber, aluminum, and brass. For bit selection, explore our CNC tooling guide. For substrate characteristics, visit our engraving materials directory.
Step 6: Master workholding and coordinate zeroing
Because a rotating bit exerts lateral cutting force against your material, proper workholding is critical. If your workpiece shifts during a carving pass, the cut will be ruined and the cutter can bind or snap.
Common workholding methods include:
- Clamps and T-tracks: Mechanical clamps secure stock directly to the wasteboard. Ensure clamps clear the spindle carriage path.
- Painter tape and glue: Applying blue painter tape to both the spoilboard and workpiece, then bonding them with glue, holds flat sheet stock without top clamps.
- Double-sided tape: Secures flat boards, though aggressive cuts can dislodge weak adhesives.
Once clamped, establish your Work Coordinate System by zeroing the machine. Setting X and Y zero centers the cutter over your workpiece origin, while setting Z zero locates the stock surface. Automated probing simplifies calibration. For example, the Genmitsu Cubiko includes auto Z-probing to set tool height, while the Makera Carvera Air listing highlights auto-probing and surface leveling with spindle runout under 0.01 mm.
Step 7: Run your first carving and milling job
Once your material is clamped and zeroed, follow a disciplined procedure for your initial run:
- Perform an air cut: Run a dry verification cycle with the toolpath raised safely above the stock, or verify coordinates with a raised Z offset. Confirm the cutter clears all clamps and stays within machine travel limits before engaging the workpiece.
- Set true Z zero on stock: After confirming travel limits, set your working Z zero directly on the workpiece surface.
- Check spindle speed: Ensure the spindle reaches its designated operating speed before the cutter plunges into material.
- Start with shallow passes: Conservative depth per pass reduces tool deflection and chatter. For multi-tool jobs, the Makera Carvera Air listing features a quick tool changer that switches milling bits in 10 seconds.
- Monitor the cut continuously: Listen to the cut. Excessive vibration or chatter indicates depth or feed rates are too aggressive, while smoke or burning indicates rubbing from insufficient feed or chip clearing.
Common mistakes to avoid
- Taking overly aggressive depth passes, causing chatter, rough edge finish, or snapped cutters.
- Failing to tighten clamps securely, allowing lateral cutting pressure to shift the workpiece.
- Setting the Z zero point incorrectly, driving the spinning end mill into the wasteboard or clamps.
- Skipping an air cut above the stock, risking toolpath collisions with hold-down hardware.
- Leaving an active desktop CNC router running unattended during long carving cycles.
- Ignoring dust collection, allowing hot chips to accumulate in deep channels and overheat the bit.
Desktop CNC machine for beginners: the short version
- Select a machine frame and spindle power suited to your preferred materials.
- Place the machine on a rigid, level workbench with eye and hearing protection nearby.
- Design 2D shapes or 3D models in CAD and generate cutting toolpaths in CAM software.
- Secure your stock firmly to the spoilboard using mechanical clamps or tape.
- Set X, Y, and Z zero coordinates accurately at your selected workpiece origin.
- Run an air cut above the stock to verify motion, then confirm true Z zero and complete the cut.
Mastering a desktop CNC machine for beginners requires patient progression from simple profile cutouts in soft wood to multi-tool 3D relief carvings. Tracking your cutting speeds and bit condition on early runs builds the foundation for reliable, repeatable carving projects.
FAQ: lasers and CNC
Is a desktop CNC machine difficult for beginners to learn?
A desktop CNC router has a steeper learning curve than a 3D printer because you must manage cutting forces, bit geometry, and workholding alongside CAD and CAM software. Starting with simple 2D cutout projects in soft pine or MDF helps beginners master core mechanics before moving to complex 3D carvings.
Can a desktop CNC machine cut aluminum and brass?
Yes, provided the machine has sufficient rigidity and power. Starter machines can engrave soft aluminum with shallow passes, while sturdier routers like the Genmitsu 3020-PRO Ultra feature 710-watt spindles with maker-stated single-pass cuts up to 1.5 mm in aluminum when using proper feeds and lubrication.
What software do I need to run a desktop CNC machine?
You need CAD software to draw designs, CAM software to generate toolpaths and output G-code, and a G-code sender to transmit instructions to the machine controller. Many desktop machines run open-source GRBL firmware using Candle over USB, while others offer offline control or dedicated software suites.
What is the difference between a CNC router and a laser engraver?
A CNC router uses a rotating cutter to carve, drill, and pocket solid material mechanically, enabling 3D relief carving and deep joinery. A laser engraver uses a focused optical beam to burn or vaporize surface material without physical contact or hold-down clamping.
Do I need an enclosure for a desktop CNC router?
An enclosure is not required, but it significantly improves workshop cleanliness. Enclosed models like the Genmitsu Cubiko and Makera Carvera Air contain flying chips, capture airborne dust, and lower operating noise levels for home workspaces.
How do I prevent breaking small CNC end mills?
Small end mills snap when overloaded by excessive depth of cut, aggressive feed rates, or recutting packed chips. To prevent tool breakage, use conservative stepdown depths, maintain an appropriate feed rate so cutting edges shear rather than rub, clamp the workpiece rigidly, and clear chips continuously with a vacuum shoe.
Related: the CNC router hub, best desktop CNC for beginners and budget CNC routers. Also see our desktop CNC routers guide. Also see our CNC tooling guide. Also see our how to choose a desktop cnc router. Also see our makera carvera air review. Also see our best cardstock for laser cutting. Also see our stainless vs acrylic tumblers for laser engraving. Also see our 3020 vs 4040 cnc router. Also see our 3040 vs 6040 cnc router. Also see our 3018 vs 6040 cnc router. Also see our best limit switch for shapeoko. Also see our best cnc machine for home shop. Also see our 3020 vs 3040 cnc router.