Low Cost Handheld 3D Scanner: What to Buy
A low cost handheld 3d scanner turns a real object into a printable model. This guide explains accuracy, object size, tracking, software and exports.

On this page
Top picks at a glance
As an Amazon Associate I earn from qualifying purchases.
- 1
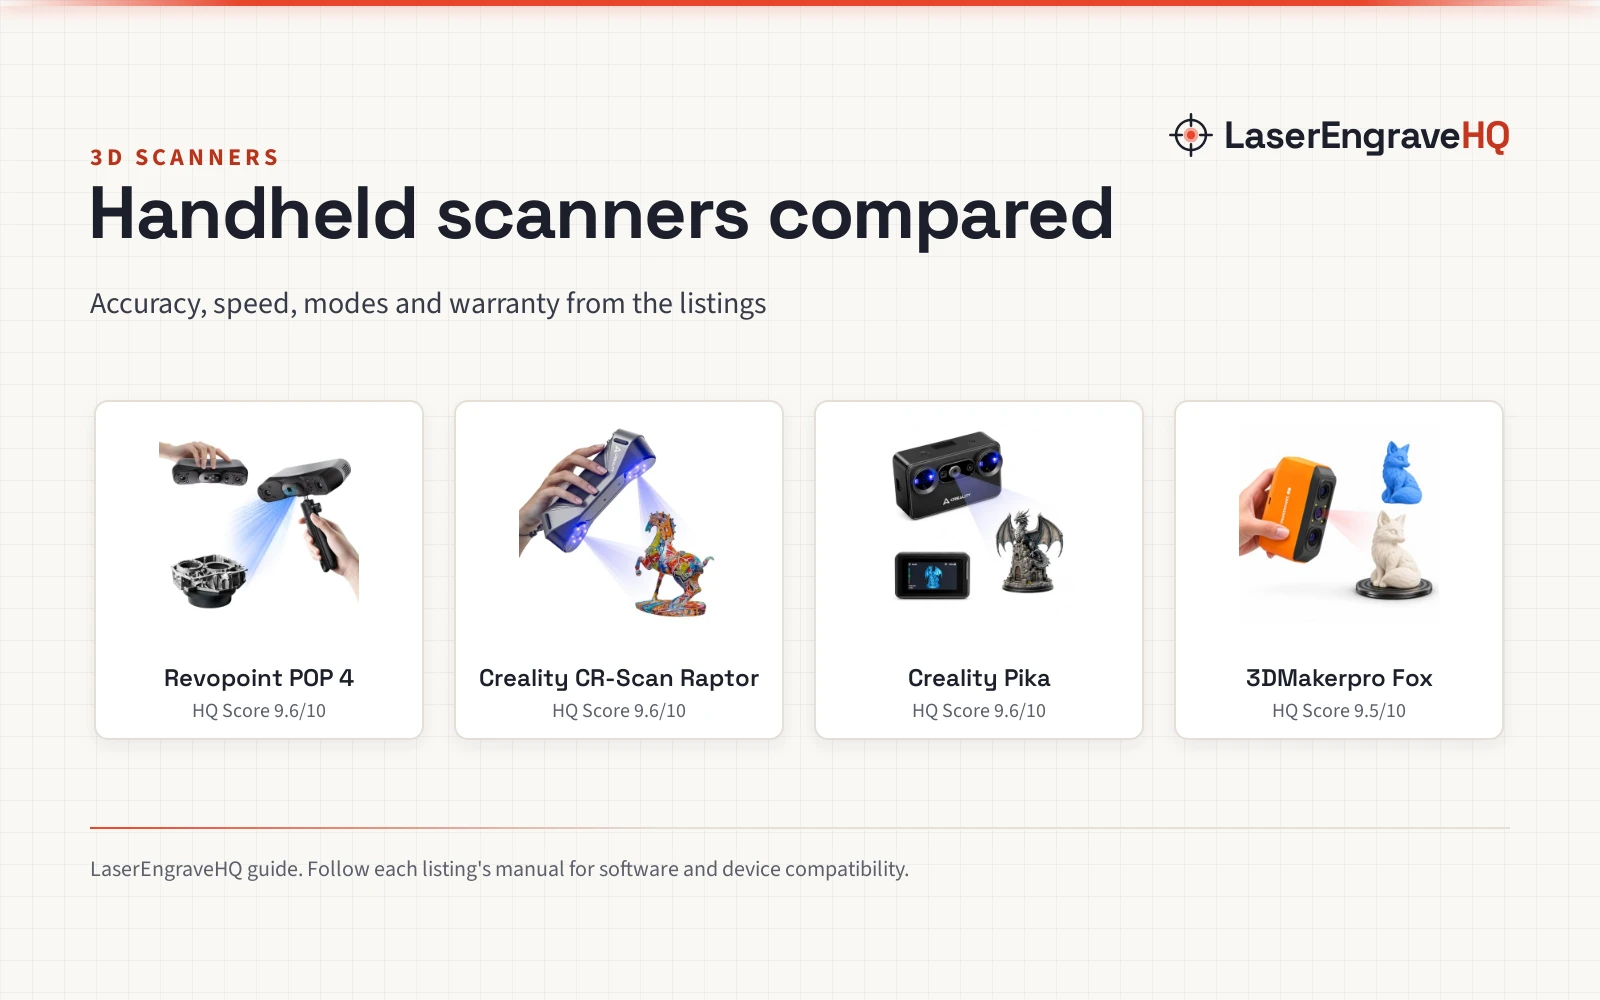
 Creality 3D Scanner CR-Scan Raptor for 3D Printing9.6/10View on Amazon
- 2
 Revopoint INSPIRE 2 3D Scanner9.5/10View on Amazon
- 3
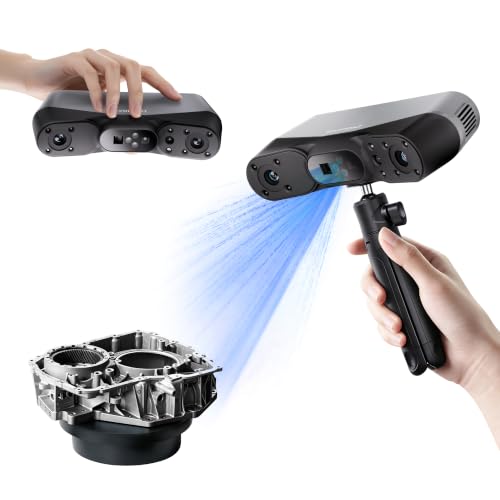 Revopoint POP 4 3D Scanner9.6/10View on Amazon
You want to copy a part, a model or a broken bracket without measuring every curve by hand, and a low cost handheld 3d scanner is the tool that turns the object in front of you into a digital model you can print, edit or archive. At this end of the market the scanner is a small handheld unit you move around the object while software stitches the views together, so the choice comes down to stated accuracy, the object sizes the maker covers, tracking help, and the computer and file formats behind it.
LaserEngraveHQ earns a commission from purchases made through these links, at no extra cost to you. Read our affiliate disclosure.
low cost handheld 3d scanner: what to check first
Start with the object, not the scanner. A small mechanical part, a collectible figure and a car component ask for different scan sizes and different detail, and the makers in this class state those figures in millimetres. Next, check what the scanner needs from you: a computer, a phone, steady movement around the object, and software that turns raw views into a clean mesh. Then check the files at the end, because a scan you cannot open in your printer or CAD workflow is only a picture. Our how to use a 3D scanner guide walks through the basic moves, and the 3D scanner price guide explains what changes with budget.
Accuracy and resolution figures
Accuracy and resolution are different figures, and makers state both. Creality states up to 0.1mm accuracy and 0.16mm resolution for the CR-Scan Ferret Pro. The 3DMakerpro Seal Lite states accuracy of 0.02mm with a minimum point spacing of 0.07mm. The Fox scanner states up to 0.07mm accuracy and 0.10mm resolution, and the 3DMakerpro Moose Lite (on Amazon) states up to 0.05mm accuracy and 0.1mm resolution. Read those as maker figures for the stated conditions, and match them to the job: fine surface detail on a small part asks more of the scanner than a rough shape you will scale and print as a prop. For small work, see our 3D scanner for small parts guide.
Speed figures sit beside accuracy. Creality states 30FPS high-speed scanning for the Ferret Pro, the Moose Lite states up to 10fps, and the Seal Lite states a scanning rate of 100,000 points per second. A faster stated rate can help when you move around larger objects, while a slower rate can ask for slower, steadier passes. None of those figures removes the need for overlap between views, because the software still has to align what the scanner saw.
Object size and working distance
Object size is stated as a range. The Fox scanner states objects ranging from 40mm to 1200mm, covering mechanical parts, collectibles, figurines, shoes, sculptures and tools in its own list. The Moose Lite states objects measuring approximately 15mm to 1500mm, with a recommended working distance of 150 to 400mm. Working distance matters in practice: stand too close or too far and the scanner can lose the surface, so a stated distance range tells you how much room to leave around the object on the bench. Weight matters too on longer scans. The Seal Lite states 225g and the Fox states 210g, so both makers present light handheld units for extended sessions.
Tracking, surfaces and light
Tracking is how the software knows where the scanner is. Creality states anti-shake tracking with one-shot imaging for the Ferret Pro, the Seal Lite states anti-shake lenses and optical stabilization, and the Fox states AI visual tracking that reduces the need for markers or stickers and re-locks onto scanned areas after an interruption. The Moose Lite states scan-back and anti-shake functions for handheld use. In plain terms, better tracking help can mean fewer lost views when your hand moves or the object shifts.
Surfaces and light decide how much preparation you do. Creality states the Ferret Pro captures dark, metallic and matte surfaces without scanning spray, and states outdoor scanning up to 30,000 lux. The Fox states its NIR optical system performs well on many matte dark and low-reflective surfaces. The Seal Lite states 9 levels of light adjustment for low-light conditions and different colors and materials. The Moose Lite states indoor scanning is recommended for more consistent performance. Read those as maker statements for their own units, and plan a clean, matte, well-lit setup when the maker gives no such statement. For vehicle work, see our 3D scanner for car parts guide.
Software, exports and computer needs
The software does the heavy lifting after the scan. The Seal Lite, the Fox and the Moose Lite each name JMStudio, with visual tracking, alignment and mesh steps described by their makers, and each states export in OBJ, STL, PLY or ASC formats. Creality states full-color scanning at 24-Bit for the Ferret Pro and WiFi 6 wireless transmission. Check the computer side before you buy: Creality states Windows, Mac OS and Android or iOS support with stated RAM needs, while the JMStudio units state Windows and macOS support. A scanner that needs a stronger computer than you own can feel slow in use.
How a scan becomes a print
The workflow is steady rather than clever. Place the object on a stable surface with room to walk around it, start the scan, and move the scanner in slow overlapping passes so each new view shares surface with the last. Watch the live preview for holes and lost tracking, then fill gaps with extra passes before you stop. In the software, align the views, fuse the point cloud, clean stray points, and build the mesh. Export in a format your slicer or CAD tool opens, check scale against a known dimension on the real object, and only then slice for printing. Our 3D scanner for beginners guide covers the first scan to print run in order.
Common mistakes to avoid
- Moving too fast and leaving holes the software cannot fill.
- Scanning a shiny or dark surface without checking what the maker states for that surface.
- Skipping the scale check before printing the mesh.
- Buying for accuracy alone while ignoring object size, working distance and computer needs.
- Expecting the raw scan to print cleanly without alignment and cleanup in the software.
FAQ: lasers and CNC
What accuracy do low cost handheld scanners state?
Makers state different figures. Creality states up to 0.1mm accuracy for the Ferret Pro, the Seal Lite states 0.02mm, the Fox states up to 0.07mm, and the Moose Lite states up to 0.05mm. Compare the stated figure with the detail your part needs.
What object sizes can these scanners cover?
The Fox states objects from 40mm to 1200mm, and the Moose Lite states objects from 15mm to 1500mm with a working distance of 150 to 400mm. Match the stated range to the largest object you plan to scan.
Do these scanners need markers or spray?
It depends on the unit. The Fox states marker-free scanning with AI visual tracking, and Creality states the Ferret Pro captures dark, metallic and matte surfaces without scanning spray. Check the maker statement for the surface you scan most.
What files do the scans export?
The Seal Lite, the Fox and the Moose Lite each state export in OBJ, STL, PLY or ASC formats through JMStudio. Pick the format your slicer or CAD tool opens, and keep the raw project so you can export again later.
Can I scan outdoors?
Creality states the Ferret Pro supports outdoor scanning up to 30,000 lux. The Moose Lite states indoor scanning is recommended for more consistent performance. Follow the maker statement for your unit and keep the light steady either way.
Related: the 3D printers hub, how to use a 3D scanner and 3D scanner for beginners.