Low Cost 3D Scanning: Budget Scanner Options
Low cost 3d scanning starts with the object you want to copy, then a scanner that fits its size, a computer that can run the software, and a file your printer can use.

On this page
Top picks at a glance
As an Amazon Associate I earn from qualifying purchases.
- 1
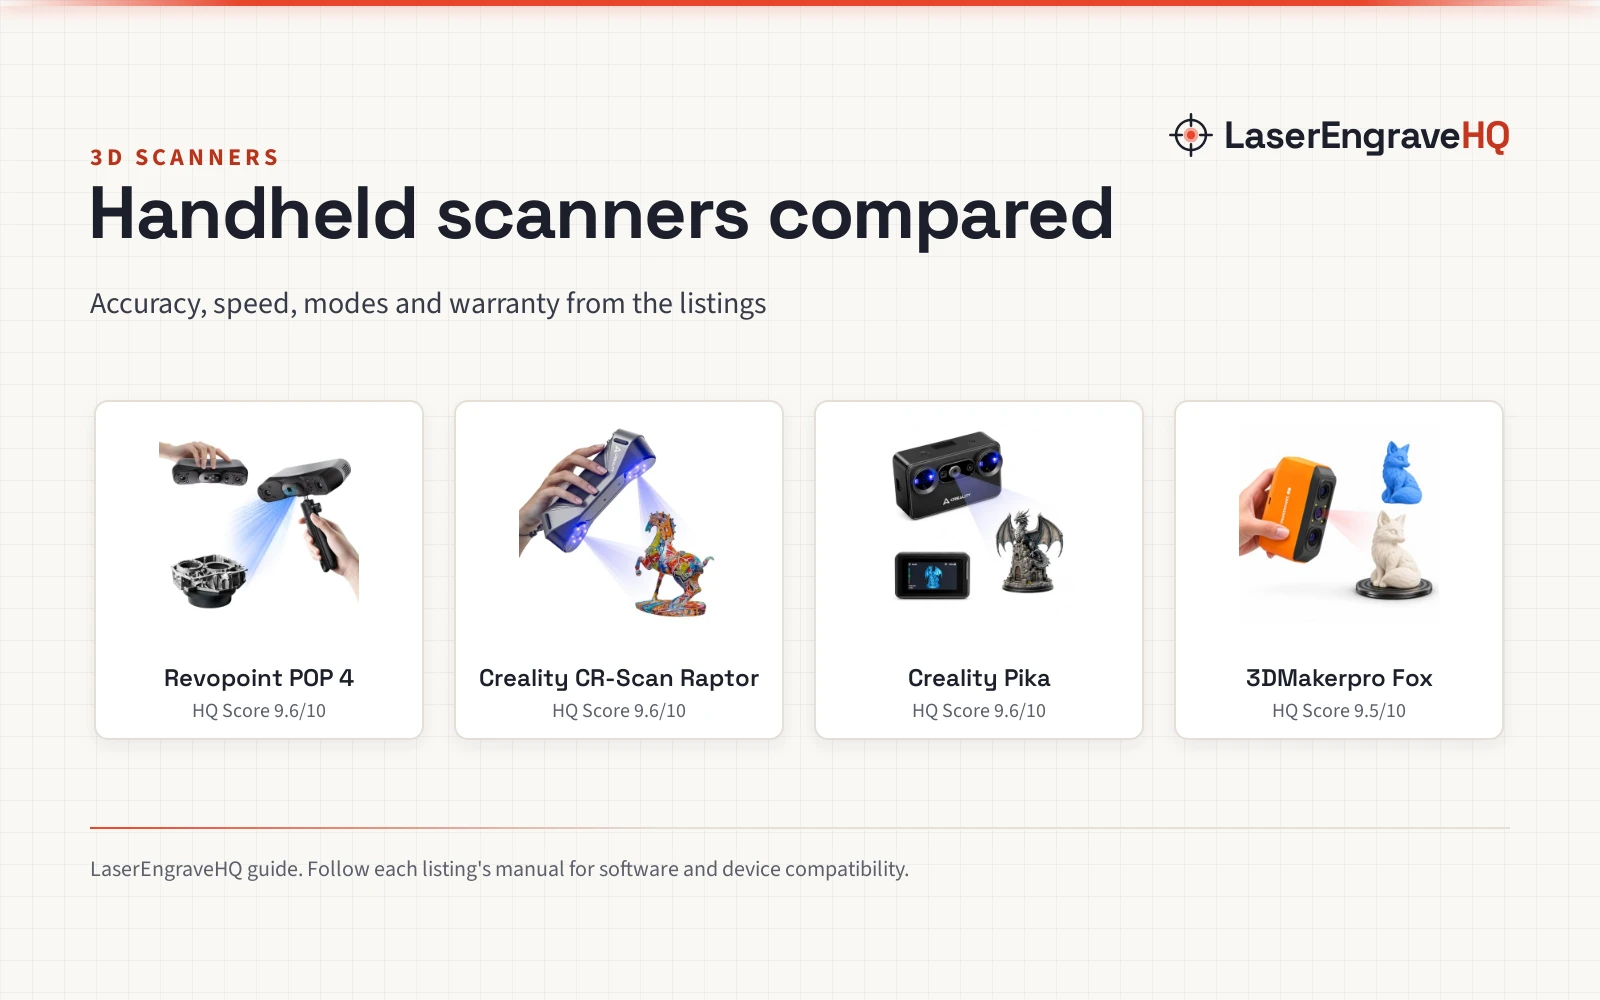
 Creality 3D Scanner CR-Scan Raptor for 3D Printing9.6/10View on Amazon
- 2
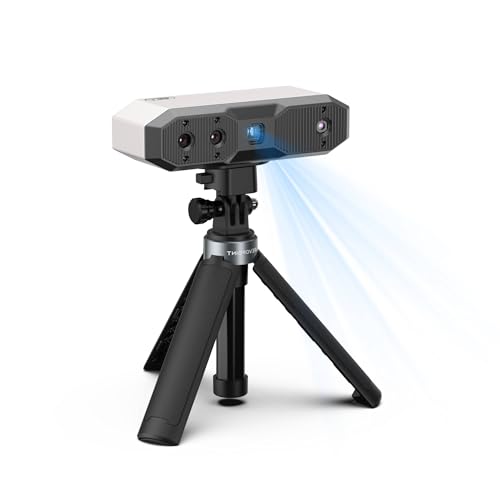 Revopoint MINI 2 3D Scanner9.6/10View on Amazon
- 3
 Revopoint MINI 2 3D Scanner9.6/10View on Amazon
Low cost 3d scanning starts with the object you want to copy, not the scanner: a small figurine, a car part, a face or a whole chair need different machines, and the low-cost way in is the scanner that fits the size in front of you. A handheld scanner and a laptop can turn that object into a file your printer can use. The sections below walk through size, accuracy, computer and export, in order.
LaserEngraveHQ earns a commission from purchases made through these links, at no extra cost to you. Read our affiliate disclosure.
Makers state accuracy as a single figure, and the number changes with the object, the light and the distance. Treat it as a starting point, and check the listing for the conditions behind it. One listing in this guide states two figures for the same scanner, so read both before you compare.
Step 1: Pick the size of the object first
Size decides the scanner. The 3DMakerpro Fox scans objects from 40 to 1200 mm, the Moose Lite covers about 15 mm to 1500 mm, and the Creality Raptor covers 5 mm to 2000 mm. The Revopoint RANGE 3 goes further, with a maximum scanning volume of 4 x 4 x 4 m, while the Creality Sermoon P1 ranges from 5 mm cubes to 4000 mm cubes. The Otter Lite captures objects as small as 20 mm x 20 mm x 20 mm, and the POP3 Plus covers medium-sized objects from 20 x 20 x 20 mm to 2 x 2 x 2 m.
Pick the size before you look at accuracy or speed. A scanner that tops out at 1200 mm will not cover a 4 m sculpture, so check the size range against the object in front of you.
Step 2: Compare accuracy, and read the fine print
Accuracy is the figure makers quote, and the low-cost range runs from 0.1 mm to 0.02 mm. The Creality CR-Ferret SE lists 0.1 mm precision, the 3DMakerpro Fox lists up to 0.07 mm, and the Moose Lite and the Revopoint RANGE 3 list up to 0.05 mm accuracy. The Otter Lite lists 0.05 mm resolution, and its listing ties that figure to accuracy. The Raptor and the Sermoon P1 list 0.02 mm, the sharpest figure in this guide.
Read the fine print before you compare. The Revopoint POP3 Plus (on Amazon) title lists 0.04 mm while its bullets say the scanner stays within 20 microns of accuracy, so one listing states two figures for the same scanner.
Resolution is a separate figure: the Moose Lite lists 0.1 mm resolution beside its 0.05 mm accuracy, and the Otter Lite lists 0.05 mm resolution. A fine accuracy figure does not guarantee fine detail on every surface.
Step 3: Check the computer before you buy
Most of these scanners need a computer, and the software sets the bar. The Moose Lite listing warns that it needs a relatively powerful PC for smooth scanning, and the Fox listing warns to check the minimum system requirements for JMStudio. The POP3 Plus software runs only on x86_64 architecture, so check your machine before you buy.
The Otter Lite lists a recommended Windows setup of an i7-Gen7 CPU and above, an Nvidia or AMD graphics card and 16 GB RAM or higher, with a minimum of an i5-Gen8 CPU and 8 GB RAM or higher on Windows 10 or 11. On macOS it lists 11.7.7 and above with Apple M1, M2 or M3 processors and 16 GB RAM or higher. The Sermoon P1 lists a recommended Windows setup of an i7-Gen10 CPU with 8 GB video RAM and 32 GB RAM, with a minimum of an i7 13th Gen CPU with 6 GB video RAM and 16 GB RAM.
The Raptor lists a CPU of 8 cores or more, 16 threads or more and a base frequency of 2.4 GHz or more. The Sermoon P1 is the exception here: it runs with no cables and no computer needed, on its own 6 inch touch screen.
Step 4: Set up the scan indoors, at the right distance
Light and distance decide whether the scan tracks. The Fox and the Moose Lite both recommend indoor scanning, at a working distance of 150 to 400 mm. The Otter Lite lists a close range of 100 to 200 mm and a long range of 250 to 1500 mm, and the RANGE 3 lists a working distance of 200 to 1,000 mm.
Outdoor scanning is the exception, not the rule. The RANGE 3 supports up to 100,000 lux of ambient light outdoors, and the Raptor works outdoors up to 30,000 lux. The Sermoon P1 lists sunlight compatibility with two replaceable batteries.
Dark, shiny and see-through surfaces are the hard cases. The Ferret SE scans black, dark or metallic objects without spray or markers, and the Raptor scans black and metallic objects with minimal need for powder coating. The Fox asks for scanning spray on transparent, black or flat surfaces without geometric features.
Step 5: Scan, then export a file your printer can use
The Otter Lite exports OBJ, STL and PLY, the Fox and the Moose Lite export OBJ, STL, PLY and ASC through JMStudio, and the Revopoint scanners export PLY, OBJ, STL, ASC, 3MF, GLTF and FBX. The RANGE 3 also exports Splat for 3D Gaussian Splatting models.
The Fox uses geometry tracking with AI visual algorithms and needs no marker stickers, the RANGE 3 uses feature and color tracking, and the POP3 Plus adds a Global marker tracking mode. The Otter Lite kit includes a turntable, a calibration board, markers and a carrying case.
A faster frame rate steadies a handheld scan. The POP3 Plus scans at up to 18 fps, the Moose Lite at up to 10 fps, the Otter Lite and the RANGE 3 at up to 30 fps, the Raptor at up to 60 fps, and the Sermoon P1 at 100 fps. A faster frame rate steadies a handheld scan. The POP3 Plus lists a 9-axis IMU, the Moose Lite lists anti-shake functions, and the Ferret SE lists anti-shake technology.
Common mistakes to avoid
- Buying for accuracy alone. A 0.02 mm figure means little if the scanner cannot cover the size of the object in front of you.
- Skipping the computer check. The Moose Lite listing warns that it needs a relatively powerful PC, and the POP3 Plus software runs only on x86_64 architecture.
- Scanning outdoors on a bright day. The Fox and the Moose Lite recommend indoor scanning, and only the RANGE 3 and the Raptor list outdoor light limits.
- Scanning a black or transparent surface with no preparation. The Fox asks for scanning spray on transparent, black or flat surfaces without geometric features.
- Forgetting the export step. A scan that cannot leave the software as an OBJ, STL or PLY file will not reach the printer.
Low cost 3d scanning: the short version
- Pick the size of the object first.
- Compare accuracy figures, and read the fine print behind them.
- Check the computer against the software requirements.
- Scan indoors, at the working distance the listing states.
- Export the scan as an OBJ, STL or PLY file for printing.
Everything after that is repetition: scan, check the file, and print a small piece first to confirm the fit.
FAQ: lasers and CNC
What accuracy can a low-cost 3D scanner reach?
The listings in this guide run from 0.1 mm on the CR-Ferret SE to 0.02 mm on the Raptor and the Sermoon P1. The Fox lists up to 0.07 mm, and the Moose Lite and the RANGE 3 list up to 0.05 mm accuracy. The Otter Lite lists 0.05 mm resolution, which its listing ties to accuracy. Treat each figure as a starting point: the result also depends on the object, the light and the distance.
Do I need a powerful computer to scan?
Most of these scanners need one. The Moose Lite listing warns that it needs a relatively powerful PC for smooth scanning, and the Otter Lite lists a recommended Windows setup of an i7-Gen7 CPU and above with 16 GB RAM or higher. The Sermoon P1 is the exception: it runs with no cables and no computer needed.
Can I scan outdoors?
Only with a scanner that lists it. The RANGE 3 supports up to 100,000 lux of ambient light outdoors, the Raptor works outdoors up to 30,000 lux, and the Sermoon P1 lists sunlight compatibility. The Fox and the Moose Lite recommend indoor scanning.
What file formats can I export for 3D printing?
STL, OBJ and PLY are the common export formats in this guide. The Fox and the Moose Lite add ASC through JMStudio, and the Revopoint scanners add 3MF, GLTF and FBX. Pick the format your slicer accepts.
Can a low-cost scanner scan a black or shiny object?
Some can. The Ferret SE scans black, dark or metallic objects without spray or markers, and the Raptor scans black and metallic objects with minimal need for powder coating. The Fox asks for scanning spray on transparent, black or flat surfaces.
How heavy is a handheld 3D scanner?
The Ferret SE weighs 105 g, the POP3 Plus weighs 190 g, the RANGE 3 weighs about 220 g and the Otter Lite weighs 235 g. All four are light enough to hold in one hand for a handheld scan.
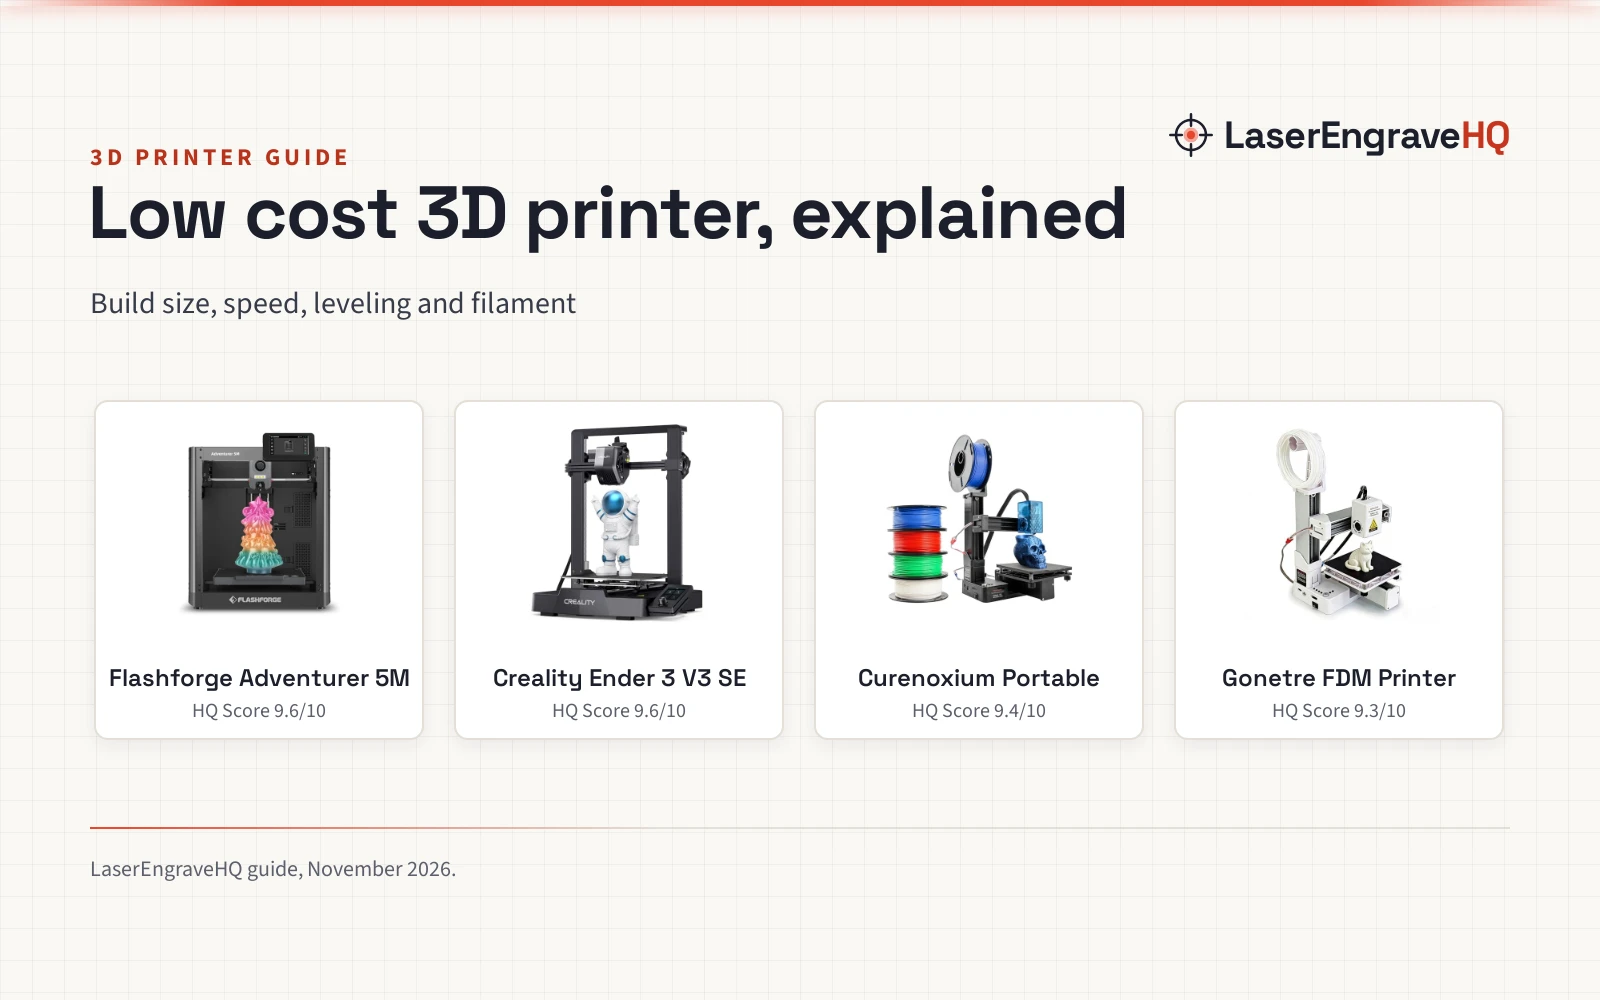
Related: the 3D scanner vs iPhone LiDAR guide, our best laser scanner for 3D printing picks, our low cost 3D printer guide and our 3D printers hub.