How to Use CO2 Laser Cutting Machine: A Step-by-Step Workshop Guide
A step-by-step workshop guide on how to use a CO2 laser cutting machine safely: connect cooling, exhaust fumes, align mirrors, set focus and execute clean cuts.

On this page
Top picks at a glance
As an Amazon Associate I earn from qualifying purchases.
- 1
 OMTech 100W CO2 Laser Engraver with 4 Way Pass Through Air9.7/10View on Amazon
- 2
 VEVOR 50W CO2 Laser Engraver9.6/10View on Amazon
- 3
 VEVOR 60W CO2 Laser Engraver9.6/10View on Amazon
- 4
 OMTech K40+ 45W CO2 Laser Engraver & Cutter with Rotary AxisView on Amazon
- 5
 TEN-HIGH 40W CO2 Laser Tube 700mm D50mmView on Amazon
- 6
 Puikos Honeycomb Laser Bed 400 x 400 mm Working Table ForView on Amazon
- 7
 Longer Honeycomb Working TableView on Amazon
- 8
 Cloudray Mo Mirror Dia 25mmView on Amazon
- 9
 TEN-HIGH 60W CO2 Laser Tube 1000mm D50mmView on Amazon
Learning how to use co2 laser cutting machine hardware requires mastering core workshop phases: setting up exhaust ventilation, establishing water cooling, aligning mirrors, setting focal distance and dialing in cutting parameters. A CO2 laser cuts organics and acrylic by focusing an infrared beam through reflective mirrors onto the workpiece. Following an orderly workflow protects optics, prevents fires and produces clean cuts.
Other machines to compare
 OMTech K40+ 45W CO2 Laser Engraver & Cutter with Rotary AxisCheck price on Amazon
 TEN-HIGH 40W CO2 Laser Tube 700mm D50mmCheck price on Amazon
 Puikos Honeycomb Laser Bed 400 x 400 mm Working Table ForCheck price on Amazon
 Longer Honeycomb Working TableCheck price on Amazon
 Cloudray Mo Mirror Dia 25mmCheck price on Amazon
 TEN-HIGH 60W CO2 Laser Tube 1000mm D50mmCheck price on Amazon
LaserEngraveHQ earns a commission from purchases made through these links, at no extra cost to you. Read our affiliate disclosure.
Never operate a CO2 laser cutter unattended. The focused beam can ignite materials rapidly, and exhaust ventilation must run continuously during every cutting cycle to clear smoke and fumes.
Step 1: Inspect the workspace and ventilation setup
Operating a CO2 laser requires a sturdy bench and an exhaust path outside. Review our guide on how to vent a CO2 laser outside, install a unit from our fume extractor guide, or compare blowers in our exhaust fan guide.
Space needs depend on bed capacity. OMTech lists a desktop K40+ model with a 12 by 8 inch work area. In comparison, VEVOR lists an 80W machine with a 20 by 28 inch bed, a 100W unit with a 24 by 35 inch bed, and a 130W model with a 55 by 35 inch bed. Ensure clear room for ducting and emergency stop access. Keep a fire extinguisher within reach and review our laser safety checklist before powering on.
Step 2: Connect water cooling and check circulation
A CO2 laser relies on a gas-filled glass tube that generates heat during operation. Water must circulate constantly through the jacket while powered on. Operating without coolant flow can destroy the tube within moments.
Cooling setups differ across packages. OMTech bundles a CW-3000 water chiller with its 45W model, while VEVOR equips its 55W desktop unit with an internal water pump and lists a tube life of 3,500 hours. For higher production, OMTech lists a 90W unit and VEVOR lists a 130W unit, with both makers stating a tube life of 8,000 hours. Read our CO2 laser water chiller guide and our article on how long CO2 laser tubes last. Use distilled water and confirm flow before firing.
Step 3: Check mirror alignment and clean the optics
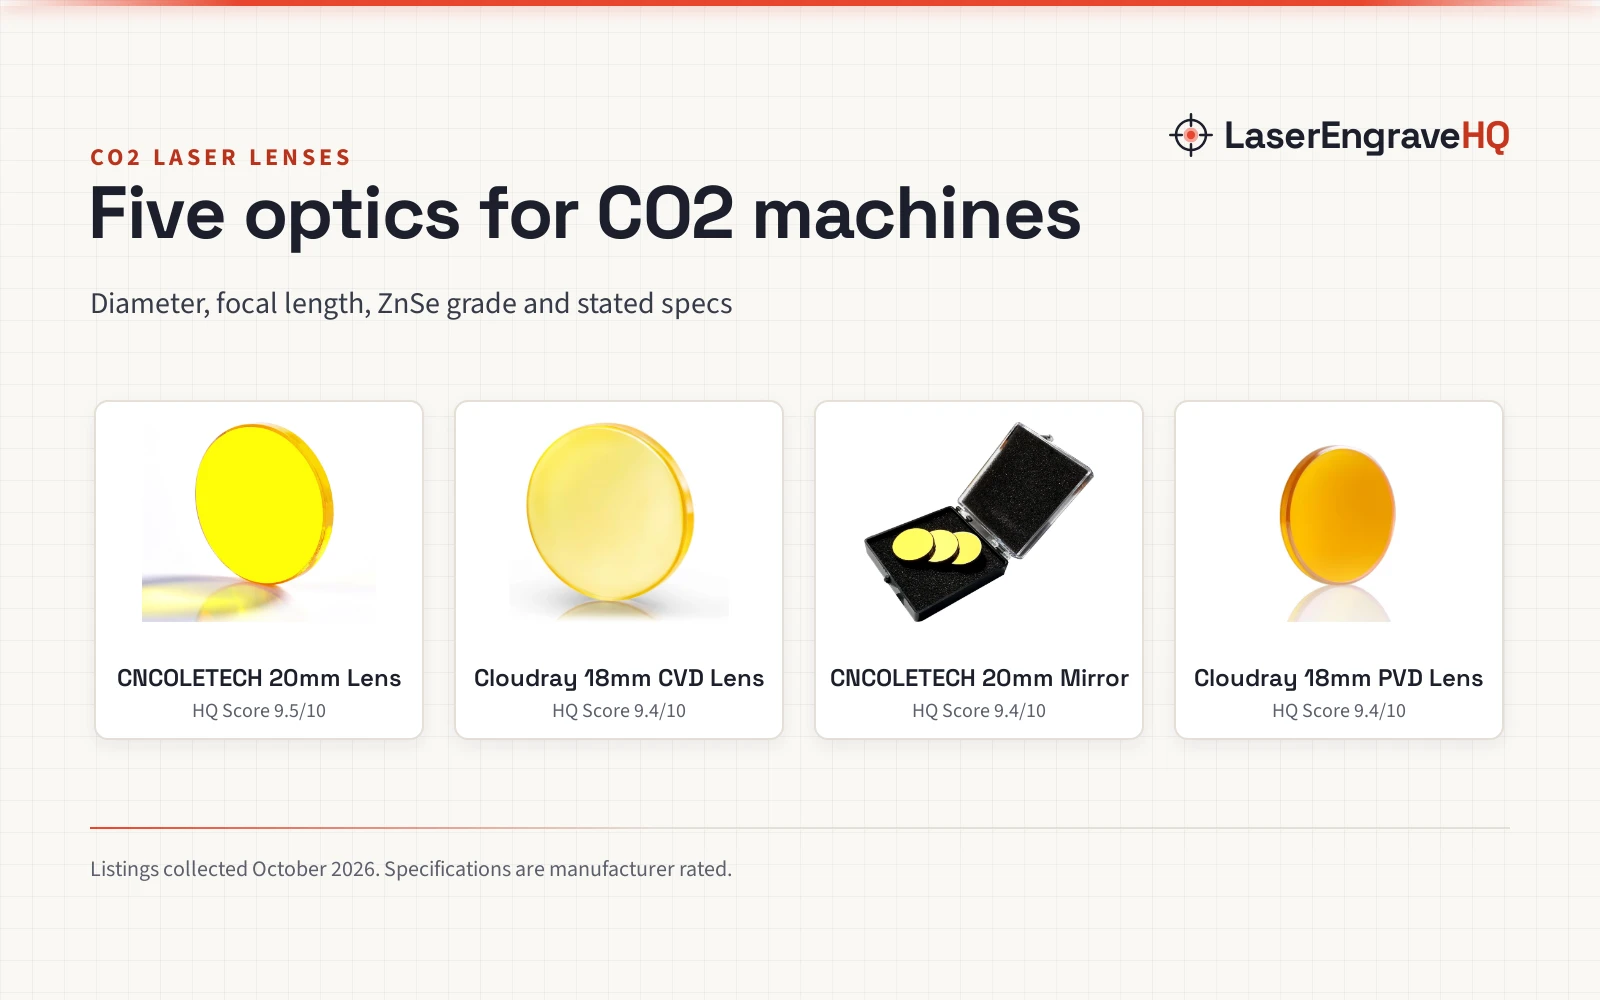
The CO2 beam reflects off mirrors before passing through a focusing lens in the laser head. Misaligned mirrors cause power loss or off-center cuts. Learn the alignment process in our guide on how to align mirrors on a CO2 laser.
Confirm the beam hits the same target spot on the gantry mirror at near and far Y-axis positions. Next, verify it strikes the center of the head mirror across the X-axis carriage travel, dropping vertically through the lens and nozzle tip. Clean mirrors and lenses with isopropyl alcohol following our CO2 laser maintenance checklist to remove smoke residue.
Step 4: Prepare the workpiece and confirm material safety
Never cut PVC, vinyl, PVC-based artificial leather, polycarbonate or ABS plastic on a laser cutter. Vinyl and PVC release chlorine gas and acid fumes that corrode rails and optics, polycarbonate flames up, and ABS emits toxic vapors. OSHA and FDA CDRH guidelines require proper ventilation to evacuate fumes outside. Review our guide on materials you should never laser cut before loading unfamiliar stock.
Safe stock includes plywood, hardwoods, cast acrylic, leather and paper. Secure sheets flat on the honeycomb bed with pins. Apply masking tape and check our guide on how to prevent burn marks when laser cutting wood. For acrylic, use our guide on how to laser cut acrylic without melting edges to achieve flame-polished edges.
Step 5: Set the focal distance to the material surface
Precise focal distance is essential for narrow kerfs and full penetration. If the nozzle sits too high or too low, the beam diameter expands, reducing cutting power and scorching edges.
Manual setups use an acrylic spacer gauge between the nozzle lip and the material surface, adjusting bed height until it contacts the nozzle. Advanced models automate this process: OMTech features motorized autolift beds with autofocus on its 90W machine, while VEVOR includes autofocus and a 5 MP camera on its 55W desktop unit. Confirm the air assist nozzle points at the cut point to blow away vaporized smoke and suppress flame.
Step 6: Configure software layers and run calibration cuts
Connect via USB or network cable. Programs like LightBurn and RDWorks organize vector paths and assign cut parameters by layer color. Always cut inner holes before outer outlines so stock remains stable.
Specifications vary across models. OMTech states its 45W model slices through 8 mm wood and 10 mm acrylic, listing engraving speeds reaching up to 300 mm/s. In comparison, VEVOR lists its 55W model for cutting wood up to 5 mm and acrylic up to 7 mm, with rated speeds up to 500 mm/s. For production shops, OMTech specifies its 90W unit for speeds up to 600 mm/s and VEVOR specifies its 130W unit up to 1200 mm/s. Slower speeds are necessary when cutting thick stock. Run a small calibration cut on scrap material to confirm penetration, and verify air assist is active to protect optics.
Step 7: Execute the job and monitor the cutting process
Certified laser safety eyewear is required whenever beam exposure is possible. Eyewear protects only if it states an optical density and wavelength range matching the CO2 beam. Unrated shields offer no protection. Review our guide on laser classes explained for classification details.
Enclosures vary by model. VEVOR lists its enclosed 80W unit under Laser Class 1, while OMTech lists its K40+ as Laser Class 2 with 0.827 mW output power, and VEVOR lists its 130W machine as Laser Class 4. Close the lid, press start and monitor the cut through the viewing window. Allow the exhaust fan to evacuate lingering fumes before opening the lid.
Common mistakes to avoid
- Operating without active water circulation or chiller cooling.
- Cutting prohibited PVC, vinyl, polycarbonate or ABS stock.
- Neglecting air assist, causing scorched edges and lens contamination.
- Cutting with dirty or misaligned mirrors.
- Leaving the machine running unattended.
How to use co2 laser cutting machine: the short version
- Set up exterior exhaust ventilation and position a fire extinguisher nearby.
- Connect the water chiller, confirming steady flow through the tube.
- Align optical mirrors to strike the center of the laser head.
- Secure flat, laser-safe stock to the honeycomb bed with pins.
- Set the focal distance using a stepped spacer gauge.
- Import vector artwork and run a sample calibration cut.
- Close the lid, activate air assist and monitor the cutting job.
For machine options, see our best CO2 laser cutter for home use, our best laser engraver for small business guide, and how to choose a laser engraver.
FAQ: lasers and CNC
Can a CO2 laser cutter cut clear acrylic?
Yes. Acrylic absorbs infrared light efficiently. The beam cleanly vaporizes the plastic along the cut line, leaving smooth, flame-polished edges without extra polishing.
What materials should never be cut with a CO2 laser?
Never cut PVC, vinyl, faux leather made with PVC, polycarbonate or ABS. Heating PVC and vinyl releases corrosive chlorine gas, polycarbonate catches fire, and ABS produces toxic vapors.
Do I need water cooling for a CO2 laser cutting machine?
Yes. Glass CO2 laser tubes require continuous water circulation to prevent overheating and thermal stress. Running without coolant can destroy the tube rapidly.
How does a CO2 laser differ from a diode laser for cutting?
A CO2 laser cuts clear acrylic, wood and leather faster and at greater thicknesses than diode units. Compare technologies in our guide on diode vs CO2 laser.
Why are my cuts charred or failing to penetrate the material?
Incomplete penetration stems from dirty optics, misaligned mirrors, incorrect focal height or inadequate air assist. Clean optics, check alignment and confirm strong air pressure at the nozzle.
Do I need dedicated laser safety glasses with an enclosed CO2 machine?
Class 1 enclosed machines contain the beam during normal closed-lid cuts. However, certified eyewear is required during mirror alignment, maintenance and open pass-through operation, with optical density matching CO2 wavelengths.
Related: the laser engraver hub, our overview on what is a CO2 laser engraver and our complete best CO2 laser cutter for home use guide.