How to Vent a CO2 Laser Outside: A Practical Setup Guide
A practical step-by-step guide to venting a CO2 laser outside safely, covering duct routing, exhaust fan sizing, window vent sealing, and backdraft prevention.

On this page
Top picks at a glance
As an Amazon Associate I earn from qualifying purchases.
- 1
 xTool P3 80W Flagship CO2 Laser Cutter with Intelligent9.7/10View on Amazon
- 2
 OMTech 100W CO2 Laser Engraver with 4 Way Pass Through Air9.7/10View on Amazon
- 3
 xTool P2S 55W CO2 Laser Cutter9.7/10View on Amazon
- 4
 Brilliance Laser Inks Black Metal Liquid-Ready Laser MarkingView on Amazon
- 5
 Brilliance Laser Inks Copper-Tone Red Liquid-Ready MarkingView on Amazon
- 6
 CO2 Laser Lens 20mm FL:2.5" or 63.5mm Mirror ZnSe Focus FocalView on Amazon
- 7
 Cloudray CO2 Laser Lens Dia 20mm FL50.8mm Mirror Focal LensView on Amazon
- 8
 Colored Acrylic Sheets 12 x 12 InchView on Amazon
- 9
 MCWlaser CVD ZnSe Focus Lens Dia: 20mm FL: 2"/ 50.8mm for CO2View on Amazon
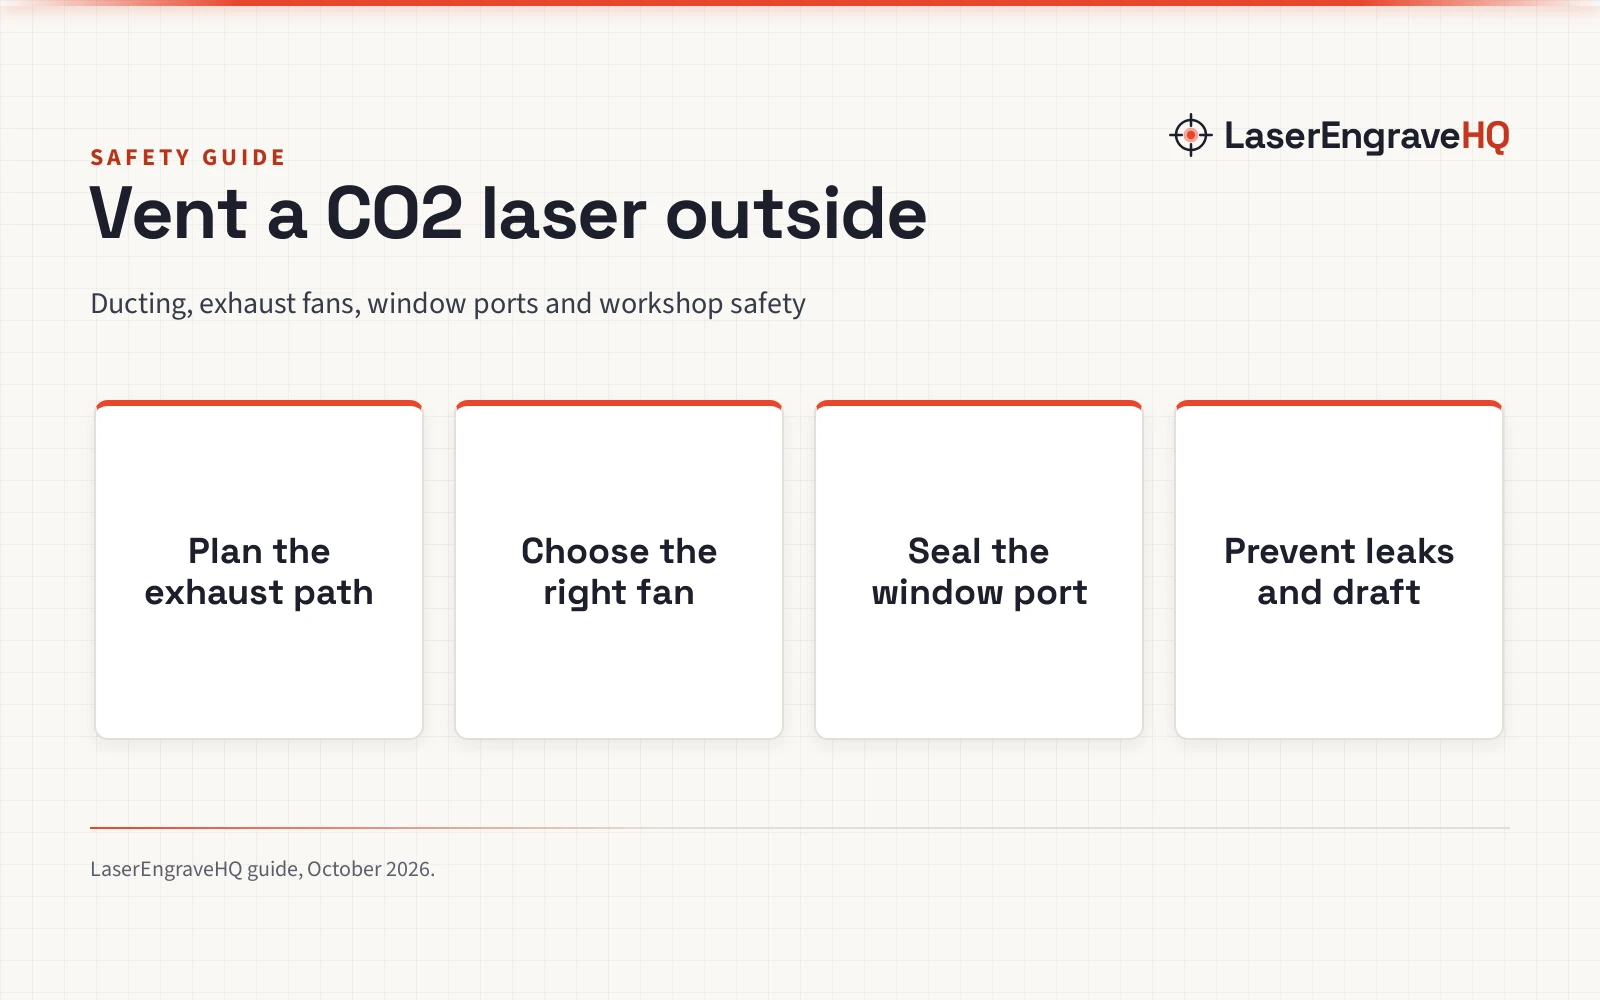
How to vent a CO2 laser outside comes down to establishing an airtight exhaust line, mounting an adequate exhaust fan near the exit to maintain negative pressure, and sealing a dedicated window or wall pass-through. CO2 lasers vaporize wood, acrylic, and leather during cutting and engraving, generating smoke, airborne particulates, and volatile organic vapors that must be evacuated outdoors rather than recirculated indoors. The sections below walk through each step in order, covering duct routing, fan placement, window sealing, and workshop safety.
Other machines to compare
 Brilliance Laser Inks Black Metal Liquid-Ready Laser MarkingCheck price on Amazon
 Brilliance Laser Inks Copper-Tone Red Liquid-Ready MarkingCheck price on Amazon
 CO2 Laser Lens 20mm FL:2.5" or 63.5mm Mirror ZnSe Focus FocalCheck price on Amazon
 Cloudray CO2 Laser Lens Dia 20mm FL50.8mm Mirror Focal LensCheck price on Amazon
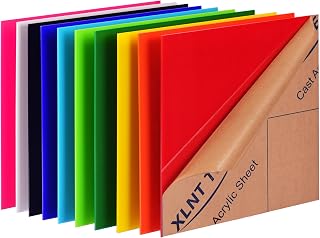 Colored Acrylic Sheets 12 x 12 InchCheck price on Amazon
 MCWlaser CVD ZnSe Focus Lens Dia: 20mm FL: 2"/ 50.8mm for CO2Check price on Amazon
LaserEngraveHQ earns a commission from purchases made through these links, at no extra cost to you. Read our affiliate disclosure.
Laser exhaust contains combustion byproducts and fine particulates. Always vent exhaust away from open windows, fresh air intakes, and doors. Never cut PVC, vinyl, PVC-based faux leather, polycarbonate, or ABS, as those materials release corrosive and hazardous vapors.
Step 1: Map the shortest exhaust path to the outside
Begin planning outdoor ventilation by finding the shortest, straightest route between your laser enclosure exhaust port and an exterior exit point. Every bend, elbow, and additional section of ducting creates static pressure resistance that reduces airflow velocity. When airflow slows down inside the duct, smoke lingers, particulate residue deposits along the inner walls, and fumes can escape into the room through micro-gaps.
Choose an exterior window, wall, or dedicated utility vent as close to the machine as practical. Position the machine to maintain a direct run with minimal bends. Keep turns broad rather than using sharp right angles, as hard elbows create turbulence that chokes exhaust velocity.
Step 2: Select ducting and seal every joint
Connecting the laser exhaust port to the outside discharge requires durable ducting that withstands heat, moisture, and chemical residue from vaporized materials. Thin, uninsulated vinyl dryer hose tears easily and develops pinhole leaks under vibration. Semi-rigid aluminum ducting or reinforced multi-layer flexible ducting provides superior puncture resistance and maintains an open internal diameter without sagging.
Fit the duct securely over the exhaust flange of your laser machine. Machine ports vary by maker and model. For example, OMTech lists an adapter on its XF-180 extractor to connect 40W K40 CO2 engraving machines to larger duct lines. Secure every connection point with a stainless steel worm-gear hose clamp, then seal the seam with aluminum foil duct tape to produce an airtight barrier. Never use cloth duct tape, as the adhesive dries out under airflow.
Step 3: Position the inline exhaust fan near the exit
Stock exhaust fans built into CO2 laser cutters often lack the static pressure needed to evacuate smoke through external duct runs. Adding a dedicated inline duct fan dramatically improves airflow and keeps the cutting cabinet clear. If your machine includes a small stock exhaust fan, removing or bypassing it prevents it from restricting the stronger airflow generated by the inline fan.
The fundamental principle of inline fan placement is pressure dynamics. For best safety, install the inline exhaust fan as close to the exterior exit point as practical rather than directly behind the laser machine. When the fan sits near the window, it pulls air through the indoor duct run, creating negative pressure inside the hose. Under negative pressure, room air pushes inward through any tiny gap. Placing the fan directly at the machine exhaust port puts the duct under positive pressure, meaning any seam leak blows concentrated laser fumes into your workshop.
Airflow capacity must match your machine enclosure volume and duct resistance. For comparison across ventilation categories, OMTech lists an 80W motor generating 106 cfm airflow on its XF-180 multi-stage fume extractor, while VENTS lists 30 CFM on a 4.5 watts draw for a through-the-wall fresh-air ventilator. However, outdoor laser exhaust runs with ducting and dampers generally require blowers designed for higher static pressure to maintain draft across the cutting bed. Compare dedicated blowers in our best exhaust fan for laser cutter guide, or explore indoor filtration options in our best fume extractor for laser cutting guide.
Step 4: Build and seal the co2 laser exhaust window vent
For most home workshops, a window offers the most practical path for outdoor discharge without cutting through exterior siding. Creating a co2 laser exhaust window vent requires a sturdy insert panel that holds the duct flange securely and seals completely against drafts.
Cut a rigid panel from plywood or clear cast acrylic to fit snugly into your window frame track. In the panel, cut an opening matching the outer diameter of your duct flange, mount a metal duct collar, and seal both sides with silicone caulk.
Line the perimeter of the panel with closed-cell foam weatherstripping tape before placing it into the window track. Lower the window sash firmly against the panel to compress the seal, and seal any remaining edge gaps with removable weather-seal tape. Place a safety dowel in the window track to lock the sash firmly in place.
Step 5: Install a backdraft damper and exterior hood
Venting directly outside exposes your duct system to outdoor wind, temperature swings, rain, and pests. Without a dedicated barrier, cold outdoor air flows backward through the duct into your laser enclosure whenever the fan is turned off. In winter, freezing drafts entering the machine can freeze and crack the water jacket of a glass laser tube.
Install a spring-loaded backdraft damper inline near the exterior discharge collar, or fit an exterior vent hood equipped with louvered flaps. When the fan turns on, air pressure opens the damper flaps; when the fan stops, the flaps seal shut against a rubber gasket. On the outside wall or window, attach an angled vent hood with an integrated wire insect screen to shed rain and block pests.
Step 6: Maintain safe operating habits, inspect ducting, and balance airflow
An exhaust fan cannot efficiently evacuate air from a tightly sealed room unless replacement air can enter. In a sealed room, running an exhaust fan creates negative room pressure, which can starve the fan or pull combustion gases down water heater flues. Provide make-up air by opening an interior door or cracking an opposite window, keeping the intake far from the exterior exhaust discharge. Read our guide on do laser engravers need ventilation for workshop airflow requirements.
Verify airtight integrity before cutting smelly stock. Turn on the inline exhaust fan, hold a smoke pencil or incense stick near every clamped connection, seam, and window seal, and observe the smoke trail. Because the inline fan pulls air, any leak in the duct run before the fan draws the indicator smoke inward toward the seam. Downstream of the fan near the window collar, any leak pushes air outward into the room. If you detect air movement at any joint, tighten the hose clamp and wrap the seam with aluminum foil tape until the smoke trail remains undisturbed.
Safe ventilation also requires consistent workshop habits and routine maintenance. Laser cutting produces combustible dust and sticky resins, especially when cutting oily woods or cast acrylic. Over time, residue coats the inside of your ducting, fan blades, and damper, creating airflow restriction and fire risk. Inspect your ductwork and fan blades periodically, clearing soot and replacing worn flexible hoses. Wipe resin off damper hinges so flaps seal freely. Always run the exhaust fan before starting a cut and allow it to run after the laser stops to clear residual haze.
Never leave a running laser unattended, and keep an inspected fire extinguisher nearby. For machines like those in our best CO2 laser cutter for home use guide and across our CO2 laser cutters hub, enclosed designs paired with reliable outdoor venting deliver dependable operation. Review our laser safety glasses guide for certified eyewear, our guide on running a laser engraver indoors, and our guide on materials you should never laser cut.
Common mistakes to avoid
- Using thin vinyl dryer ducting that punctures easily, sags, and leaks smoke under vibration.
- Placing the inline booster fan at the laser exhaust port instead of near the window, pressurizing the duct and forcing leaks into the room.
- Venting into an unsealed window opening without weatherstripping, allowing exhaust fumes to re-enter around the frame.
- Omitting an exterior backdraft damper, exposing the workshop and glass laser tube to freezing drafts and pests.
- Creating sharp right-angle bends along the duct run, choking exhaust velocity.
- Failing to provide passive make-up air into a small workshop room, creating negative air pressure that starves the fan.
- Cutting hazardous materials like PVC, vinyl, polycarbonate, or ABS that release corrosive vapors.
How to vent a co2 laser outside: the short version
- Map a short, straight exhaust path from the machine port to an exterior window or wall exit.
- Connect semi-rigid or heavy-duty foil ducting and clamp all joints with worm-gear clamps and foil tape.
- Mount an inline booster fan near the exterior exit point to maintain negative pressure throughout the duct run.
- Build an airtight window insert panel fitted with a duct collar, gasket seals, and weatherstripping.
- Install a backdraft damper and an exterior louvered hood with an insect screen to block drafts and pests.
- Balance workshop airflow, inspect all connections for leaks, and maintain clean ducting.
Following these steps ensures that smoke, odors, and particulate debris bypass your living space entirely, keeping indoor air clean and machine optics clear.
FAQ: lasers and CNC
Does a CO2 laser have to be vented outside?
Venting outside is the most reliable and cost-effective method to evacuate smoke, odor, and airborne particles generated by laser cutting. If building constraints or local regulations prohibit outdoor venting, you must pass the exhaust through a multi-stage industrial fume extractor equipped with pre-filters, HEPA filtration, and activated carbon.
Can I vent a CO2 laser through a window?
Yes, venting through an operable window using a sealed insert panel is one of the most common workshop methods. A custom-cut panel made from plywood or cast acrylic fits into the window frame with weatherstripping, supporting the duct flange while keeping rain, drafts, and outdoor air from entering around the sash.
Where should the exhaust fan be placed in the duct run?
The exhaust fan should always be positioned near the exterior exit point rather than right behind the laser machine. Placing the fan near the window creates negative pressure along the indoor duct line, pulling air through the hose so that any microscopic leaks draw room air into the duct instead of blowing smoke into your workspace.
Why do I still smell acrylic or wood fumes during cutting?
Persistent fumes typically indicate a loose duct joint, lack of negative pressure, insufficient fan airflow, or smoke leaking past the machine lid gasket. Inspect every connection with a smoke pencil while the fan runs, verify that the inline fan pulls sufficient airflow, and make sure your workshop has adequate make-up air entering the room.
Can cold outside air damage my CO2 laser tube through the exhaust duct?
Cold drafts can travel backward through an unsealed exhaust hose into the laser cabinet. If sub-freezing air reaches the glass laser tube, the water inside the cooling jacket can freeze, expand, and crack the tube. Installing an inline spring-loaded backdraft damper and an exterior louvered vent hood prevents cold air from entering when the machine is powered down.
What materials must never be cut in a CO2 laser?
Never cut PVC, vinyl, faux leather made with PVC, polycarbonate, or ABS in a laser cutter. Heating PVC or vinyl releases corrosive hydrogen chloride gas that destroys machine optics, electronics, and rails, while posing immediate hazards. Polycarbonate burns poorly and leaves thick soot, and ABS emits toxic fumes.
Related: our laser engraver hub, the best CO2 laser cutter for home use, and our guide to CO2 laser cutters. Also see our guides on do laser engravers need ventilation, best exhaust fan for laser cutter, best fume extractor for laser cutting, laser safety glasses guide, running a laser engraver indoors, and materials you should never laser cut.