CO2 Laser Maintenance Checklist: Daily, Weekly, and Periodic Workshop Guide
A practical step-by-step CO2 laser maintenance checklist covering daily optical cleaning, water cooling verification, mirror alignment, and mechanical upkeep.

On this page
Top picks at a glance
As an Amazon Associate I earn from qualifying purchases.
- 1
 xTool P3 80W Flagship CO2 Laser Cutter with Intelligent9.7/10View on Amazon
- 2
 OMTech 100W CO2 Laser Engraver with 4 Way Pass Through Air9.7/10View on Amazon
- 3
 xTool P2S 55W CO2 Laser Cutter9.7/10View on Amazon
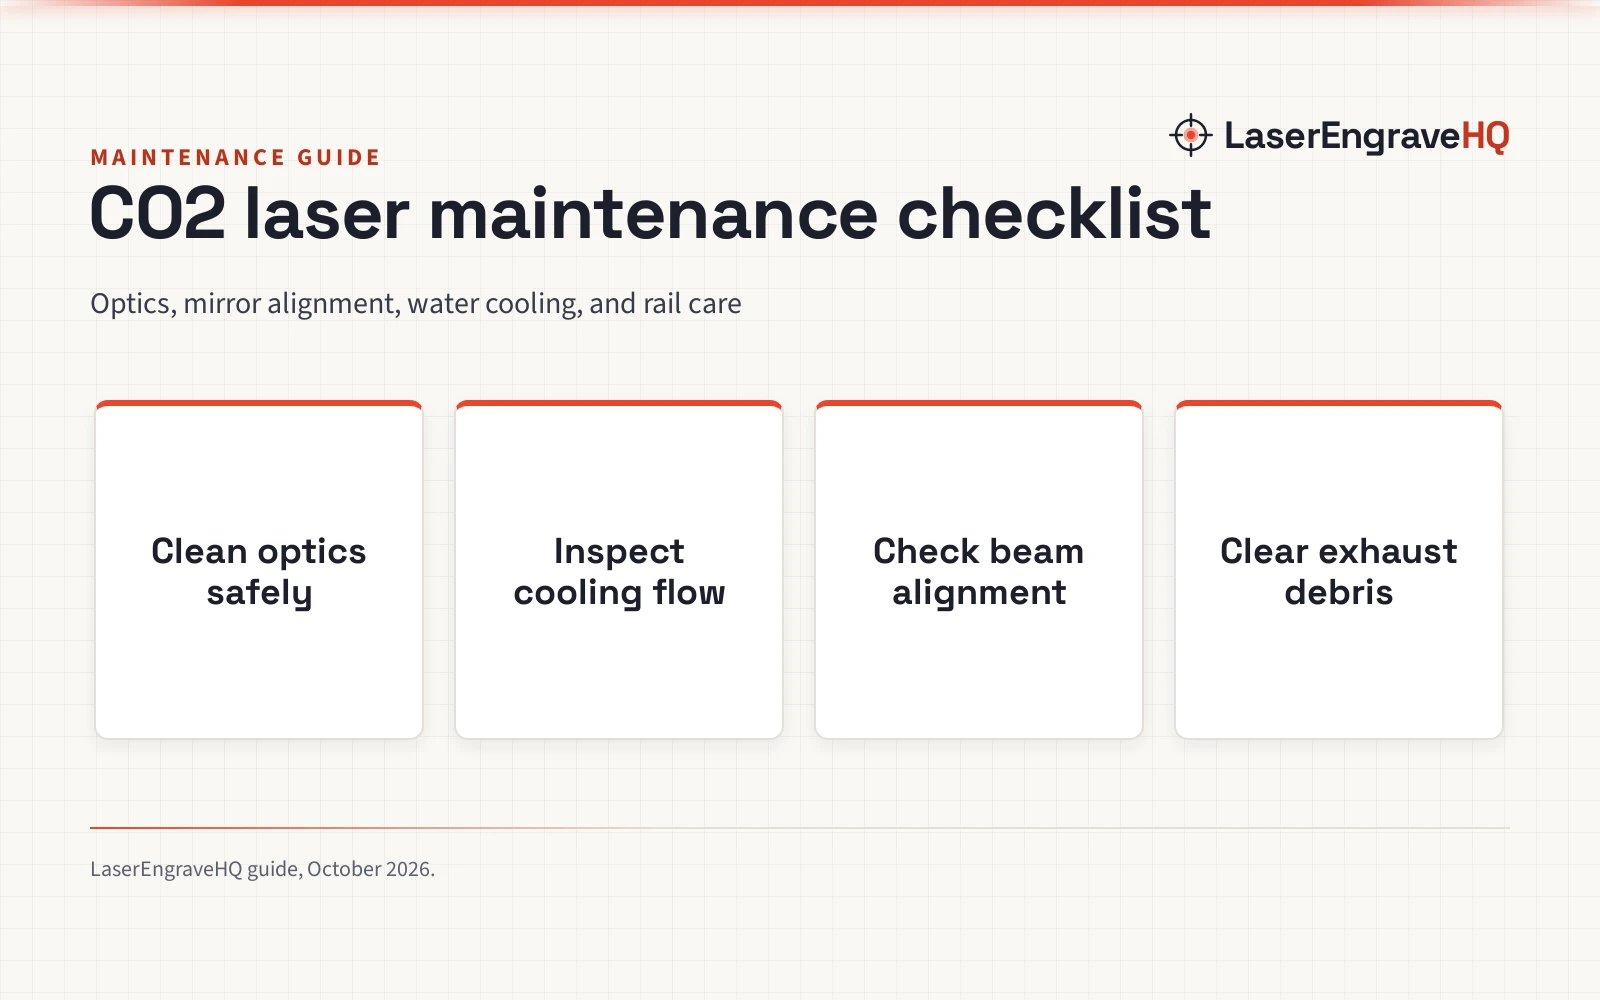
A CO2 laser maintenance checklist covers routine optical cleaning, water chiller verification, beam alignment inspection, rail lubrication, and exhaust debris removal to keep your laser cutter running accurately and safely. Systematic co2 laser cleaning protects delicate mirrors and lenses from soot accumulation, prevents premature laser tube failure from cooling issues, and minimizes workshop fire risks. Following a structured schedule before every job, at weekly intervals, and during periodic deep cleans ensures consistent cutting depth and reliable engraving results.
LaserEngraveHQ earns a commission from purchases made through these links, at no extra cost to you. Read our affiliate disclosure.
Laser makers specify different maintenance schedules, mirror coatings, and coolant requirements across their machines. Always consult your specific equipment manual for recommended rail lubricants, mirror cleaning fluids, and operating temperature ranges before performing service on your machine.
Step 1: Daily pre-fire checks and water cooling inspection
A reliable maintenance routine starts before turning on the high-voltage power supply. Water cooling is the life support system of a glass CO2 laser tube, and running a tube without proper coolant circulation can crack the glass or cause rapid, irreversible power degradation. Before starting any job, turn on your cooling system and visually verify coolant circulation through the tube envelope.
Look closely at the water jacket surrounding the laser tube. Air bubbles trapped near the cathode or anode create localized hot spots that can shatter the glass. If bubbles are present, gently tilt the machine or cycle the water pump until the air pockets escape through the reservoir. Confirm that your chiller fluid is clean, clear, and free of algae or particulate matter. Keeping coolant clean directly preserves tube life; read our guide on CO2 laser water chillers and see our review on how long CO2 laser tubes last. Always use distilled water rather than tap water, which contains conductive minerals that promote electrical arcing and scale formation.
Step 2: Clean optical mirrors and the focus lens
Smoke, vaporized resin, and airborne particulate generated during cutting settle directly onto the reflective surfaces of your turning mirrors and the transmissive surface of your focus lens. If soot coats these optical surfaces, absorbed heat burns the anti-reflective coating on the focus lens or degrades the reflective coating on mirrors, and can crack the underlying zinc selenide substrate.
Inspect your optics at the start of each work session. Remove the focus lens using the maker’s lens removal tool and place it on a clean optical tissue. Apply several drops of high-purity isopropyl alcohol or specialized optical cleaning solution to a fresh lens wipe or photographic swab. Gently drag the wet wipe across the lens surface in a smooth motion without applying downward pressure. Never use abrasive workshop towels, dry cotton swabs, or unapproved solvents on coated optics unless the maker explicitly authorizes it. For comprehensive handling instructions, see our walkthrough on how to clean a laser engraver lens.
Step 3: Inspect optical alignment and beam path
A CO2 laser relies on a series of mirrors to guide the raw beam from the stationary laser tube at the back of the chassis to the moving cutting head. Mechanical vibrations from high-speed motion, temperature fluctuations, and loose locking nuts can cause mirrors to drift over time. When mirror alignment slips, the laser beam hits the focus lens off center, creating slanted cut edges, reduced penetration power, and scorching along cut lines.
Perform a quick beam alignment check across your work bed regularly. Place thermal target paper or painter tape over the aperture of the final turning mirror or nozzle entrance and fire a brief, low-power pulse. The pulsed beam should enter the center of the cutting head aperture consistently whether the gantry is positioned close to the tube or at the farthest corner of the bed. If the burn spot drifts across positions as the gantry travels, stop operation and realign your mirrors. Follow our step-by-step walkthrough on how to align mirrors on a CO2 laser to restore a centered, parallel beam path.
Step 4: Clean the honeycomb bed and clear debris
Accumulated debris beneath the cutting surface is both a cut quality issue and a major fire hazard. Small dropouts, slivers of wood, and acrylic cutoffs fall through the honeycomb mesh into the collection tray. Meanwhile, sticky organic sap and vaporized resins coat the honeycomb ribs, causing flashback reflections that ruin the bottom surface of clean workpieces.
Empty the crumb collection tray after every cutting session, especially when processing flammable materials such as birch plywood or solid hardwood. Vacuum away loose sawdust and soot from the bottom of the enclosure. Periodically soak the metal honeycomb bed in a degreasing bath or apply citrus-based cleaner to dissolve built-up creosote and resin deposits. Rinse thoroughly and allow the metal table to dry completely before reinstalling it. If your current table shows bent ribs or severe corrosion, compare replacement options in our guide to the best honeycomb beds for laser cutters.
Step 5: Clean guide rails and inspect drive belts
The mechanical motion system converts stepper motor rotation into smooth gantry travel. When wood dust, acrylic ash, and aerosolized oils combine with ambient moisture, they form an abrasive paste that coats the linear guide rails and v-slot wheels. This buildup causes gantry binding, skipped steps, and jagged engraving lines.
Wipe down all linear rails, polished rods, and gantry wheels with a clean, lint-free cloth dampened with isopropyl alcohol. Remove all visible grime until the metal surfaces gleam. Once the rails are dry, apply a light coat of synthetic machine oil or manufacturer-approved linear guide lubricant along the bearing tracks. Move the gantry by hand through its full range of travel to distribute the lubricant evenly. Next, inspect the drive belts along the X and Y axes. Check for fraying edges, missing teeth, or slack tension. Belts should feel firm without stretching tightly enough to bend motor shafts. Worn or loose belts degrade engraving sharpness; see our troubleshooting guide on why laser engravings appear blurry.
Step 6: Inspect ventilation, exhaust fans, and air assist
Effective exhaust airflow removes combustible smoke, toxic vapors, and particulate from the cabinet before they can settle onto optics or ignite. Over weeks of cutting, heavy smoke coats exhaust fan blades with sticky resin. This buildup unbalances the impeller, reduces airflow velocity, and causes smoke to linger inside the cabinet.
Inspect your exhaust fan and flexible ducting during your monthly maintenance routine. Remove the duct hose and clear any lint, scrap pieces, or resin deposits obstructing the airflow. Wipe the fan impeller blades with a degreaser to restore balanced rotation and maximum draw. Check the duct clamps at both the machine outlet and the exterior vent flapper to prevent exhaust leaks back into your room. If you vent outside, follow our best practices on how to vent a CO2 laser outside, or compare sealed filtration units in our best fume extractor for laser cutting guide. Finally, check your air assist nozzle. Remove the cone tip, wipe away charred debris, and drain moisture from your air compressor filter bowl to prevent water droplets from spraying onto hot lenses.
Step 7: Verify safety interlocks and maintain a workshop log
Regular safety checks protect both your workshop and your equipment. Modern enclosed laser cutters incorporate lid interlocks designed to shut down the high-voltage laser power supply automatically whenever the protective cover opens. Verify that your lid interlock sensors trigger properly by raising the lid while the gantry is positioned away from material. The laser emission indicator should extinguish immediately. Inspect your emergency stop switch to ensure it latches firmly when pressed and cuts power cleanly.
Always wear protective eyewear rated with an appropriate optical density and wavelength range matching the infrared emission of a CO2 laser. Tinted shields or uncertified acrylic windows without verified optical density ratings do not provide certified protection. Never cut PVC, vinyl, PVC-based faux leather, polycarbonate, or ABS in your machine. Thermal decomposition of chlorine-containing materials like PVC and vinyl releases corrosive hydrochloric acid that destroys mirrors, rails, and electronics, while polycarbonate and ABS produce heavy toxic fumes, intense soot, and elevated fire hazards. Consult our reference guide on materials you should never laser cut and our laser safety glasses guide to keep your workshop aligned with OSHA and CDRH safety standards. Keep a written service log beside your machine to record every cleaning session, mirror alignment, and coolant replacement.
Common mistakes to avoid
- Wiping dusty optical surfaces with dry paper towels or coarse cloths that scratch anti-reflective coatings.
- Operating the laser tube with trapped air bubbles or stagnant coolant inside the glass water jacket.
- Allowing flammable wood dropouts and acrylic scrap to accumulate inside the crumb tray beneath the bed.
- Applying thick automotive grease to linear rails instead of light, manufacturer-recommended machine lubricant.
- Ignoring loose drive belts and misaligned mirrors until the laser fails to cut through standard material.
CO2 laser maintenance checklist: the short version
- Verify water chiller circulation, coolant purity, and bubble-free tube flow before powering the laser.
- Inspect and clean the focus lens and turning mirrors with dedicated optical wipes and solvent.
- Check beam path alignment across all bed quadrants using pulse burns on target paper.
- Clear combustible debris from the honeycomb table and empty the collection tray beneath the bed.
- Wipe guide rails clean of soot and apply approved light machine lubricant along bearing tracks.
- Inspect exhaust fans, clear ducting obstructions, and drain moisture from the air assist line.
- Confirm safety interlock operation, wear certified eye protection, and record tasks in a workshop log.
Routine maintenance takes only a few minutes when performed consistently, saving costly downtime and extending the working life of your laser tube and optical components.
FAQ: lasers and CNC
How often should CO2 laser optics be cleaned?
Inspect the focus lens and turning mirrors before every extended cutting session. If you cut oily hardwoods, plywood with heavy glue lines, or acrylic, soot accumulates rapidly on the optics. Wipe optical surfaces whenever visual inspection reveals haze, dust specks, or smoke film.
What cleaning fluid is safe for CO2 laser mirrors and lenses?
High-purity isopropyl alcohol or laboratory-grade optical cleaner applied to lint-free lens tissue is safe for zinc selenide focus lenses and molybdenum or gold-coated mirrors. Avoid household glass cleaners or abrasive cloths that can damage delicate mirror coatings or strip the anti-reflective coating from zinc selenide lenses.
How do you know when mirrors need realignment?
Mirrors require realignment whenever cutting power drops noticeably at the far corners of the work table, cut edges become angled rather than perpendicular, or pulsed beam spots drift away from the center of the nozzle entrance aperture.
Why is distilled water required for CO2 laser cooling?
Tap water contains dissolved minerals and ions that conduct electrical current, which can trigger high-voltage arcing between the laser tube electrodes and grounded chassis components. Distilled water resists electrical conductivity and prevents mineral scale from insulating the glass tube.
Why is my laser losing cutting depth despite normal power settings?
Loss of cutting penetration usually stems from dirty optics, misaligned turning mirrors, an out-of-focus beam, or degraded chiller water temperature. If maintenance checks reveal clean optics and aligned mirrors, consult our troubleshooting guide on why your laser engraver is not cutting through.
Can poor maintenance cause a laser fire?
Yes. Accumulated sawdust, scrap wood dropouts, and vaporized acrylic resin inside the crumb tray readily ignite when exposed to reflected laser radiation or falling molten kerf. Keeping the collection tray and honeycomb bed clean is essential for workshop fire prevention.
Related: the CO2 laser cutter hub, our best CO2 laser cutter for home use guide, and is a CO2 laser worth it. Also see our guides on how to align mirrors on a CO2 laser and diode vs CO2 laser.