Laser Engraver Safety Checklist: A Practical Workshop Guide
A practical laser engraver safety checklist covering eye protection, workspace ventilation, fire prevention, material screening, and active job supervision.

On this page
Top picks at a glance
As an Amazon Associate I earn from qualifying purchases.
- 1
 xTool SafetyPro AP2 Smoke Purifier for Laser Engraver9.6/10View on Amazon
- 2
 190nm-490nm OD 6+ Laser Safety Eye Protection Glasses UV9.6/10View on Amazon
- 3
 Laser Fume Extractor Compatible with 10 to 40W Laser9.5/10View on Amazon
- 4
 AlgoLaser 5W Smart Laser Engraver Machine: Portable LaserView on Amazon
- 5
 LONGER Ray5 Laser EngraverView on Amazon
- 6
 ORTUR Laser Master 2 S2 LU2-10A Laser Engraver LaserView on Amazon
- 7
 ORTUR Laser Rotary RollerView on Amazon
- 8
 Twotrees TTS-20 Max 20000mW Laser Engraver and Cutter MachineView on Amazon
- 9
 Twotrees TTS-55 Pro Laser Engraver 5500mW Laser EngravingView on Amazon
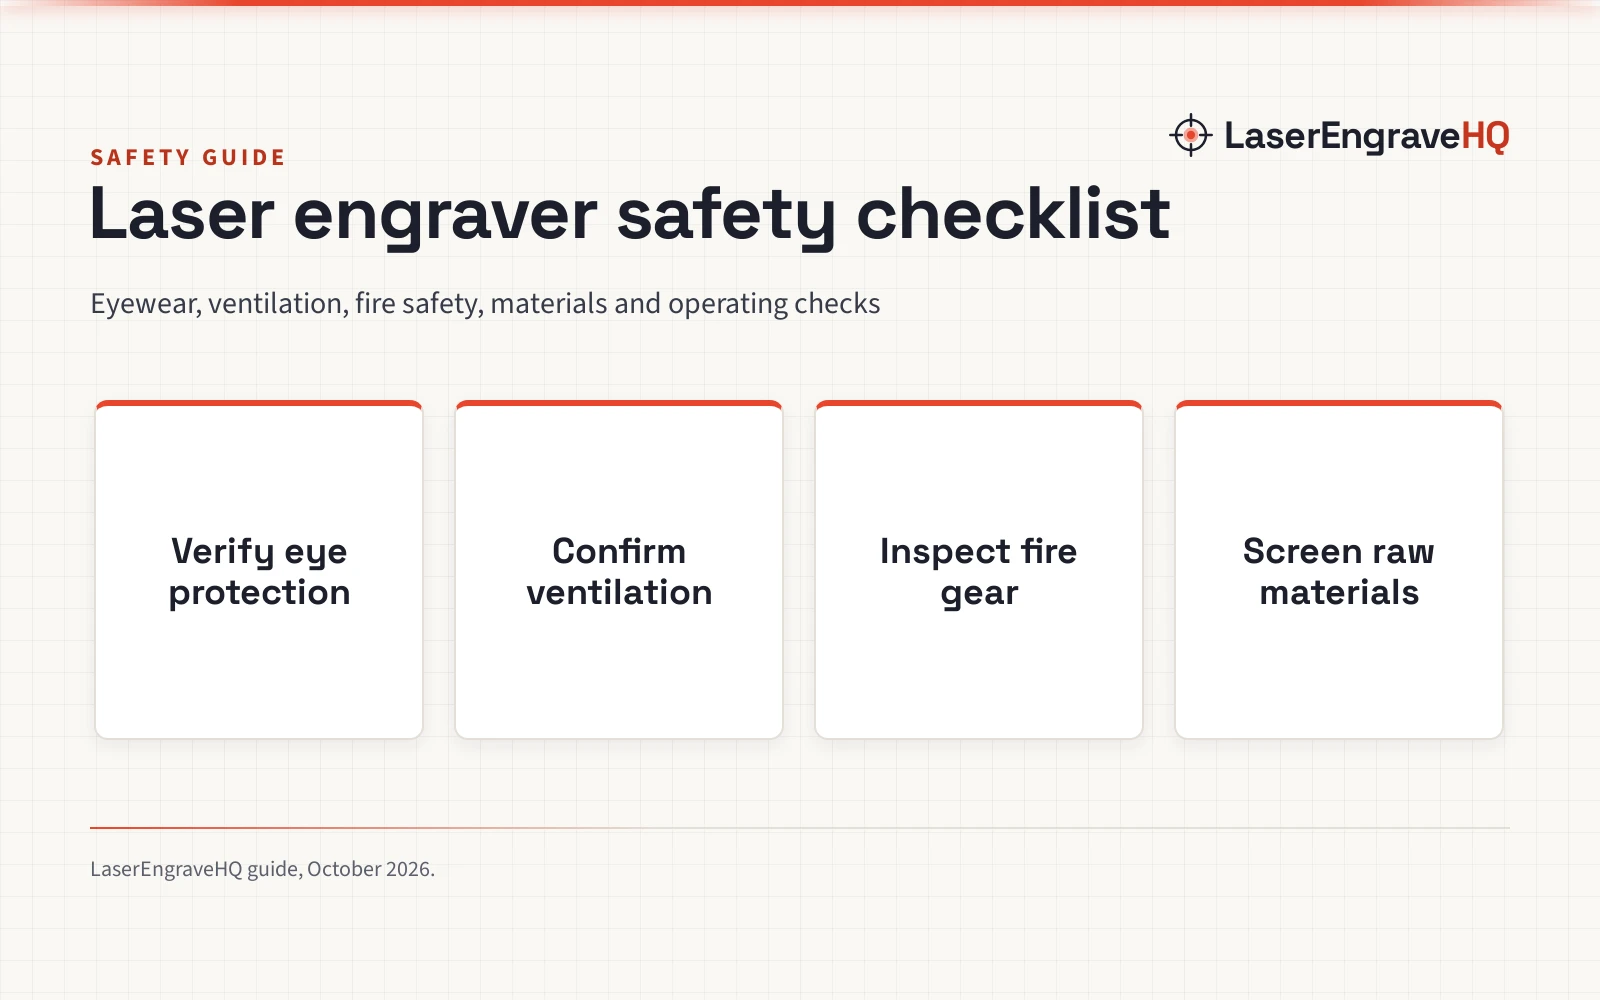
A laser engraver safety checklist comes down to several essential workshop steps: put on certified protective eyewear, verify enclosure interlocks, confirm exhaust ventilation, position fire suppression gear, screen raw materials for dangerous compounds, clear debris from the bed, and maintain active supervision while the beam is firing. Running through these checks before every job prevents eye damage, shop fires, and hazardous fume exposure. The sections below walk through each safety check in order, covering the critical details that protect both the operator and the workshop equipment.
Other machines to compare
 AlgoLaser 5W Smart Laser Engraver Machine: Portable LaserCheck price on Amazon
 LONGER Ray5 Laser EngraverCheck price on Amazon
 ORTUR Laser Master 2 S2 LU2-10A Laser Engraver LaserCheck price on Amazon
 ORTUR Laser Rotary RollerCheck price on Amazon
 Twotrees TTS-20 Max 20000mW Laser Engraver and Cutter MachineCheck price on Amazon
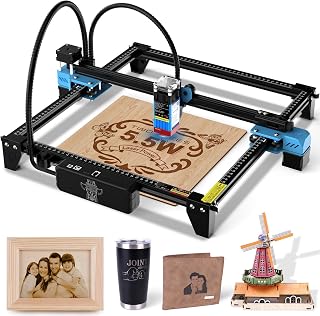 Twotrees TTS-55 Pro Laser Engraver 5500mW Laser EngravingCheck price on Amazon
LaserEngraveHQ earns a commission from purchases made through these links, at no extra cost to you. Read our affiliate disclosure.
Laser safety depends on strict workshop habits and physical protection. No checklist eliminates hazard without active supervision, correct protective gear, and proper ventilation during operation.
Step 1: Wear wavelength-matched protective eyewear
Protective eyewear is the primary personal defense against accidental beam exposure. Unshielded laser radiation can cause permanent eye injury in fractions of a second, damaging the cornea or retina depending on the beam wavelength. Ordinary sunglasses, welding goggles, and unrated tinted plastics provide no protection against focused or scattered coherent light.
Eyewear protects only when its frame and lenses specify an optical density rating and a wavelength coverage range matching your beam source. Diode modules, fiber sources, and CO2 tubes operate at distinct optical bands, meaning glasses designed for one beam source will fail on another. Operators running an open frame vs enclosed laser engraver face direct and scattered beam exposure risks, making wavelength-matched glasses essential whenever the optical path is accessible. For detailed selection criteria, review our laser safety glasses guide and compare certified frames in our safety glasses for laser engraving roundup.
Step 2: Verify enclosure interlocks and optical shields
A physical enclosure forms the primary barrier between an active beam and the surrounding room. Quality enclosures contain stray reflections, assist exhaust airflow, and prevent curious hands or pets from entering the cutting envelope during operation.
Before initiating a job, check that all lid interlocks and safety switches operate as intended. For example, Ortur specifies a Class 1 laser safety level for its fully enclosed R2, featuring an amber protective cover and an emergency-stop button for immediate shutdown. Similarly, AlgoLaser lists a 5W laser module with an auto-pause safety door that automatically stops the beam the instant the lid is lifted. If you operate an open-frame system, consider housing it inside a dedicated box as detailed in our guide on how to build a laser engraver enclosure, or upgrade to a factory model from our best enclosed laser engraver guide.
Step 3: Confirm active exhaust ventilation and air assist
Every laser engraving and cutting process vaporizes solid material into airborne smoke, microscopic particulate matter, and volatile fumes. Operating any machine without active fume extraction degrades indoor air quality and coats internal optics with sticky residue.
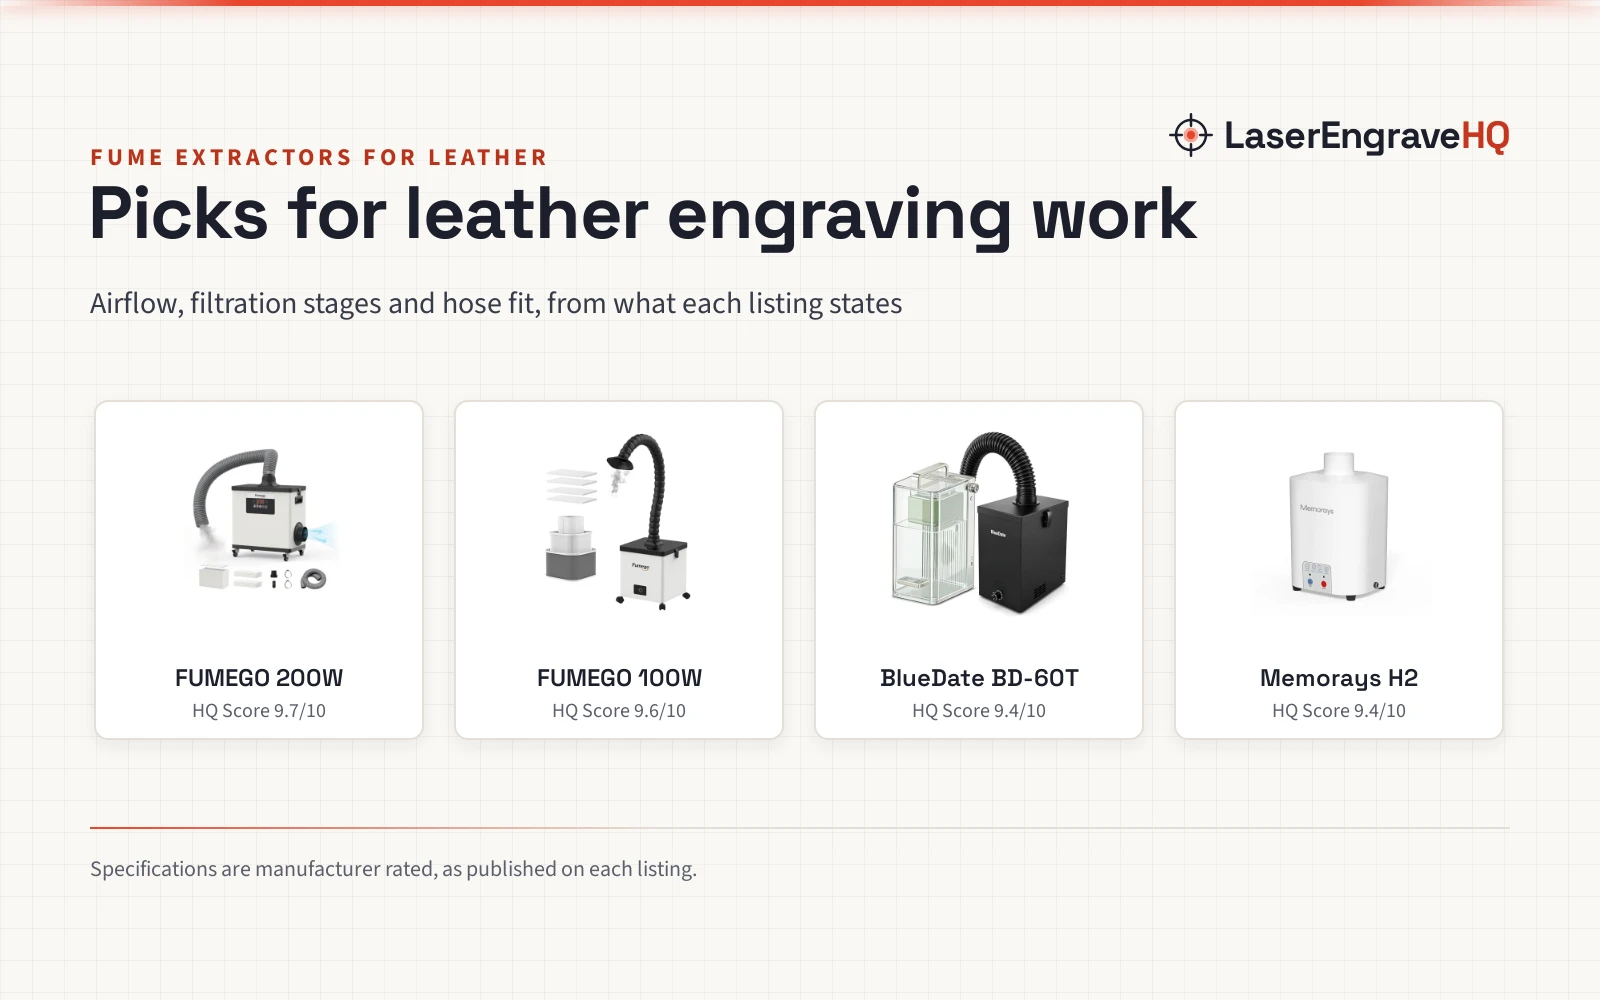
Confirm that your exhaust blower moves air directly outdoors through rigid or semi-rigid ducting before starting a cut. When routing ductwork outdoors is impractical, pass the exhaust through an activated carbon and HEPA filtration unit. Our ventilation guide explains exhaust requirements, while our best fume extractor for laser engraver review compares filtration systems. For setups venting through an exterior wall, review our guide on how to vent a CO2 laser outside or pair your system with an option from our best exhaust fan for laser cutter roundup. In addition, verify your air assist pump is operational. Longer lists an air assist kit providing 10 to 30 L/min of adjustable airflow, which clears vaporized residue from the kerf to produce cleaner, smoother cuts.
Step 4: Position fire suppression equipment within arm’s reach
Open flames represent the most frequent physical danger during laser operation. Concentrated laser beams heat organic materials past their ignition thresholds, and combustible gases trapped under a workpiece can ignite into sustained fires.
Never operate a laser without a suitable fire extinguisher positioned within arm’s reach of the workstation. A multi-purpose dry chemical extinguisher or a carbon dioxide extinguisher handles electrical equipment and burning material safely. In addition to a primary extinguisher, keep a fire blanket mounted nearby for smothering small surface flare-ups without discharging chemical powder into delicate linear rails and stepper motors. Never assume a small flame will extinguish itself, and never leave an active job unattended under any circumstances.
Step 5: Screen raw materials for toxic and hazardous compounds
Placing the wrong raw stock on your cutting bed can destroy equipment and release hazardous airborne compounds. Some plastics produce hydrochloric acid or hydrogen cyanide gas when decomposed by high-energy optical beams.
Never process polyvinyl chloride, vinyl, artificial leather with vinyl backing, polycarbonate, or acrylonitrile butadiene styrene. Chlorine-based polymers release hydrogen chloride gas that corrodes aluminum frames, oxidizes precision rails, and pits optical lenses, while polycarbonate produces dense black smoke that ignites easily. While makers publish cutting ratings for approved stock, such as Longer listing cutting limits of up to 15 mm basswood and 8 mm acrylic in one pass for its 20W bundle, you must verify that any plastic or composite is certified laser-safe and compatible with your specific laser wavelength before placing it on the bed. For a complete catalog of banned stock, consult our guide to materials you should never laser cut before loading unknown blanks.
Step 6: Clear the honeycomb bed and work area of debris
Accumulated debris beneath the cutting surface acts as kindling during extended cutting jobs. Small offcuts, wood dust, paper scraps, and acrylic shavings collect in the honeycomb cells, where stray beam energy easily sparks a blaze.
Before loading a new workpiece, slide out the waste collection tray and dump all combustible scrap into an empty metal disposal can. Inspect the honeycomb surface for sticky resin build-up and wipe away heavy sap using isopropyl alcohol once the bed cools, allowing all solvent fumes to dissipate completely before firing the beam. Ensure the surrounding workbench remains clear of solvent bottles, alcohol wipes, masking tape rolls, and shipping boxes. Maintaining a tidy perimeter ensures unrestricted tool travel and prevents accidental fires if a spark escapes the cutting area.
Step 7: Perform pre-fire machine checks and maintain supervision
The final phase of the checklist occurs immediately before pressing the start command. Verify that the focus distance between the nozzle and the workpiece surface matches the focal gauge, ensuring the beam concentrates energy at the intended focal point rather than defocusing across a wider spot that chars the material instead of cutting cleanly.
Confirm that the gantry moves smoothly across the work area and that air assist lines and wiring harnesses remain clear of pinch points. Verify that the software framing boundary falls entirely within the workpiece borders so the laser does not strike hold-down clamps or bare metal bed rails. Once the job begins, remain beside the machine for the entire duration. If unusual smoke, strange odors, or active flames appear, hit the emergency-stop switch immediately, cut machine power, and assess the situation safely. If you operate in residential spaces, read our guide on whether you can run a laser engraver indoors to confirm environmental precautions.
Common mistakes to avoid
- Walking away from a running laser, even for a brief moment.
- Relying on unrated safety glasses or orange acrylic shields for beam protection.
- Cutting unknown plastics without verifying their chemical composition.
- Allowing flammable scrap and wood dust to accumulate inside the honeycomb tray.
- Operating without active exhaust ventilation venting directly outdoors or through dedicated filters.
- Failing to verify emergency-stop button function before starting heavy cutting jobs.
Laser engraver safety checklist: the short version
- Put on protective eyewear rated for your laser wavelength and optical density whenever the optical path is accessible.
- Verify that enclosure panels, lid interlocks, and emergency-stop switches function properly.
- Confirm active exhaust ventilation and air assist operation before starting the job.
- Position a multi-purpose fire extinguisher and fire blanket within arm’s reach.
- Screen materials to avoid toxic chlorine, vinyl, polycarbonate, and ABS polymers.
- Clear flammable offcuts, wood dust, and debris from the honeycomb bed and waste tray.
- Frame the design boundaries and maintain active visual supervision throughout the run.
Following these steps systematically before every run keeps your workshop safe, protects expensive laser optics, and prevents hazardous workshop accidents.
FAQ: lasers and CNC
What is the most critical item on a laser engraver safety checklist?
Continuous active supervision is the primary safety rule. Most workshop fires and damage happen when operators leave an active machine unattended. Being present allows you to halt the machine the moment an unexpected flare-up occurs.
Can I rely on the acrylic shield attached to the laser module?
Never rely solely on module shields. While orange or red plastic shrouds block some direct glare, they do not seal against stray reflections bouncing off metal workbeds or clamps. Always wear certified laser safety glasses matching your machine wavelength.
Do I need a fire extinguisher right next to my laser engraver?
Yes. Keep a multi-purpose dry chemical extinguisher or a carbon dioxide extinguisher within arm’s reach of your cutting station. Fires expand rapidly on laser cutting beds, leaving no time to retrieve an extinguisher from another room.
Which materials must never be cut or engraved with a laser?
Never cut polyvinyl chloride, vinyl, artificial leather containing PVC, polycarbonate, or ABS. These materials emit hydrogen chloride gas, chlorine vapors, or dense oily soot that damages machine components and poses severe respiratory hazards.
Is outdoor venting mandatory for a laser engraver?
Venting directly outdoors through sealed ductwork is the safest and most reliable setup. If exhausting outdoors is impossible, you must exhaust through a dedicated laser fume extractor combining activated carbon and particulate filtration to capture vapors and smoke.
What should I do if a workpiece catches fire inside the machine?
Hit the emergency-stop button immediately to halt the beam and motion. Switch off the air assist pump so forced airflow does not feed oxygen to the flame. Smother the flare-up with a fire blanket or discharge a suitable fire extinguisher immediately if the flame persists.
Related: the laser safety hub, laser safety glasses guide and safety glasses for laser cutting. Also see our fume extractor guide. Also see our exhaust fan for laser enclosure.