Laser Settings for Glass: Complete Workshop Guide (2026)
A practical guide to dialing in laser settings for glass: balance high speed and low power, apply surface coatings, and avoid heat fractures on drinkware.

On this page
Top picks at a glance
As an Amazon Associate I earn from qualifying purchases.
- 1
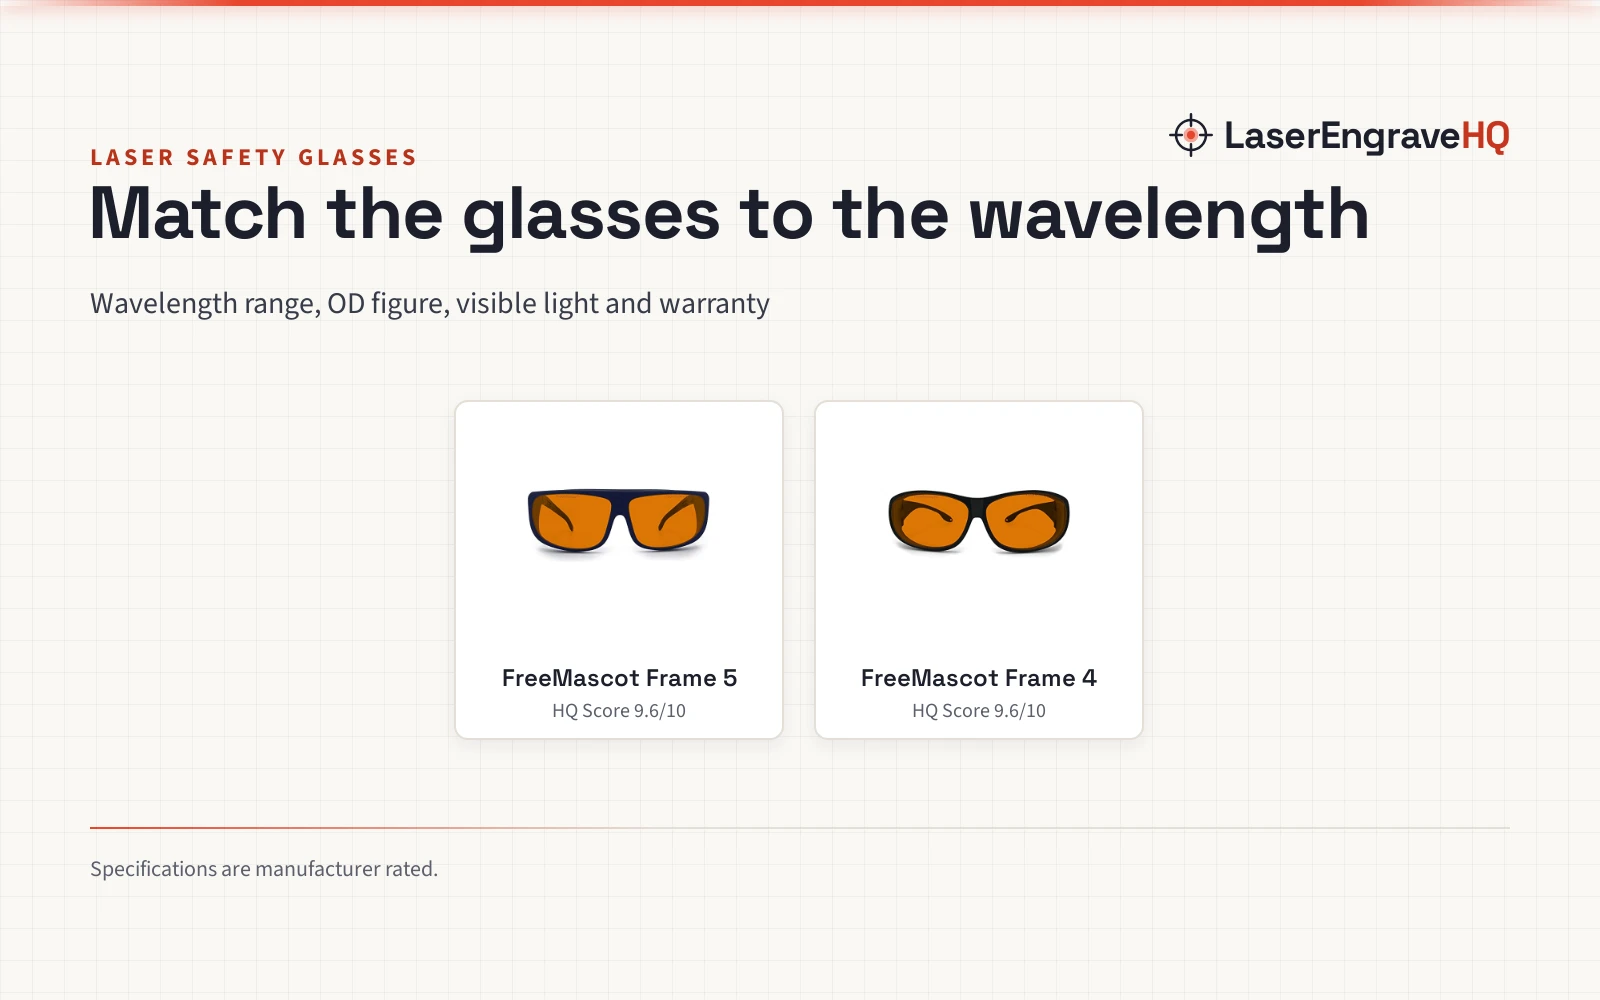
 LaserPair Laser Safety Glasses 200-534nm and 740-1095nm Laser9.7/10View on Amazon
- 2
 FreeMascot Professional OD 6+ 190nm-490nm Wavelength9.7/10View on Amazon
- 3
 190nm-490nm OD 6+ Laser Safety Eye Protection Glasses UV9.6/10View on Amazon
Makers crafting personalized drinkware, custom pint glasses, and framed panels often find that glass behaves unlike any other material. Finding the right laser settings for glass requires balancing rapid carriage speed, low optical power, and dialed focal distance, while using a surface coating when beam absorption is needed. Glass does not vaporize cleanly like wood or acrylic. Instead, localized heat creates rapid expansion that micro-fractures the surface, producing a crisp frosted mark. Mastering this workflow prevents surface blowout, jagged chipping, and fractured workpieces.
LaserEngraveHQ earns a commission from purchases made through these links, at no extra cost to you. Read our affiliate disclosure.
Because glass formulations and wall thicknesses vary between manufacturers, baseline values serve as starting references rather than fixed rules. Run sample runs on identical scrap glassware before committing to finished customer projects.
Understand how laser energy marks glass surfaces
Unlike organic substrates that vaporize cleanly under laser heat, glass is an amorphous material with low thermal conductivity. When exposed to a focused beam, the surface heats up dramatically faster than the cool core beneath it. This steep thermal difference creates mechanical stress. As that localized hot spot expands and cools, microscopic fractures form across the surface plane. These micro-fractures scatter ambient light, creating the frosted white appearance makers want.
Excessive thermal buildup causes micro-fractures to merge into larger cracks. When that happens, small glass shards pop loose, creating a rough, pitted texture called chipping. In severe cases, uncontrolled heat buildup cracks the entire workpiece. The goal when establishing machine parameters is applying just enough optical energy to induce microscopic fractures without creating structural damage.
Glass composition also matters. Standard soda-lime silicate glass, which is used for commercial tumblers, mason jars, and window panes, marks reliably under controlled settings. Conversely, tempered glass should never be engraved with a workshop laser. Tempered panels contain severe internal stress from manufacturing. Micro-fracturing the surface compromises that balance and can cause the entire workpiece to shatter violently.
Choose the right laser wavelength for glass
Different laser types interact with clear silicate substrates based on beam wavelength. The most versatile option in dedicated workshops is a carbon dioxide laser. A CO2 system emits a long-wavelength infrared beam that clear glass absorbs naturally without requiring surface coatings. If you are comparing workshop tools, our guide on diode vs CO2 laser capabilities explains how these beam sources compare across different materials.
Diode lasers produce visible blue light that passes straight through transparent glass without marking the surface. To mark glass with a diode machine, makers apply a dark surface coating that absorbs the blue beam and transfers heat into the silicate surface. For a complete process walkthrough, read our guide on how to engrave glass with a diode laser.
Workshops seeking ultra-smooth results often choose ultraviolet systems. A UV machine uses cold marking photochemistry rather than thermal stress, eliminating rough micro-fracturing on thin crystal or delicate barware. You can review dedicated options in our best UV laser engraver guide. Fiber lasers, however, pass directly through clear glass without marking and are suited strictly for metal marking.
Apply a surface coating to absorb optical energy
Surface preparation is essential when operating diode machines, and it can also benefit CO2 workflows by smoothing thermal gradients. For diode lasers, an absorption layer captures incoming optical energy and transfers heat into the silica. On both machine types, a damp or pigmented barrier helps distribute thermal shock uniformly across the surface plane, preventing harsh hotspots and jagged chipping.
Common workshop coating methods include:
- Black tempera paint: Brushing a thin, even coat of washable black tempera paint over the target area provides dense optical absorption. It adheres smoothly to curved glassware and washes away cleanly with warm water.
- Liquid dish soap with moist paper: Spreading a thin layer of dish soap and smoothing a single layer of damp paper towel over the surface buffers thermal shock and leaves remarkably smooth frosted text.
- Laser marking paper: Pigmented transfer sheets fuse cleanly to glass when struck by the beam, creating crisp lines on flat blanks.
- Matte painter tape: Blue painter tape pressed firmly onto flat glass provides adequate absorption for moderate-power machines, provided no air bubbles remain trapped beneath the adhesive.
Ensure any paint or liquid coating dries thoroughly before starting the machine, except when using the damp paper towel method. Trapped liquid droplets beneath paint can boil rapidly and cause irregular surface craters.
Dial in laser settings for glass: speed, power and focus
Dialing in reliable laser settings for glass requires balancing speed, power, focal alignment, and line density. Because glass cannot dissipate heat rapidly, the machine must deposit minimal energy across any single coordinate.
- Carriage speed: Maintain high travel speed. Fast head motion minimizes beam dwell time over each point, preventing heat from penetrating into the core glass and causing chips.
- Laser power: Use low power output. You only need sufficient energy to create shallow surface micro-fractures. Excessive power blows out glass chips and leaves rough, uneven edges.
- Focal distance: A pinpoint focus concentrates thermal energy tightly, which can promote chipping. Raising the laser head slightly above the focal plane enlarges the beam spot slightly, softening thermal impact and producing a smoother frosted mark.
- Line interval: Avoid high scan density. Overlapping scan lines reheat previously fractured glass, causing micro-cracks to crater. Choose a modest line interval so adjacent engraving lines sit side by side without overlapping.
- Pass count: Always finish the engraving in a single pass. A second pass over pre-fractured glass shatters weakened silica, causing severe spalling.
Run a calibration pattern on a scrap bottle before starting production. Our guide on how to make a material calibration grid in LightBurn details how to arrange calibration swatches safely.
Configure rotary attachments for curved glassware
Engraving cylindrical glassware like beer mugs, tumblers, and wine glasses requires a motorized rotary attachment. Because curved surfaces alter focal distance as the blank turns, the marked surface must remain parallel to the gantry.
- Leveling the surface: Tapered drinkware slopes toward the base. Elevate the narrow end using adjustable support wheels until the top surface rests horizontal along the carriage travel axis.
- Preventing slippage: Glass has a smooth exterior that can slip against drive rollers during sudden direction changes. Adding ballast inside the glass, such as a cloth bag of rice, adds weight and improves roller grip.
- Managing handles: Position mug handles so they rotate freely through open space without contacting the frame or laser head.
For complete setup details, read our tutorial on how to set up a rotary on a laser engraver, and explore our walkthrough on how to engrave a tumbler with a rotary.
Prevent thermal shock during cooling and cleaning
Thermal shock is a major cause of cracked glassware. Glass contracts rapidly when cooled unevenly, producing fractures across the engraved boundary.
- Allow gradual cooling: Leave finished glassware resting undisturbed on the machine bed for several minutes after the job completes. Never place hot glassware on a cold metal bench.
- Avoid cold water: Rinsing warm glass under cold tap water causes sudden thermal contraction that frequently cracks the piece. Always let glassware reach room temperature naturally before washing.
- Rinse with lukewarm water: Once cooled, wash away paint, tape, or soap residue using lukewarm water and a soft sponge. Never use abrasive scrubbers.
- Clear loose fragments: Wipe the frosted surface with a microfiber cloth to remove loose microscopic silica flakes so the finished item is smooth and safe to handle.
Maintain optical safety and workshop ventilation
Engraving glass introduces optical and airborne hazards that require strict workshop practices:
- Eye protection: Smooth glassware reflects laser radiation across wide angles. Operators must wear safety glasses certified for their laser wavelength and optical density. Learn more in our laser safety glasses guide and our roundup of the best laser safety glasses for diode lasers.
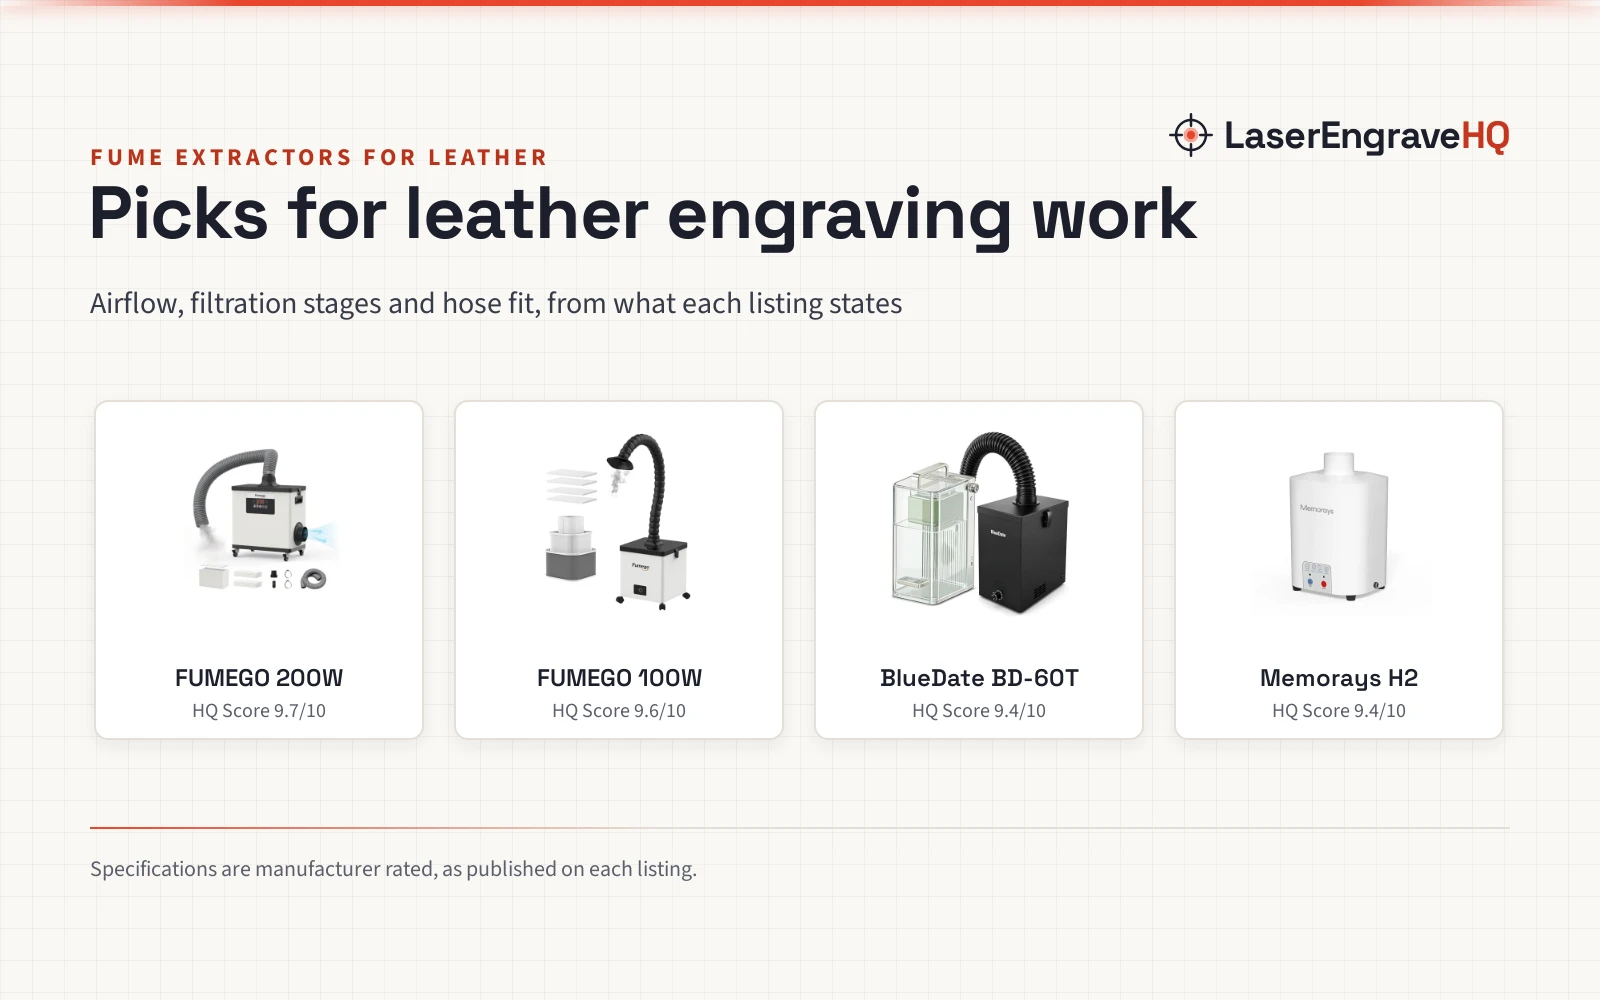
- Ventilation: Vaporized paint coatings and fine silica dust irritate respiratory passages. Exhaust fumes outdoors or run an air filter from our best fume extractor for laser engraver guide.
- Fire safety: Masking materials are flammable. Keep an extinguisher nearby and never leave a running machine unattended. Review complete safety rules on our laser safety hub.
- Hazardous materials: Never engrave unknown coated glassware or plastics without confirming chemical safety. Our guide on materials you should never laser cut outlines dangerous substrates to avoid.
Common mistakes to avoid
- Using excessive power that blows out glass flakes and leaves rough, pitted edges.
- Running slow carriage speeds that allow heat to penetrate deep into the glass core.
- Engraving bare clear glass with a blue diode laser without an absorption coating.
- Running multiple passes over marked areas, shattering previously formed micro-fractures.
- Rinsing warm glass under cold water immediately after engraving, causing thermal shock cracks.
- Attempting to mark or cut tempered glass, which shatters under released internal stress.
- Setting scan line density too high, causing adjacent engraving lines to overheat each other.
Laser settings for glass: the short version
- Select untempered soda-lime glassware and inspect for surface blemishes.
- Apply a thin, uniform coating of black tempera paint or moist paper towel when beam absorption or thermal buffering is required.
- Mount the glassware securely and level the target surface plane.
- Set the machine for high carriage speed and low optical power.
- Choose a moderate line interval and slightly raise the laser head above true focus.
- Complete the engraving in a single pass without repeating the cycle.
- Let the glass cool completely at room temperature before washing away coating residue.
- Wipe the engraving with a microfiber cloth to clear loose silica flakes.
Following this structured approach produces clean, frosted marks suitable for retail products and personalized gifts while preventing thermal damage.
FAQ: lasers and CNC
How do you laser on glass?
To laser on glass cleanly, apply an absorption coating like black tempera paint or moist paper towel when using a diode beam, then run the laser at high speed and low power. Keep scan density moderate so passes do not overlap, and finish the job in a single pass. Allow the glass to reach room temperature before rinsing away residue.
Can you laser cut glass with a workshop machine?
No, workshop laser engravers cannot cut sheet glass. Clear glass cracks unpredictably under cutting-level laser power because localized expansion triggers severe thermal stress. Industrial glass cutting relies on diamond scoring tools, abrasive waterjets, or specialized pulsed industrial lasers rather than desktop systems.
Can you laser engrave tempered glass?
Never laser engrave tempered glass. Tempered glass contains high internal stress created during thermal tempering. Micro-fracturing the surface disrupts that equilibrium, causing the entire pane to shatter spontaneously into small granular pieces.
Why does laser engraved glass chip or feel rough?
Glass chips when the laser delivers excessive heat to the surface. High power, slow carriage speeds, or overlapping scan lines cause micro-fractures to merge into larger fissures that shed glass fragments. To fix chipping, raise carriage speed, lower power, and slightly defocus the beam.
Does air assist help when laser engraving glass?
Air assist plays a minor role on glass. Gentle airflow clears smoke from vaporized tempera paint or paper, protecting the focus lens. However, strong high-pressure airflow can cause rapid uneven cooling, increasing thermal shock risk. Keep airflow gentle and steady.
Do laser safety glasses work for glass engraving?
Yes, certified laser safety glasses protect your eyes from specular reflections off curved glass surfaces. Ensure your eyewear matches your laser beam wavelength and optical density rating for reliable optical protection.
Related: explore our laser engraver hub, compare machines in our best CO2 laser cutter for home use guide, or discover starter options in our best laser engraver for beginners roundup. If you work primarily with drinkware, see our guide to the best laser engraver for tumblers, and review workshop safety on our laser safety portal.