Limit Switch Assembly for CNC Machines
A step-by-step guide to limit switch assembly for CNC machines: mount the switches, wire the contacts, set homing, and add an emergency stop.

On this page
Top picks at a glance
As an Amazon Associate I earn from qualifying purchases.
- 1
 Weasch 3 Pack IP67 Waterproof Micro Switch9.7/10View on Amazon
- 2
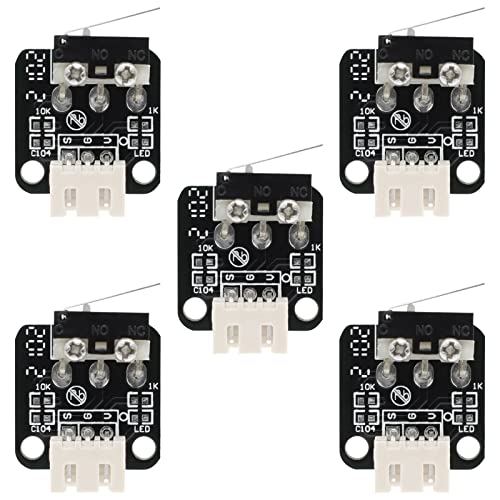 3D Printer Part End Stop Limit Switch,5 Pcs Micro Mechanical9.6/10View on Amazon
- 3
 BAOMAIN BM-6002 Parallel Roller Plunger Limit Switch SPDT 15A9.6/10View on Amazon
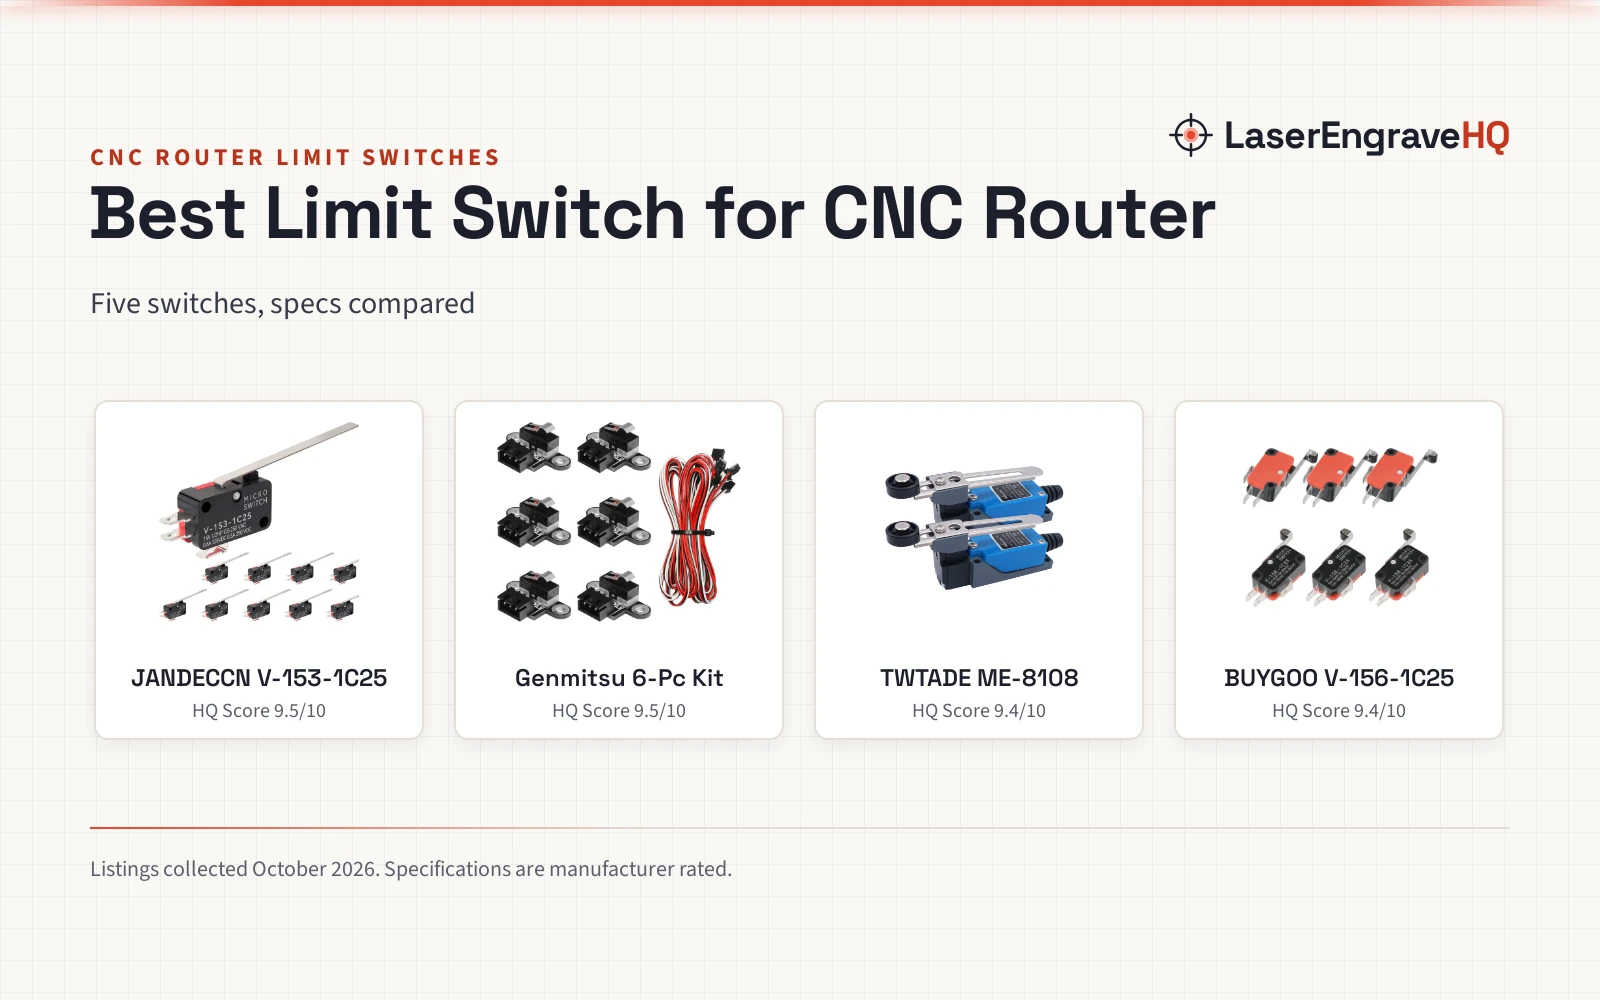
A limit switch assembly stops a CNC router from driving past the end of its travel. Small switches sit at the ends of each axis, and when the moving gantry or spindle carriage touches a switch, the control board halts motion in that direction. A limit switch assembly pairs those switches with wiring, mounting hardware, and an emergency stop button, so the machine has a defined home position and a hard stop when something goes wrong. The sections below walk through the parts, the mounting, the wiring, and the homing setup in order.
LaserEngraveHQ earns a commission from purchases made through these links, at no extra cost to you. Read our affiliate disclosure.
Switch the power off at the circuit breaker or fuse before wiring a limit switch.
Limit switch assembly: parts in the kit
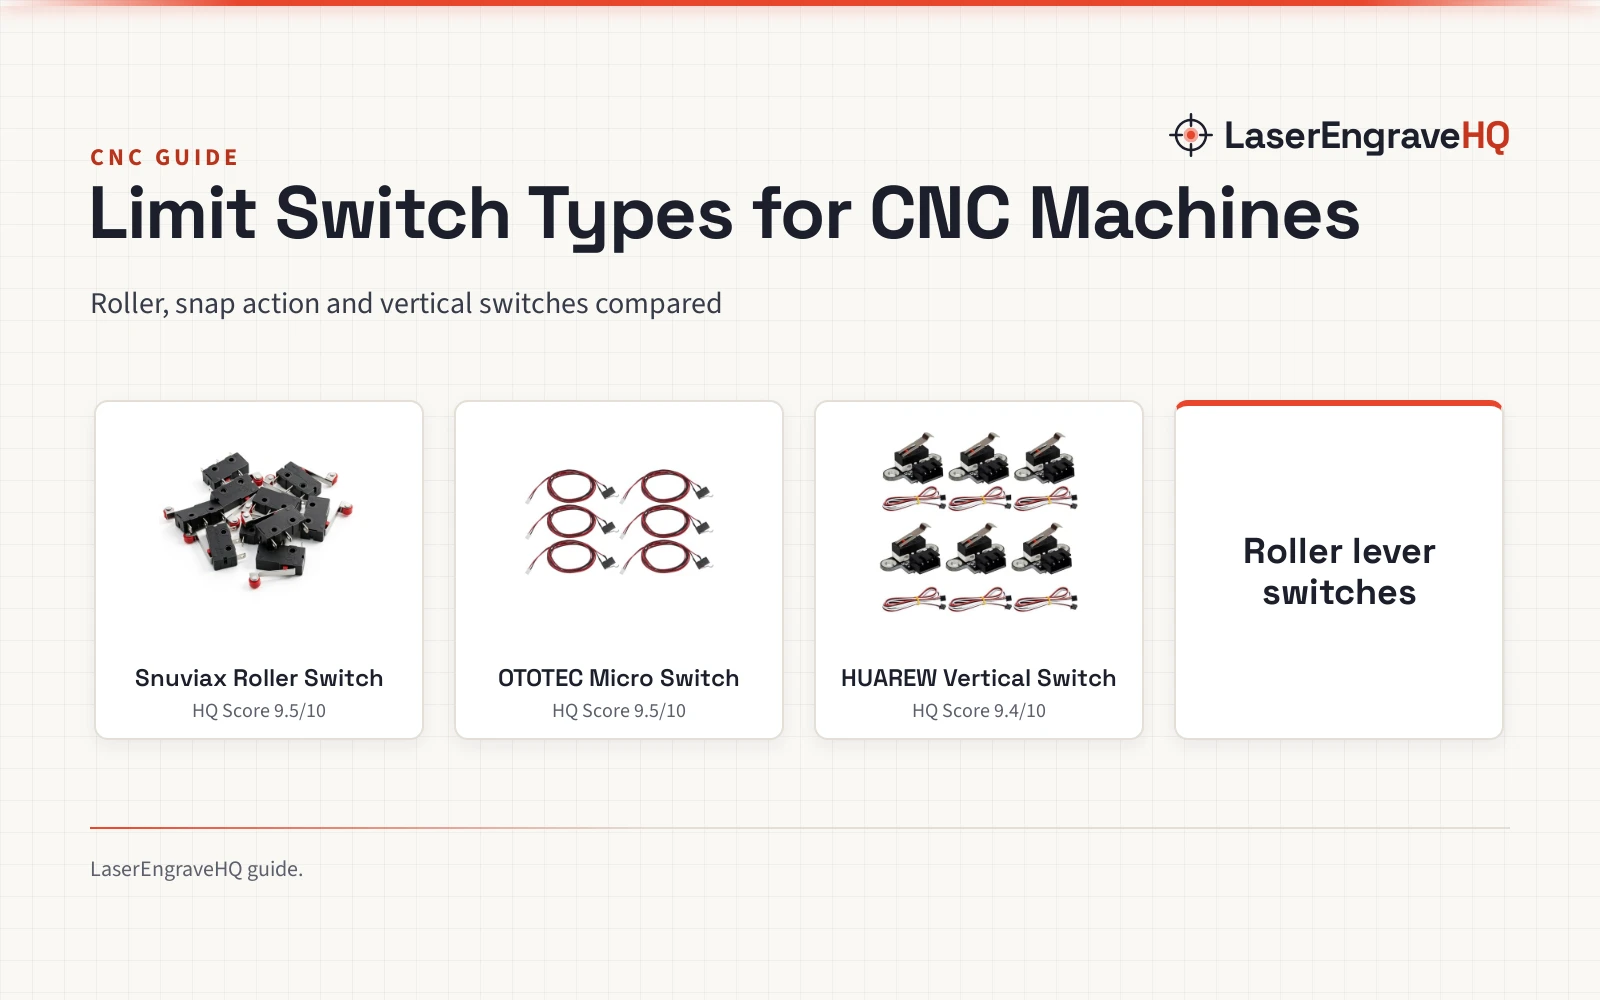
The full kits in this guide bundle the same core parts. The CNCTOPBAOS kit (on Amazon) holds 6 limit switches, 1 emergency stop switch, and assembly hardware, with hex wrenches and mounting screws in the box. The FABULETTA and Girftong kits each hold 6 limit switches, 1 stop switch, and a set of assembly accessories. Each of those kits ships with an 80cm 2-pin cable for the switches. The BlueStars ME-8108 (on Amazon) comes as a 5-piece pack of roller lever arm switches in an aluminum alloy and reinforced plastic shell, for buyers who need spare switches rather than a full kit, and the maker states installation takes 30 seconds with the power off. The FABULETTA and Girftong kits add a contactless homing sensor, which reads position without physical contact. For the switch types in detail, see the limit switch types guide.
Mount the switches on the machine
Mounting starts with the machine model. The CNCTOPBAOS kit is made for 3018-PRO, 3018-PRO-Max, and 3018-Plus routers, with pre-aligned mounting holes for the switches. The FABULETTA kit (on Amazon) fits 3018 Max and 3020 machines, and the Girftong kit (on Amazon) fits 3018 PRO, 3018 Max, and 3020 models, with custom mounting holes. Place a switch where the moving axis meets the end of its travel, so the carriage presses the lever or trips the contactless sensor before the frame stops it. The BlueStars ME-8108 lever arm rotates 180 degrees, which lets the roller meet the carriage from more angles. Keep the 80cm cable slack enough to reach the control board without pulling tight at full travel. See the CNC routers hub for the machine families these kits fit, and the Genmitsu 3018 Pro vs 3018 Pro Max comparison covers those machines in detail.
Wire the NO and NC contacts
Each switch carries terminals marked NC, NO, and C. The CNCTOPBAOS switches come pre-wired on the NO and C terminals, with an 80cm 2-pin cable, and the NC port stays open for buyers who want to rewire the logic. Wiring a switch normally closed gives a fail-safe setup: a broken wire reads as a triggered switch and halts motion, instead of leaving the axis unguarded. The emergency stop button in the CNCTOPBAOS kit is rated for AC 250V 3A and DC 30V 5A, and it resets with a clockwise twist after activation. The BlueStars ME-8108 is rated AC 250V 5A and DC 115V 0.4A. Match the switch contacts to the control board inputs, keep the 2-pin plugs seated, and route cables clear of the spindle and the moving gantry.
Set homing and check travel
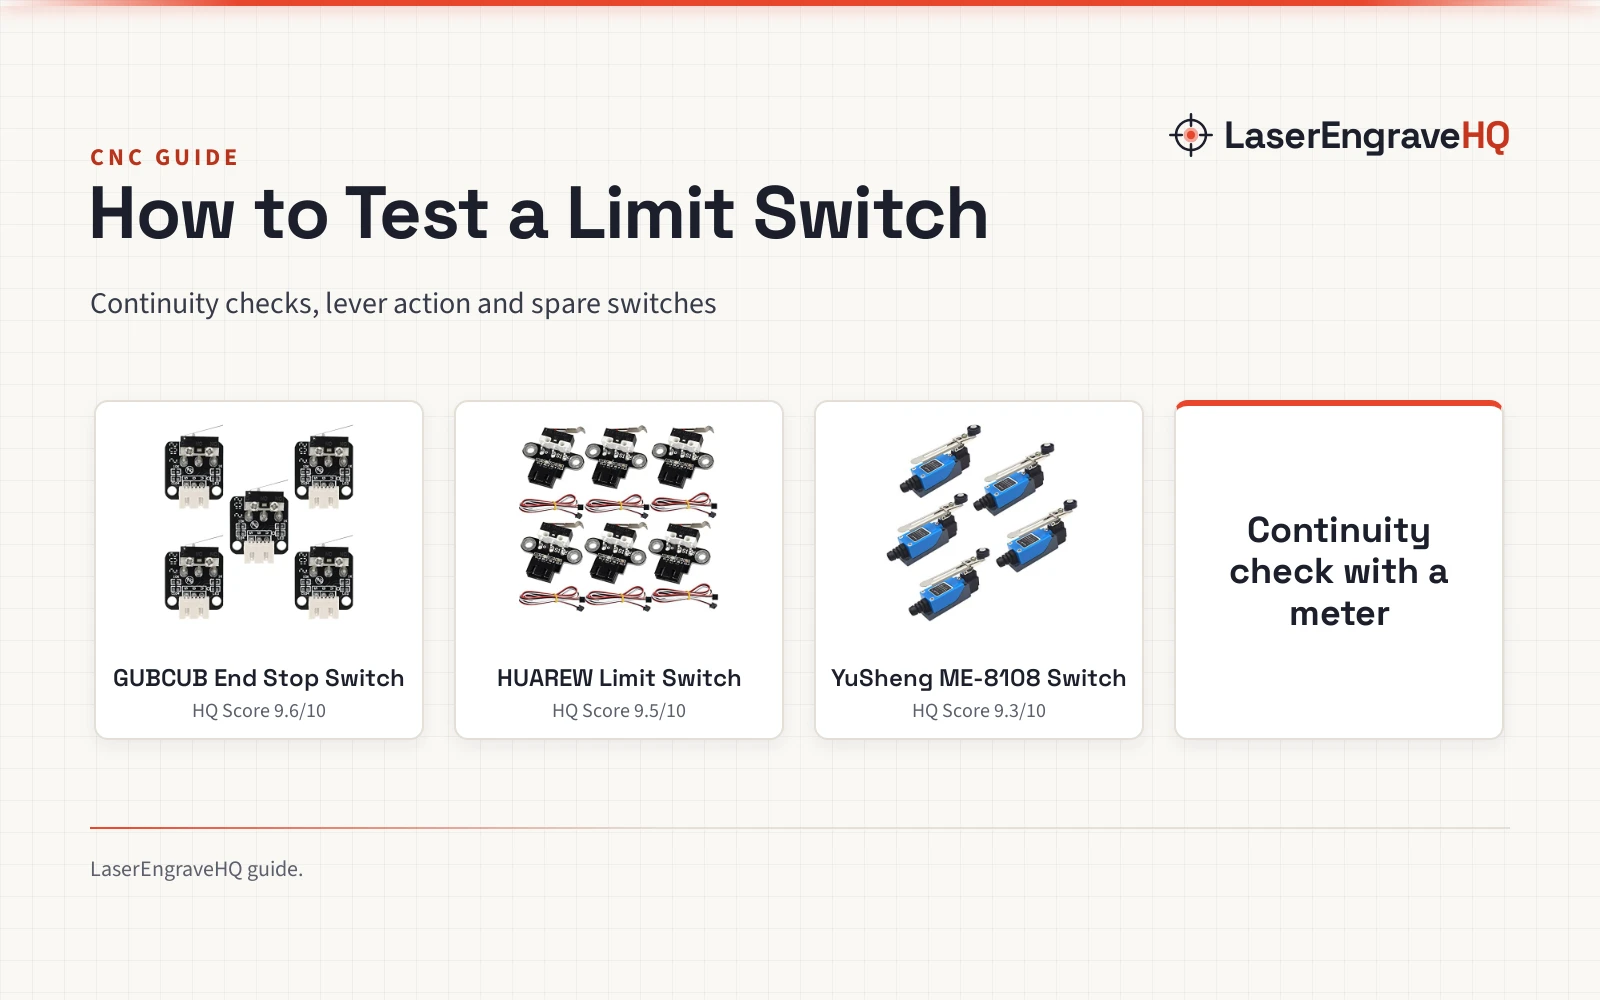
Homing tells the control board where the machine starts. The FABULETTA and Girftong kits use a contactless homing sensor, which reacts without physical contact and keeps control accurate during engraving work. After mounting and wiring, move each axis slowly toward its switch by hand and watch the control software register the trigger before the axis reaches the frame. If a switch never triggers, check the plug, the cable, and the contact wiring before changing anything in software. A limit switch that triggers early shortens travel, while a switch mounted too far out lets the carriage hit the frame. The BlueStars lever arm rotates 180 degrees, so a small adjustment of the roller angle can fix a switch that the carriage misses.
Add the emergency stop button
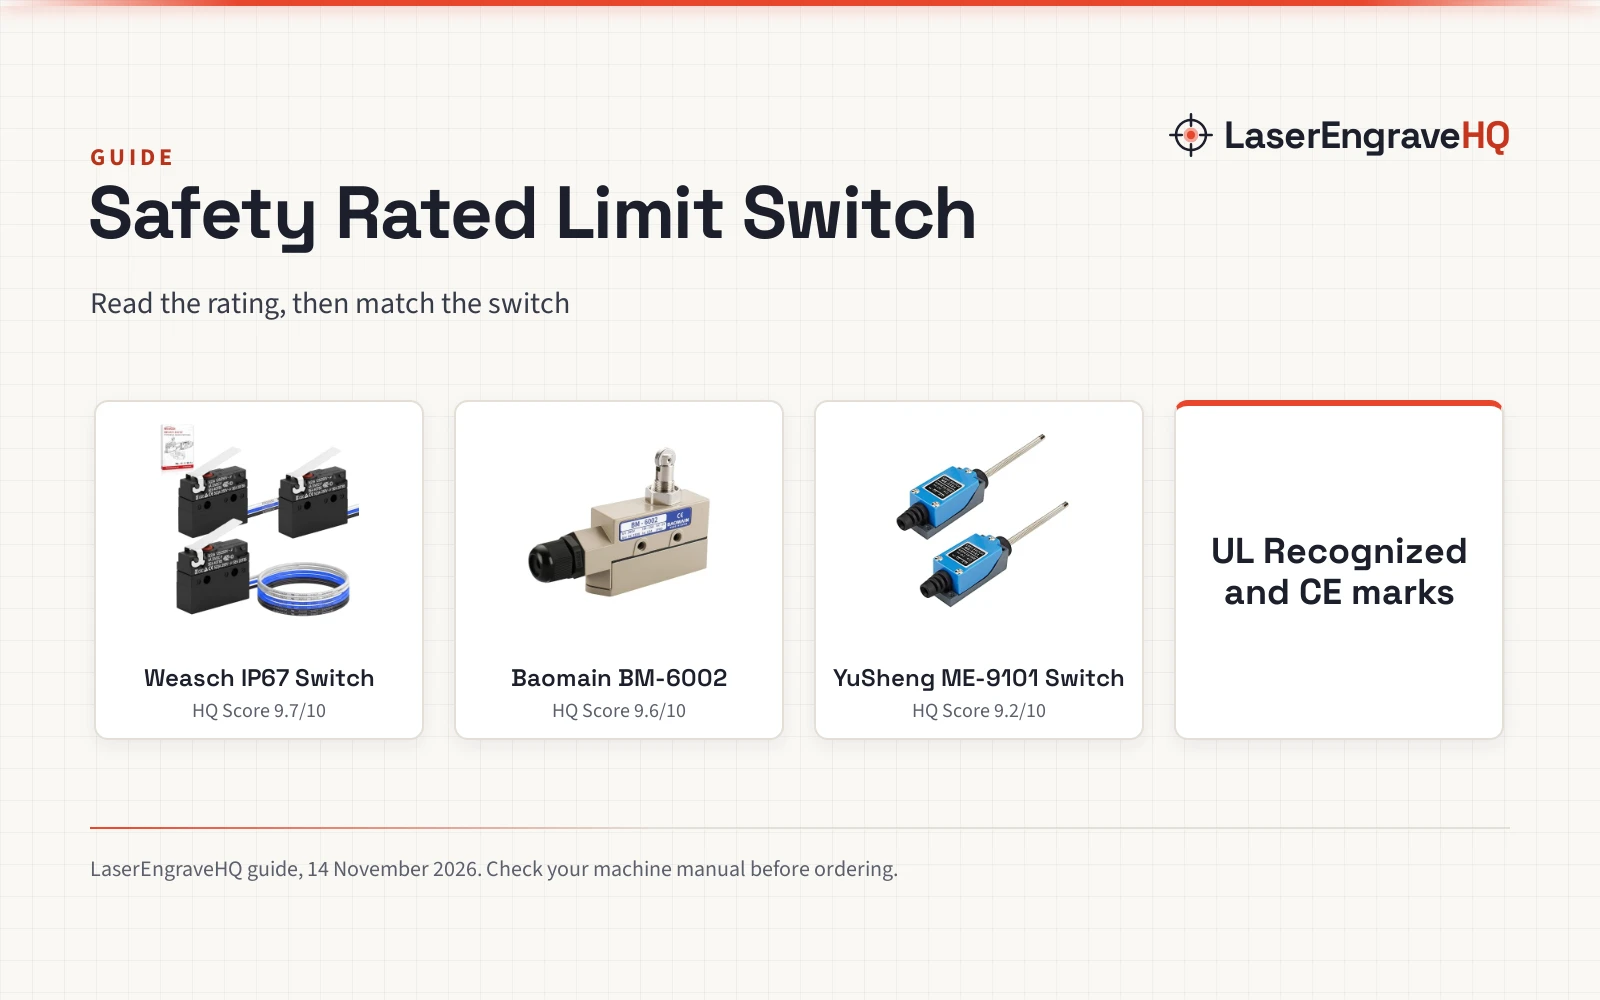
An emergency stop button belongs within easy reach of the operator, separate from the limit switches. The CNCTOPBAOS kit includes 1 emergency stop switch with a twist reset: rotate it clockwise to pop it out after activation and resume work. The FABULETTA kit includes 1 stop switch, and the Girftong kit includes an emergency button set. Mount the button where a hand can reach it without crossing the cutting area, and wire it so it cuts power to motion when pressed. For what makes a switch safety rated, see the safety rated limit switch guide.
Common mistakes to avoid
- Wiring with the power on.
- Mounting a switch where the carriage never reaches it.
- Leaving the NC port unwired while the control board expects a normally closed signal.
- Routing the 80cm cable where the gantry can snag it.
- Skipping the homing check after mounting.
Limit switch assembly: the short version
- Pick a kit that fits the machine model; the full kits here hold 6 switches and 1 stop switch.
- Mount the switches at the ends of travel with the pre-aligned holes.
- Wire the NO and C terminals, and use the NC port for a fail-safe setup.
- Mount the emergency stop within reach and check the twist reset.
- Set homing, then move each axis by hand and confirm every switch triggers.
- Route the 80cm cable clear of moving parts.
FAQ: lasers and CNC
How many limit switches does a CNC router need?
The kits in this guide include 6 limit switches: the CNCTOPBAOS, FABULETTA, and Girftong kits each hold 6 switches with 1 stop switch. The BlueStars ME-8108 comes as a 5-piece pack for buyers who need spares or a smaller set. Mount switches at the ends of travel on the machine axes.
What is the difference between NO and NC limit switch contacts?
NO means normally open: the circuit closes when the switch triggers. NC means normally closed: the circuit opens when the switch triggers. The CNCTOPBAOS switches come pre-wired on NO and C, and the NC port lets buyers rewire for a normally closed, fail-safe setup. A broken wire in a normally closed setup reads as a trigger and halts motion.
Where do limit switches mount on a 3018 CNC router?
The CNCTOPBAOS kit uses pre-aligned mounting holes for 3018-PRO, 3018-PRO-Max, and 3018-Plus routers. The Girftong kit fits 3018 PRO, 3018 Max, and 3020 models with custom mounting holes. Mount each switch where the moving axis meets the end of travel, and use the 80cm cable to reach the control board.
Do limit switch kits include an emergency stop button?
The full kits in this guide do. The CNCTOPBAOS kit includes 1 emergency stop switch rated for AC 250V 3A and DC 30V 5A, with a twist reset. The FABULETTA kit includes 1 stop switch, and the Girftong kit includes an emergency button set. Mount the button within easy reach of the operator.
Can a limit switch work as a homing switch?
Yes, with the right kit. The FABULETTA and Girftong kits include a contactless homing sensor that reacts without physical contact. After mounting, move each axis toward its switch and confirm the control software registers the trigger before the axis reaches the frame.
Related: the CNC routers hub, limit switch types and Genmitsu 3018 Pro vs 3018 Pro Max.