How to Laser Cut Acrylic without Melting Edges: A Practical Workshop Guide
A practical guide to laser cutting acrylic without melting edges: choose cast acrylic, tune cutting speed, run air assist, and prevent heat buildup.

On this page
Top picks at a glance
As an Amazon Associate I earn from qualifying purchases.
- 1
 xTool S1 40W Laser Cutter and Laser Engraver for Tumblers9.7/10View on Amazon
- 2
 OMTech 100W CO2 Laser Engraver with 4 Way Pass Through Air9.7/10View on Amazon
- 3
 xTool P2S 55W CO2 Laser Cutter9.7/10View on Amazon
- 4
 Lesnlok Black Transparent Acrylic Sheet 1/8 inch Thick 3mm 2View on Amazon
- 5
 KAITELA Pack of 10 Colored Cast Acrylic Sheet 12" x 12" xView on Amazon
- 6
 Macarrie 12 Pcs Colored Acrylic Sheets 1/8 Inch ThickView on Amazon
- 7
 Colored Acrylic Sheets 8x12View on Amazon
- 8
 Blue Acrylic Sheet 12" x 16" x 1/8"View on Amazon
- 9
 4 Pack 12×16 Clear Acrylic Sheets 1/8in Thick PlexiglassView on Amazon
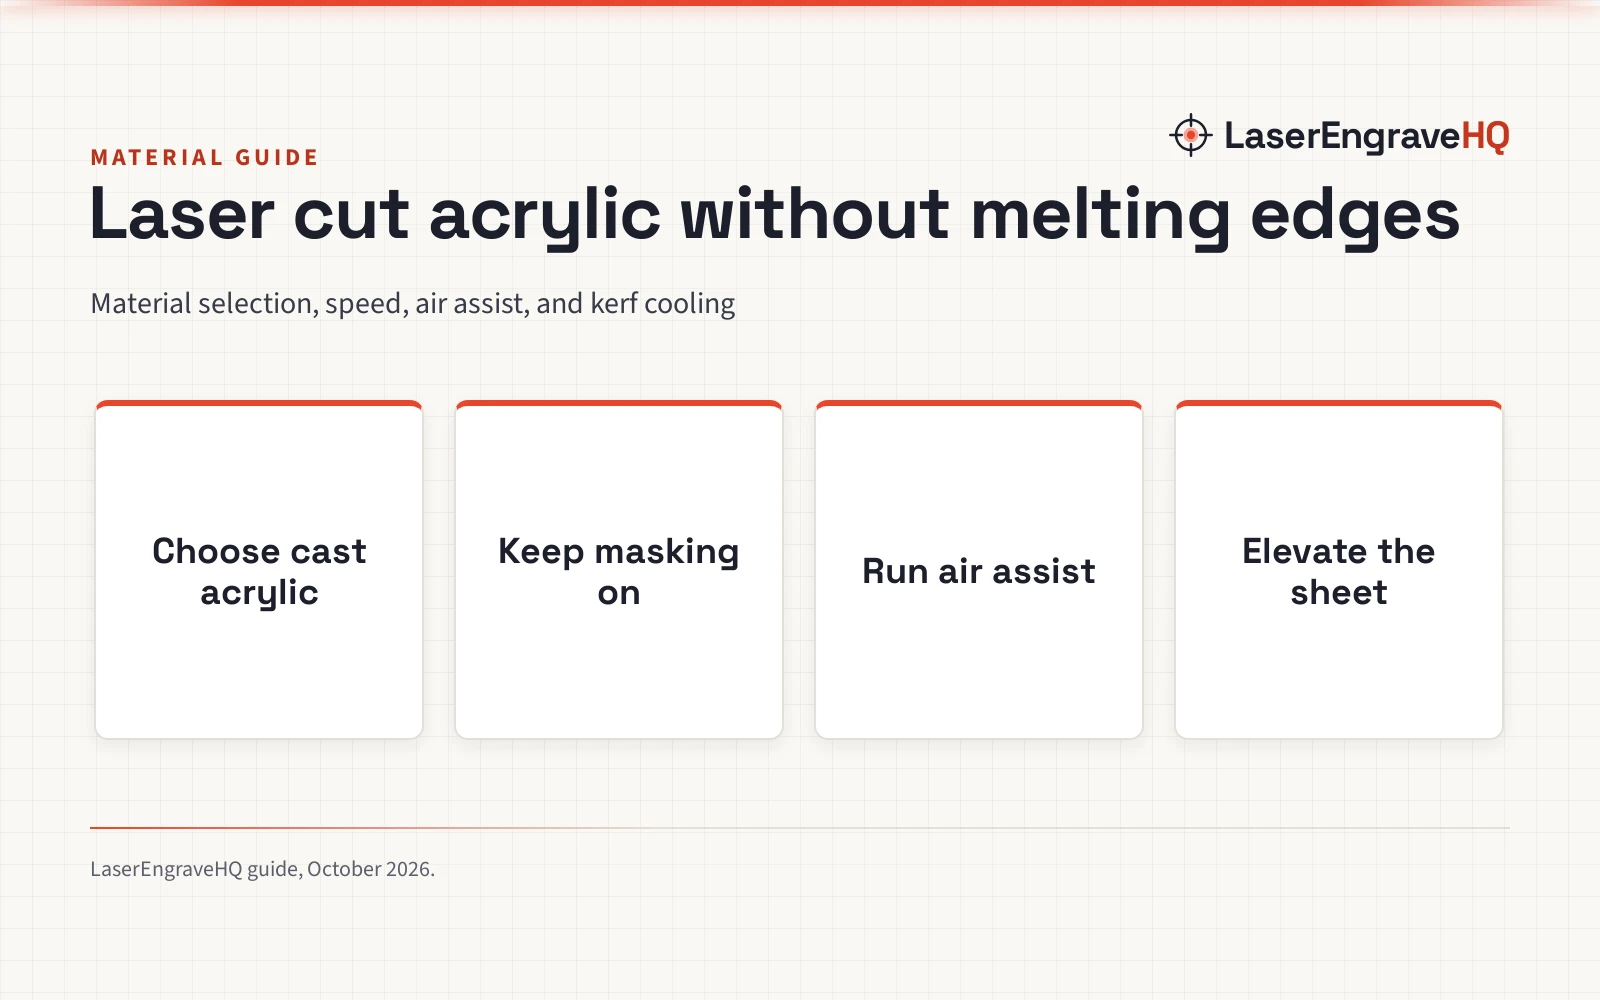
How to laser cut acrylic without melting edges comes down to a few core workshop practices: use cast acrylic instead of extruded material, keep the protective masking paper attached, cut with higher speed and moderate power, run continuous air assist, set the focal point precisely, elevate the sheet off the laser bed and allow the cut edges to cool before handling. Dialing in these workshop settings prevents excess heat buildup that turns crisp kerfs into gummy, warped borders. The sections below walk through each step in order, along with common setup errors to avoid.
Other machines to compare
 Lesnlok Black Transparent Acrylic Sheet 1/8 inch Thick 3mm 2Check price on Amazon
 KAITELA Pack of 10 Colored Cast Acrylic Sheet 12" x 12" xCheck price on Amazon
 Macarrie 12 Pcs Colored Acrylic Sheets 1/8 Inch ThickCheck price on Amazon
 Colored Acrylic Sheets 8x12Check price on Amazon
 Blue Acrylic Sheet 12" x 16" x 1/8"Check price on Amazon
 4 Pack 12×16 Clear Acrylic Sheets 1/8in Thick PlexiglassCheck price on Amazon
LaserEngraveHQ earns a commission from purchases made through these links, at no extra cost to you. Read our affiliate disclosure.
Cast acrylic cuts cleanly with polished edges, whereas extruded acrylic tends to melt and gum up. Every acrylic listing in our reference data specifies cast acrylic for laser cutting blanks.
Step 1: Choose cast acrylic instead of extruded sheets
The chemical structure of the plastic dictates how it reacts to laser energy. Cast acrylic is produced by pouring liquid resin between glass molds, creating high molecular weight polymer chains. When exposed to a focused laser beam, cast acrylic transitions directly from solid to gas through clean vaporization, leaving smooth, flame-polished edges with minimal residue.
Extruded acrylic is rolled into sheets through continuous manufacturing, yielding shorter polymer chains and a lower melting point. Instead of vaporizing cleanly under heat, extruded plastic liquefies, forming gummy burrs, raised rims and recasting along the kerf.
For example, Polvtor lists 1/8-inch (3mm) clear cast acrylic sheets measuring 8 x 12 inches for laser blanks, noting that cast acrylic cuts cleanly without chipping or edge melting. XLNT TECH provides 1/8-inch (3mm) transparent cast acrylic sheets measuring 8 x 12 inches, highlighting that cell-cast manufacturing produces smooth cut edges with minimal residue, and specifies that cutting transparent sheets requires a CO2 laser operating at a 10,600nm wavelength. Makers who work with both acrylic and timber can consult our guide to the best laser engraver for wood to compare machine types across materials.
Step 2: Leave the protective masking paper in place
Surface masking plays an essential role in edge quality. Quality cast acrylic panels ship with heavy paper masking applied with adhesive to both faces. This protective paper prevents scuffing during handling, but during laser processing, it serves an even more critical function: absorbing radiant heat along the kerf perimeter and shielding the sheet from vaporized resin deposits.
Adrattnay supplies 12 x 12 inch cast acrylic sheets with 1/8-inch (3mm) thickness, noting that double-sided protective paper should stay on the sheet during laser cutting to protect the surface and keep edges clean. If sheets arrive with thin plastic film instead of paper, peel off that film before processing and apply laser-safe paper transfer tape. Thin plastic film shrivels under heat, melting into the molten kerf and leaving sticky residue along the cut line.
Step 3: Dial in laser speed and power with fast passes
Edge melting occurs when thermal energy accumulates faster than the cut line can shed heat. Running a laser at slow travel speeds with high optical power allows heat to conduct outward into surrounding plastic, creating a wide heat-affected zone and rounding over the surface edges.
To minimize heat conduction, increase travel speed and use sufficient power to sever the material cleanly. When cutting thick stock, relying on a single slow pass concentrates heat in that channel and increases melting risk. Running multiple rapid passes allows thermal energy to dissipate between cycles, producing clean vertical walls. Review our laser engraver speed and power settings chart to align speed and power before starting batch production.
Step 4: Enable air assist to clear vapor and suppress flame
Vaporized acrylic consists of methyl methacrylate, a volatile organic vapor that burns readily. Without air assist, this hot gas lingers inside the narrow cut channel, where it can ignite small flares and re-condense against the cut faces, fusing the kerf back together.
Air assist delivers a continuous stream of pressurized air through a nozzle aligned with the laser beam. This airflow blows flame and hot vapor straight through the kerf and out the bottom of the cut, cooling the surrounding material before heat can conduct sideways. A steady airflow prevents edge discoloration and eliminates melted burrs. To equip your machine with appropriate airflow, consult our guide to the best laser air assist pumps.
Step 5: Set the focal point accurately
Achieving clean edge geometry requires concentrating laser energy into the narrowest waist of the beam. An unfocused or poorly leveled laser spreads energy over a broader area, slowing cutting action and dumping wasted thermal energy into the material, which creates sloped, melted borders.
For thin sheet blanks, align the focal point directly onto the top surface of the material using your machine focal tool. When processing thicker panels, setting the focal point slightly beneath the top surface centers the beam waist within the middle of the cut depth. This adjustment balances energy distribution between upper and lower surfaces, reducing edge taper and preventing top-surface melt.
Step 6: Elevate the acrylic sheet above the laser bed
Placing acrylic sheets directly on a solid metal table or a dirty cutting surface causes severe underside melting. As the laser beam penetrates through the bottom of the plastic, it strikes the metal bed and reflects upward into the underside of the sheet. This flashback melts localized divots, leaves scorch marks and damages the bottom edge finish.
Elevate the acrylic using standoff pins or a clean honeycomb grid. Standoff pins offer the cleanest support by eliminating contact along the cut perimeter entirely, allowing heat and vaporized resin to drop directly into the exhaust channel. If using a honeycomb table, keep the grid surface clear of residue to prevent flare-ups from igniting beneath the workpiece.
Step 7: Allow edges to cool before handling and cleaning
Freshly cut acrylic edges remain soft and pliable immediately after cutting. Leave the finished pieces on the cutting table while the ventilation system clears remaining vapors. Picking up warm parts can leave fingerprints on the soft edges or cause delicate geometric features to distort.
Once the components reach room temperature, carefully peel away the protective paper masking. If adhesive traces remain along the border, wash the parts using warm water and mild liquid soap with a microfiber cloth. Never clean laser-cut acrylic edges with alcohol, acetone or chemical solvents. Solvents relieve internal thermal stress by causing rapid crazing, which creates spiderweb micro-cracks along the cut margins.
Common mistakes to avoid
- Using extruded acrylic instead of cell-cast stock, which causes the material to melt into gummy burrs rather than vaporizing cleanly.
- Setting travel speed too slow with high power, trapping heat along the cut line and rounding over the surface edges.
- Peeling off protective paper masking prior to cutting, exposing the surface to scorch marks, soot and edge warping.
- Operating without continuous air assist, allowing flammable vaporized resin to accumulate and melt the kerf walls.
- Placing sheets flat on solid reflective surfaces, causing laser flashback that melts divots into the bottom edge.
- Wiping freshly cut edges with alcohol or harsh solvents, which triggers immediate chemical stress crazing and edge cracking.
How to laser cut acrylic without melting edges: the short version
- Choose cell-cast acrylic sheets for clean vaporization and polished borders.
- Leave protective paper masking attached to top and bottom surfaces.
- Increase travel speed and run multiple passes to prevent heat buildup.
- Use continuous air assist to extinguish flames and eject hot vapor.
- Focus the laser beam precisely on or slightly beneath the material surface.
- Support the sheet on standoffs or a clean grid to stop bed flashback.
- Let parts cool completely before peeling masking paper and washing with mild soap.
Consistent acrylic cuts rely on moving the beam quickly enough to vaporize plastic without allowing thermal conduction to melt surrounding stock.
FAQ: lasers and CNC
Why does acrylic melt instead of cutting cleanly?
Acrylic melts when the laser delivers heat faster than the material can vaporize into gas. Excess heat conduction, slow travel speeds and extruded plastic formulations cause the cut borders to liquefy into gummy ridges rather than vaporizing cleanly.
Is cast acrylic better than extruded acrylic for laser cutting?
Yes. Cast acrylic has a higher molecular weight than extruded acrylic, allowing the laser beam to vaporize the material into a clean gas that leaves crisp, flame-polished edges. Extruded acrylic melts at lower temperatures, resulting in raised ridges, gummy burrs and warped borders.
Can a diode laser cut clear acrylic without melting?
Standard diode lasers emit visible blue light that passes straight through transparent acrylic without sufficient absorption. As our guide on whether a diode laser can cut acrylic explains, transparent acrylic requires a CO2 laser cutter, whereas diode lasers can cut certain opaque, dark-colored acrylic blanks.
Should I remove the protective paper before cutting acrylic?
No. Keep the protective paper masking in place on both sides during cutting. The paper absorbs scorch marks, stops vaporized residue from depositing on the surface and shields the cut borders from stray heat.
Do I need air assist when cutting acrylic?
Yes. Air assist directs pressurized air into the kerf to extinguish small flames, flush out hot vaporized resin and cool the cut edges before heat can conduct into adjacent material.
What safety precautions should I take when laser cutting acrylic?
Laser cutting acrylic generates flammable vapors and irritating fumes. Always operate a dedicated exhaust system or use a rated purifier from our fume extractor guide to exhaust fumes outdoors. Keep a suitable fire extinguisher near your workbench, never leave active jobs unattended, and avoid hazardous plastics like PVC, vinyl and ABS, as outlined in our guide on materials you should never laser cut.
Related: the laser engraver hub, engraving materials hub and best acrylic sheet guide. Also see our what is a CO2 laser engraver guide and our review of the best CO2 laser cutter for home use.



