Compression vs Upcut Router Bit: Which One Should You Buy?
A guide comparing compression and upcut router bits: understand chip clearing, top and bottom edge finish, and when to pick each cutter for your CNC projects.

On this page
Top picks at a glance
As an Amazon Associate I earn from qualifying purchases.
- 1
 SpeTool 1/8 Inch Spiral Router Bits Up Down Compression Bit9.7/10View on Amazon
- 2
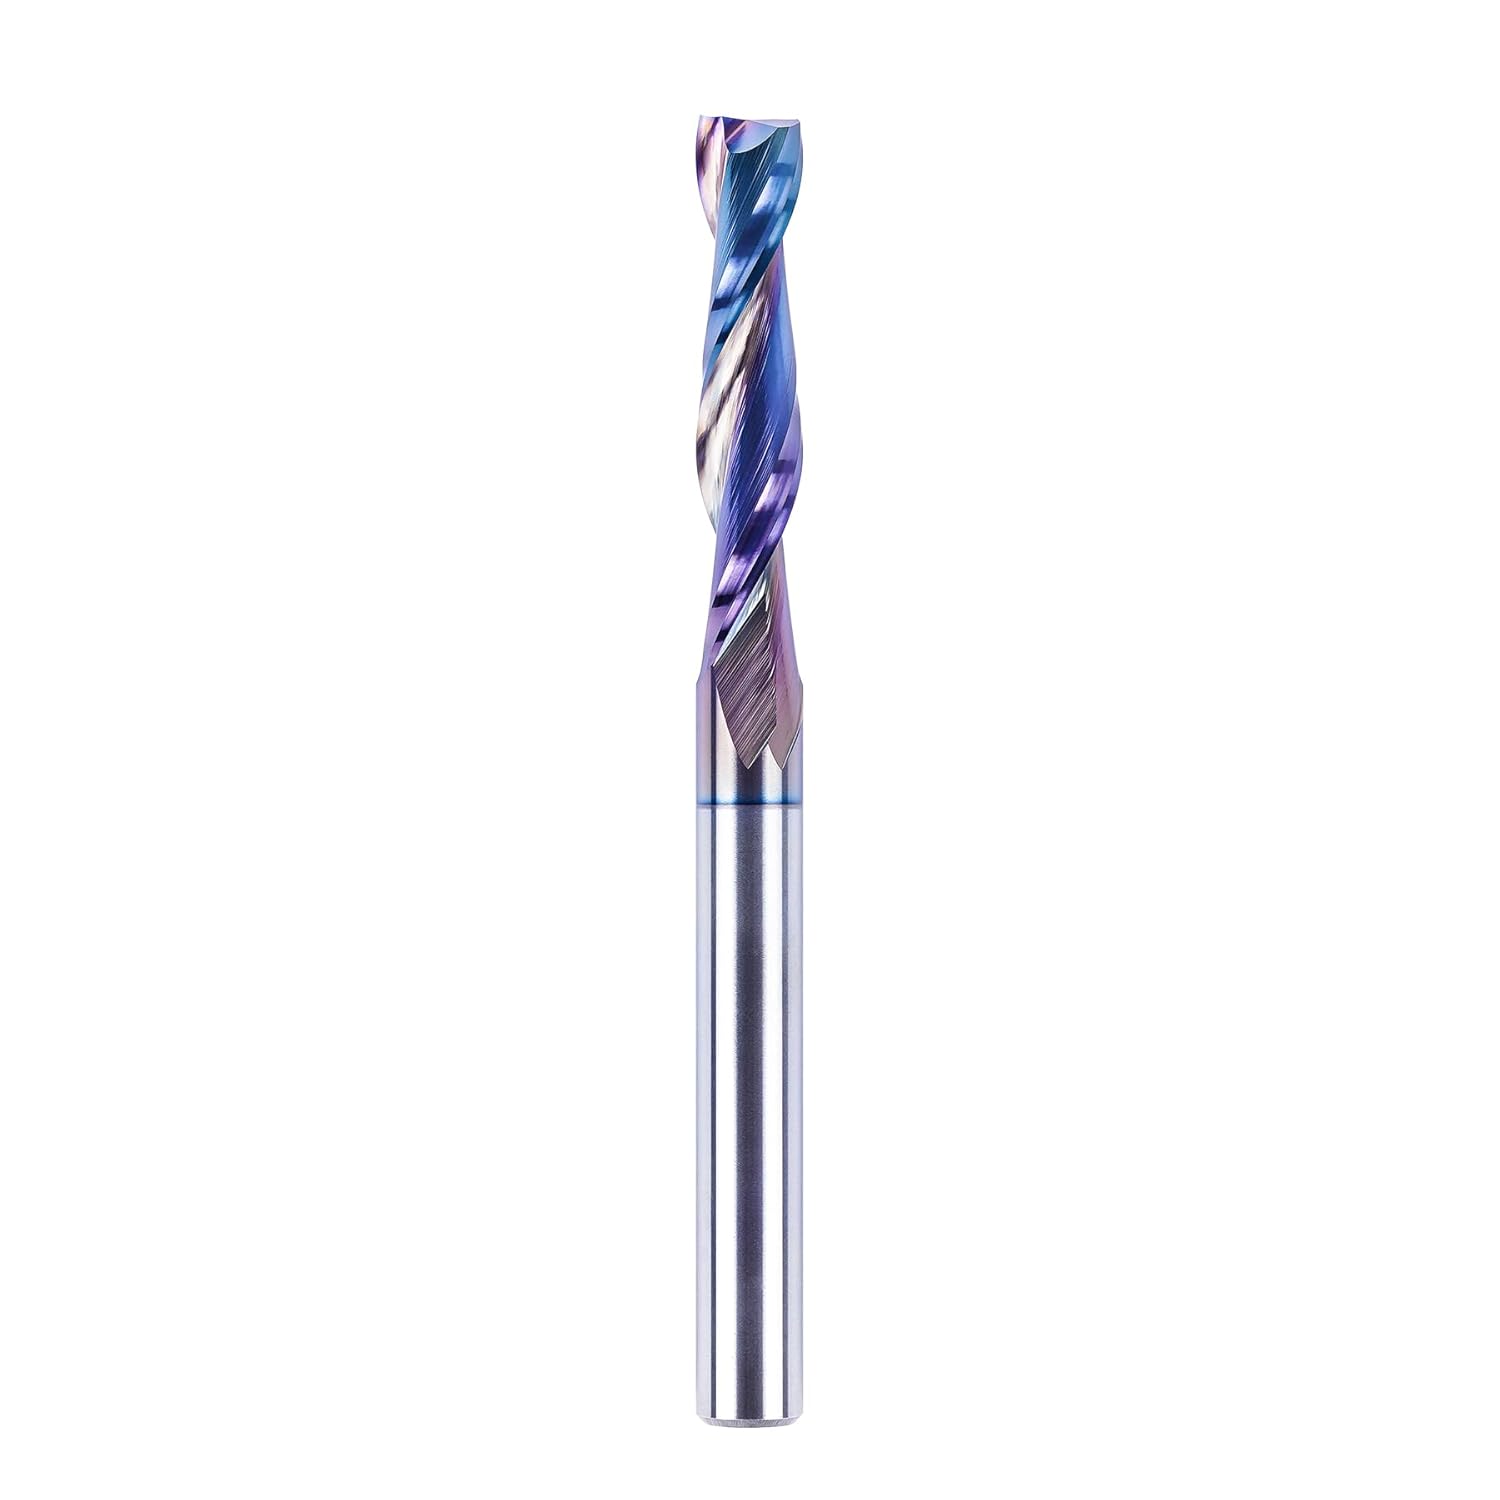 SpeTool Upcut Spiral Router Bits 1/4 Inch Shank with Coating9.7/10View on Amazon
- 3
 SpeTool UP&Down Compression Bit 1/4" Shank9.7/10View on Amazon
- 4
 Compression CNC Router Bit 1/4 Inch Shank and 1/4 InchView on Amazon
- 5
 Compression CNC Router Bit 1/4 Inch Shank and 1/8 InchView on Amazon
- 6
 Extra Long Compression CNC Router Bit 1/4 Inch Shank and 1/8View on Amazon
- 7
 Top Bearing Compression Flush Trim Router Bit 1/4" Shank 1/2"View on Amazon
- 8
 Compression Flush Trim Router BitView on Amazon
- 9
 ZahyoX 1/4 Inch Compression CNC Router Bit for WoodView on Amazon
When cutting nested cabinet parts, signs, or hardwood blanks on a CNC router, choosing between a compression vs upcut router bit comes down to balancing edge finish against chip clearing: an upcut bit pulls chips upward out of deep grooves to prevent heat and bit clogging, while a compression bit uses opposing spiral flutes to deliver clean, splinter-free edges on both the top and bottom surfaces of sheet goods during full-depth passes. The sections below walk through how each flute geometry works, when to use each cutter in your shop, and how to avoid costly ruined workpieces.
Other machines to compare
 Compression CNC Router Bit 1/4 Inch Shank and 1/4 InchCheck price on Amazon
 Compression CNC Router Bit 1/4 Inch Shank and 1/8 InchCheck price on Amazon
 Extra Long Compression CNC Router Bit 1/4 Inch Shank and 1/8Check price on Amazon
 Top Bearing Compression Flush Trim Router Bit 1/4" Shank 1/2"Check price on Amazon
 Compression Flush Trim Router BitCheck price on Amazon
 ZahyoX 1/4 Inch Compression CNC Router Bit for WoodCheck price on Amazon
LaserEngraveHQ earns a commission from purchases made through these links, at no extra cost to you. Read our affiliate disclosure.
Cutting performance depends on spindle runout, feed rates and workpiece clamping as much as flute profile. A premium compression bit cannot compensate for loose workholding or machine deflection.
Step 1: Understand how flute geometry directs chips
Spiral router bits operate on the same mechanical principle as twist drills: as the tool spins, the helix angle of the flutes directs waste material along the axis of the cutter. On an upcut bit, the flutes twist upward toward the shank. This design scoops chips away from the cutting tip and evacuates them toward the dust shoe or extraction collector. Because waste leaves the kerf promptly, an upcut spiral minimizes friction and keeps cutting temperatures low.
A compression bit solves an entirely different problem by combining opposing spiral flutes on a continuous cutting edge. The lower tip of the tool features an upcut spiral, while the upper section features a downcut spiral. When the bit cuts at full depth, the lower section shears wood fibers upward into the kerf and the upper section shears fibers downward into the kerf. This opposing shearing action compresses chips toward the vertical center of the cut channel rather than tossing them out across the surface of your material. To see how these profiles fit into the broader spectrum of workshop cutters, browse our overview of CNC router bit types.
Step 2: Compare cut quality on top and bottom faces
The direction in which a spiral flute shears wood fibers determines where tearout occurs. Because an upcut bit pulls upward, it draws bottom fibers into the solid core above them, leaving a crisp, clean bottom edge. However, at the top surface, the upward shearing direction pulls delicate face veneers, laminates, and wood fibers upward into open air with no backing material to support them. The result is splintering, fraying, and chipout along the top edge of the cut channel. For deep dados or mortises where the top surface is later hidden or sanded flat, this top fraying may not matter, but on pre-finished sheet goods it ruins the finished part.
A compression bit prevents surface damage on both faces simultaneously. Because the top edge of the workpiece meets downcut flutes that press downward, surface fibers stay firmly pressed against the core. At the same time, the bottom edge meets upcut flutes that pull upward against the core. Both exterior faces come out sharp, clean, and ready for edge banding or finishing without requiring extra sanding or trimming. If you want a deeper look at the standalone versions of these geometries, read our breakdown of an upcut vs downcut end mill.
Step 3: Check cut depth and the upcut transition zone
The defining technical constraint of a compression bit is its upcut tip height, often called the transition zone. Because the bottom section of the bit cuts upward, your pass depth must be deep enough that the transition point sinks entirely below the top surface of your material. If you run a shallow pass where only the upcut tip engages the stock, the bit acts as a pure upcut cutter and splinters the top veneer.
Tool dimensions illustrate how bit sizing affects your pass depth. For instance, the Whiteside UD2102 lists a 1/4-inch shank, a 1/4-inch cutting diameter, and a 1-inch cutting length. SpeTool lists bits with a 1/4-inch shank, a 1/4-inch cutting diameter, a 1-1/4-inch cutting length, and a 3-inch overall length. SHARPRO lists bits with a 1/4-inch shank, a 1/8-inch cutting diameter, a 3/4-inch cutting length, and a 2-1/2-inch overall length. On any compression bit, the upcut portion at the tip must sit completely below the upper surface of your material so the downcut portion can shear downward against the top face. When working with thin material, a short upcut tip is essential to ensure the downcut portion engages. If your CNC router cannot manage full-depth cuts due to rigidity limits, ramping the tool along a gradual slope allows the cutter to reach full depth smoothly while keeping both flutes engaged along the profile. Our guide on what is a compression router bit covers these pass strategies in detail.
Step 4: Factor in workholding and machine rigidity
Cutting forces differ markedly between these bit styles, and your workholding setup must handle those forces without slipping. An upcut bit generates continuous upward vertical force as the spiral pulls chips out of the cut. On light desktop machines or when cutting small parts secured with light hold-down tape, this lifting force can lift the workpiece off the spoilboard, causing dimensional chatter or throwing the part loose. Vacuum hold-down systems and heavy mechanical clamps are ideal for counteracting upcut lifting forces. See our guide on clamping ideas on a CNC router for reliable workholding methods.
A compression bit produces opposing vertical forces during a full-depth cut. The downward thrust of the upper flutes counteracts the upward pull of the tip, helping stabilize the material against the spoilboard rather than lifting it. However, packing chips into the kerf means the bit encounters higher lateral cutting resistance than an upcut tool with open chip evacuation. Your CNC frame and gantry requires sufficient stiffness to push through the cut without deflection or lost steps. Makers operating lightweight machines listed in our best desktop CNC for beginners roundup often benefit from ramping cutter entries to ease tool pressure.
Step 5: Match the spiral bit to your workpiece material
Material selection dictates which tool belongs in your router collet. Sheet goods like Baltic birch plywood, veneered MDF, melamine, and laminated cabinetry panels benefit significantly from a compression bit. The delicate surface veneers on these boards chip easily under upward tension, and edge repair on finished cabinetry is time-consuming and noticeable. A compression cutter allows you to run nested parts in a full-depth pass with clean top and bottom lines ready for assembly.
Solid hardwoods and softwoods offer more flexibility. When hogging out deep pockets, carving mortises, or cutting thick hardwood slabs where rapid chip clearance prevents cutter burning, an upcut bit is often preferred. The efficient chip ejection keeps heat away from the cutting edges, prolonging tool sharpness across lengthy carving jobs. If you are tuning feed rates to avoid scorching hardwood edges, consult our primer on CNC feeds and speeds for beginners before starting your production run. To keep your work flat and protect bit tips during through-cuts, also review how to set up a spoilboard on a CNC.
Common mistakes to avoid
- Running a compression bit on shallow passes where only the upcut tip engages the stock.
- Using an upcut bit on pre-finished plywood or melamine without expecting heavy top tearout.
- Relying on weak tape or light clamping when an upcut bit exerts strong upward pulling force.
- Plunging straight down with a compression cutter instead of ramping into the cut.
- Pushing feed rates too slow, which creates fine dust and causes cutter heat buildup.
Compression vs upcut router bit: the short version
- Use an upcut bit for mortising, grooving, pocketing, and rapid chip evacuation.
- Use a compression bit for full-depth cutout passes on plywood, laminates, and veneers.
- Ensure your cut depth exceeds the upcut tip height on a compression bit.
- Secure thin sheet stock firmly to resist the upward lifting forces of upcut flutes.
- Ramp into cuts to protect cutter tips and keep chip evacuation pathways open.
FAQ: lasers and CNC
Can a compression bit be used for shallow carving or engraving?
A compression bit requires the cut depth to exceed the upcut tip height so the downcut flutes engage the top surface. In shallow carving, only the upcut portion touches the stock, behaving like a standard upcut bit and offering no top-edge tearout protection.
Why does an upcut bit fray the top surface of plywood?
The upward spiral flutes scoop chips upward toward the router collet. This lifting action pulls surface wood fibers and thin veneer layers upward away from the core, causing tearout along the top edge of the cut.
Can an upcut router bit cut all the way through a workpiece?
Yes, an upcut bit cuts completely through stock, leaving a clean bottom edge because the upward shearing action pulls bottom fibers into the core above them. However, the top surface will show tearout on delicate sheet goods, and the tool will exert upward lifting force on the workpiece.
Do compression router bits pack chips into the cut?
Compression bits push chips from the top down and pull chips from the bottom up, concentrating debris toward the middle of the cut channel. On through-cut profiles, chips clear as parts separate, whereas in enclosed slots chips remain packed in the kerf. For enclosed mortises and slots, an upcut bit provides superior evacuation.
Can you plunge directly into stock with a compression bit?
Straight vertical plunges can cause heat buildup because chips cannot eject freely until the tool moves laterally. Ramping into the cut or using a lead-in path allows the flutes to eject waste smoothly.
Which bit is better for solid hardwood?
Upcut and compression bits each serve distinct roles in solid timber. An upcut bit excels at deep mortises and pocket clearing where rapid chip evacuation prevents burning. A compression bit excels when profiling finished parts where both the top and bottom faces must remain crisp and splinter-free.
Related: the CNC tooling hub, best CNC router bits and best CNC bit set for beginners. Also see our what is a compression router bit. Also see our upcut vs downcut end mill.