3D Printer Extruder Parts: Types and Replacement Guide
A guide to 3d printer extruder parts: the drive gear, hotend and nozzle, how to match each part to the printer, and how to swap a worn part.

On this page
Top picks at a glance
As an Amazon Associate I earn from qualifying purchases.
- 1
 Creality Official Ender 3 Extruder Upgrade Metal Drive Feeder9.6/10View on Amazon
- 2
 FLASHFORGE AD5X Extruder9.6/10View on Amazon
When the printer stops feeding mid-print and an unfinished bracket sits on the bed, the fix usually sits in the 3d printer extruder parts: the drive gear that grips the filament, the hotend that melts it, and the nozzle that lays it down. This guide names each part, explains what it does, and shows how to match a replacement to the printer.
LaserEngraveHQ earns a commission from purchases made through these links, at no extra cost to you. Read our affiliate disclosure.
This guide gives no print temperatures or speeds, because the listings state no setting that fits every machine and material. Use the figures the maker of each part states, and follow the manual of the printer.
Step 1: What the extruder does
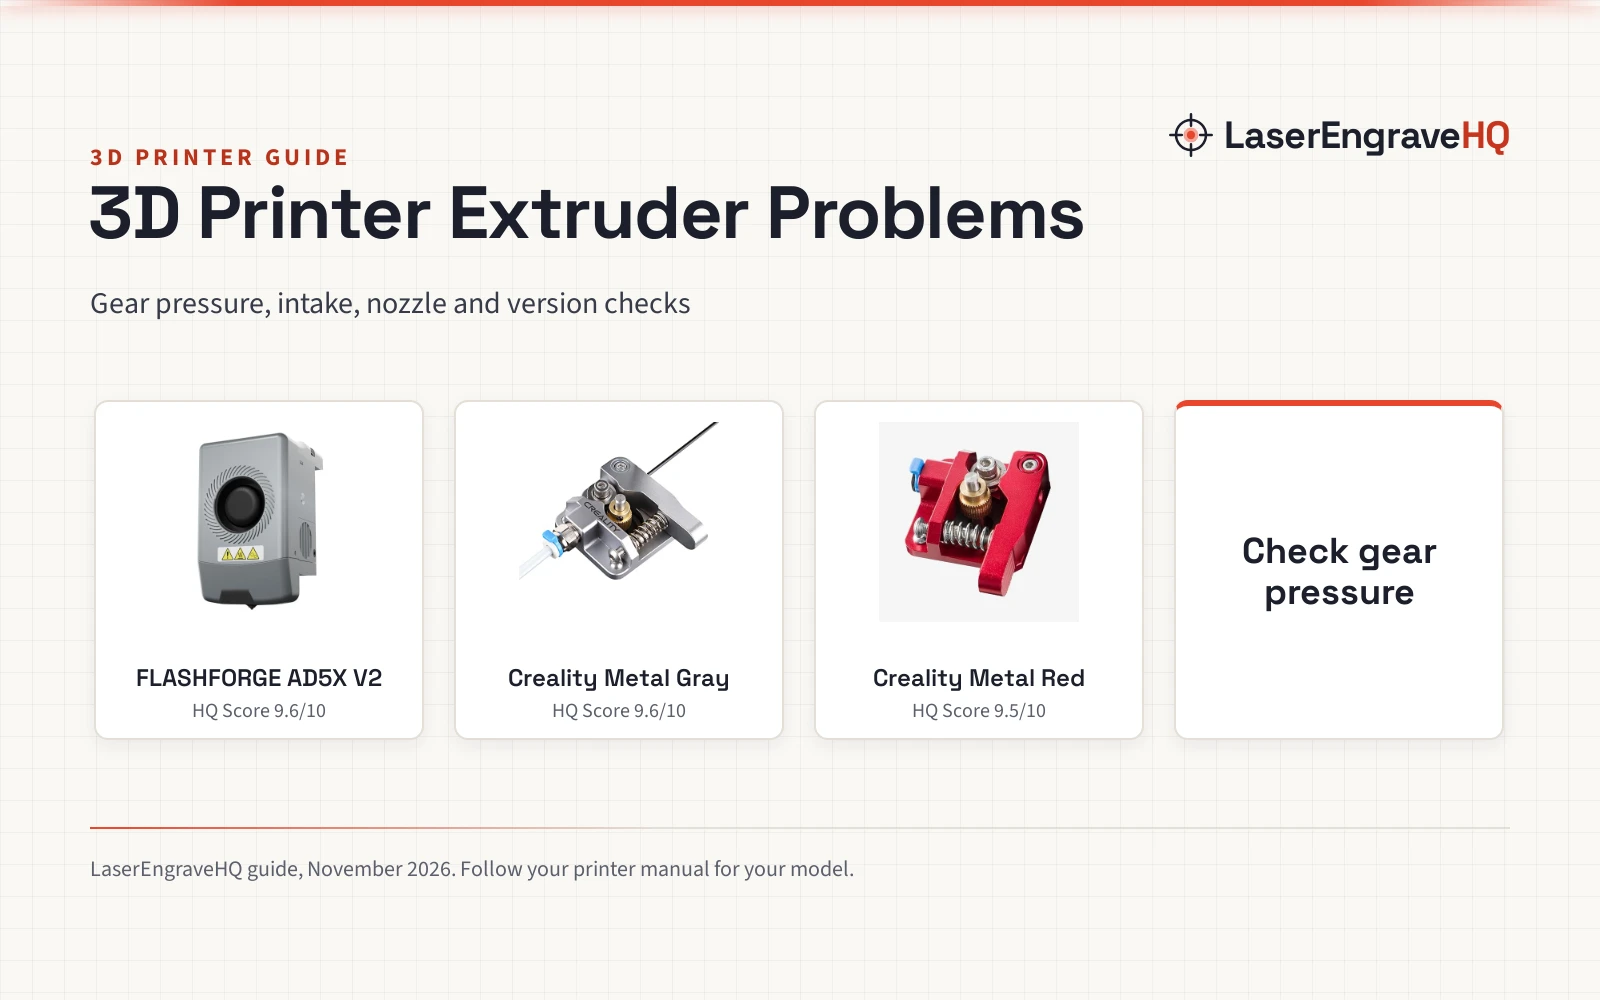
The extruder is the feed system of the printer. A drive gear grips the filament and pushes it into the hotend, where heat melts it for the nozzle. On the Creality metal extruder (on Amazon), a 40 teeth drive gear feeds 1.75mm filament, and an adjustable bolt sets the pressure of the extruder gear. A beveled filament intake can keep the filament from scraping as it is pulled into the feeder. When the gear slips or the pressure is wrong, the filament stalls and the print starves, so the drive gear is the part to check when feeding fails. The extruder sits in 2 layouts: Bowden, where the extruder pushes filament through a tube to a printhead hotend, and direct drive, where the extruder rides on the printhead.
Step 2: Know the parts by name
An extruder breaks down into a small set of parts. The drive gear and feeder grip the filament. An adjustable bolt or clamp sets the pressure of the gear on the filament. The Bowden tube, where fitted, guides the filament from the extruder to the hotend. The hotend holds the heater block, the heat sink, the thermistor and the heater cartridge. The FLASHFORGE AD5X extruder (on Amazon) pairs a 0.4mm high flow hotend that supports extrusion rates up to 32 mm³/s with an integrated metal tube between the heater block and the heat sink. The SAPLUSREPRAP hotend kit (on Amazon) lists an M3 stud NTC 100K thermistor, a 24V 40W heater wire, 5 x 0.4mm brass nozzles, 3 silicone cases for the heated block, 2 aluminum heated blocks and 1 wrench. The nozzle is the wear part: its bore sets the line width, and its tip sits just above the bed while it prints. The heat break sits between the heat sink and the heater block and limits heat creeping up the filament path.
Step 3: Match the part to the printer
Compatibility comes before price or features. The Creality metal extruder kits list Ender-3, Ender-3 Pro, Ender-3S, Ender-3 V2, Ender-3 Max, CR-10 and CR-10S. The SAPLUSREPRAP hotend kit lists CR-10, CR-10-S5, CR-10-S4, CR-10S, CR-10 MINI, CR-20, CR-20 Pro, Ender 2, Ender 3, Ender 3 V2, Ender 3 Pro and Ender 5. The FLASHFORGE AD5X extruder comes in V1 and V2 versions, which are not interchangeable: the difference is the top cover interface shape, so confirm the version before buying. The UniTak3D direct drive bracket (on Amazon) fits Ender 3 V2, Ender 3 Pro, Ender 3 and Voxelab Aquila, and does not fit Ender 3 Max, Ender 3 Neo or Ender 3 V2 Neo, and does not fit the TITAN extruder. The bracket kit does not include the extruder or the hotend. See the 3D printer parts diagram to place each part on the machine before ordering.
Step 4: Pick a nozzle size
Nozzle size sets the balance between detail and speed. The FLASHFORGE listing recommends 0.25 mm and 0.4 mm nozzles for PLA, PETG and ABS, while 0.6 mm and 0.8 mm nozzles suit carbon fiber, glass fiber and other abrasive composites. Larger nozzle diameters lower the risk of clogging and enable faster printing. The 0.4 mm size is the common starting point: the SAPLUSREPRAP kit ships with 5 x 0.4mm brass nozzles. A worn nozzle shows up as rough walls, inconsistent lines or a bore that measures wider than the size stamped on it. Keep a spare of the size used most, and match the nozzle thread and heater block to the hotend on the printer. See our 3D printer nozzle size guide for the full range.
Step 5: Replace the hotend or nozzle
Swap a hotend or nozzle with the printer off and cool, and work in the order the manual gives. Load and unload filament using the printer interface: the FLASHFORGE guidance warns that pulling the filament out by hand may increase the risk of drive gear clogging. After replacing the extruder, run the bed leveling calibration so the nozzle sits at the right height over the bed. The SAPLUSREPRAP guidance adds a re-check of the heatbed level after installing a new hotend or nozzle, to avoid the nozzle scratching the heatbed, and says to screw the thermistor into the heated block by hand, not by tool. The heater wire and thermistor wire on that kit use fast replace plug connectors, so the hotend comes off without cutting wires. See our 3D printer replacement parts guide for the parts that wear out with use.
Step 6: Bowden or direct drive
Bowden and direct drive are 2 ways to move filament, and the choice shapes which parts wear. In a Bowden setup the extruder sits away from the printhead and pushes filament through a tube, which keeps the printhead light. In a direct drive setup the extruder rides on the printhead, which shortens the filament path and improves extrusion and retraction. The UniTak3D bracket converts a Bowden machine to direct drive with no X, Y or Z-axis build volume lost and no firmware or wiring modification. Direct drive also improves print quality with TPU and other flexible materials, because the short path gives the filament less room to buckle. The Wolias direct drive kit comes with a 42-40 stepper motor hotend kit, supports flexible TPU filament and BL Touch, and fits Ender 3, Ender 3 Pro and Ender 3 V2. See our 3D printer filament types guide to match the filament to the layout.
Common mistakes to avoid
- Ordering the wrong AD5X version: V1 and V2 are not interchangeable, and the top cover interface shape tells them apart.
- Buying a conversion bracket and expecting an extruder in the box: the UniTak3D bracket ships without the extruder and hotend.
- Pulling filament out by hand instead of using the printer interface, which may clog the drive gear.
- Skipping bed leveling after a swap, then wondering why the base layer fails.
- Fitting a large nozzle for fine detail work, then finding the lines too wide.
3d printer extruder parts: the short version
- Name the part that failed: drive gear, hotend or nozzle.
- Match it to the printer model and version.
- Pick the nozzle size for the filament in use.
- Load and unload filament through the printer interface.
- Level the bed after the swap.
- Keep a spare nozzle and thermistor in the parts drawer.
FAQ: lasers and CNC
What does a 3D printer extruder do?
It feeds filament into the hotend. A drive gear grips the filament and pushes it through, the hotend melts it, and the nozzle lays it down in lines. When feeding fails, the drive gear and the pressure bolt are the parts to check.
What nozzle size should I use?
Use 0.25 mm or 0.4 mm nozzles for PLA, PETG and ABS, and 0.6 mm or 0.8 mm nozzles for carbon fiber, glass fiber and other abrasive composites. The 0.4 mm size is the common starting point.
How do I know if my extruder is V1 or V2?
Check the top cover interface shape: the FLASHFORGE AD5X comes in V1 and V2 versions, which are not interchangeable, and the shape of the top cover tells them apart. Confirm the version before buying.
Can I convert a Bowden printer to direct drive?
Yes, with a conversion bracket such as the UniTak3D bracket, which fits Ender 3 V2, Ender 3 Pro, Ender 3 and Voxelab Aquila. It does not fit Ender 3 Max, Ender 3 Neo or Ender 3 V2 Neo, and the extruder and hotend are not included.
What filaments can a 1.75mm extruder feed?
The Creality metal extruder lists PLA, ABS, Wood, TPU and PTEG for its 1.75mm filament feed. For abrasive composites such as carbon fiber and glass fiber, the FLASHFORGE listing pairs them with 0.6 mm and 0.8 mm nozzles.
Do I need to level the bed after replacing the extruder?
Yes. The FLASHFORGE guidance says to perform bed leveling calibration after replacing the extruder, and the SAPLUSREPRAP guidance says to re-check the heatbed level after installing a new hotend or nozzle.
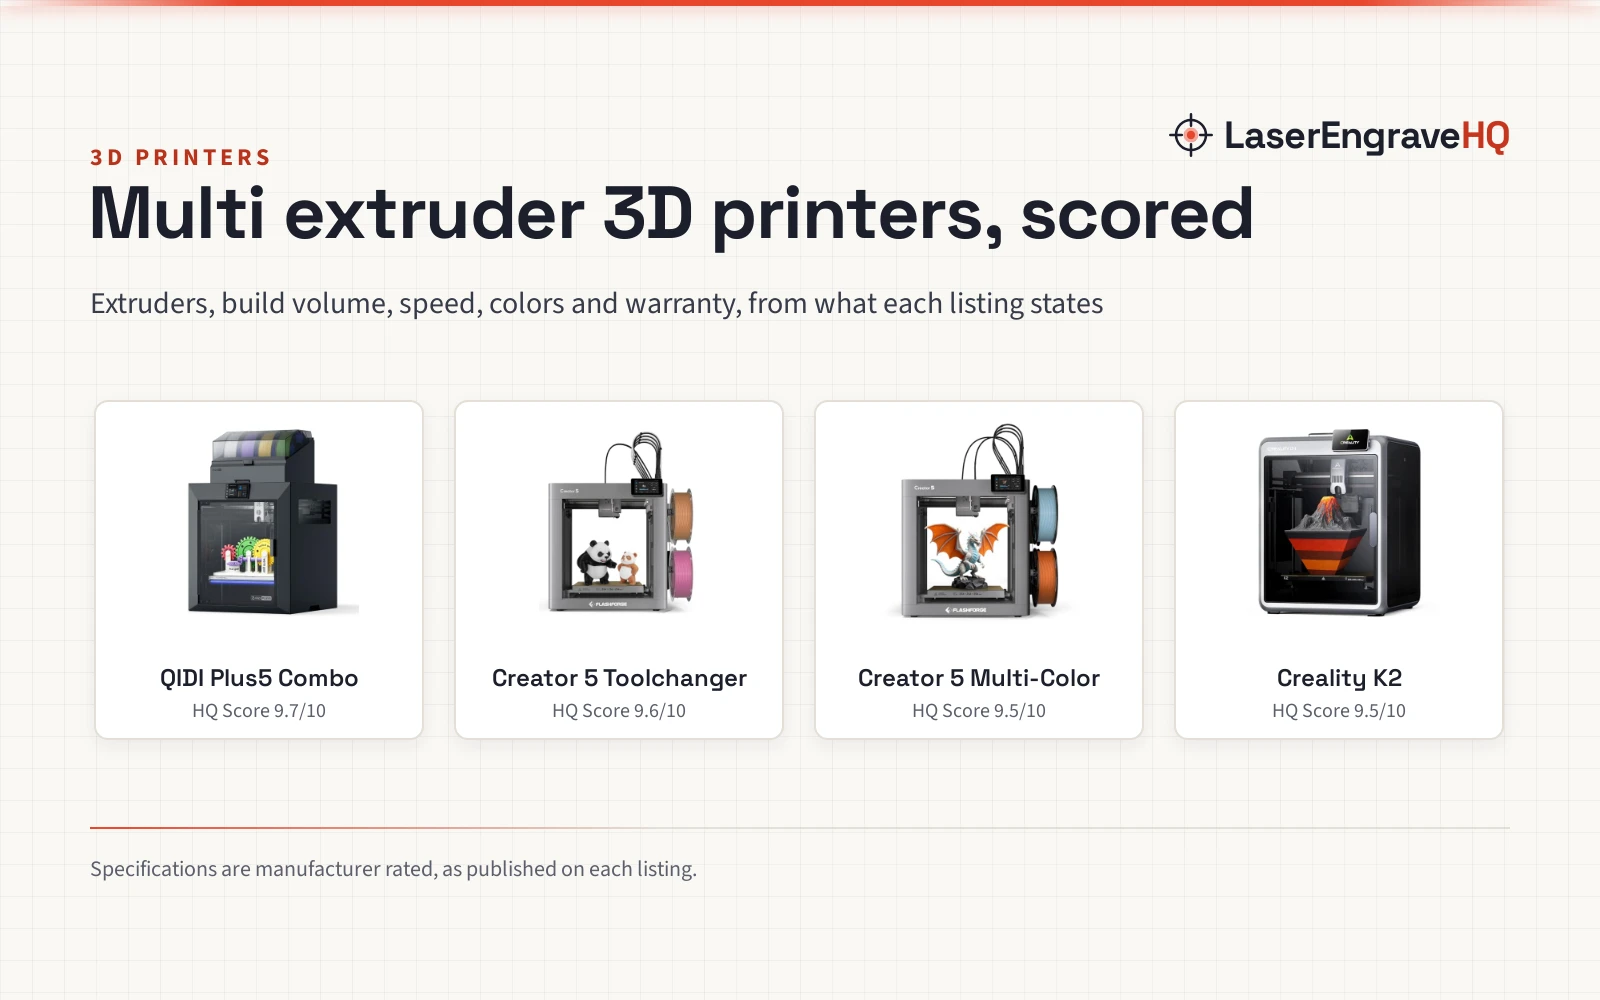
Related: the 3D printer hub, 3D printer parts diagram and 3D printer maintenance. Also see our 3D printer nozzle size. Also see our best multi extruder 3D printer. Also see our 3D printer maintenance kit.