Leather Sewing Machine for Beginners: What to Look For
A leather sewing machine for beginners means a machine that sews leather without skipped stitches: this guide covers electric and manual types and the figures that matter.

On this page
Top picks at a glance
As an Amazon Associate I earn from qualifying purchases.
- 1
 Handheld Sewing Machine Heavy Duty9.2/10View on Amazon
- 2
 BEAMNOVA Leather Stitching Machine9.7/10View on Amazon
- 3
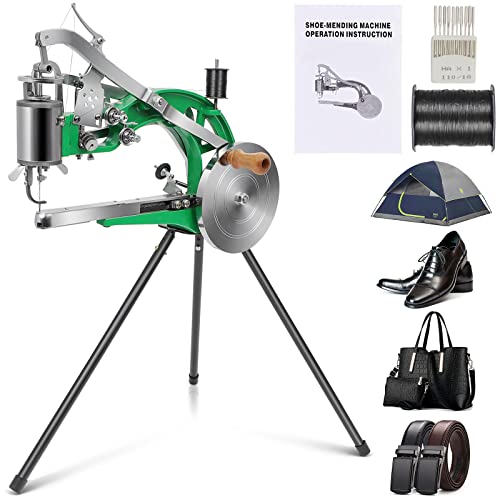 Leather Cobbler Machine9.6/10View on Amazon
A leather sewing machine for beginners is a machine that sews leather: either an electric home machine built for heavy fabric, or a manual cobbler machine made for shoes, bags and thick seams. The right pick depends on what you sew, how thick the leather is, and whether you want a motor or a hand wheel. The steps below walk through the choice, the setup and the sewing itself.
LaserEngraveHQ earns a commission from purchases made through these links, at no extra cost to you. Read our affiliate disclosure.
Listings for these machines change often, so this guide gives no price figures. Compare the figures each maker states for stitches, thickness and motor, and sew a practice piece before starting on leather you care about.
Step 1: Pick electric or manual first
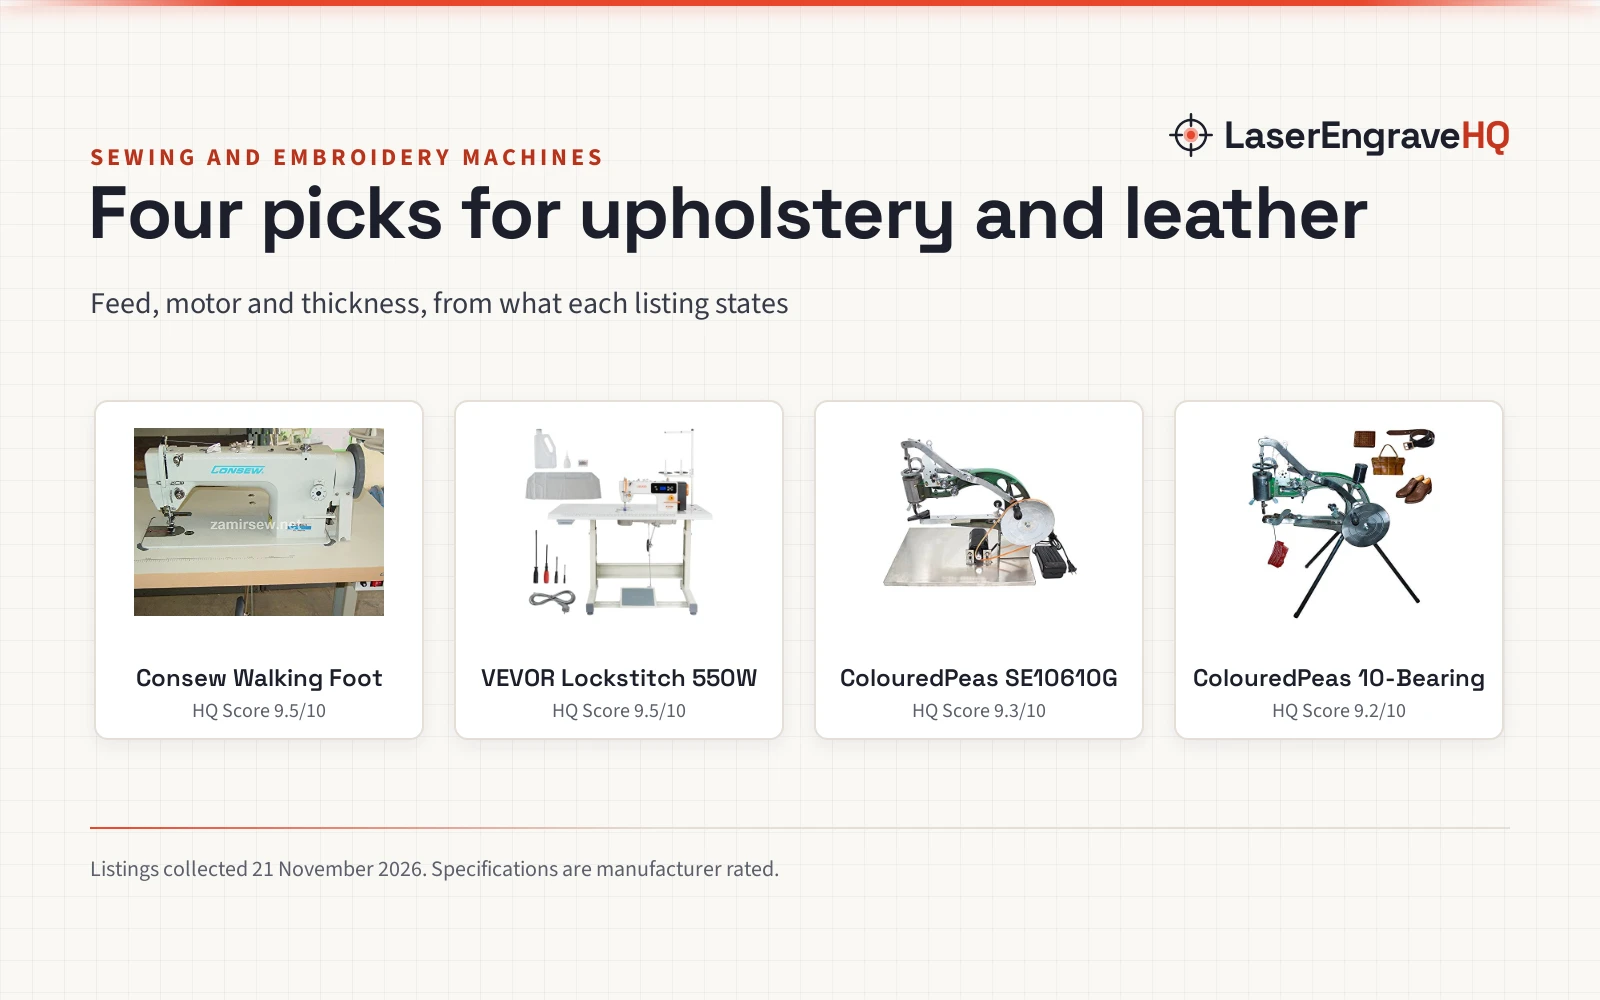
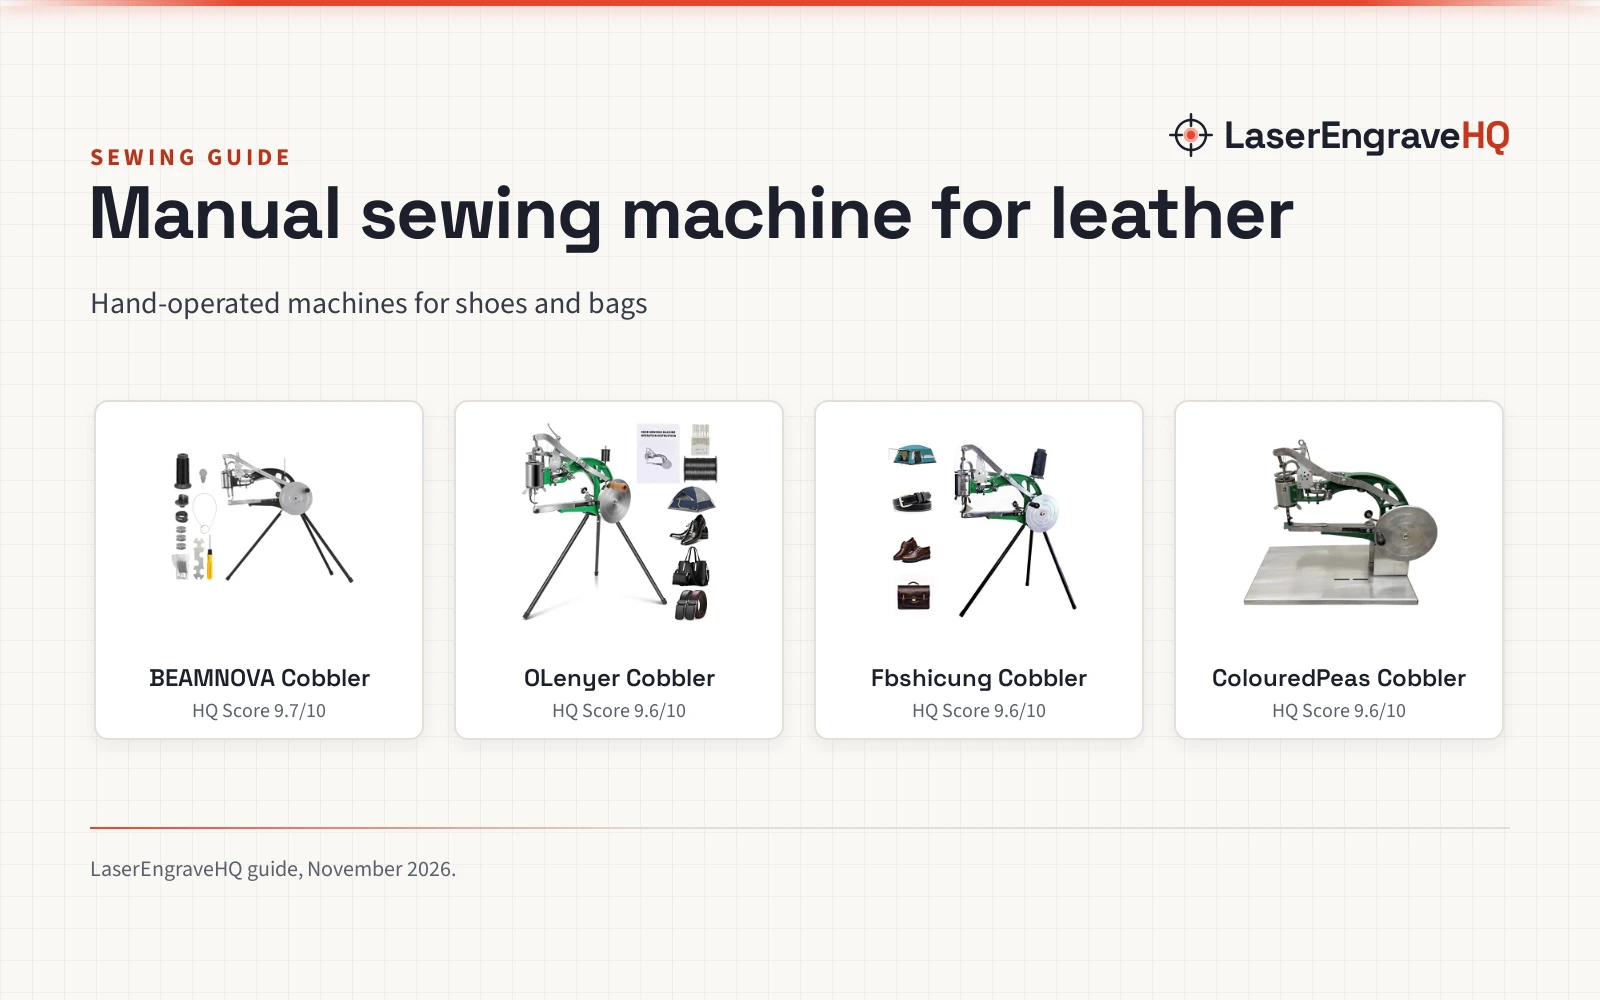
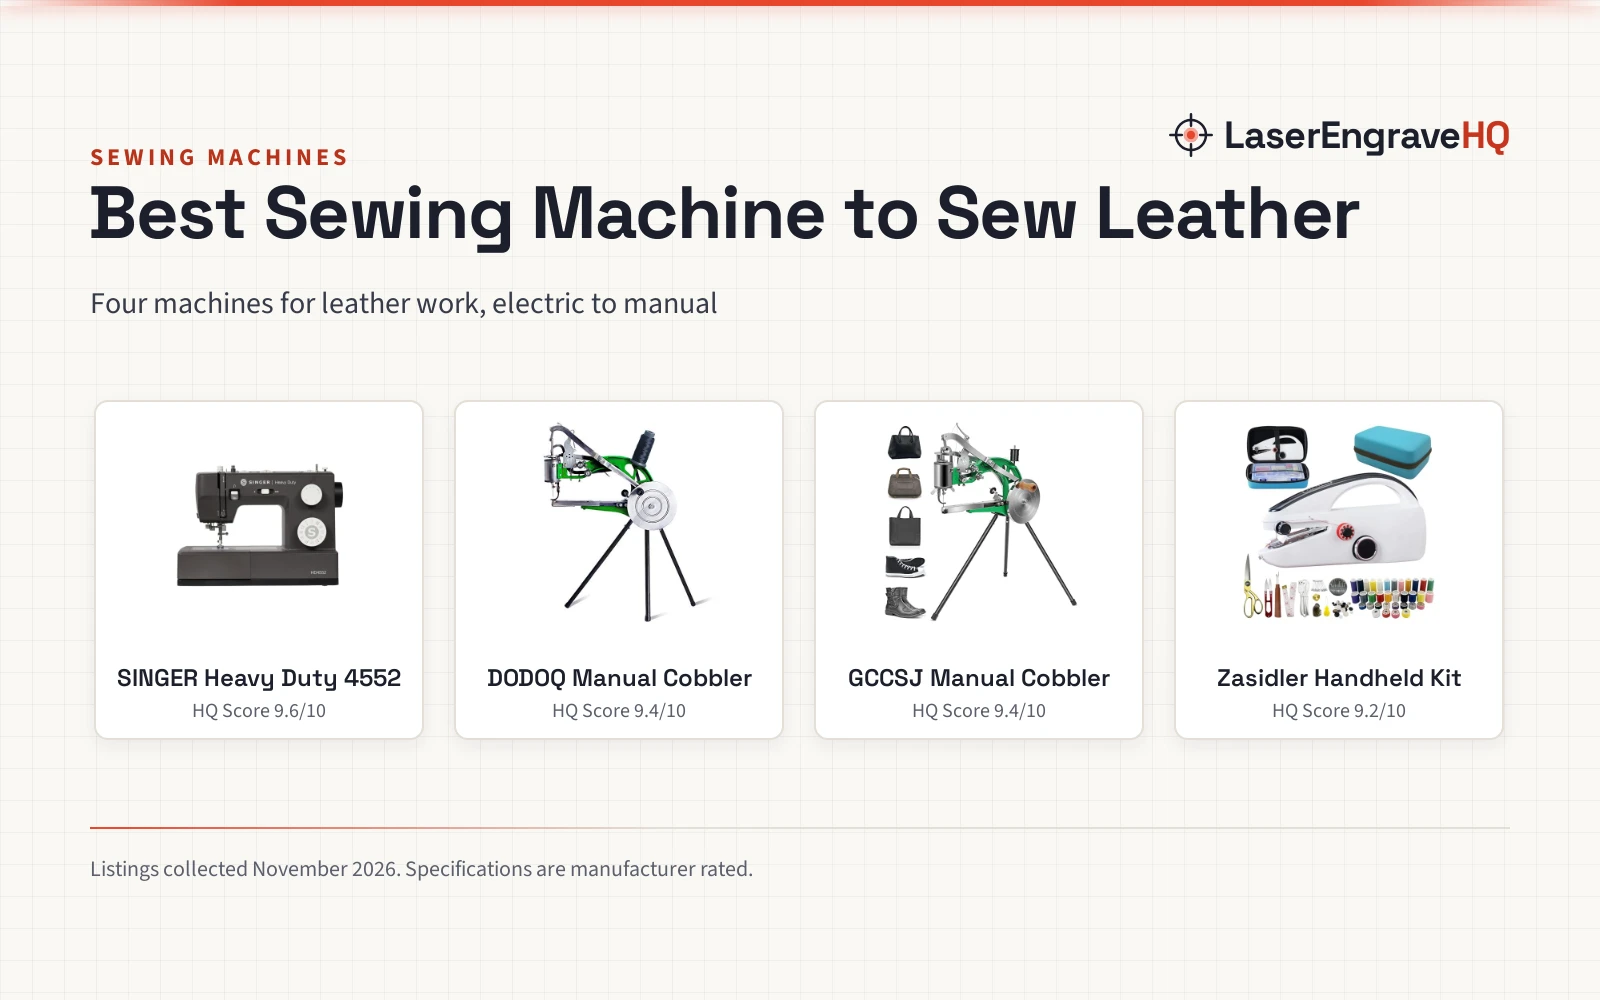
Start with the machine type, because it decides everything else. An electric home machine runs on a motor, while a manual cobbler machine runs on a hand wheel and sews one stitch at a time. The SINGER example is electric: a heavy duty machine with a metal frame, a strong piercing power the maker states for leather to lace, and 23 built-in stitches. The manual examples are cobbler machines for shoes, bags, clothes and tents, and they sew with nylon line or cotton line.
A manual machine suits a beginner who sews thick seams in small batches and wants to control the speed by hand. An electric machine suits a beginner who sews garments and soft leather goods and wants stitch variety. The ColouredPeas motor (on Amazon) example mixes both: a 250W motor on a stainless steel base, with a manual mode for thick leather. The maker states that the electric mode drives only a little power, so thick leather still needs manual work. For a closer look at heavy machines, the heavy duty sewing machine for beginners guide walks through the choice.
Step 2: Check stitches, thickness and motor
Stitch count is the first figure to compare on an electric machine. The SINGER example states 23 built-in stitches and 110 stitch applications, with a 1-step buttonhole and adjustable stitch length and width. A beginner needs a straight stitch for leather seams; decorative stitches matter less at the start.
Thickness is the figure that decides whether a machine handles your leather. The ColouredPeas examples state a maximum sewing thickness of 0.48 inches. The FAHKNS example states a stitch thickness of 0.19-0.24 inches and a stitch dispenser of 0.08-0.35 inches (2-8 mm). Match the figure to the leather you sew, and remember that folded seams and layered edges are thicker than a single piece.
Motor power is the third figure. The ColouredPeas motor example states a 250W motor at 110V, on a stainless steel base. The manual examples state no motor at all: speed comes from the hand wheel, and the maker states that the operator controls the speed and adjusts it at any time. A motor helps on long seams; a hand wheel helps on short, thick seams where each stitch counts.
Step 3: Check weight, size and where the machine sits
Weight and size decide where the machine lives. The SINGER example weighs 21.5 pounds and measures 17.8 by 7.8 by 11.0 inches, and it comes with a carrying case that fits the machine. The ColouredPeas manual example measures 19.15 by 13.0 by 6.0 inches, and the motor example measures 21.0 by 16.0 by 8.0 inches. The FAHKNS example measures 20.0 by 13.0 by 5.5 inches and has a detachable stand, so it stores easily when idle and mounts on a board or table when in use.
Measure the table before ordering, and leave room around the machine for the leather to move. The FAHKNS stand mounts on a board or table when in use, and the ColouredPeas motor example sits on a stainless steel base. The SINGER case (on Amazon) has a non-slip tray and a safety lock clasp for storage and transport.
Step 4: Set up, oil and thread the machine
The IRONWALLS, FAHKNS and BACHIN examples need assembly: the makers state that the buyer assembles the machine, and the IRONWALLS and BACHIN makers state that assembly takes only a few minutes. Follow the instruction manual that comes with the machine, and add a little lubricant oil to the moving parts before the first run, as the makers state. The BACHIN example uses standard sewing machine needles and a walking foot, and its maker states a lifetime warranty with free parts exchanged.
Threading is the part beginners trip over. The SINGER example has a built-in needle threader and a top drop-in bobbin that is simple to wind, insert and monitor. Learn the bobbin path on a practice piece: the how to wind a sewing machine bobbin guide walks through it, and the sewing machine bobbin size chart shows which bobbin class fits.
Step 5: Sew a practice piece, then start on leather
Start on scrap, not on the leather you care about. Sew a practice piece in the same thickness as the project, and check the stitch length, the thread tension and the seam strength before moving on. The FAHKNS example states a stitch thickness of 0.19-0.24 inches; if the stitches skip or the thread snaps, re-thread the machine and check the needle before changing anything else.
Manual machines reward a slow hand. The IRONWALLS and FAHKNS examples state that the foot and needle rotate 360 degrees, so a tall boot slides on and sews a complete circle without turning the boot. The manual examples sew with nylon line or cotton line, so pick the line that matches the leather and the look you want. A leather needle vs universal needle comparison helps pick the needle for the job. If the leather needs stitch holes before sewing, the best leather hole punch guide covers punches for belts and straps.
Step 6: Care for the machine and know the warranty
Oil the moving parts when the maker says to, and keep the machine covered between sessions. The SINGER example comes with a carrying case for storage and transport, and the FAHKNS example has a detachable stand for easy storage when idle. Dust and stray thread in the bobbin area cause skipped stitches, so brush the area clean after each project.
Know the warranty before ordering. The BACHIN example states a lifetime warranty with free parts exchanged and an online video guide. The other examples state no warranty term, so check with the maker if a warranty matters to you.
Common mistakes to avoid
- Buying a machine for garment sewing and expecting it to sew thick leather.
- Skipping the practice piece and starting on the leather you care about.
- Using the wrong needle for leather.
- Forgetting to oil the moving parts before the first run.
- Ordering without checking the maximum sewing thickness against your leather.
Leather sewing machine for beginners: the short version
- Pick electric or manual: the SINGER example is electric with 23 stitches, and the manual examples sew thick seams by hand.
- Check the maximum sewing thickness: the ColouredPeas examples state 0.48 inches.
- Check the stitch figures: the FAHKNS example states a stitch thickness of 0.19-0.24 inches.
- Check the weight and size: the SINGER example weighs 21.5 pounds.
- Assemble, oil and thread the machine, then sew a practice piece.
- Know the warranty: the BACHIN example states a lifetime warranty.
Everything after that is repetition: keep the machine oiled, sew practice pieces and add one project at a time.
FAQ: lasers and CNC
Can a regular sewing machine sew leather?
A heavy duty home machine can: the SINGER example states a metal frame and strong piercing power for leather to lace, with 23 built-in stitches. Check the piercing power and the frame before ordering, and sew a practice piece first.
How thick can a manual cobbler machine sew?
The ColouredPeas examples state a maximum sewing thickness of 0.48 inches. The FAHKNS example states a stitch thickness of 0.19-0.24 inches, so match the figure to the leather you sew.
Does a beginner need a motor, or is a manual machine enough?
It depends on the work. The ColouredPeas motor example states a 250W motor at 110V, but its maker states that the electric mode drives only a little power and thick leather still needs manual work. A manual machine is enough for short, thick seams; a motor helps on long seams.
What thread suits leather?
The manual examples state nylon line and cotton line. Pick the line that matches the leather and the look you want, and sew a practice piece to check the tension.
Do these machines need assembly?
The IRONWALLS, FAHKNS and BACHIN examples do: their makers state that the buyer assembles the machine, and the IRONWALLS and BACHIN makers state that assembly takes only a few minutes. The SINGER example weighs 21.5 pounds and comes with a carrying case, and the FAHKNS example measures 20.0 by 13.0 by 5.5 inches with a detachable stand.
Related: the sewing and embroidery machines hub, heavy duty sewing machine for beginners and best sewing machine for beginners to make clothes. Also see the best handheld sewing machine for beginners. Also see the can you laser engrave leather.