Wood Burning Tips for Beginners
Practical wood burning tips for beginners, from picking a pen and tips to setting the heat, shading clean lines and finishing a piece with confidence.

On this page
Top picks at a glance
As an Amazon Associate I earn from qualifying purchases.
- 1
 FIRElood Wood Burning Tool9.7/10View on Amazon
- 2
 Woodland Home Professional Wood Burning Kit with Letters9.7/10View on Amazon
- 3
 K KERNOWO Wood Burning Kit9.6/10View on Amazon
Wood burning tips help a beginner turn a plain blank into a clean, readable design, and the craft starts with a pen, a steady hand and a plan for heat. Pyrography rewards patience more than speed: light lines early, shading built up slowly, and a finished piece that looks deliberate rather than rushed. This guide walks through the pen, the wood, the heat settings and the practice habits that make early projects look good.
LaserEngraveHQ earns a commission from purchases made through these links, at no extra cost to you. Read our affiliate disclosure.
Every figure in this guide comes from a maker listing: temperatures, tip counts and heat-up times are stated figures, not bench measurements. Where a listing stays silent, this guide says so rather than filling in a guess.
Start with the right pen and tips
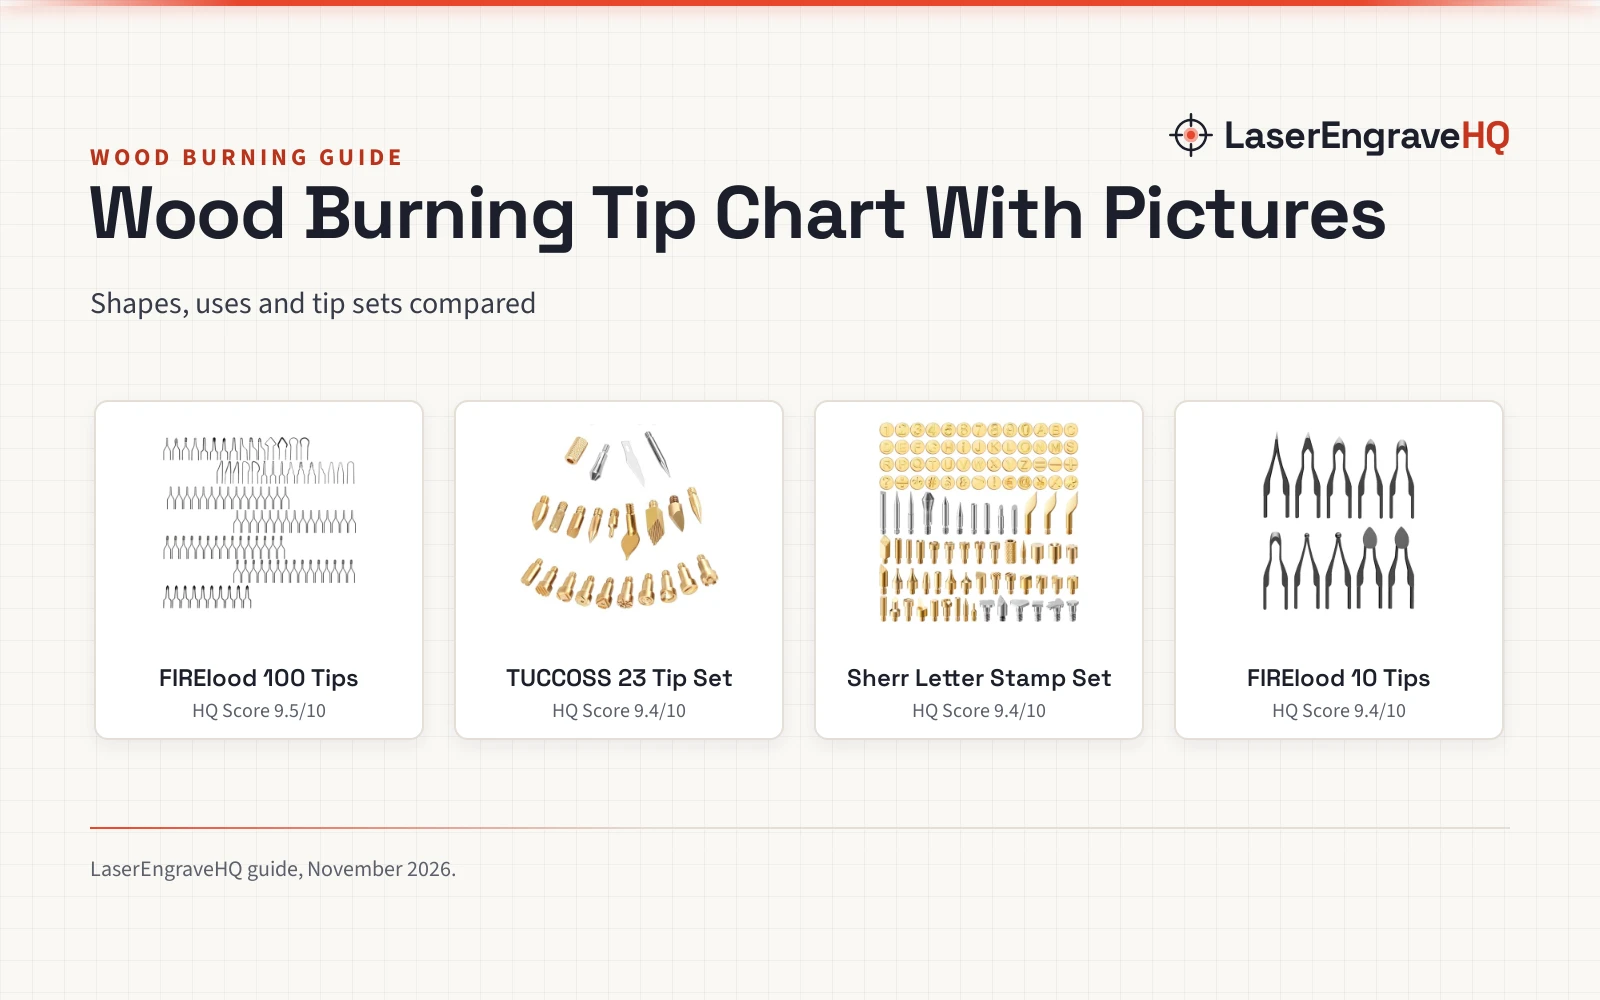
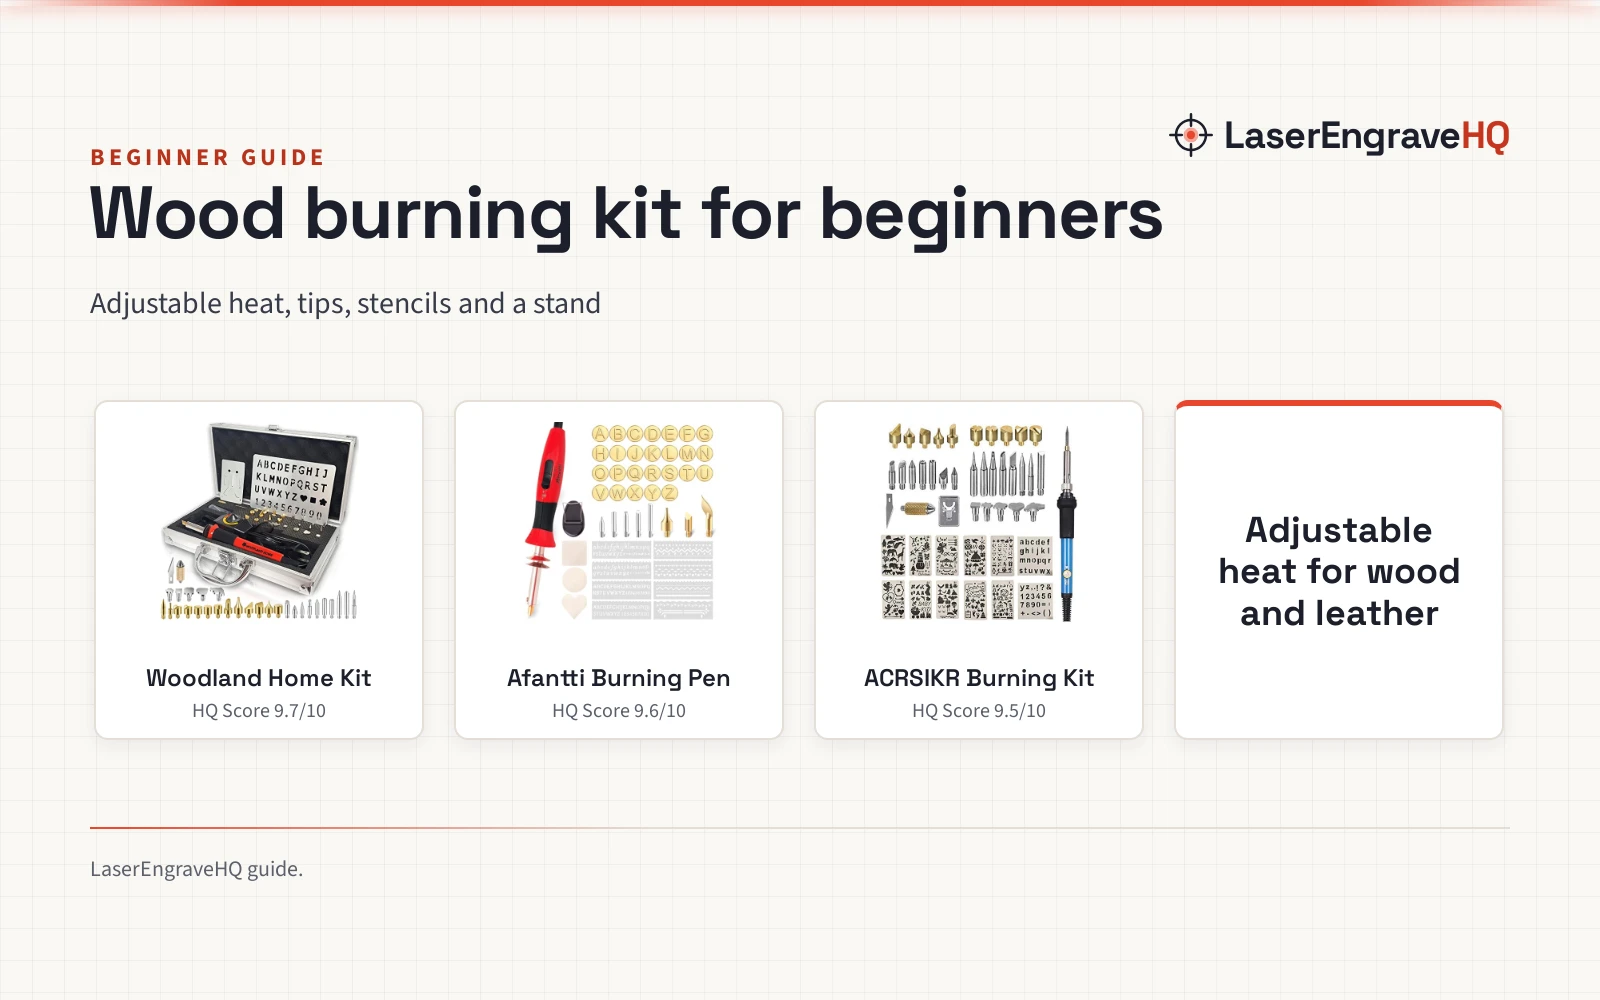
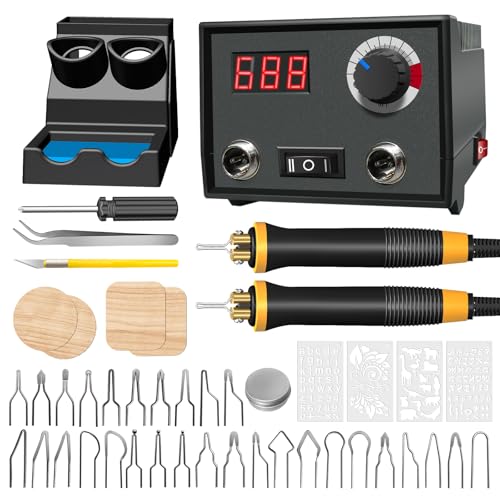
A wood burning pen kit usually bundles the pen, a stand and a set of tips, and the tip count shapes what a beginner can practice. Kits in maker listings range from a pen with 6 tips and a hot knife to a 43-piece set with 36 tips, a stand, pliers, a stencil and a guide book. A 17-piece kit lists 14 tips, while a 23-piece kit adds 4 blank wooden blocks, a tip box, a pouch and a hanging cord. The 14-tip set covers outlining, shading, calligraphy, texture work, detailed carving and stamping. Wire-nib stations list 20 wire nibs, and a large 86-in-1 station lists 51 solid points and 20 wire nibs with 2 pens, 2 stencils and 2 wood pieces.
Marker pens work differently: a 3-pack of wood burning marker pens needs no power, and the maker describes shaking the pen, pressing gently to release the ink, drawing the pattern, then heating the wood with a heater to bring out the burn effect. For a starter pen, the wood burning kit for beginners guide explains what to look for in a starter set.
Pen stations add another option for makers who want two pens ready together. A dual-pen station lists 20 wire nibs, 2 wood pieces and a digital display, with the temperature adjustable from 482 to 1382°F (250 to 750°C). A 2-in-1 station pairs a solid-point pen with a wire-nib pen, and the maker lists the solid-point pen as good for heat transfer, shading and outlining, and the wire-nib pen as good for fine outlining, feathering and detailing. A solid-point pen kit with 10 tips and 2 wood pieces suits a simple start, and the 11-tip kit has a flip-up stand as well.
Wood burning tips for heat and line control
Heat decides how dark a line burns, so set it for the material and the mark in mind. Pens with a control knob list an adjustable range of 200 to 450°C, which covers light lines at the low end and dark shading at the high end. Wire-nib stations list a wider range of 250 to 750°C (482 to 1382°F), and a solid-point pen on a 2-in-1 station lists 200 to 480°C. Start low, make a mark on scrap wood, then raise the heat until the line looks right.
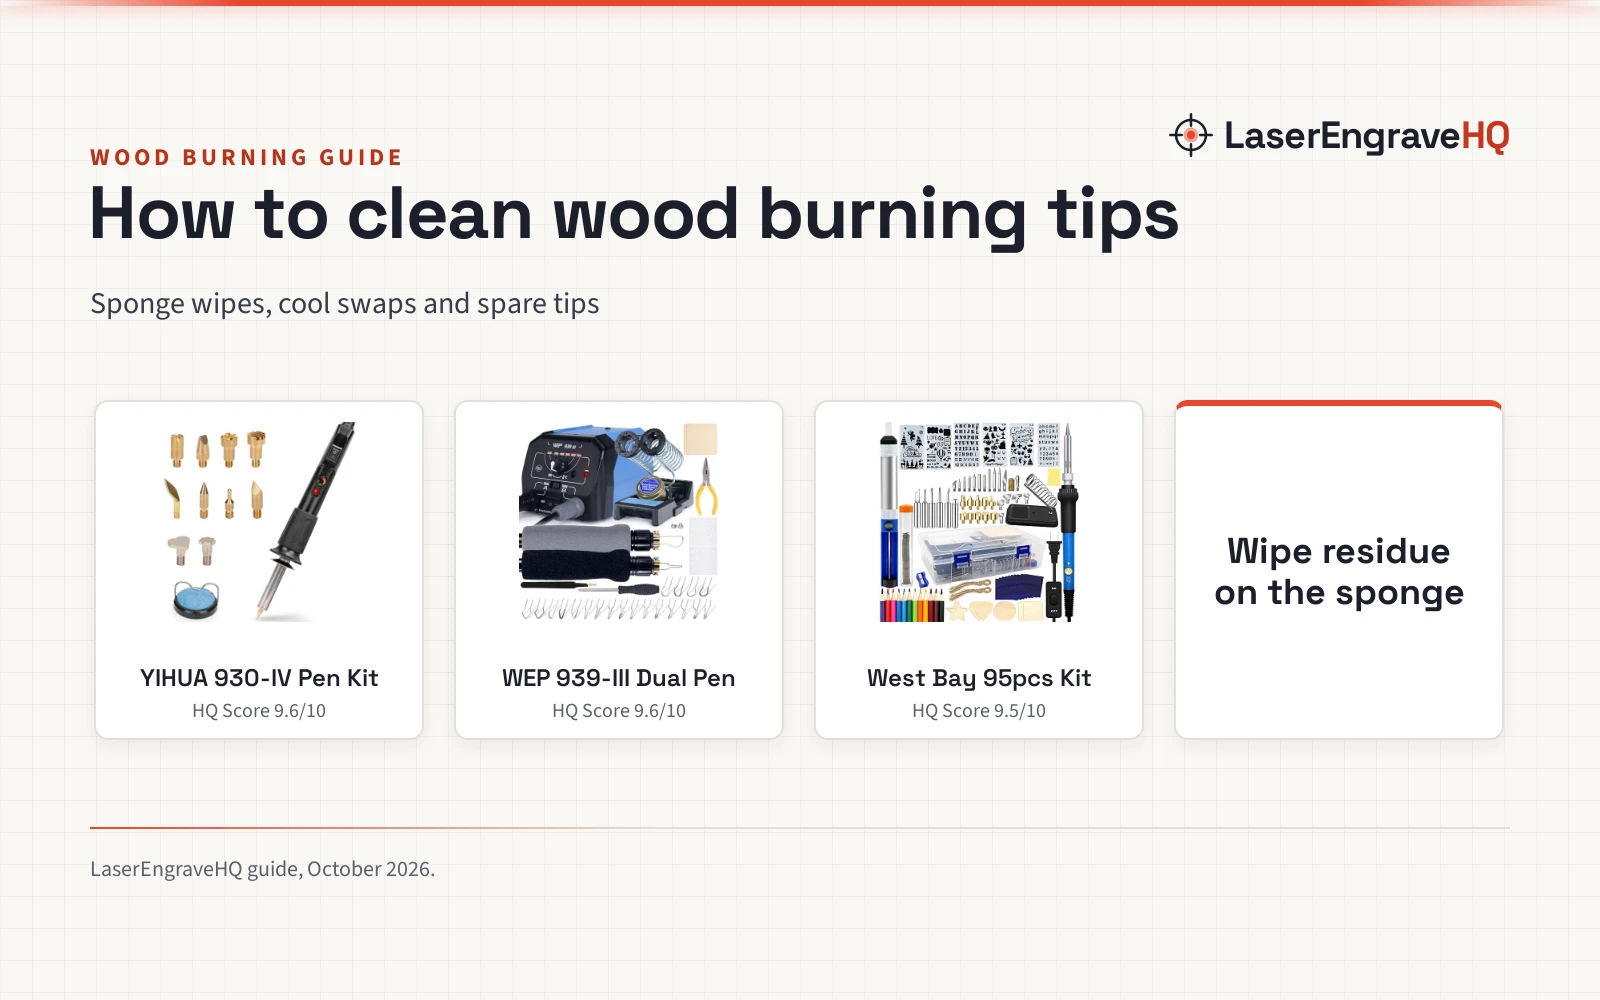
Heat-up time matters too. A pen kit lists preheating for 1 to 3 minutes before use, a wire-nib pen lists about 1 to 2 minutes to heat up, and a solid-point pen lists 2 to 3 minutes. Wait until the tip reaches full heat before drawing, and tighten the tip before use: a loose tip can give weak, uneven heat. Change tips only after the pen cools fully, using tweezers where the kit includes them, and never touch a hot tip with bare fingers. The 43-piece kit is the exception: its pliers are made for replacing tips without waiting for cooling.
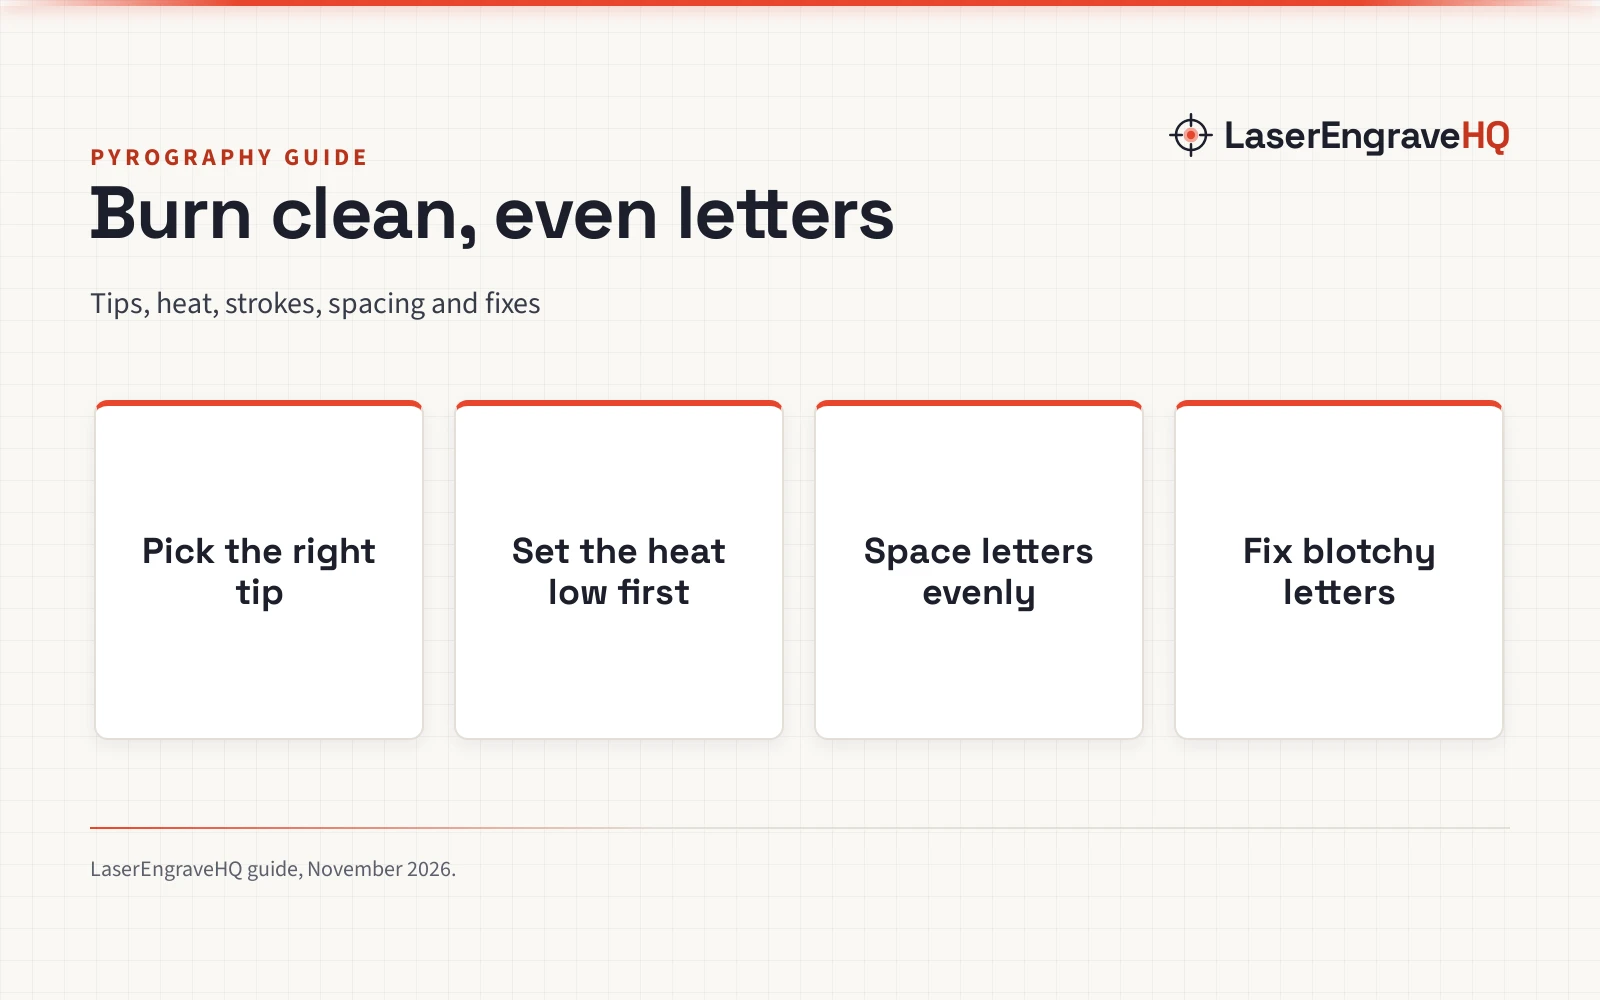
Pressure and speed shape a line as much as heat does. Light, steady pressure gives a pale line, while slow, firm pressure darkens it. Keep the pen moving at an even pace, lift the tip at the end of a stroke, and let the line cool before shading over it. For shading, use a shading tip with light, overlapping strokes, building darkness in layers rather than pressing hard.
Pick wood that burns clean
Basswood blanks suit beginners because the grain stays even and the surface burns at a steady rate. Unfinished wood pieces ship with several kits: a 23-piece kit includes 4 blank wooden blocks, and pen kits list 2 unfinished wood pieces for practice. The what wood is best for burning guide covers basswood blanks for pyrography in more depth.
Wood burning also works on leather, cork, fabric, foam, pumpkins and gourds, according to maker listings, and each material needs its own heat setting. Avoid burning painted, stained or treated wood, and skip PVC, vinyl and coated faux leather: the fumes are not worth the risk, and the material can damage the pen.
Practice lines, shading and lettering
Practice on scrap wood before touching a gift blank. Draw straight lines, curves and crosshatching with a universal tip, then switch to a calligraphy tip for lettering and a shading tip for gradients. Stamping tips press a fixed shape into the wood, and a hot knife tip cuts foam or trims edges.
Lettering improves with a stencil and a light hand. A 43-piece kit includes a metallic alphabet and number stencil, and a 2-in-1 station lists 2 letter and number stencils. Tape the stencil flat, burn through the openings with a fine tip, then lift the stencil and clean up the edges by hand.
Set up a safe workspace
A hot pen demands a tidy bench. Use the stand that ships with the kit, rest the pen in it whenever the tip is hot, and keep the cord clear of the work area. Pens with a heat shield and a soft, anti-slip rubber handle protect the hand, and an LED indicator shows when the pen has power. A kit with UL Certification states that safety mark in its listing.
Ventilation matters: burn in a room with moving air, and keep a window open or a fan running so smoke leaves the bench area. Keep flammable clutter away from the hot tip, and never leave a hot pen unattended. Let the pen cool fully before packing it away, and store tips in the tip box or tin that ships with the kit. For makers who also run a laser, see the best laser engraver for wood guide.
Finish and protect the work
Finishing turns a practice burn into a piece worth gifting. Brush off loose char with a soft cloth, then seal the surface so the design stays put. A light coat of finish deepens the dark areas and keeps the wood from drying out.
Photograph the piece in daylight before wrapping it.
Common mistakes to avoid
- Starting on a gift blank instead of scrap wood.
- Running the pen too hot, which scorches the wood and hides fine lines.
- Pressing hard instead of letting heat and time do the work.
- Changing a tip while it is still hot.
- Burning painted, stained or treated wood.
Wood burning tips: the short version
- Pick a kit with tips for outlining, shading and lettering.
- Set heat for the material, starting low.
- Preheat, then check the line on scrap wood.
- Practice lines and shading before a full piece.
- Rest the pen in its stand and ventilate the room.
- Finish the piece and photograph it in daylight.
FAQ: lasers and CNC
What temperature should a beginner use for wood burning?
Start at the low end of the pen range and raise the heat only until the line looks right. Pens with a control knob list 200 to 450°C, while wire-nib stations list 250 to 750°C (482 to 1382°F). Light lines need low heat, and dark shading needs more, so check each setting on scrap wood before burning the finished piece.
How long does a wood burning pen take to heat up?
It depends on the pen. A pen kit lists preheating for 1 to 3 minutes, a wire-nib pen lists about 1 to 2 minutes, and a solid-point pen lists 2 to 3 minutes. Wait until the tip reaches full heat before drawing, since a cool tip gives pale, uneven lines.
How many tips does a beginner need?
A kit with 14 tips covers outlining, shading, calligraphy, texture work, detailed carving and stamping, which is enough for most early projects. Kits list 6, 10, 11, 14, 20 and 36 tips, so a beginner can start small and add tips as the work grows more detailed.
What wood works well for pyrography?
Basswood blanks are a common pick for beginners, and unfinished wood pieces ship with several pen kits. A 23-piece kit includes 4 blank wooden blocks, and other kits list 2 unfinished wood pieces. Avoid painted, stained or treated wood.
Can a wood burning pen work on leather and cork?
Yes, according to maker listings. Kits list wood, leather, cork, fabric, foam, pumpkins and gourds across the range. Each material needs its own heat setting, so check the mark on a scrap piece before burning the finished piece.
Related: the craft machines hub, best wood burning kit and wood burning for beginners. Also see the how to use a wood burning tool guide. Also see the wood burning pen vs pyrography machine guide.