Wood Burning for Beginners: Tools and Setup
A first-timer's guide to wood burning: choosing a pen, learning the tips, transferring a design and finishing a piece with the kits compared.

On this page
Top picks at a glance
As an Amazon Associate I earn from qualifying purchases.
- 1
 FIRElood Wood Burning Tool9.7/10View on Amazon
- 2
 Weller Genuine 15 Piece 25W/120V Woodburning Kit9.6/10View on Amazon
- 3
 K KERNOWO Wood Burning Kit9.6/10View on Amazon
- 4
 Craft Culture Wood Burning Tool Pen9.5/10View on Amazon
Wood burning for beginners starts with a simple idea: a heated pen draws dark lines on a pale wood surface, and the maker controls the line with speed, pressure and heat. The craft needs little space and a small set of tools, and this guide walks through the pen, the tips, the practice board and the first finished piece, with the kits compared at the end.
LaserEngraveHQ earns a commission from purchases made through these links, at no extra cost to you. Read our affiliate disclosure.
| # | Product | HQ Score | Buy |
|---|---|---|---|
| 1 | FIRElood Wood Burning Tool | 9.7/10 | Buy on Amazon |
| 2 | Weller Genuine 15 Piece 25W/120V Woodburning Kit | 9.6/10 | Buy on Amazon |
| 3 | K KERNOWO Wood Burning Kit | 9.6/10 | Buy on Amazon |
| 4 | Craft Culture Wood Burning Tool Pen | 9.5/10 | Buy on Amazon |
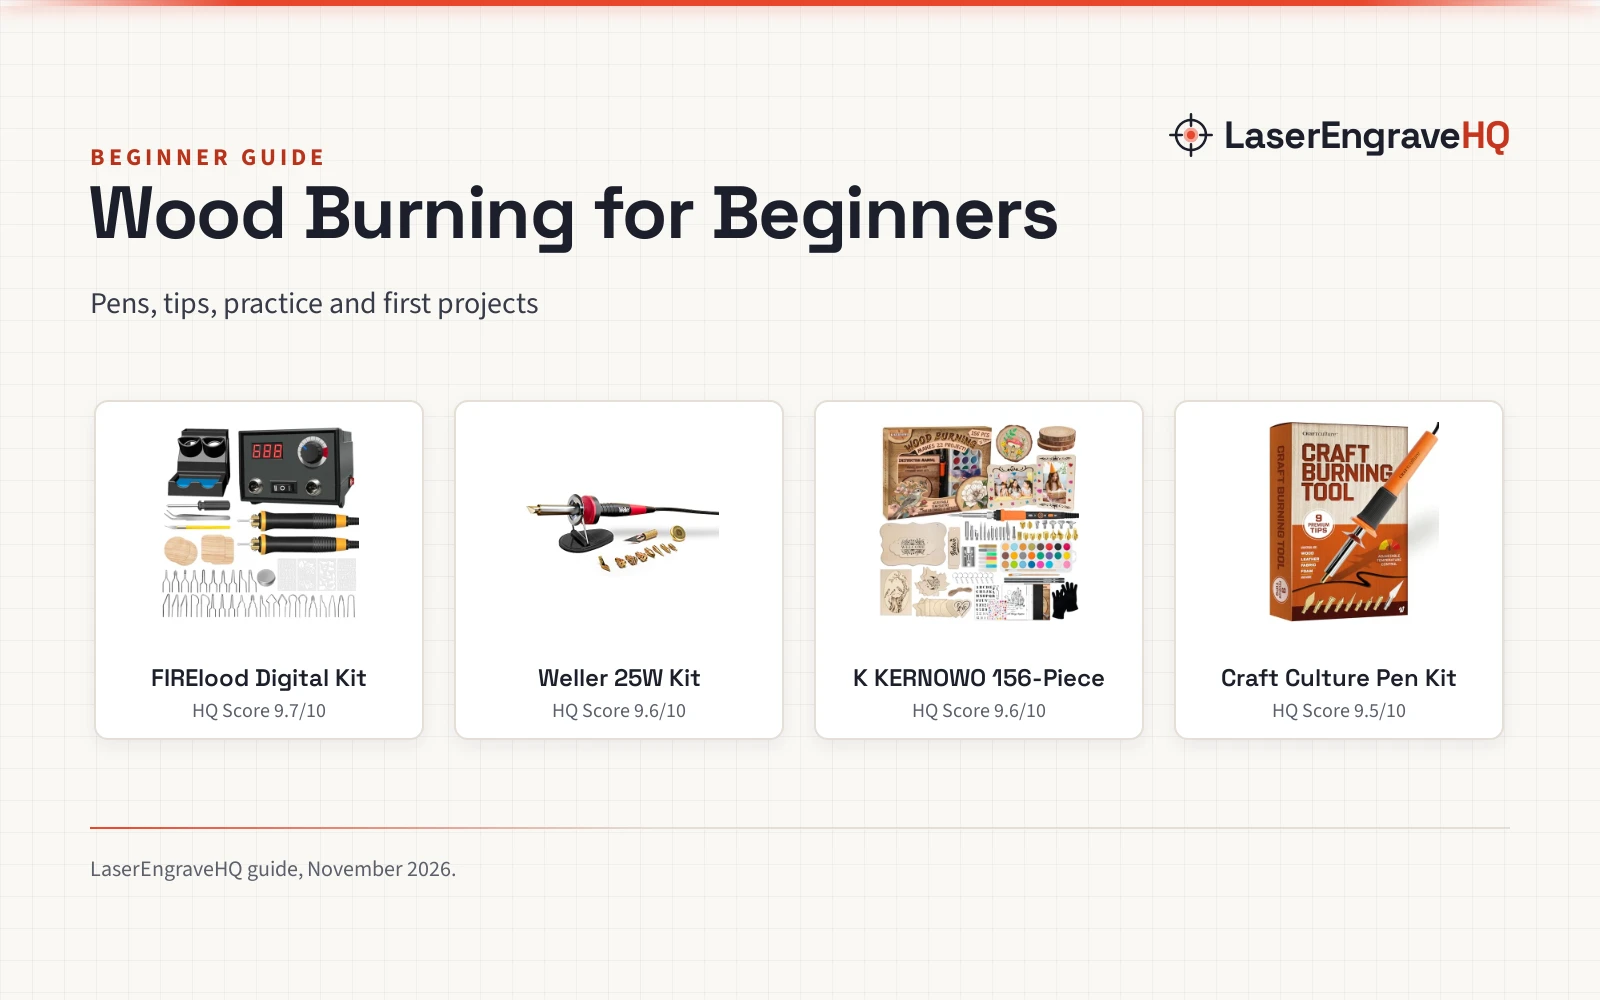
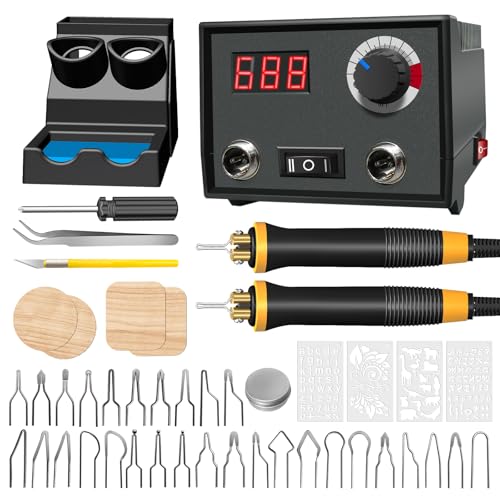
FIRElood Wood Burning Tool
A digital wood burning kit with 2 pens, 30 tips and a 25~750℃ range, with a digital display for setting the heat.
Pros
- Digital display for setting the heat, with light colors near 250 °C and very dark work near 450 °C
- 2 pens and 30 tips cover lines, shading and large areas of color
- Pen tip heats in less than 5-10 seconds, per the listing
- 0.75 inch handle with a soft non-slip silicone cover, weighing 33 grams
Cons
- The listing states 110V, with no other voltage named
- Tip changes need a screwdriver to tighten the screws
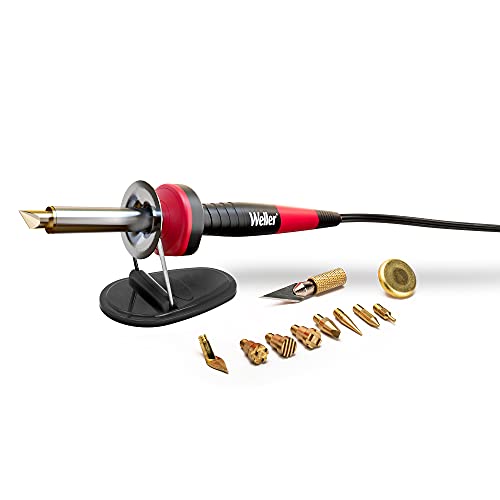
Weller Genuine 15 Piece 25W/120V Woodburning Kit
A 25W, 120V woodburning kit with 1 soldering tip, 3 branding tips and 6 woodburning tips in a plastic storage case.
Pros
- 25W iron suited to woodworking and leather embossing
- Stay-cool handle with a heat deflector keeps heat away from the hand
- Integrated safety rest holds the iron when not in use
- Quick tip change for swapping between burning, branding and soldering tips
Cons
- Title calls it a 15 piece kit while the included list names 1 iron, 1 soldering tip, 3 branding tips and 6 woodburning tips
- Fixed 25W output with no adjustable temperature control stated
- No wood surfaces, paints or stencils are included for first projects
K KERNOWO Wood Burning Kit
A 156-piece kit with a wood burning pen, 26 tips and 24 watercolor paints, plus wood surfaces, stencils and carbon paper.
Pros
- 26 tips with adjustable temperature control for wood, leather, foam and fabric
- 24 watercolor paints and 7 glow in dark paints add color after burning
- 21 wood surfaces, 2 stencils and 50 carbon papers for first projects
- Stand and gloves included with the pen
Cons
- No warranty term is stated
- No temperature range in degrees is stated
- No digital display for setting the heat is stated
- 156 pieces means many small parts to keep track of
Craft Culture Wood Burning Tool Pen
A wood burning pen with 9 premium tips and a temperature dial, for wood, leather, fabric and foam.
Pros
- 9 premium tips, each named for its shape and technique
- Temperature dial for setting the heat per material
- Built-in heat shield protects the hand from excess heat
- Reduced tip-to-grip distance for fine detail work
Cons
- No warranty term with a stated length is listed
- Only 9 tips, fewer than the 26 and 30 tip kits here
- No wood surfaces, paints or stencils are included
- No digital display, so the heat setting is set by dial only
Wood Burning for Beginners: Choose the Pen First
A wood burning pen is a handle with a heated metal tip, and the heat setting decides how dark each line burns. A pen with adjustable temperature control suits a beginner, because light shading and dark outlines need different heat, and a dial or a digital display makes the setting visible. The kits below range from a fixed 25W iron to a digital set with 2 pens, and the pen that fits depends on whether the work stays on wood or moves to leather, foam and fabric. Makers who also work with a laser can compare diode picks in our best laser engraver for wood guide.
Step 1: Learn the Tips on Scrap Wood
Each tip draws a different mark: a fine point makes hairline outlines, a shader fills soft tones, a knife tip draws fine, sharp lines and a stamp tip repeats a pattern. Start on scrap wood, not on the finished piece, and move the pen at a steady pace so the line stays even. The Craft Culture pen (on Amazon) ships with 9 tips that name each shape, while the FIRElood set holds 30 tips for lines, shading and large areas of color.
Step 2: Transfer a Design and Burn in Layers
Trace the design onto the wood with carbon paper, then burn the outline first and add shading in later passes. The K KERNOWO kit includes 50 carbon papers, 2 stencils and 5 sketching papers, so a beginner can trace, practice and repeat a design without hunting for supplies. Work from light to dark, because a pale line can be deepened and a dark patch takes scraping to lighten.
Step 3: Add Color and Finish the Piece
Color comes after the burn, once the lines have cooled. The K KERNOWO kit pairs its pen with 24 watercolor paints and 7 glow in dark paints, plus brushes, so a finished board can carry soft color or a luminous accent. Seal the piece only when the paint is dry, and keep the pen on its stand or safety rest between passes. Work in a ventilated space, and let the pen rest on its stand whenever it leaves the hand.
The Gear: Wood Burning Kits for Beginners
Each step above needs a pen that holds its heat and tips that match the line, so the kits below cover the range from a simple dial pen to a digital two-pen set.
Common Mistakes to Avoid
- Starting on the finished piece instead of scrap wood.
- Setting the heat too high for a pale line, then scorching the board.
- Skipping the safety rest or stand and leaving a hot pen on the bench.
- Buying a kit for a single material and then burning a material the listing never names.
- Forgetting ventilation: wood smoke needs fresh air and a clear workspace.
Wood Burning for Beginners: The Short Version
- Pick a pen with adjustable heat and a heat shield.
- Learn each tip on scrap wood before touching the finished piece.
- Transfer the design with carbon paper and burn light to dark.
- Add color with the watercolor paints, then seal the piece.
FAQ: lasers and CNC
What do I need to start wood burning?
A pen with adjustable heat, a set of tips, scrap wood for practice, carbon paper for transferring a design and a stand or safety rest for the hot pen. The kits in this guide bundle those parts: the K KERNOWO set holds 156 pieces, while the FIRElood set holds 2 pens and 30 tips.
What temperature should a beginner use for wood burning?
The FIRElood listing gives a practical pair of settings: about 250 °C for light colors and about 450 °C for very dark work. It recommends heating the pen at its highest setting so the tip heats in less than 5-10 seconds, then lowering it to the temperature that gives the shade wanted. A dial pen without a display, such as the Craft Culture pen, needs the same approach by feel on scrap wood.
Can I burn on leather and other materials?
Yes, within the materials each listing names. The K KERNOWO and Craft Culture listings name wood, leather, foam and fabric, while the FIRElood listing adds paper, gourd, leaves, bark, straw, eggshell, deer horn and wheat straw. The Weller listing names woodworking and leather embossing. Stay with the materials the listing states, and keep the work in a ventilated space.
How do I change the tip on a wood burning pen?
Let the pen cool, then swap the tip and seat it firmly before heating again. The Weller kit (on Amazon) offers quick tip change between its soldering, branding and woodburning tips, while the FIRElood listing asks for a screwdriver to tighten the screws so the tip and the terminal keep good contact.
Do wood burning kits come with a warranty?
Some do, and the term is stated in the listing. The Weller kit carries a 1 Year Warranty and the FIRElood kit (on Amazon) carries a 1 year warranty, while the K KERNOWO and Craft Culture listings state no warranty term with a stated length.
Related: the laser engraver for beginners guide and best laser engraver for wood picks for makers who also cut and engrave with a laser. Also see wood vs leather for laser engraving and our how we pick method page.