Resin 3D Printer Setup: Step-by-Step for Beginners
A clear resin 3D printer setup guide: ventilation, spill protection, leveling and cleanup, with gear for each step.

On this page
Top picks at a glance
As an Amazon Associate I earn from qualifying purchases.
- 1
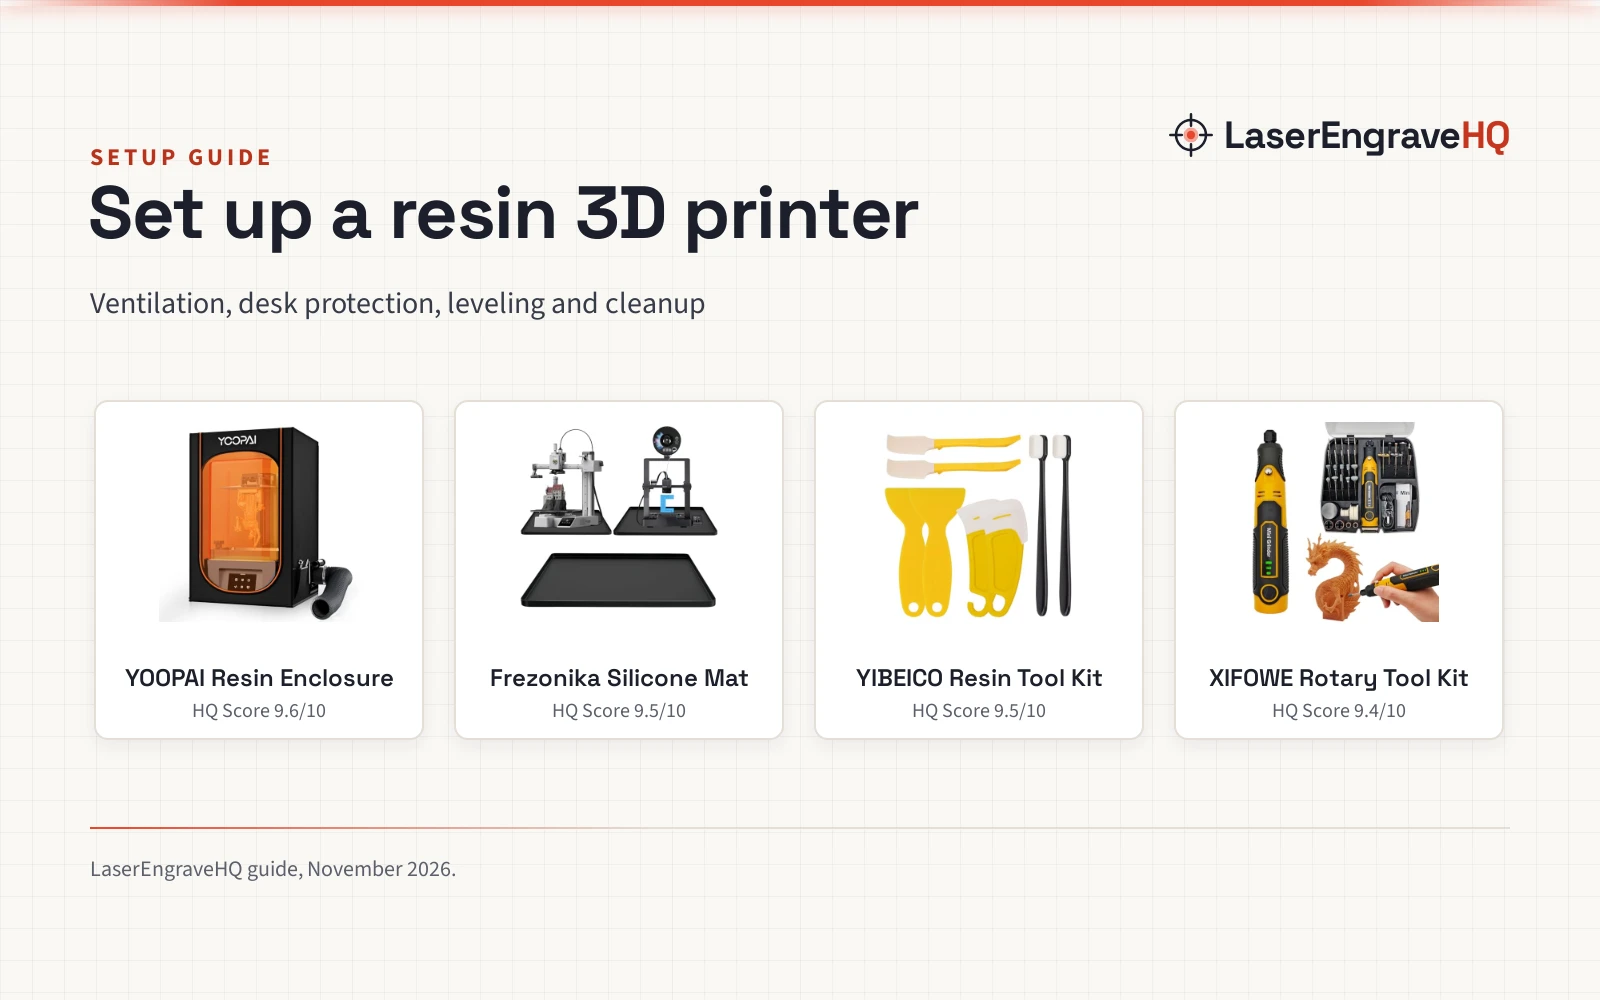
 YOOPAI Multifunctional Resin 3D Printer Enclosure9.6/10View on Amazon
- 2
 Silicone Mat for 3D Printers with Raised Edge9.5/10View on Amazon
- 3
 YIBECO 8pcs UV Resin 3D Printer Must-Have Tools9.5/10View on Amazon
- 4
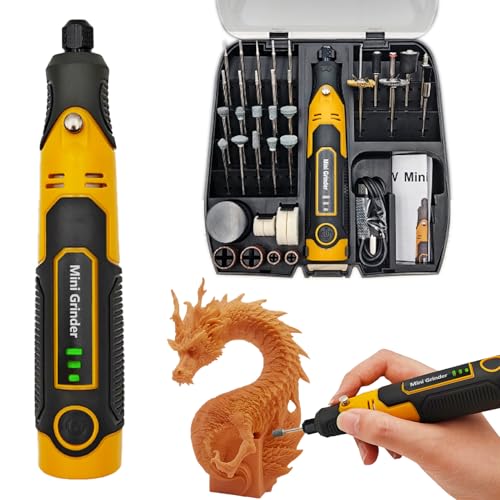 XIFOWE Resin Drill 3D Printed Resin Cured Sanding9.4/10View on Amazon
A resin print starts well before the printer runs. The smell of resin, a spill on the desk, a vat that needs cleaning: each of these can turn a fun project into a chore. Resin 3D printer setup is the work of putting ventilation, spill protection, leveling and cleanup in place before printing. The steps below walk through that setup in order.
LaserEngraveHQ earns a commission from purchases made through these links, at no extra cost to you. Read our affiliate disclosure.
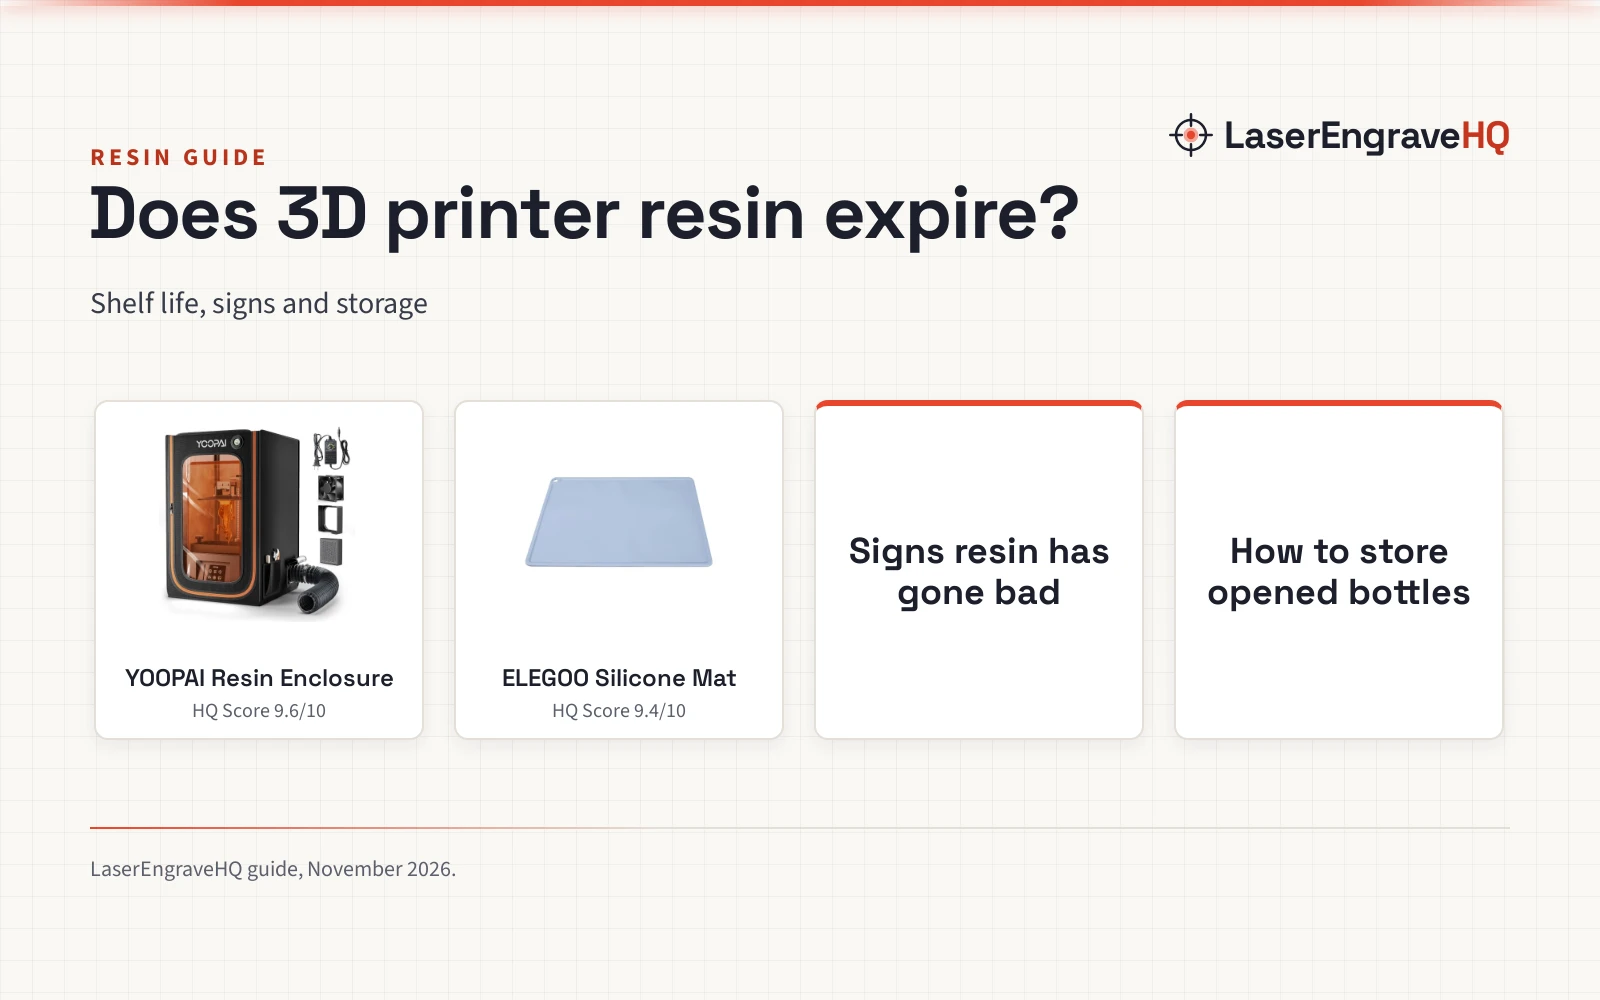
YOOPAI Multifunctional Resin 3D Printer Enclosure
A vented resin printer enclosure with a carbon filter sheet and exhaust fans, sized at 28 x 18 x 17 in.
Pros
- Carbon filter sheet, exhaust fans and pipes move fumes out
- Clear PVC window for watching the print without opening the cover
- Six-sided structure shields the printer from dust and splashing
- Heat insulation helps hold a steady temperature for better resin flow
Cons
- Fits only printers smaller than 28 x 18 x 17 in
- At 4.6 lb it adds weight to move for full access
- Exhaust pipes need room to run near a vent
- Single Space size only; a taller printer will not fit
Silicone Mat for 3D Printers with Raised Edge
A silicone mat with a 1 cm raised edge for spill control, sized at 23.6x15.8 in.
Pros
- 1 cm raised edge contains resin spills, filament debris and dust
- Maker lists the 23.6x15.8 in size as fitting most 3D printers
- Silicone layer slightly absorbs vibration and dampens resonant printing sounds
- Wipes clean with a cloth or rinses under running water
Cons
- No warranty term is stated
- Large size suits a desk, so a small shelf may not fit the full mat
- The mat protects the desk; it does not filter fumes or enclose the printer
- Comes in black only
YIBECO 8pcs UV Resin 3D Printer Must-Have Tools
An 8-piece cleaning kit with scrapers and soft-bristled brushes for the vat, platform and prints.
Pros
- 2 silicone scrapers in long and short handle options suit different bed sizes
- Soft edges scrape residue without leaving traces on the build surface
- ABS shovel lifts printed parts without scratching the platform surface
- Soft-bristled brushes reach intricate details and hard-to-reach areas
Cons
- Soft bristles suit detail cleaning, so heavy residue takes more passes
- The kit covers cleaning only; it does not help with ventilation or spill protection
- Loose pieces need a tub or tray to stay together between prints
- Plastic scrapers suit the platform; they are not a finishing tool for print details
XIFOWE Resin Drill 3D Printed Resin Cured Sanding
A cordless rotary tool with 58 attachments for drilling, sanding and polishing resin prints.
Pros
- 58 attachments cover drilling, sanding, polishing, engraving and cutting
- Three speeds suit different sanding stages
- Cordless Type-C charging with 130 minutes of battery life
- Hard plastic case keeps each accessory fixed in place
Cons
- No warranty term is stated
- Mini size suits fine detail work rather than large flat sanding
- The tool handles finishing only; it does not help with leveling or ventilation
- Includes 2.35 mm and 3.2 mm collets, so accessories outside those sizes need a check
Choose a ventilated spot
Resin has a strong smell, so the printer belongs where air can move and fumes can leave the room. A window nearby helps, and an enclosure with a filter and fans gives the printer a contained space of its own. The enclosure below has a built-in carbon filter sheet, exhaust fans and expandable pipes that discharge gases outside the printing space.
Heat matters too: the same enclosure uses a heat insulation design that helps hold a steady temperature, which the maker says allows better resin flow and stable printing. For fan-equipped options, see the enclosure with an exhaust fan guide.
Protect the desk before the resin comes out
Resin drips travel. A silicone mat under the printer catches spills before they reach the desk, and a raised edge keeps liquid from running off the side. The mat below measures 23.6×15.8 in, with a 1 cm raised edge that contains resin spills, filament debris and dust.
The silicone layer also slightly absorbs vibration and dampens resonant printing sounds, and the mat wipes clean with a cloth or rinses under running water.
Level the printer and check the vat
With the printer in place, level the build platform by following the printer manual, then check the vat and the release film for residue from an earlier print. A clean platform and a clean film give the next print a fair start.
The cleaning kit below handles this part: silicone scrapers with soft edges clear residue without leaving traces, plastic scrapers and the ABS shovel lift printed parts, and soft-bristled brushes reach intricate details and hard-to-reach areas. The resin types guide explains the options.
Resin 3D Printer Setup Gear for Each Step
Each step above needs gear that fits it: the enclosure handles ventilation, the mat handles spills, the cleaning kit handles cleaning, and the rotary tool handles finishing.
Finish the print and clean up
After printing, the cleaning kit clears the platform and vat, and the mat catches drips while parts are handled.
For smoothing and detail work, the rotary tool offers three speeds, with 58 attachments for drilling, sanding and polishing, and a battery that lasts 130 minutes on a full charge. A printer accessory kit can round out the bench for makers who want more than the basics.
Common mistakes to avoid
- Skipping ventilation and letting fumes build up in the room.
- Setting the printer on a bare desk with no spill protection.
- Scraping the vat film or platform with a hard tool that can scratch the surface.
- Starting a print without checking the film and platform for residue.
Resin 3D Printer Setup: The Short Version
- Pick a ventilated spot and set up the enclosure.
- Lay the mat and place the printer on it.
- Level the platform and check the vat and film.
- Print, then clean the platform and vat with the kit.
- Smooth and finish parts with the rotary tool.
FAQ: lasers and CNC
What does resin 3D printer setup need?
A ventilated spot, an enclosure with a filter and fans, a spill mat, a cleaning kit for the vat and platform, and a rotary tool for finishing. The gear section above pairs each item with the step it handles.
Does a resin 3D printer need an enclosure?
An enclosure is not required for every printer, but it helps where setup matters most: the carbon filter sheet and exhaust fans move fumes out of the room, the six-sided enclosed structure shields the printer from dust and resin splashing, and the heat insulation design helps hold a steady temperature. The enclosure here measures 28 x 18 x 17 in and suits printers smaller than that size.
How to keep resin off the desk?
Lay a silicone mat under the printer before printing starts. The mat here measures 23.6×15.8 in, with a 1 cm raised edge that contains resin spills.
What tools clean a resin printer vat and build platform?
A cleaning kit with scrapers and brushes: the 8-piece kit here includes 2 silicone scrapers, 2 plastic scrapers and 2 soft-bristled brushes, with an ABS shovel for lifting printed parts. The soft edges clear residue without leaving traces.
How to smooth a resin print after printing?
Use a rotary tool with fine attachments. The kit here has 58 attachments and three speeds, and the cordless tool runs for 130 minutes on a full charge. The 2.35 mm collet comes pre-installed, with a 3.2 mm collet in the case.
Related: the 3D printers hub, resin 3D printers and 3D printer maintenance kit.