Laser Engraver Maintenance: A Complete Step-by-Step Guide
Laser engraver maintenance explained step by step: lens cleaning, air assist, rails, focus, enclosure and safety checks, grounded in engraver listings.

On this page
Top picks at a glance
As an Amazon Associate I earn from qualifying purchases.
- 1
 xTool S1 40W Laser Cutter and Laser Engraver for Tumblers9.7/10View on Amazon
- 2
 xTool M2 20W Color Craft Laser Engraver9.7/10View on Amazon
- 3
 OMTech 100W CO2 Laser Engraver with 4 Way Pass Through Air9.7/10View on Amazon
You want to sell crisp signs, clean tumblers and leather patches that look the same on piece fifty as on piece one. Laser engraver maintenance is the routine that makes that happen: cleaning the lens and nozzle, clearing the air assist and fans, checking rails and focus, and running the safety devices through their paces. Every figure below comes from a real engraver listing, so the maintenance points are grounded in machines you can actually buy.
LaserEngraveHQ earns a commission from purchases made through these links, at no extra cost to you. Read our affiliate disclosure.
Laser engraver maintenance: the short answer
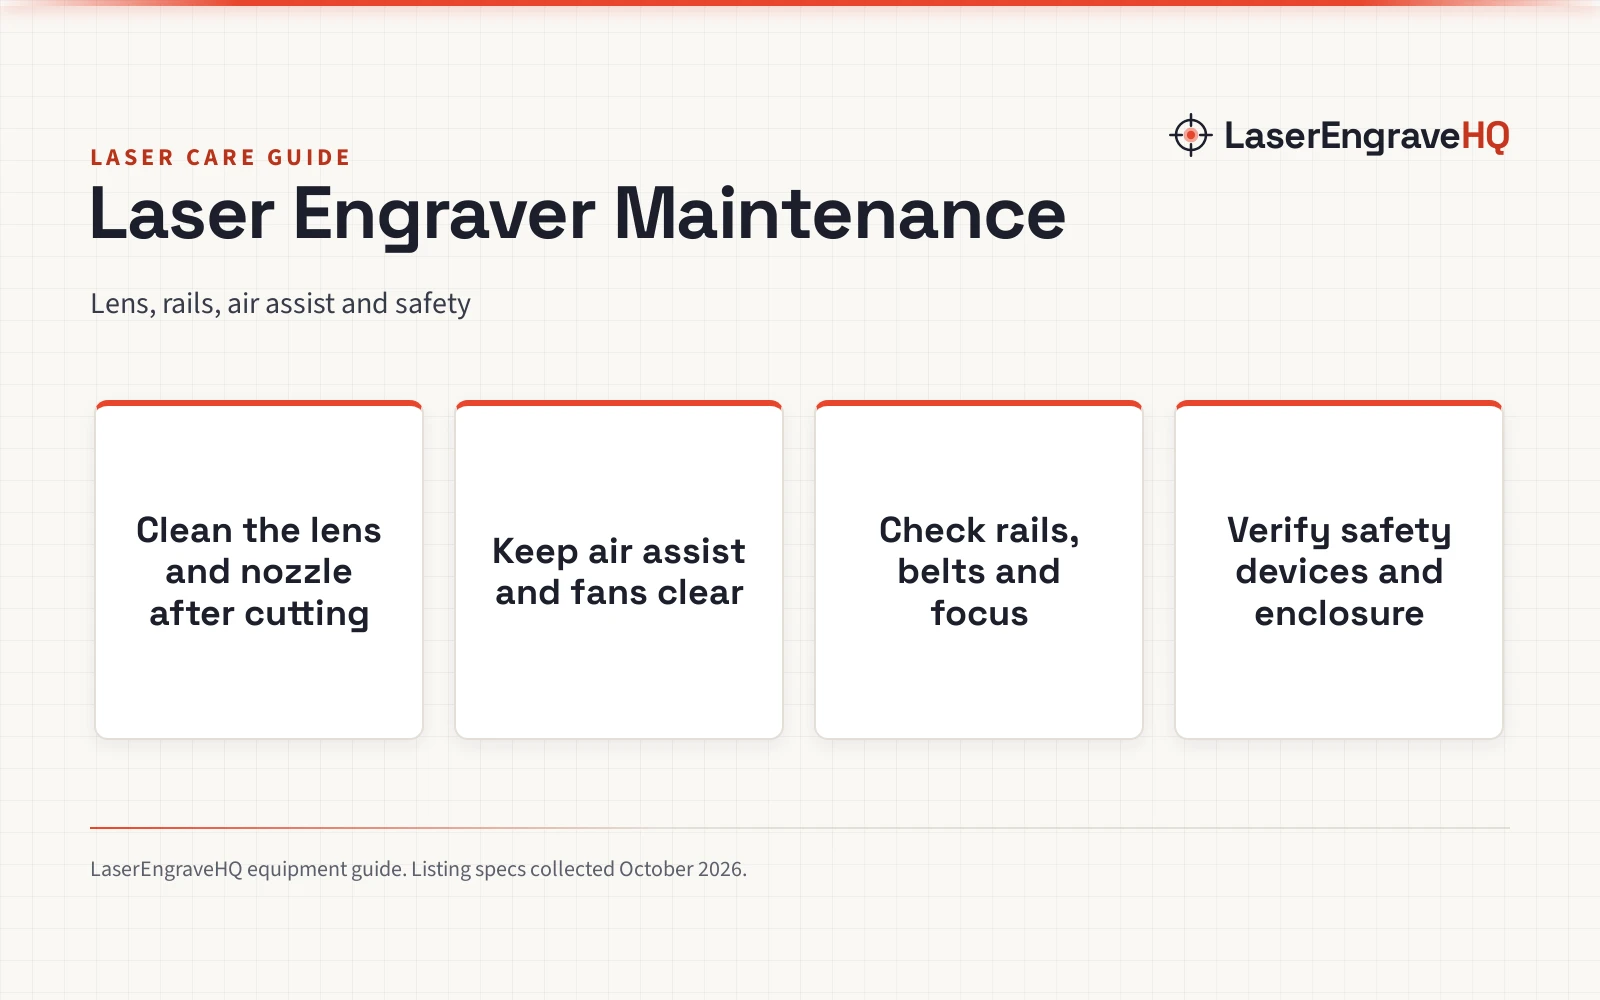
Keep three things clean (lens, air assist, fans), two things moving right (rails and belts) and one thing honest (focus), and check the safety devices every so often. Most of this is a five-minute wipe and a look-over; the longer jobs, like clearing a clogged air assist line or re-tensioning a belt, come up when engraving quality slips. A maintained diode machine with a spot as fine as 0.06mm, which the Creality Falcon 10W lists, stays a precision tool; a neglected one turns into a smoky guess.
Step 1: Clean the lens and nozzle
The lens is the heart of the machine. Soot and resin build up on it during cutting, and a dirty lens scatters the beam, which shows up as weak engraving and scorched edges. Wipe the lens with a lint-free cloth and a drop of lens-safe cleaner, working from the center outward. Do the same for the nozzle, where debris collects and narrows the air assist flow.
Check the lens with the machine’s own numbers in mind. The Twotrees TTS-10 Pro lists a 0.069mm spot, the Creality Falcon 10W lists 0.06 by 0.06mm, and the ELIDOR 6W lists a 0.04 by 0.14mm spot. Spots that small are unforgiving: a fingerprint on the lens is huge relative to the beam. Never clean the lens with paper towels or anything abrasive, and never touch the glass with bare fingers.
Step 2: Clear the air assist and fans
Air assist blows smoke away from the cut and keeps the lens cleaner for longer. The Twotrees TTS-10 Pro ships with an air assist pump and tubing in the box, and the Creality Falcon Pro lists a built-in air-assist device that the maker says gives neater results in one pass. When air assist weakens, cutting needs more passes and the lens dirties faster, so treat a clogged line as a maintenance item, not a quirk.
Check the air path end to end: pump or compressor filter, tubing for kinks, and the nozzle outlet. The cooling fans deserve the same attention. Blow out dust with short bursts of air rather than a long blast that overspins the fan and wears its bearings. See air assist vs no air assist for what the feature does for cut quality.
Step 3: Check rails, belts and focus
The gantry has to move exactly where the file says. Look at the rails for dust and debris, wipe them, and check belt tension: a loose belt shows up as wavy lines, an overtight one as skipped steps. The LONGER Ray5 lists speeds up to 24,000mm/min and the LASER TREE 20W lists 10,000mm/min; at those speeds even a little slop in the motion system shows in the work.
Focus is the other half of precision. The LaserPecker LP1 Plus sets the lens-to-material distance at 200mm with an included ruler, and the Creality Falcon A1C lists auto focus that adjusts the laser height for different materials. If your machine focuses manually, re-check the distance whenever you change material thickness, and re-run a sample piece on scrap after any focus change.
Step 4: Keep the enclosure and filters honest
Enclosures and shields only protect you if they are intact. The Ortur R1 lists an enclosed design with a transparent cover for observing the engraving, and the Creality Falcon A1C lists a fully enclosed Class 1 eye-safe design. Check the cover for scratches and cracks, make sure the lid interlocks actually stop the laser, and confirm the extraction fan is pulling fumes out rather than recirculating them.
Listings give real numbers for how much these barriers filter: the Creality Falcon 10W lists an anti-UV filter acrylic on the laser module that the maker says reduces 97% of ultraviolet rays, and the LONGER Ray5 lists a protective shield that filters over 95% of laser radiation. Those are maker claims about the filter material, and they assume the filter is clean and undamaged. See best laser engraver enclosure for enclosure options and integrated enclosure vs standalone tent for the two enclosure styles.
Step 5: Run the safety devices
Modern machines carry sensors that deserve a periodic check. The Ortur R1 lists tilt detection, auto shutdown, exposure limits and a lid-stop, and the Creality Falcon A1C lists flame detection, tilt protection and a USB safety lock. The Creality Falcon Pro adds an emergency stop button, a laser protection cover and a safety lock, and the LONGER Ray5 lists an emergency stop, motion protection and overheating protection.
Verify each one does its job: tilt the machine gently to see if tilt detection trips, confirm the e-stop cuts power, and make sure the flame sensor is clean and unobstructed. The listings describe Class 1 enclosed designs, like the Ortur R1 and the Falcon A1C, as blocking laser exposure during normal use; the LASER TREE 20W lists Class 4, which means eye protection is part of the routine. Check the laser class on your own listing and match your eyewear to it. See laser safety glasses vs acrylic shield for the two approaches.
Step 6: Maintain the frame and bed
Wipe down the bed and frame after cutting sessions so resin and ash do not build up. The listings show a spread of machine sizes, from the Ortur R1 at 100 by 100mm to the LASER TREE at 400 by 800mm, and a dirty bed shows up as marks on the underside of your next piece. Check the frame screws for looseness, especially on machines you move: the ELIDOR 6W lists 4.7 pounds and the Artilume T1 lists 2.99 pounds, and light portable frames vibrate more than heavy ones.
Keep the firmware and software current. The LONGER Ray5 lists USB, TF card, Wi-Fi and app connectivity with LightBurn and LaserGRBL support, and the Twotrees TTS-10 Pro supports LightBurn and LaserGRBL with offline TF card work. Updates fix motion bugs and add material presets, and they are free.
Common mistakes to avoid
The biggest one is cleaning the lens with whatever is at hand. Paper towels scratch, and a scratched lens is a replacement, not a cleaning job. Another is ignoring the air assist until cuts fail; by then the lens is dirty too. A third is assuming an enclosure means no eyewear ever: the Falcon A1C listing describes its Class 1 enclosed design as eye-safe during normal use, which is a claim about that specific design, not a rule for every machine. Read your own listing’s laser class and treat it as the rule for your shop.
Laser engraver maintenance: the quick routine
After each session: wipe the lens and nozzle, clear the bed, check the air assist flow. Weekly: wipe rails, check belt tension, confirm focus distance, empty the extraction filter path. Monthly: verify the e-stop, tilt detection and lid interlocks, inspect the enclosure cover, check firmware. When engraving quality slips, work the list from the top down instead of guessing.
FAQ: lasers and CNC
How often should I clean the laser lens?
After any cutting session, and before engraving fine detail. The listings show spots as fine as 0.06mm on the Creality Falcon 10W, and a dirty lens scatters a beam that small into weak, scorched work.
What should I clean the lens with?
A lint-free cloth and lens-safe cleaner, wiped from the center outward. Never use paper towels or abrasive pads, and never touch the lens glass with bare fingers.
Does air assist reduce maintenance?
Yes. Air assist blows smoke away from the cut and the lens, so the lens stays cleaner longer. The Twotrees TTS-10 Pro ships with an air assist pump and tubing, and the Creality Falcon Pro lists a built-in air-assist device.
How do I know the focus is off?
Lines look thick and soft instead of crisp. The LaserPecker LP1 Plus sets the lens-to-material distance at 200mm with an included ruler, and the Falcon A1C lists auto focus. Re-check the distance whenever material thickness changes.
Do I need safety glasses with an enclosed machine?
Follow your listing’s laser class. The Ortur R1 and Falcon A1C list enclosed Class 1 designs that the makers describe as eye-safe during normal use, while the LASER TREE 20W lists Class 4, where eyewear is part of the routine.
How long should a diode laser machine last?
The listings give warranty figures rather than lifespans: Twotrees lists a 12-month warranty with 30-day returns, and Ortur lists a 365-day warranty. Regular lens, rail and air assist care is what gets you the full life of the diode module and motion parts.
More laser and CNC guides
See every laser engravers guide and all laser safety guides.
More guides: air assist vs no air assist, best laser engraver enclosure, honeycomb beds and is LightBurn worth it.



