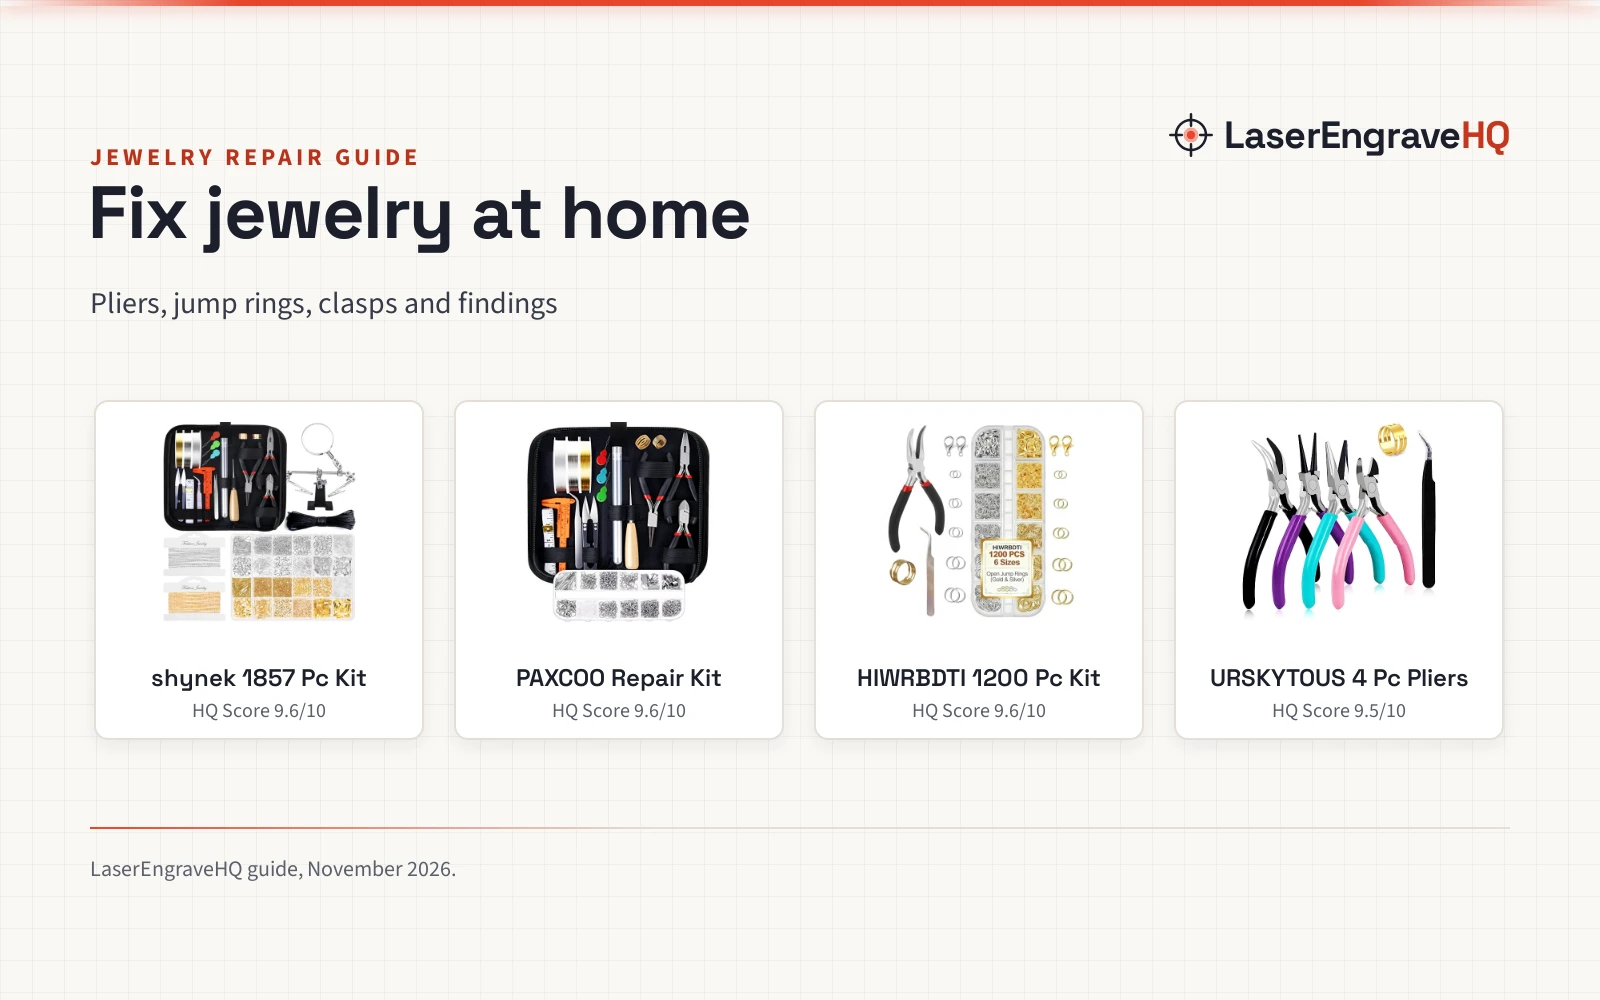
Jewelry Repair at Home: Tools You Need
A step-by-step guide to jewelry repair at home: the tools, findings and fixes for jump rings, clasps, chains and loose stones.

On this page
Top picks at a glance
As an Amazon Associate I earn from qualifying purchases.
- 1
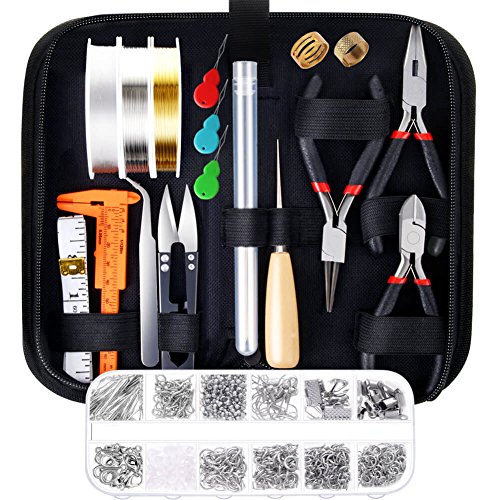 PAXCOO Jewelry Making Supplies Kit with Tools9.6/10View on Amazon
- 2
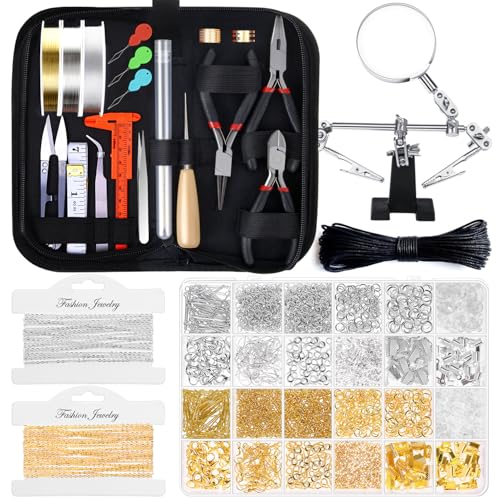 shynek 1857 Pcs Jewelry Making Supplies Kit for Adults9.6/10View on Amazon
Jewelry repair at home covers the small fixes that bring a necklace, bracelet or pair of earrings back into wear: a jump ring that has opened, a clasp that no longer holds, a bead string that has snapped, or a stone that has come loose from its setting. Most of these fixes use the same small kit: chain nose pliers, round nose pliers, wire cutters, jump rings and clasps, plus glue for stones and beads. The sections below walk through each fix in order.
LaserEngraveHQ earns a commission from purchases made through these links, at no extra cost to you. Read our affiliate disclosure.
Some repairs belong on a jeweler’s bench: prong settings, soldered joints and valuable stones need tools and skills a home kit does not cover.
Step 1: Set up a small repair kit
Start with the pliers: chain nose pliers for gripping and opening jump rings, round nose pliers for forming loops, and wire cutters for trimming wire and pins. The URSKYTOUS set lists 4 pliers: needle nose, round nose, wire cutters and bent nose pliers, and the PAXCOO, shynek and Dsyrvd kits list 3 pliers: round nose, wire cutting and chain nose. Add tweezers, a jump ring opener and a caliper for small work.
Findings are the small parts a repair consumes. Jump rings come in 4 mm, 5 mm, 6 mm, 8 mm and 10 mm sizes, and kits list 1200 pieces of silver and gold rings with lobster clasps. The PAXCOO kit (on Amazon) lists 845 pieces of findings, including jump rings, lobster clasps, eye pins, crimp beads and earring hooks. The shynek kit (on Amazon) lists 1830 pieces of findings. Keep the sizes separate in a divided storage case so you can find the size you need without sorting a mixed pile.
For stringing, keep beading cord, needles and crimp beads on hand: the PAXCOO kit lists 1 clear beading string cord and 6 needles, plus a tape measure for sizing. A magnifier helps with small work: the Giwaelro kit (on Amazon) includes a 4x magnifier with alligator clips. For glue, Aleene’s Jewelry (on Amazon) and Metal Glue lists 0.7 fl oz and is made for jewelry repair on metal, glass, gems and beads. See our best jewelry glue guide for more glue picks, and our best jewelry loupe guide for magnification.
Step 2: Open and close a jump ring
Most chain repairs start and end with a jump ring. Hold one side with chain nose pliers and grip the other side with a second pair of pliers or a jump ring opener, then twist the ends sideways past each other instead of pulling them apart. Pulling stretches the ring out of round, while twisting keeps its shape. Slip the ring onto the chain or clasp, then twist the ends back until they meet with no gap. Check the join in good light: a ring with a gap will catch on skin or fabric and open again.
Match the ring to the job: a 4 mm ring suits a fine chain or a small charm, while an 8 mm or 10 mm ring suits a heavier chain or a large clasp. If the original ring is still on the piece, measure it with the caliper before you pick a replacement.
Step 3: Replace a broken clasp
A clasp that no longer springs shut needs one new clasp and one jump ring. Open the jump ring that holds the old clasp and slide the clasp off. Thread a new lobster clasp onto a fresh jump ring, hook the ring through the end link of the chain, and close the ring with the twist described above. Work over a tray or a cloth so a dropped clasp does not roll away, then pull the clasp gently to confirm the spring holds and the ring is fully closed.
If the chain end has no link large enough for the new ring, use the next size up: kits list jump rings in 4 mm, 5 mm, 6 mm, 8 mm and 10 mm. Do not reuse a ring that has been opened and closed many times: the metal weakens at the join.
Step 4: Re-string a bracelet or necklace
A snapped bead string needs new cord, needles and crimp beads. Lay the beads out in order on a cloth, then thread the new cord through the needle and pass it through the beads in the same order. The PAXCOO kit lists 1 clear beading string cord and 6 needles, and the Dsyrvd kit (on Amazon) lists 20 needles, so keep spares ready. Add a crimp bead at each end, pass the cord back through the last few beads, and flatten the crimp bead with chain nose pliers to lock the string.
Step 5: Glue a loose stone or bead
Glue suits a stone that has come out of a plain bezel or a bead that has slipped off a pin, not a prong setting. Clean the setting and the stone with a dry cloth so no dust or oil sits between them. Aleene’s Jewelry and Metal Glue lists 0.7 fl oz and is made for metal, glass, gems and beads. Put a small drop in the setting, set the stone in place with tweezers, and leave the piece flat until the glue has set. Follow the drying time on the tube, and do not wear the piece until the bond has fully set.
If the stone came from a prong setting, stop and see a jeweler: glue will not hold a stone that prongs should grip. The same applies to a ring shank that has cracked or a chain link that has broken at a solder joint.
Step 6: Know when to see a jeweler
Some jobs need a bench, a torch and a trained hand. Soldering a chain link, re-tipping a prong, sizing a ring or resetting a valuable stone are jeweler jobs. Soldering also needs ventilation, eye protection and a heat-proof surface, so do not solder on a kitchen table or near anything that can catch fire. Our jewelry torch vs soldering iron guide explains the difference between the two heat tools.
When you visit a jeweler, bring the broken piece and any loose stones or beads in a small bag or box, and ask what the repair covers before you leave the piece.
Common mistakes to avoid
- Pulling a jump ring apart instead of twisting it sideways.
- Using a jump ring that is too small for the chain or clasp it must hold.
- Reusing a ring that has already been opened and closed many times.
- Gluing a stone that belongs in a prong setting.
- Cutting wire with pliers that are not wire cutters, which leaves a rough end.
- Working over a bare table where a dropped clasp or bead rolls away.
Jewelry repair: the short version
- Set up a kit with chain nose pliers, round nose pliers, wire cutters, jump rings and clasps.
- Open jump rings with a sideways twist, never a straight pull.
- Replace a broken clasp with a new clasp on a fresh jump ring.
- Re-string beads on new cord with crimp beads at each end.
- Glue loose stones only in plain settings, and follow the drying time on the tube.
- Take prong settings, soldered joints and valuable stones to a jeweler.
FAQ: lasers and CNC
What tools do I need to repair jewelry at home?
Chain nose pliers, round nose pliers and wire cutters cover most fixes, with tweezers, a jump ring opener and a caliper for small work. Add jump rings in 4 mm, 5 mm, 6 mm, 8 mm and 10 mm, lobster clasps, crimp beads and glue.
What size jump ring should I use?
Match the original ring if it is still on the piece, and measure it with a caliper. A 4 mm ring suits a fine chain, while an 8 mm or 10 mm ring suits a heavier chain or a large clasp.
Can I fix a broken necklace chain at home?
Yes, if the break is at a jump ring or a clasp: open the ring, replace the part and close it with a sideways twist. A link that has broken at a solder joint needs a jeweler, since it needs heat and solder to join again.
What glue works for jewelry repair?
Aleene’s Jewelry and Metal Glue lists 0.7 fl oz and is made for jewelry repair on metal, glass, gems and beads. Use it for a stone in a plain setting, not for a prong setting.
How do I keep small findings from getting lost?
Work over a tray or a cloth, and keep findings in a divided storage case with one size per compartment.
When should I take jewelry to a jeweler instead?
Take it to a jeweler for prong settings, soldered joints, ring sizing and valuable stones. Those jobs need a bench, a torch and a trained hand, and a home fix can make the damage worse.
Related: the jewelry and lapidary hub, jewelry making guides and best jewelry glue. Also see our best ring sizer. Also see our best bead loom. Also see our best ultrasonic jewelry cleaner.