Leather Glue Repair: Best Glues for Leather
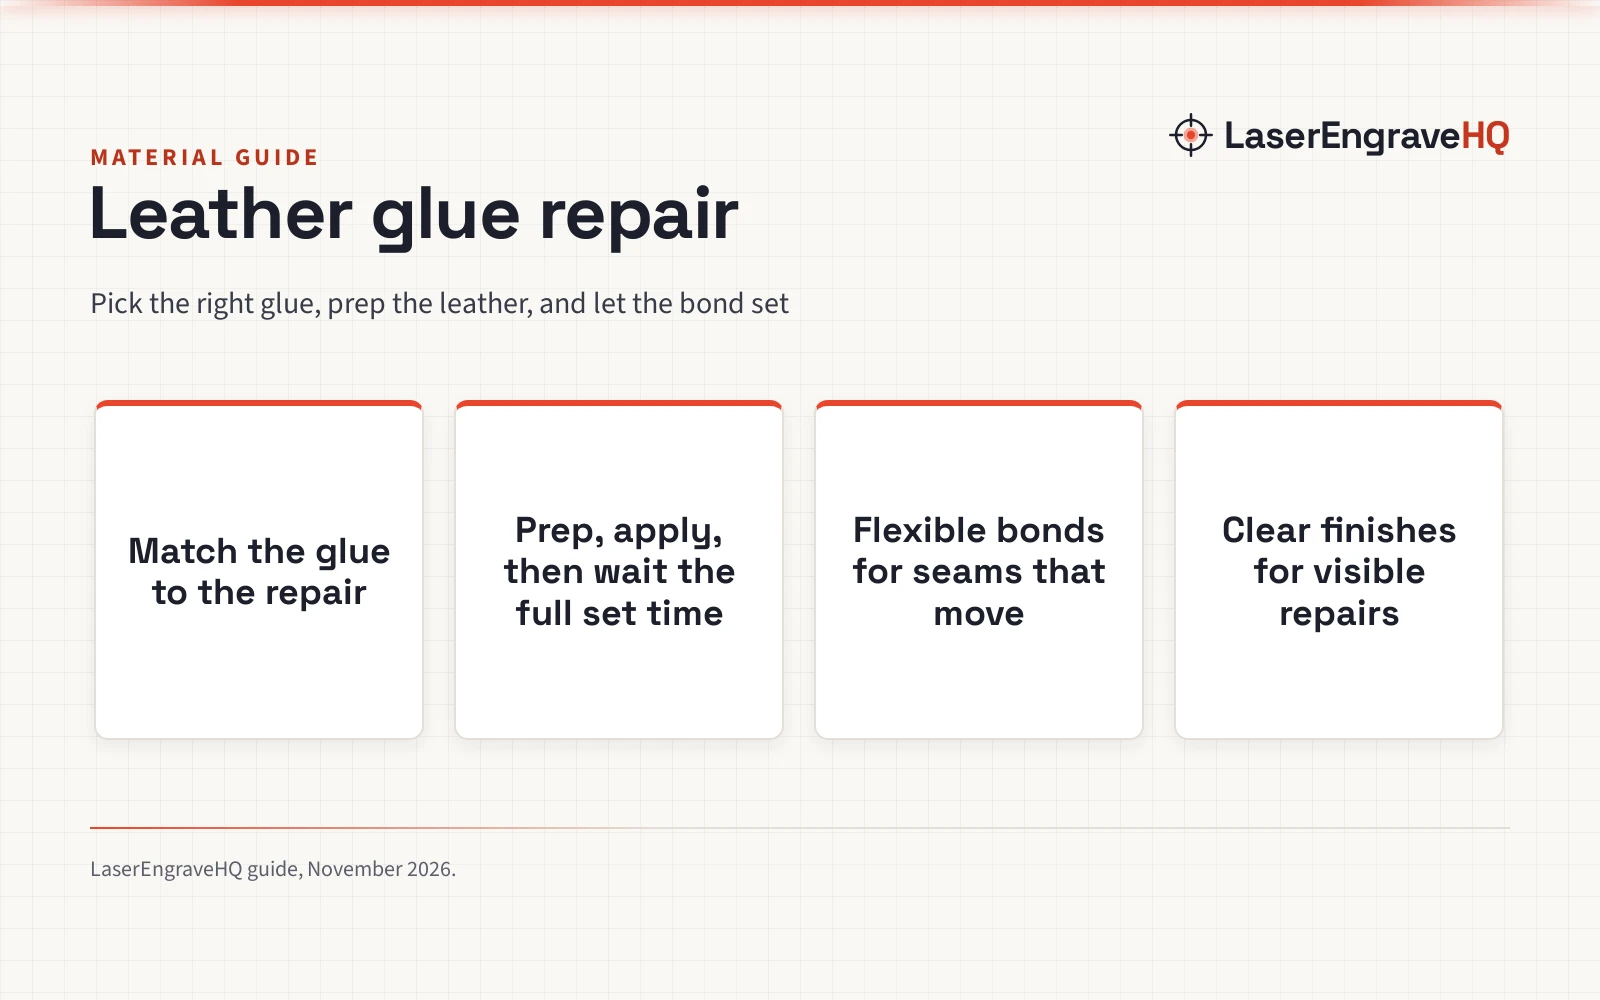
Leather glue repair, step by step: pick a flexible glue for the job, prep the leather, apply a thin line and let the bond set for the full time the maker states.

On this page
leather glue repair fixes torn seams, lifting edges, cracked panels and loose soles on leather goods, and the repair holds when the glue matches the job. A fast-setting cyanoacrylate suits a shoe sole edge, a water-based contact cement suits a jacket seam, and a slow-setting cement suits a large panel that needs adjusting before it bonds. This guide walks through picking the glue, prepping the leather, applying it and letting the bond set, using set times and sizes the makers state.
As an Amazon Associate I earn from qualifying purchases. LaserEngraveHQ earns a commission from purchases made through these links, at no extra cost to you. Read our affiliate disclosure.
Set times and bottle sizes in this guide come from the makers’ own listings. Where a listing gives no figure, this guide says so instead of filling one in.
Leather glue repair starts with the glue type
Glue types differ in how fast they set and how much they flex. LMQ shoe glue is a cyanoacrylate that sets fast: the maker lists a 3580 PSI tensile strength with a set time of 10 to 45 seconds and a flexible bond. Wqapey lists a set time of 15 seconds for its 4.23 fl oz bottle. Water-based contact cement works differently: Fiebing’s lists a 4 oz bottle of water-based contact adhesive that dries clear, stays flexible and stays non-toxic and non-flammable. A third group bonds vinyl, fabric and leather with a flexible, waterproof hold: Loctite lists a 1 Fl Oz tube that sets in 10 minutes, and GleamGlee lists a 1.23 oz tube with a precision tip for detailed work.
Size also shapes the choice. Small tubes suit a small seam: GleamGlee lists a 1.23 oz tube and a 2.1 fl oz bottle with a metal tip, and Loctite lists a 1 Fl Oz tube. Larger bottles suit several repairs: Fiebing’s lists a 4 oz bottle, Ecuywe lists a 4.23 oz bottle, Wqapey lists a 4.23 fl oz bottle, and Nozerix lists 120ml and 130ml bottles. The Nozerix 120ml bottle includes an applicator brush, and the GleamGlee 2.1 fl oz bottle has a metal tip for placing glue along seams and edges.
Step 1: Pick the glue for the repair
Match the set time to the size of the repair. For a small edge or a sole that needs holding right away, a fast-setting glue fits: LMQ lists a set time of 10 to 45 seconds, and Wqapey lists a set time of 15 seconds. For a large panel or a car seat that needs moving into place, a slow-setting glue gives more working time: Nozerix lists 5 minutes for the initial set on both its 130ml bottle and its 120ml bottle. For a jacket, purse or furniture seam, a contact cement fits: Fiebing’s lists a 4 oz bottle of water-based contact adhesive with a clear, flexible, permanent bond. For a rip in vinyl, fabric or leather, Loctite lists a 1 Fl Oz tube that mends rips and tears and stays flexible after drying.
Step 2: Prep the leather before you glue
Glue holds best on clean, dry leather, so wipe away dust and old adhesive and let the surface dry before you start. Dry-fit the pieces first: lay the seam together, check the edges line up, and note where the glue needs to go. A precision tip helps here: GleamGlee lists a precision tip on its 1.23 oz tube and a metal tip on its 2.1 fl oz bottle, and Ecuywe lists a fine applicator tip on its 4.23 oz bottle. For a wide panel, the Nozerix 120ml bottle includes an applicator brush that spreads glue evenly across the surface.
Step 3: Apply the glue and hold the repair
Apply a thin line of glue along the seam or edge, then press the pieces together and hold them while the glue grabs. Contact cement is the exception: spread it on both faces and let it dry until tacky before you press the pieces together, since it bonds on contact rather than while wet. A thin line beats a thick one: excess glue squeezes out, shows on the surface and takes longer to set. The makers that state a fast set time give 15 seconds for Wqapey and 10 to 45 seconds for LMQ shoe glue, so a small edge needs only a short hold. For a slow-setting cement, the Nozerix listings give 5 minutes for the initial set, which leaves time to adjust the pieces before the bond grabs.
Step 4: Let the bond set and check the repair
Leave the repair alone until the bond reaches full hold. Several makers list 24 hours for a full set: LMQ shoe glue, Loctite, Wqapey and both Nozerix bottles all give 24 hours. Fiebing’s lists no full set time, so this guide gives none for it. Once the time passes, check the seam by hand: look for lifted edges, press along the seam and re-glue any spot that lifts with a fresh thin line. A clear-drying glue keeps the fix discreet: GleamGlee lists a crystal clear finish, Loctite lists a clear finish that will not yellow, and Ecuywe lists a transparent dry finish.
Common mistakes to avoid
- Using a fast-setting glue on a large panel with no time to align the pieces.
- Gluing over dust, damp leather or old adhesive.
- Squeezing out a thick line that shows on the surface and takes longer to set.
- Moving the repair before the full set time the maker states.
- Picking a stiff glue for a seam that flexes with every step or bend.
Leather glue repair: the short version
- Match the glue to the repair: fast set for small edges, slow set for large panels, contact cement for seams.
- Clean and dry the leather, then dry-fit the pieces.
- Apply a thin line with a precision tip and press the pieces together.
- Leave the repair alone until the full set time the maker states.
- Check the seam and re-glue any lifted edge with a fresh thin line.
FAQ: lasers and CNC
How long does leather glue take to set?
It depends on the glue. LMQ shoe glue lists a set time of 10 to 45 seconds, Wqapey lists 15 seconds, Loctite lists 10 minutes, and Nozerix lists 5 minutes for the initial set. Several makers list 24 hours for a full set, including LMQ, Loctite, Wqapey and Nozerix.
Which glue works for leather shoes?
LMQ shoe glue is made for soles and heels, with a 3580 PSI tensile strength, a waterproof flexible bond and a set time of 10 to 45 seconds. Wqapey lists a 4.23 fl oz bottle for shoe soles, heels, boots and sneakers with a set time of 15 seconds. Loctite also lists shoes among the repairs its 1 Fl Oz tube handles.
Can leather glue fix a torn car seat?
Yes, when the glue stays flexible and waterproof. Loctite lists vinyl, fabric and leather seat repairs and mends rips and tears. GleamGlee lists car seats among the repairs for its 1.23 oz tube, and Nozerix lists car seats for both its 130ml and 120ml bottles. A flexible bond matters here because a seat bends every time someone sits on it.
Does leather glue dry clear?
Several glues do. GleamGlee lists a crystal clear finish on its 1.23 oz tube, Loctite lists a clear finish that will not yellow, Fiebing’s lists clear drying, Ecuywe lists a transparent dry finish, and Nozerix lists a clear formula on its 130ml bottle. A clear finish keeps the repair discreet on visible seams and panels.
What size leather glue should I buy?
Match the bottle to the job. GleamGlee lists a 1.23 oz tube and a 2.1 fl oz bottle, Loctite lists a 1 Fl Oz tube, and LMQ lists a 1 oz size. For larger jobs, Fiebing’s lists a 4 oz bottle, Ecuywe lists a 4.23 oz bottle, Wqapey lists a 4.23 fl oz bottle, and Nozerix lists 120ml and 130ml bottles. A small tube suits a small seam, while a larger bottle covers several repairs.
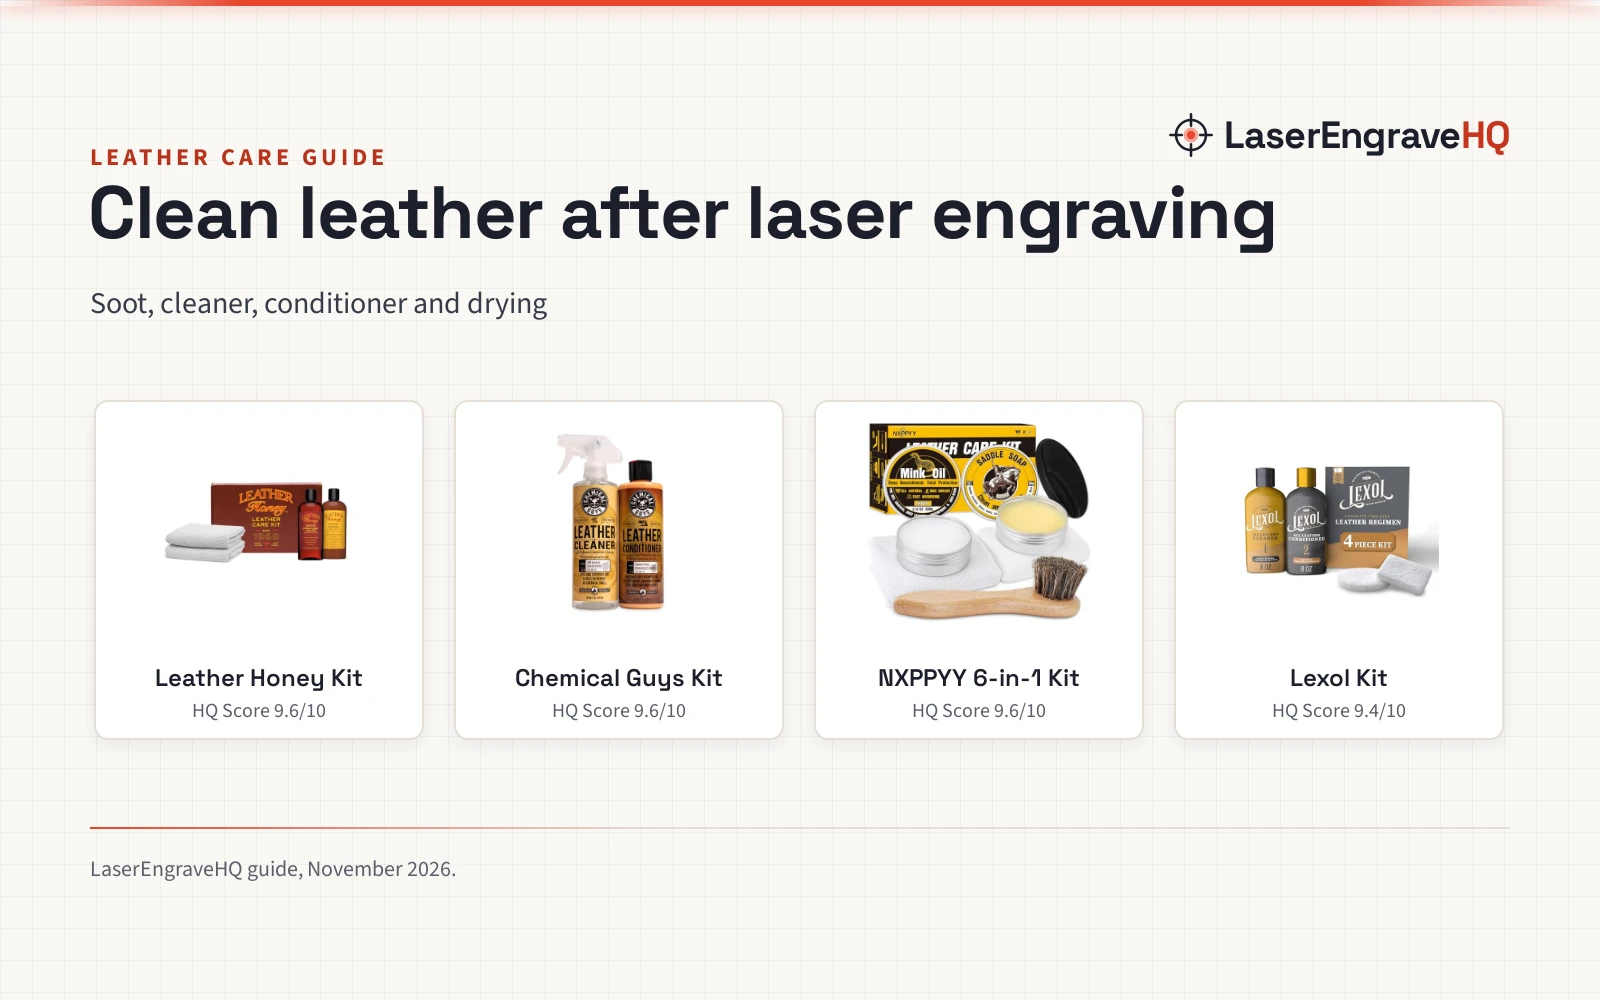
Related: the engraving materials hub, can you laser engrave leather and how to clean leather after laser engraving. Also see our best leather paint and best laser engraver for leather bags.