How to Make Permanent Vinyl Stick Better
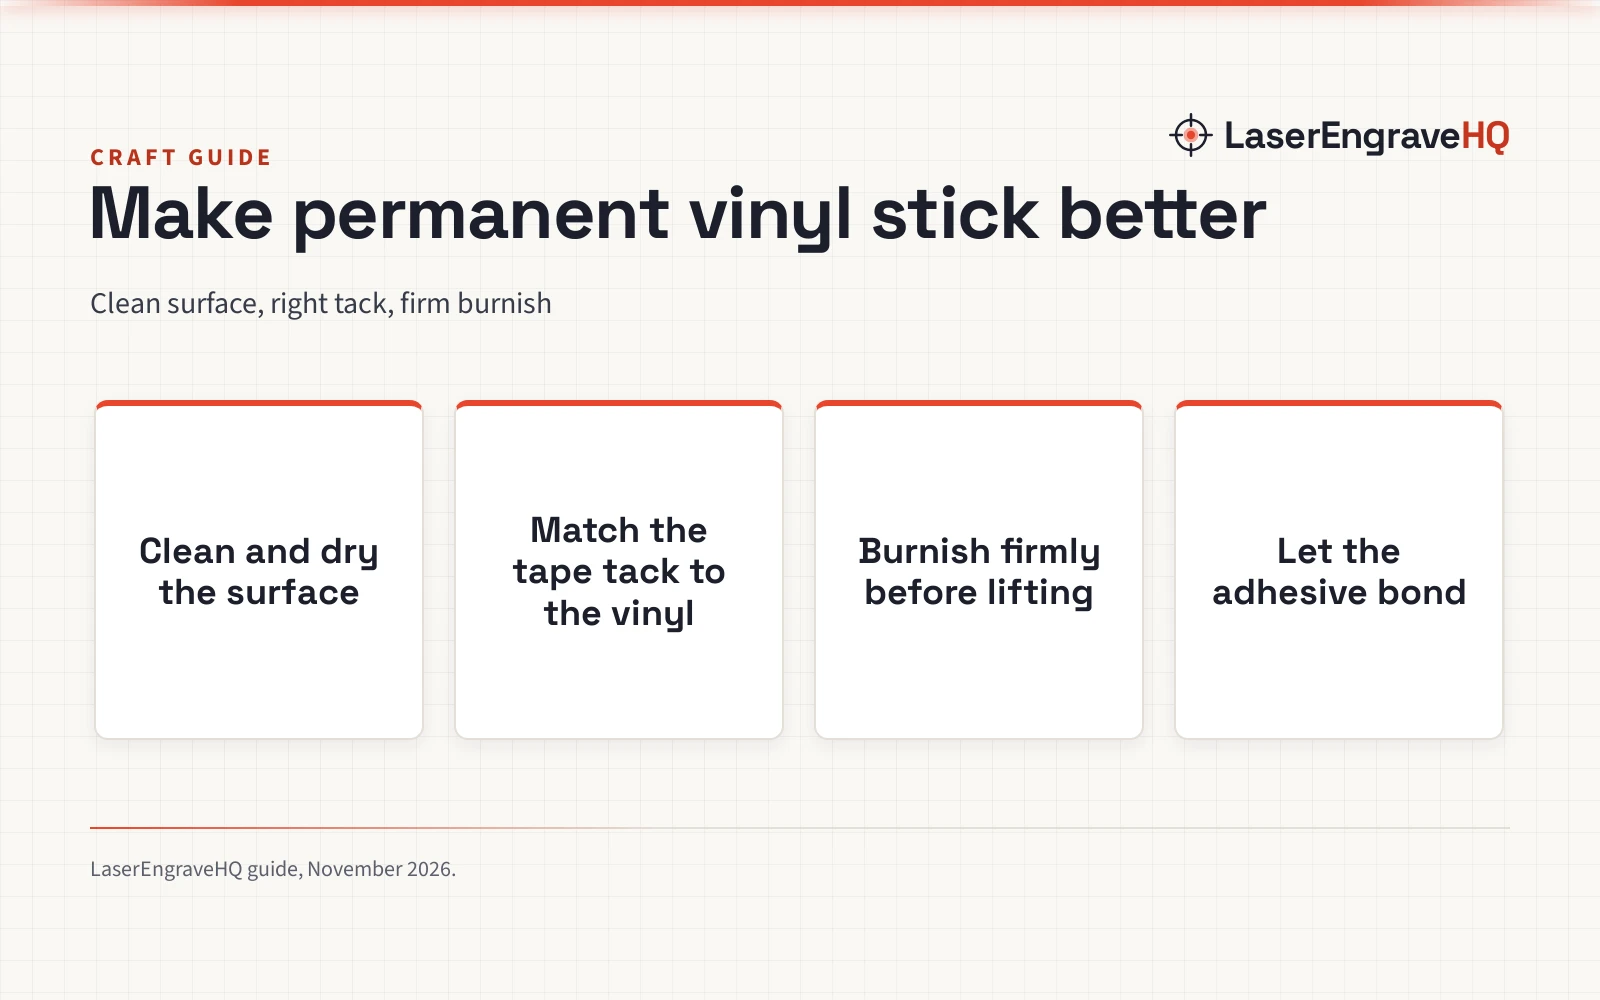
Permanent vinyl sticks better on a clean, dry surface with the right transfer tape tack, firm burnishing and time for the adhesive to bond.

On this page
Top picks at a glance
As an Amazon Associate I earn from qualifying purchases.
- 1
 Tintnut Wood Grain Permanent VinylView on Amazon
- 2
 Cricut® Value Permanent VinylView on Amazon
- 3
 Cricut Value Permanent VinylView on Amazon
- 4
 HTVRONT Holographic Glitter Silver Permanent Vinyl RollView on Amazon
- 5
 HTVRONT Glossy Red Permanent Vinyl RollView on Amazon
- 6
 HTVRONT Glossy Black Permanent Vinyl RollView on Amazon
How to make permanent vinyl stick better comes down to surface prep, the right tape tack, firm pressure and patience after the decal goes on. A decal that lifts at the edges, bubbles under the vinyl or slides while the tape comes off usually failed at the surface or at the transfer step, not at the vinyl itself. The guide below walks through each stage in order, so signs, tumblers, windows and wall decals stay put.
Other machines to compare
 Tintnut Wood Grain Permanent VinylCheck price on Amazon
 Cricut® Value Permanent VinylCheck price on Amazon
 Cricut Value Permanent VinylCheck price on Amazon
 HTVRONT Holographic Glitter Silver Permanent Vinyl RollCheck price on Amazon
 HTVRONT Glossy Red Permanent Vinyl RollCheck price on Amazon
 HTVRONT Glossy Black Permanent Vinyl RollCheck price on Amazon
LaserEngraveHQ earns a commission from purchases made through these links, at no extra cost to you. Read our affiliate disclosure.
Permanent vinyl bonds with pressure and time, not with heat. This guide uses the figures the makers publish for their transfer tapes. Where a listing states nothing about a size, the guide says so rather than guessing.
Clean the surface before the vinyl goes on
Adhesive needs a clean, dry surface to grip. Dust, grease, wax and soap film all sit between the vinyl and the blank, and the decal lifts with them. Wash the surface with soap and water, rinse well and dry it fully. A final wipe with rubbing alcohol takes off the last film on glass, metal, ceramic and glazed surfaces. Avoid touching the clean area with bare hands, since skin oils weaken the bond.
Smooth surfaces give the strongest bond. Glass, glazed ceramic, sealed wood, metal and smooth plastic all take permanent vinyl well. Textured walls and unfinished wood need firmer pressure and more patience, and the bond stays weaker than on a smooth surface. The MAQIHAN listing names walls, glass, wood, plastic and metal as surfaces its tape handles, so the range is wide, and surface prep matters most on rough blanks.
Match the tack to the vinyl and the surface
Transfer tape comes in tack levels, and the level decides whether the vinyl lifts cleanly from its backing and then releases cleanly from the tape. Medium tack suits standard permanent vinyl on smooth surfaces. Low tack suits delicate surfaces and small, detailed cuts that tear easily.
The HTVRONT listing describes a medium tack tape on a 12-inch by 120 FT roll with a red alignment grid marked in a 1/2-inch pattern. TECKWRAP lists a medium tack black grid tape in a 12 INCH x 10 FT roll for indoor and outdoor adhesive vinyl. MAQIHAN lists a low tack red grid tape in a 12 in x 16.4 Ft roll for signs, stickers, decals and letters. The grid is a measuring aid: line up the design on the grid, then line up the grid on the blank.
Check the tape against the vinyl type before starting. HTVRONT states its tape is not suitable for holographic vinyl, glitter vinyl or HTV, so check the listing for the tape in hand before starting: a tape that cannot lift a textured vinyl leaves the design on the backing, while a tape that grips too hard tears a delicate cut. The best transfer tape for permanent vinyl guide compares medium and low tack rolls side by side, and the best medium tack transfer tape for vinyl roundup covers the common sizes.
Weed the design and apply the transfer tape
Weeding means removing the vinyl around the design, leaving only the letters and shapes that belong on the blank. A sharp weeding tool and good light matter more than speed here. Pull the waste vinyl away at a low angle and watch the small pieces: a dot or a thin line that lifts with the waste can be pressed back with the tip of the tool. The how to use a weeding tool guide walks through the hand positions that keep small cuts intact.
Lay the transfer tape over the weeded design and press it down with a scraper or a firm card, working from the center outward so air escapes at the edges. HTVRONT ships a free scraper with its 12-inch by 120 FT roll. Flip the sheet over and burnish the back as well, so the vinyl sticks to the tape before the backing comes off. Peel the backing away at a low angle: if a piece stays on the backing, lay the tape back down and burnish that spot again.
How to make permanent vinyl stick better on smooth and textured surfaces
Position decides the result, so place the taped design on the blank before pressing anything down. Line up a straight edge of the design with the edge of the blank, or center the design with the grid squares as a guide. On a curved blank such as a tumbler, press the center down and work outward in small sections, letting the tape flex around the curve.
Burnish the vinyl onto the surface with firm, even strokes. A scraper, a firm card or the edge of a craft stick all work, and the goal is pressure across the whole design, not just the middle. Pay extra attention to thin lines, small letters and sharp corners, since those lift earliest. On textured surfaces, press longer and repeat the strokes so the vinyl settles into the texture. The how to use transfer tape guide shows the same lift-and-press rhythm in detail.
Lift the tape slowly, at a low angle, back over itself. If a piece starts to lift with the tape, press the tape back down over that spot, burnish it again and peel again. The tape should come away clean, with the design flat on the surface and no bubbles under the vinyl. The maker of the HTVRONT tape (on Amazon) states it leaves no residue, and a clean lift is the sign that the bond formed correctly.
Let the adhesive bond before washing or handling
Permanent vinyl adhesive keeps bonding after application, so the decal is weakest in the hours right after it goes on. Leave the finished piece alone and avoid washing it, soaking it or rubbing the decal. On tumblers and mugs, hand washing protects the bond, and a dishwasher can lift edges that a gentle wash would leave alone.
Outdoor decals face sun, rain and temperature swings, so the bond matters even more there. TECKWRAP lists its tape for indoor and outdoor adhesive vinyl, and the same care applies to the finished decal. If an edge lifts later, press it back down with firm pressure and leave it alone again.
A note on vinyl and laser machines
Adhesive vinyl is cut on a craft cutter, never in a laser. Lasering vinyl can release harmful fumes and damage the machine, so keep vinyl far from the laser bed. The craft machines hub covers the cutters that handle vinyl.
Common mistakes to avoid
- Skipping the cleaning step and applying vinyl over dust, grease or soap film.
- Using a tape tack that is too strong for a delicate cut, or too weak to lift the design.
- Burnishing only the center and leaving the edges and small pieces loose.
- Peeling the tape fast or straight up, which pulls the vinyl off with it.
- Washing or handling the piece before the adhesive has had time to bond.
- Applying vinyl to a textured or dirty surface and expecting a smooth-surface bond.
How to make permanent vinyl stick better: the short version
- Clean the surface with soap and water, dry it fully and wipe glass and metal with rubbing alcohol.
- Match the tape tack to the vinyl: medium tack for standard vinyl, low tack for delicate cuts.
- Weed the design, apply the tape and burnish from the center outward.
- Position the design, burnish it firmly onto the surface and lift the tape slowly at a low angle.
- Leave the finished piece alone so the adhesive can bond before washing or handling.
FAQ: lasers and CNC
Why does permanent vinyl peel off glass?
Glass looks clean when it is not. Soap film, fingerprints and dust weaken the bond, so wash the glass, dry it fully and wipe it with rubbing alcohol before applying the vinyl.
Does transfer tape tack matter for permanent vinyl?
Yes. Medium tack lifts standard permanent vinyl and releases it onto the surface, while low tack suits delicate cuts and surfaces that mark easily. A tape that is too strong can tear the design, and a tape that is too weak leaves the vinyl on its backing.
Can permanent vinyl stick to textured walls?
It can, but the bond is weaker than on glass or smooth metal. Clean the wall, press the vinyl firmly so it settles into the texture, and leave it alone so the adhesive can bond.
When can a vinyl decal be washed?
Leave the finished piece alone after application and avoid washing it until the adhesive has had time to bond. Hand washing is gentler than a dishwasher, and soaking can lift edges.
Why does the vinyl lift with the transfer tape?
The vinyl had not bonded to the surface yet, or the tape tack was too strong for the cut. Press the tape back down, burnish the spot again and peel slowly at a low angle.
Is permanent vinyl the same as heat transfer vinyl?
No. Permanent vinyl is adhesive vinyl for hard surfaces such as glass, metal and signs, while heat transfer vinyl bonds to fabric with heat. The heat transfer vinyl vs adhesive vinyl guide compares adhesive and heat transfer vinyl.
Related: the craft machines hub, permanent vinyl how to use and best transfer tape for permanent vinyl. Also see the how to use transfer tape guide.