Permanent Vinyl How to Use: Step-by-Step Guide
Cut, weed, transfer and apply permanent vinyl with a cutting machine, and pick the right sheets for signs, tumblers and decals.

On this page
Top picks at a glance
As an Amazon Associate I earn from qualifying purchases.
- 1
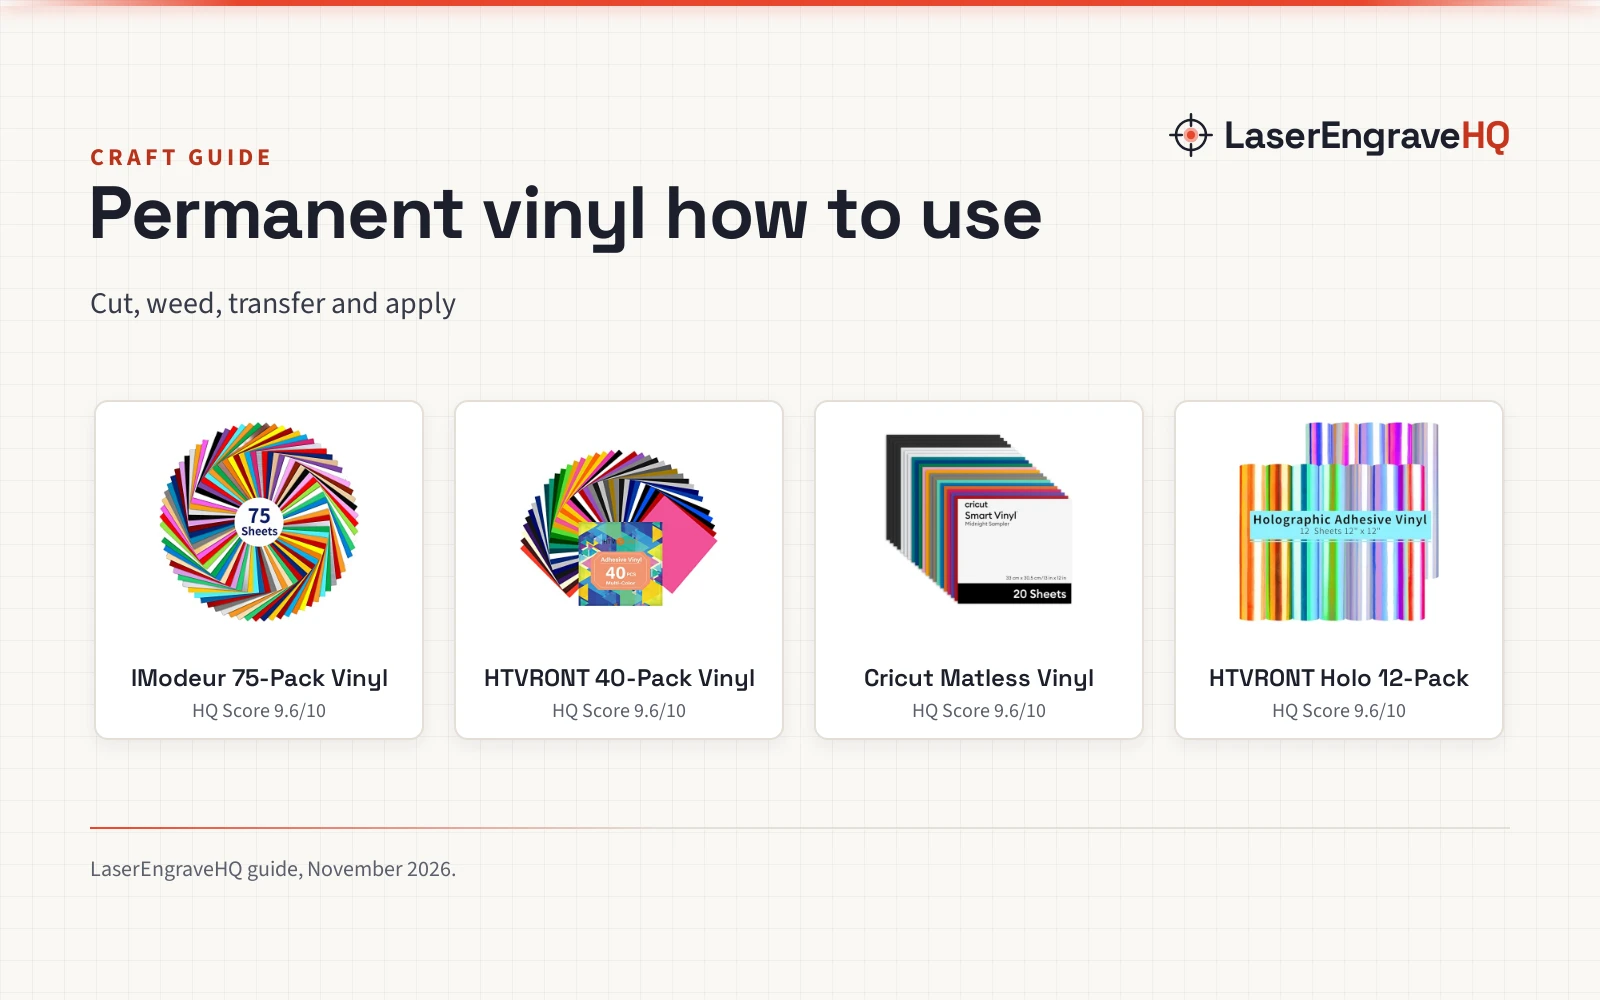
 IModeur Permanent Adhesive Vinyl Sheets9.6/10View on Amazon
- 2
 HTVRONT Permanent Vinyl, 40 Pack, 12"x12"9.6/10View on Amazon
- 3
 Cricut® Matless Permanent Vinyl9.6/10View on Amazon
- 4
 HTVRONT Holographic Permanent Vinyl 12"x12"9.6/10View on Amazon
A tumbler with your own decal, a wooden sign for the front door, a laptop covered in stickers: permanent vinyl turns those projects into finished pieces that stay put. Permanent vinyl how to use it comes down to cut, weed, transfer and apply: cut the design on a cutting machine, weed away the extra vinyl, lift the design with transfer tape, and press it onto a smooth surface. This guide walks through each move in order.
LaserEngraveHQ earns a commission from purchases made through these links, at no extra cost to you. Read our affiliate disclosure.
IModeur Permanent Adhesive Vinyl Sheets
75 sheets of 12 x 12 in permanent vinyl in 38 colors, matte and glossy, with a 1 cm grid on the backing.
Pros
- 75 sheets in 38 colors, matte and glossy
- 1 cm grid on the paper backing
- Extra thickness resists curling and piercing
- Rated to last 5 years indoors, 4 years outdoors
Cons
- Not suitable for fabrics
- No transfer tape is stated in the box
- Only one sheet is matte black
- 75 sheets take more storage than smaller packs
HTVRONT Permanent Vinyl, 40 Pack, 12"x12"
40 sheets of 12 x 12 in permanent vinyl in 29 colors with a clear PET backing, for Cricut and Silhouette machines.
Pros
- 40 sheets in 29 colors
- Clear PET backing peels cleanly off the mat
- Waterproof vinyl for mugs, glass and signs
- Works with Cricut, Silhouette, Graphtec, Pazzles
Cons
- Not suitable for fabric, not heat transfer vinyl
- No transfer tape is stated in the box
- No durability years are stated
- 12 x 12 in sheets only, so larger designs need joining
Cricut® Matless Permanent Vinyl
20 matless sheets of 13 x 12 in permanent vinyl with a matte finish, made to cut without a machine mat.
Pros
- Matless cutting with no machine mat
- Cuts up to 12 ft for repeat cuts and batches
- Weather- and UV-resistant vinyl
- Matte finish for bottles, signs and car decals
Cons
- No warranty term is stated
- 20 sheets, the second smallest pack here
- Optimized for Cricut machines only
- No color count is stated for the sampler
HTVRONT Holographic Permanent Vinyl 12"x12"
12 sheets of 12 x 12 in holographic permanent vinyl with a strong adhesive backing for stickers and decals.
Pros
- Holographic finish with a color shift
- Strong adhesive backing for smooth surfaces
- Applies with high-tack transfer tape
- Cuts and weeds smoothly, per the maker
Cons
- No warranty term is stated
- 12 sheets, the smallest pack here
- No plain or matte colors in the pack
- Made for smooth surfaces only
Permanent vinyl how to use: the short answer
Permanent vinyl is an adhesive sheet for a cutting machine, not for a laser and not for fabric. Cut the design with the backing in place, weed out the extra pieces, lift the design with transfer tape, and press it onto a smooth, hard surface.
Step 1: Pick the vinyl and the surface
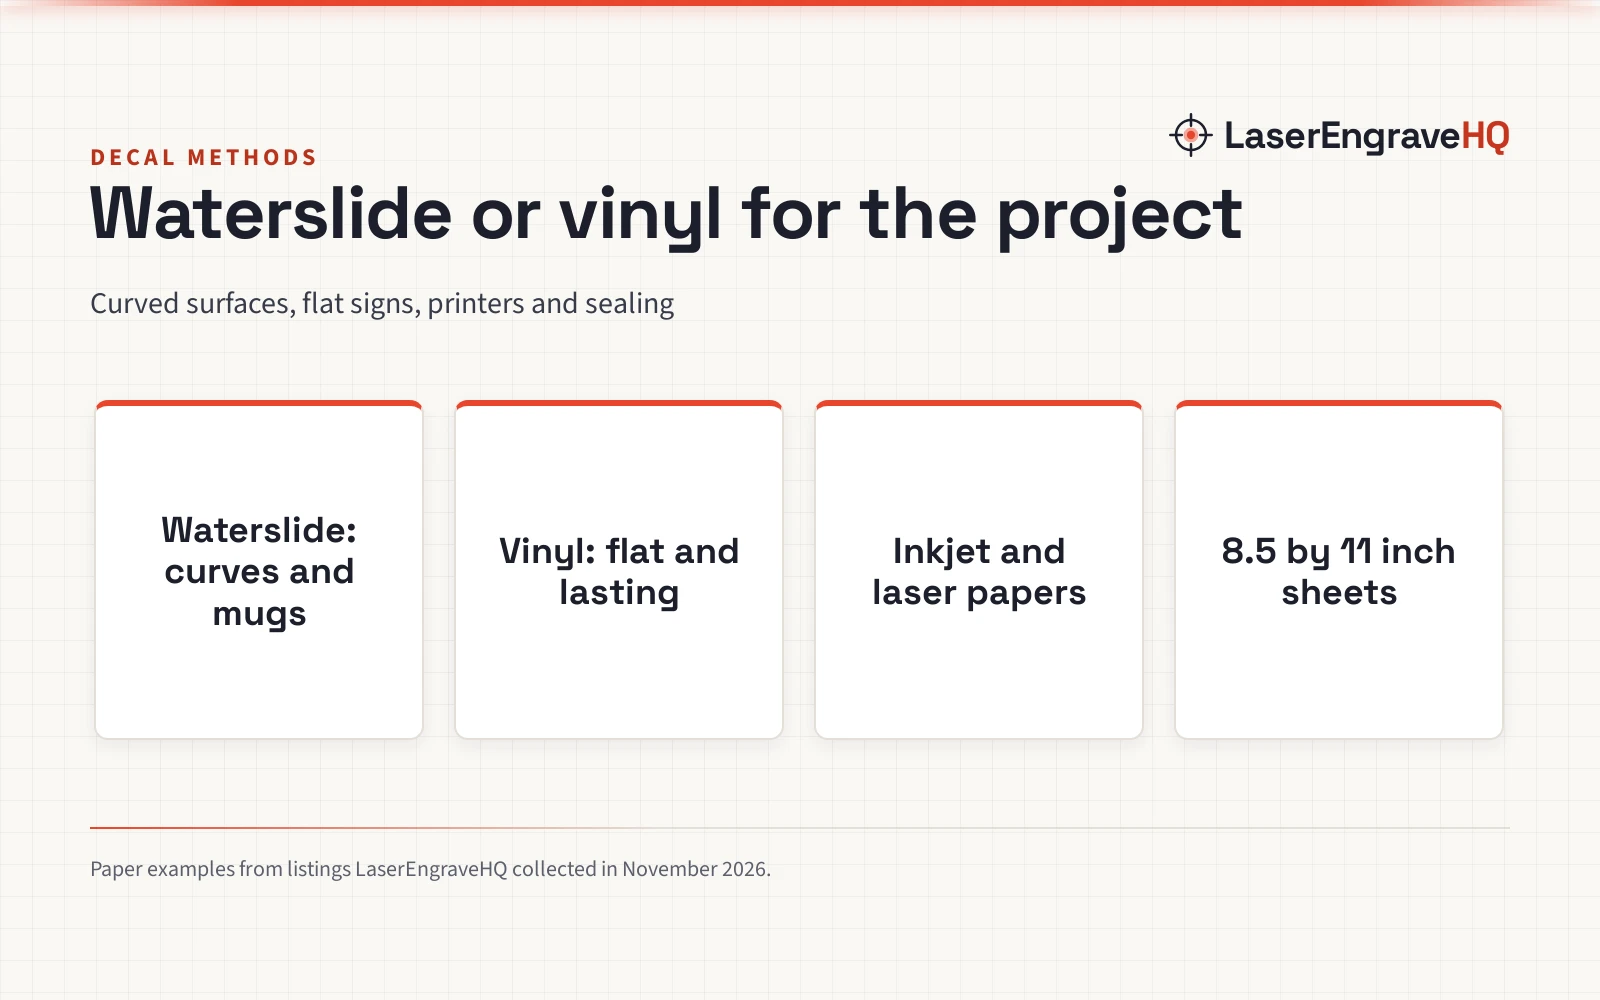
Start from the surface, since permanent vinyl sticks to smooth, hard surfaces. The 40-pack names metal, wood, ceramic and glass, the holographic pack names tumblers, mirrors, windows and wood signs, and the IModeur pack names mugs, windows and home decor. The Cricut sampler (on Amazon) suits water bottles, outdoor signs and car decals. For signs and decals, the comparison in waterslide decal paper vs permanent vinyl shows how the two materials differ.
Do not plan permanent vinyl for fabric. The 40-pack and the IModeur listings both state that permanent vinyl is not suitable for fabrics, and the 40-pack adds that it is not heat transfer vinyl. For shirts and fabric, see the best vinyl for heat transfer instead.
Step 2: Cut the design
Cut on a cutting machine: the 40-pack works with Cricut Explore and Maker, Silhouette Cameo, Graphtec and Pazzles, the IModeur pack works with all cutting machines and Silhouette Cameo 3 and 4, and the holographic pack works with Cricut and Silhouette Cameo. The Cricut sampler is made for Cricut machines and needs no mat at all, and it cuts up to 12 ft for repeat cuts and batches.
Before cutting the holographic sheets, remove the clear protective film, as that listing states. The IModeur sheets (on Amazon) carry a 1 cm grid on the paper backing, and the 40-pack has a clear PET backing that protects the adhesive and peels off the mat without residue.
Step 3: Weed the extra vinyl
Weeding means pulling away every piece that is not part of the design, leaving only the design on the backing. The holographic pack, the 40-pack and the IModeur pack all describe easy cutting and weeding, and the IModeur pack adds an extra thickness that resists curling and piercing by the cutter. The how to use a weeding tool guide shows the tool and the motion for fine lines.
Step 4: Transfer and apply
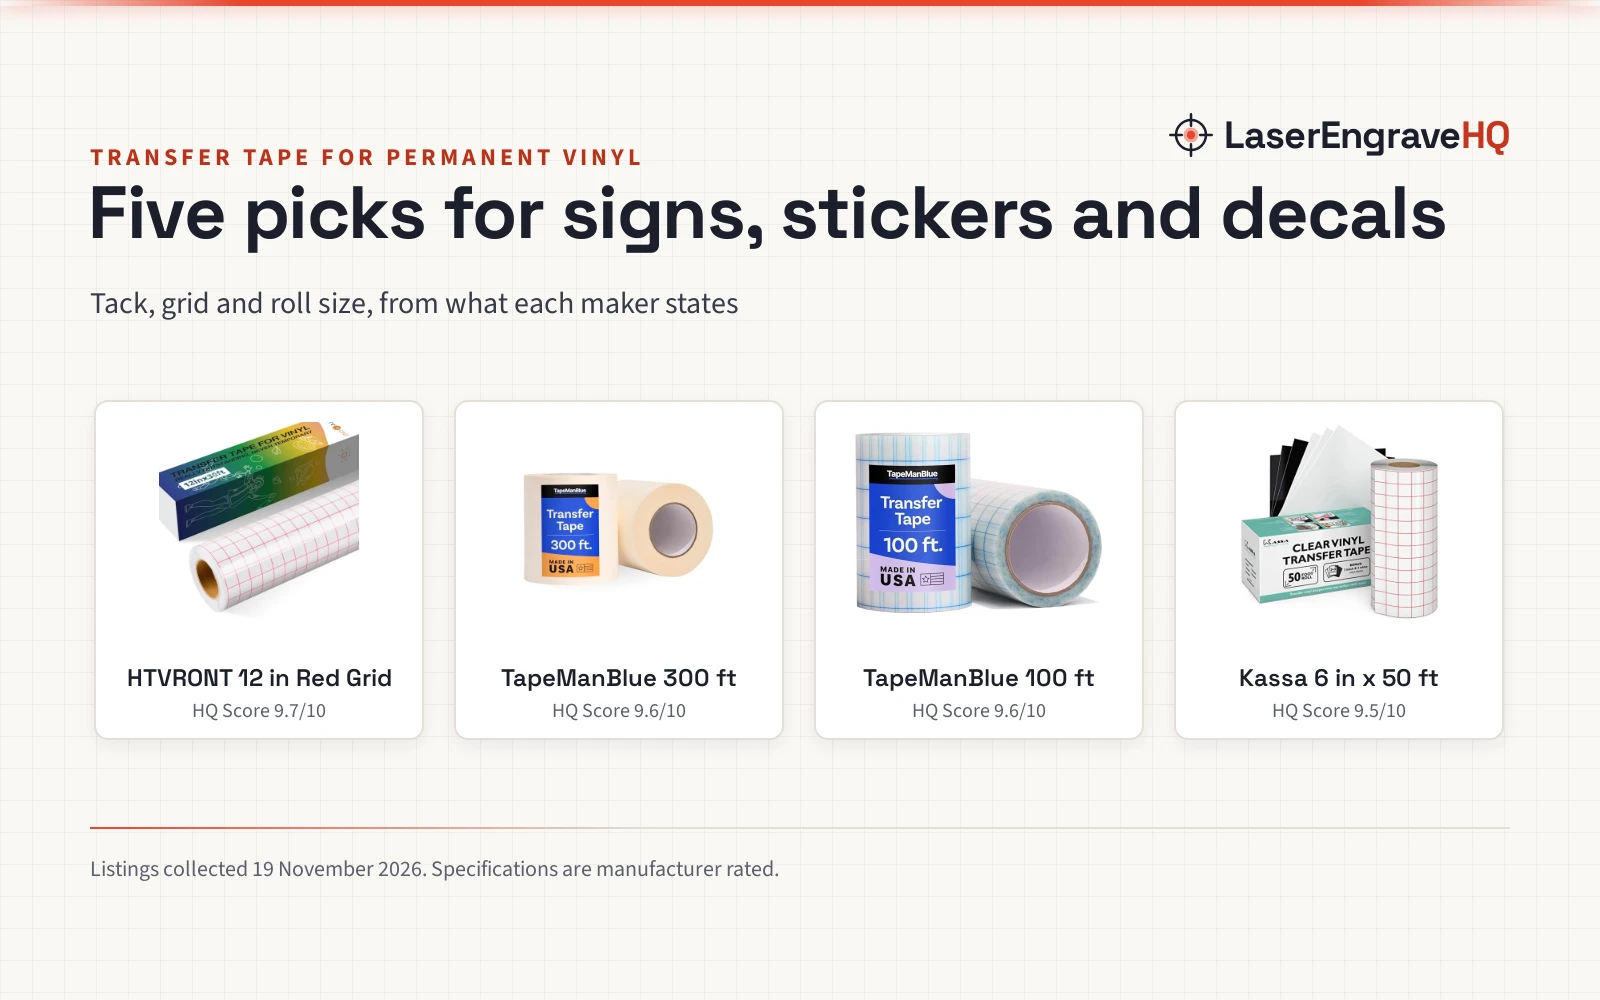
Lift the weeded design with transfer tape, then press it onto the surface. The holographic listing describes applying the sheets with high-tack transfer tape, and the best transfer tape for permanent vinyl lists tapes made for this step.
Do not laser permanent vinyl
Permanent vinyl must never go under a laser. Lasering vinyl can release harmful fumes and damage the machine, so cut it on a cutting machine instead.
The vinyl for these steps
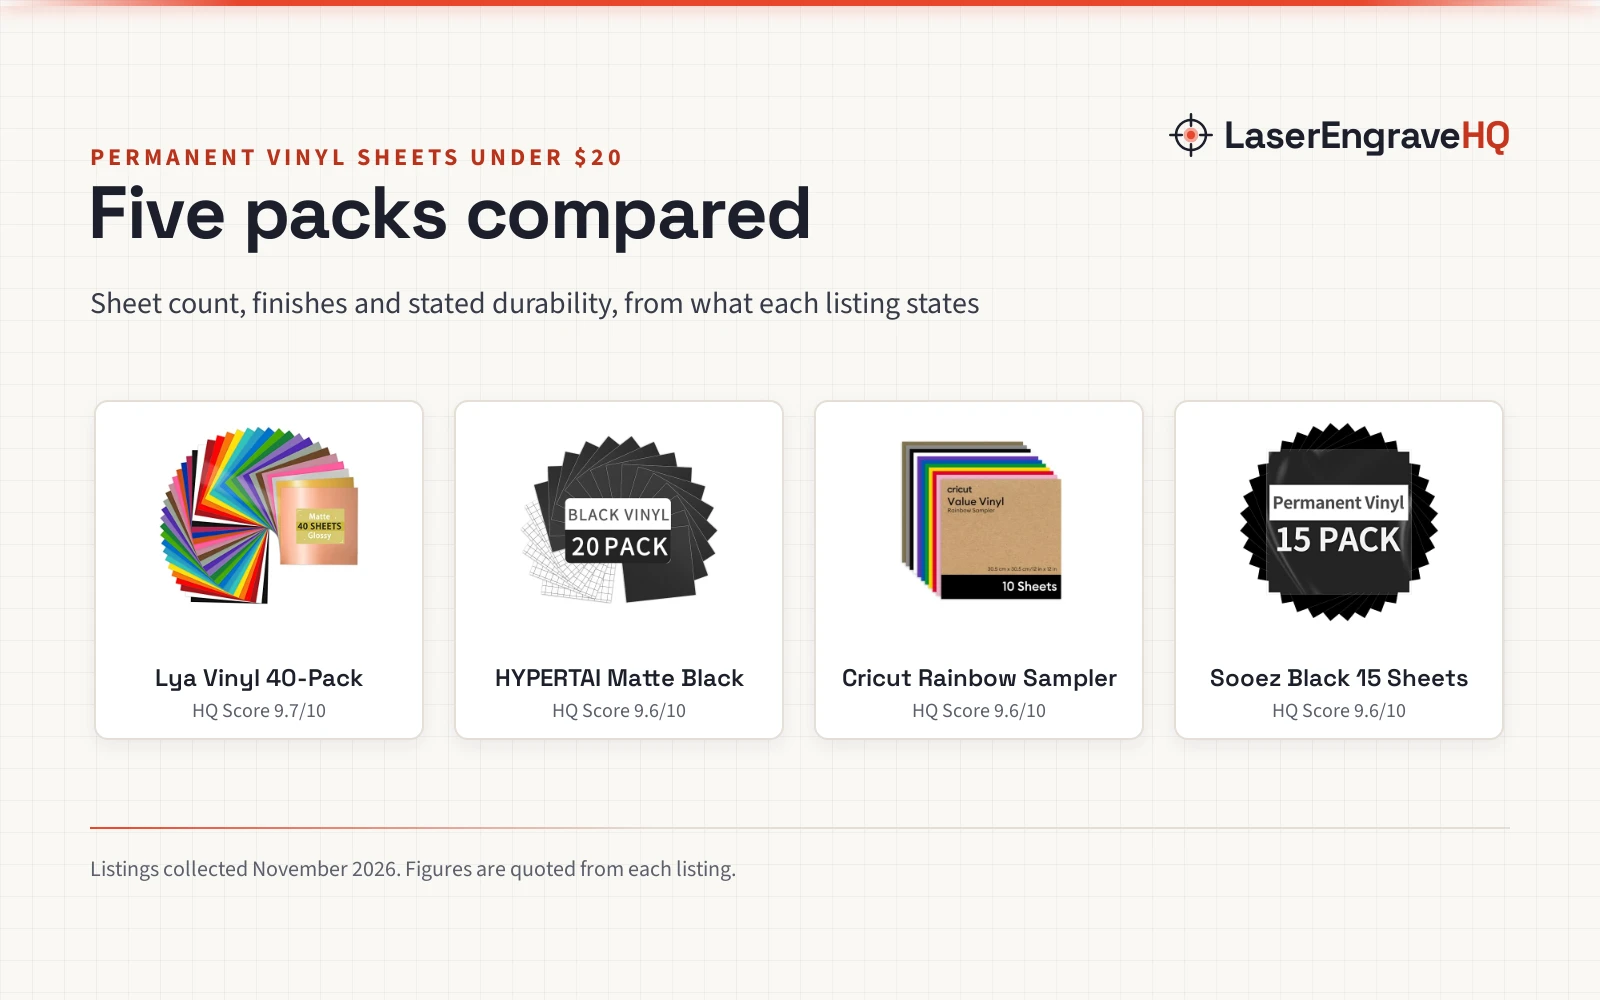
Each pack below handles one part of the run: sheets sized for the cutter, backing that peels cleanly for weeding, and finishes for signs, tumblers and decals.
Common mistakes to avoid
- Lasering permanent vinyl instead of cutting it on a cutting machine.
- Using permanent vinyl on fabric, which two listings state it does not suit.
- Treating permanent vinyl as heat transfer vinyl, which the 40-pack states it is not.
- Cutting the holographic sheets without removing the clear protective film first.
FAQ: lasers and CNC
What side goes down for permanent vinyl?
Take the clear protective film off before cutting, as the holographic listing states, and cut with the backing in place. The 40-pack uses a clear PET backing that peels off the cutting mat, and the IModeur sheets use a paper backing with a 1 cm grid.
How do I transfer permanent vinyl?
Weed away the extra vinyl, then lift the design with transfer tape: the holographic listing describes applying the sheets with high-tack transfer tape. Press the design onto a smooth surface such as glass, metal, wood or ceramic.
Can I use permanent vinyl on fabric?
No. The 40-pack and the IModeur listings both state that permanent vinyl is not suitable for fabrics, and the 40-pack adds that it is not heat transfer vinyl.
How long does permanent vinyl last?
The IModeur listing states 5 years indoors and 4 years outdoors. The Cricut listing states a long-lasting adhesive that is weather- and UV-resistant, without giving years.
Can I cut permanent vinyl with a laser?
No. Never laser vinyl or PVC: the fumes are harmful and the material can damage the machine. Cut permanent vinyl on a cutting machine such as a Cricut or Silhouette Cameo, as the listings state.
Related: the best transfer tape for permanent vinyl, how to use a weeding tool and waterslide decal paper vs permanent vinyl. Also see the best vinyl for heat transfer.