How to Use Transfer Tape with Vinyl (2026)
A step-by-step guide to using transfer tape with vinyl, from cutting and pressing to lifting, placing and peeling, with four tape rolls for signs, stickers and decals.

On this page
Top picks at a glance
As an Amazon Associate I earn from qualifying purchases.
- 1
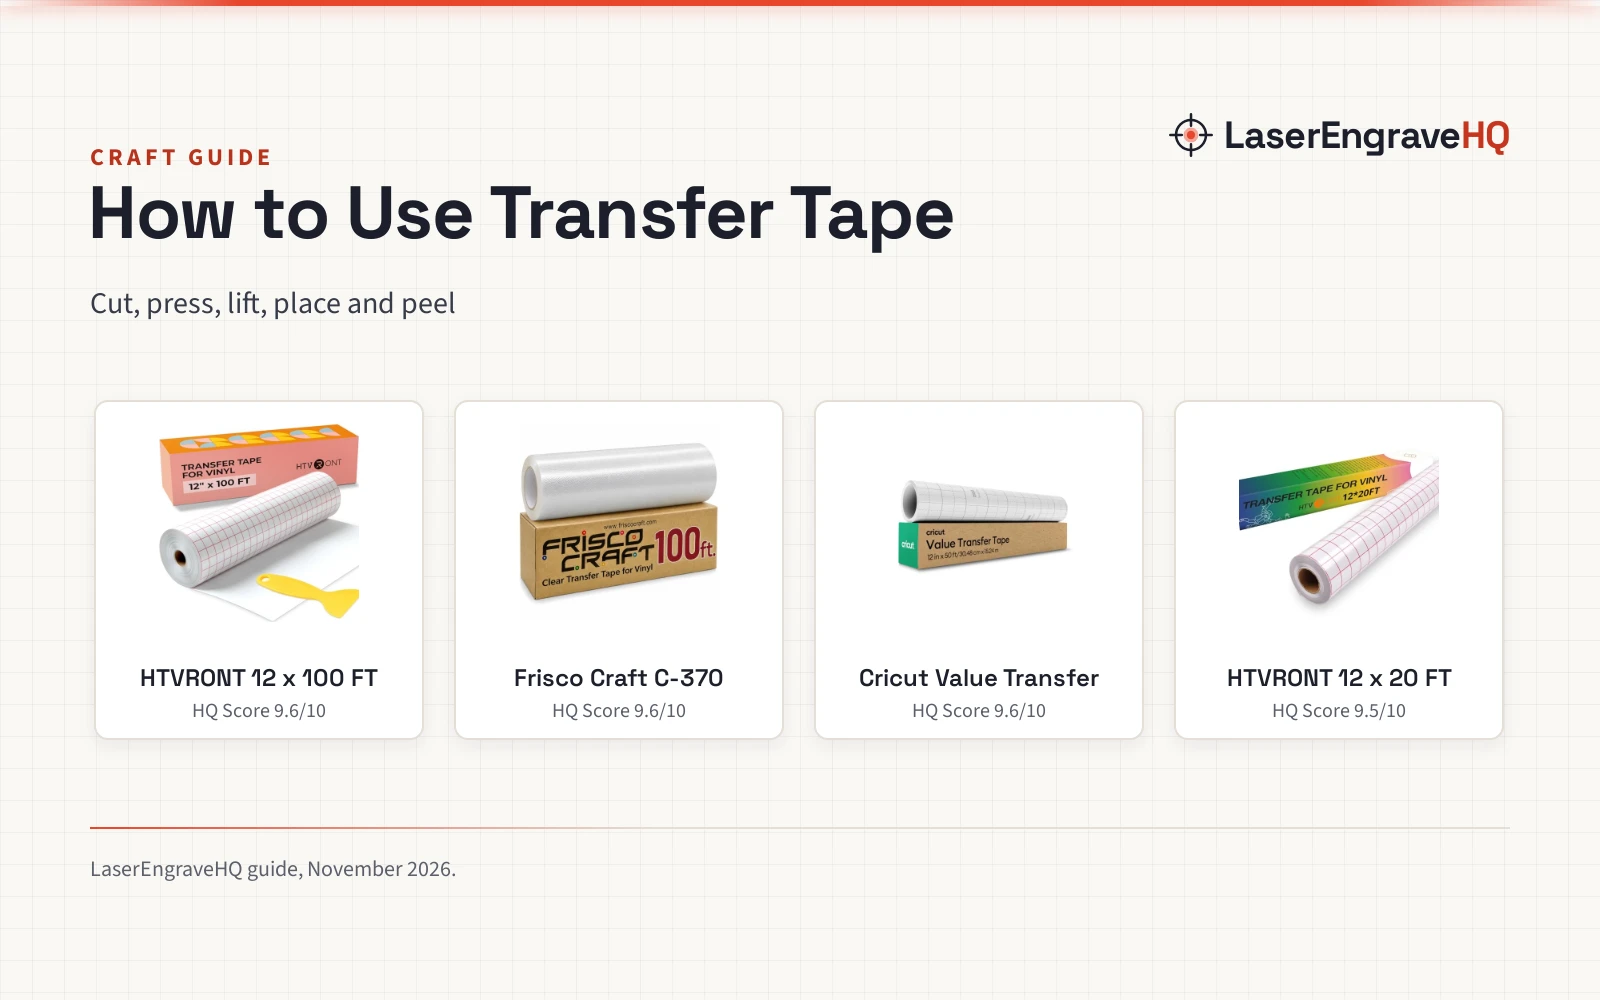
 HTVRONT Transfer Tape for Vinyl, 12" x 100 FT9.6/10View on Amazon
- 2
 Frisco Craft C-370 Clear Transfer Tape for Vinyl9.6/10View on Amazon
- 3
 Cricut Value Transfer Tape (12in x 50ft Roll)9.6/10View on Amazon
- 4
 HTVRONT Transfer Tape for Vinyl 12" x 20 FT, Red9.5/10View on Amazon
How to use transfer tape comes down to a short sequence: cut a piece of tape that covers the vinyl design, lay it sticky-side down on the vinyl and press it flat, lift the tape so the vinyl comes with it, place the design on the surface, press again and peel the tape away, leaving the vinyl behind. The tape does the carrying, so the design keeps its spacing and alignment.
LaserEngraveHQ earns a commission from purchases made through these links, at no extra cost to you. Read our affiliate disclosure.
Transfer tape moves cut adhesive vinyl onto a surface. It is not a laser material, and vinyl itself is not for laser cutting. Check the tape listing before using it with glitter, shimmer, holographic or heat-transfer vinyl.
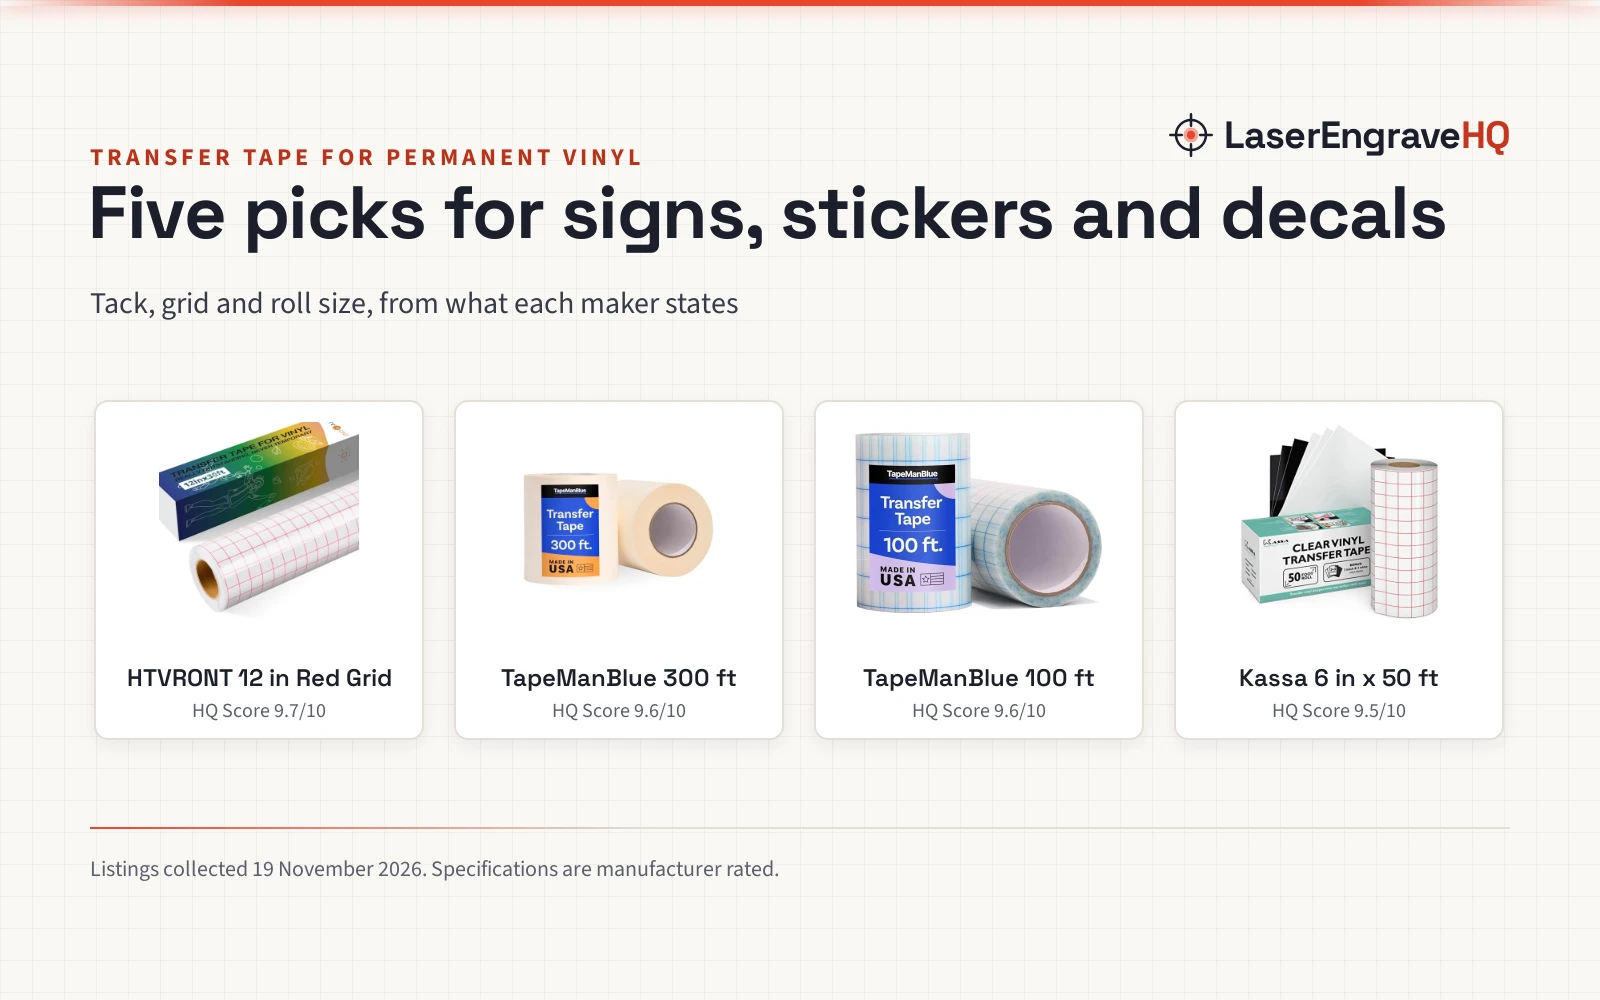
HTVRONT Transfer Tape for Vinyl, 12" x 100 FT
Transfer tape roll, 12 in x 100 ft, with a red alignment grid, medium tack and a free scraper.
Pros
- 12 in x 100 ft roll for larger projects
- Red alignment grid for precise placement
- Free scraper included for pressing
- Medium tack with clean release and no residue
Cons
- No warranty term is stated
- Weight is not stated
- No stated reuse count
- The listing names no vinyl sheet numbers
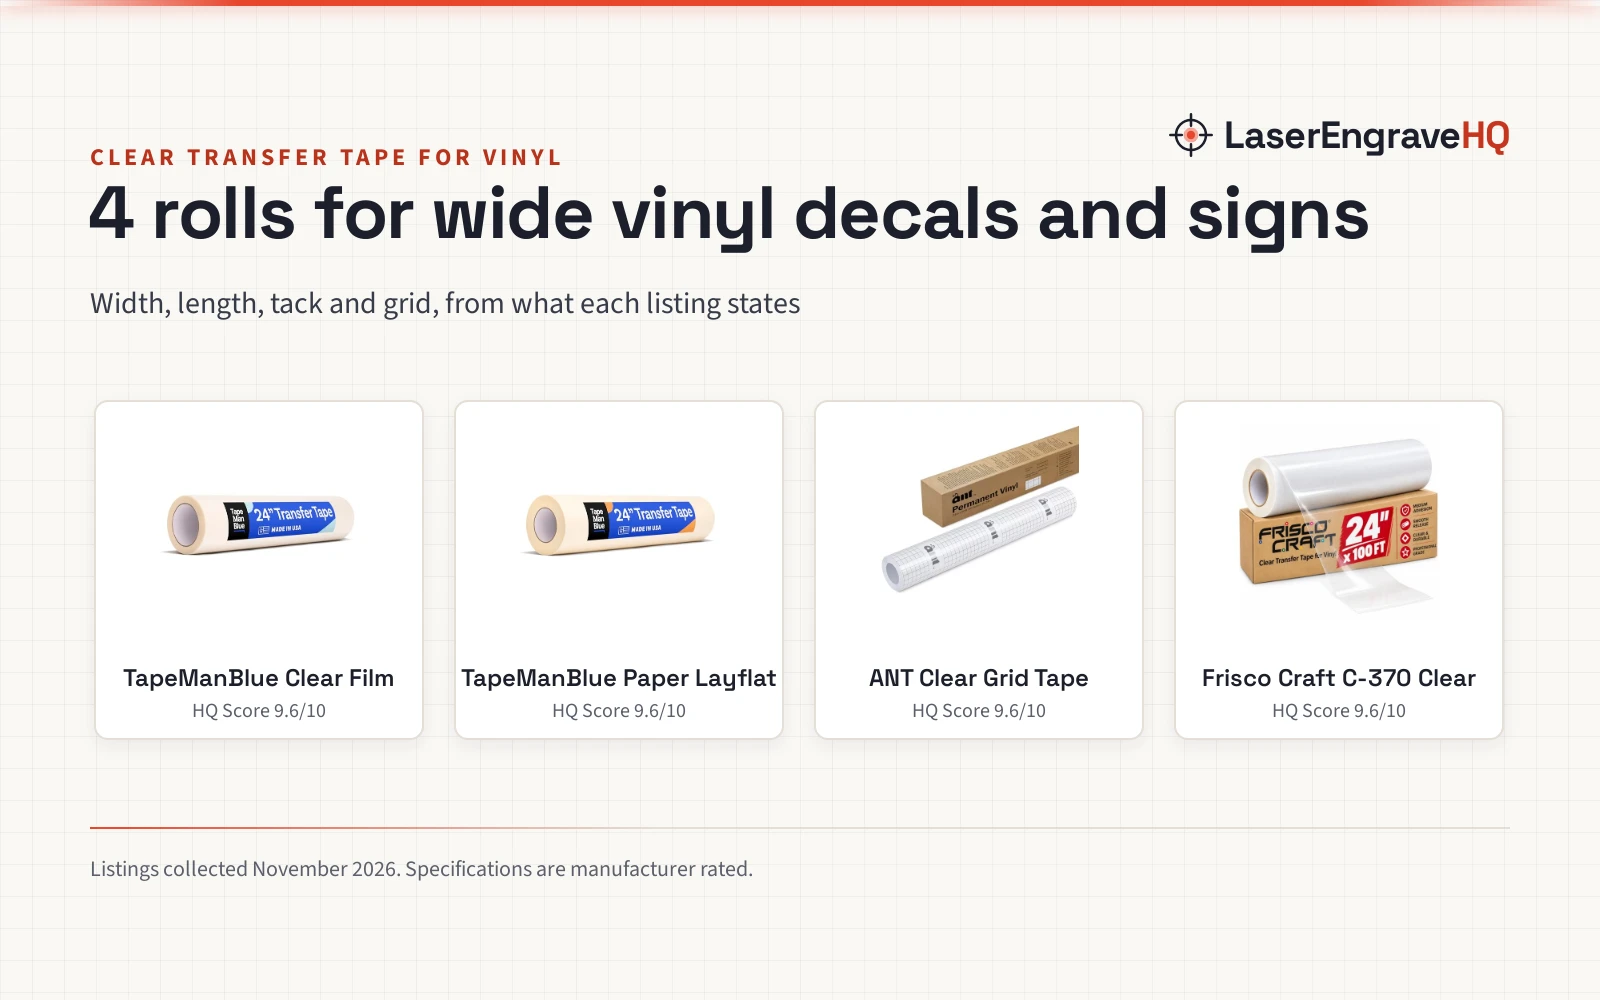
Frisco Craft C-370 Clear Transfer Tape for Vinyl
Clear transfer tape, 12 in x 100 ft, that lays flat and can be reused up to 5 times.
Pros
- Reusable up to 5 times
- Clear lay-flat tape for precise alignment
- Sticks to ceramics, wood, glass, metal and plastic
- States compatibility with vinyl sheets 631, 651 and 813
Cons
- Not for HT, glitter, or holographic vinyl
- No warranty term is stated
- No alignment grid is stated
- No scraper is stated
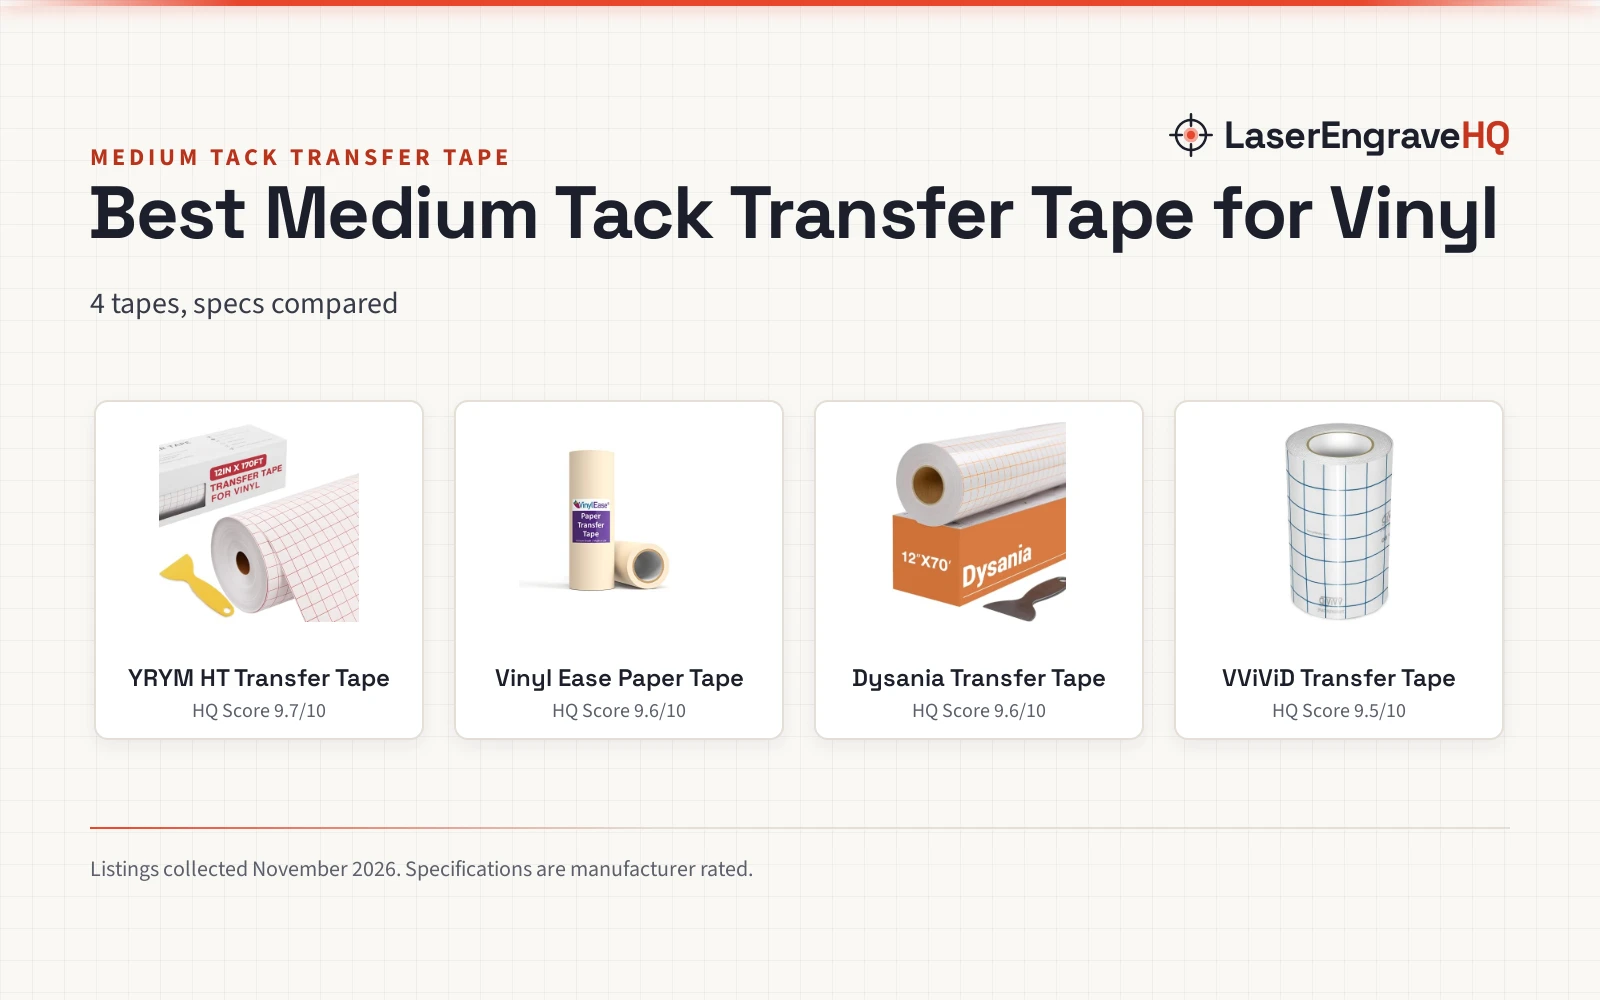
Cricut Value Transfer Tape (12in x 50ft Roll)
Transfer tape roll, 12 in x 50 ft, with a grid pattern, for Maker and Explore machines.
Pros
- 12 in x 50 ft roll with a grid pattern
- Compatible with Maker and Explore machines
- Suits most vinyl types
- Transparent, so the design stays visible
Cons
- Not recommended for glitter or shimmer vinyl
- Shorter roll than the 100 ft picks
- No scraper is stated
- No warranty term is stated
HTVRONT Transfer Tape for Vinyl 12" x 20 FT, Red
Transfer tape roll, 12 in x 20 ft, with a clear red alignment grid and medium tack.
Pros
- 12 in x 20 ft roll for smaller works
- Medium tack suits matte metallic, glitter, holographic and reflective vinyl
- Clear red grid for measuring and cutting
- Residue-free release, per the listing
Cons
- Smallest roll here at 20 ft
- No warranty term is stated
- No reuse count is stated
- No scraper is stated
Step 1: Cut the vinyl design
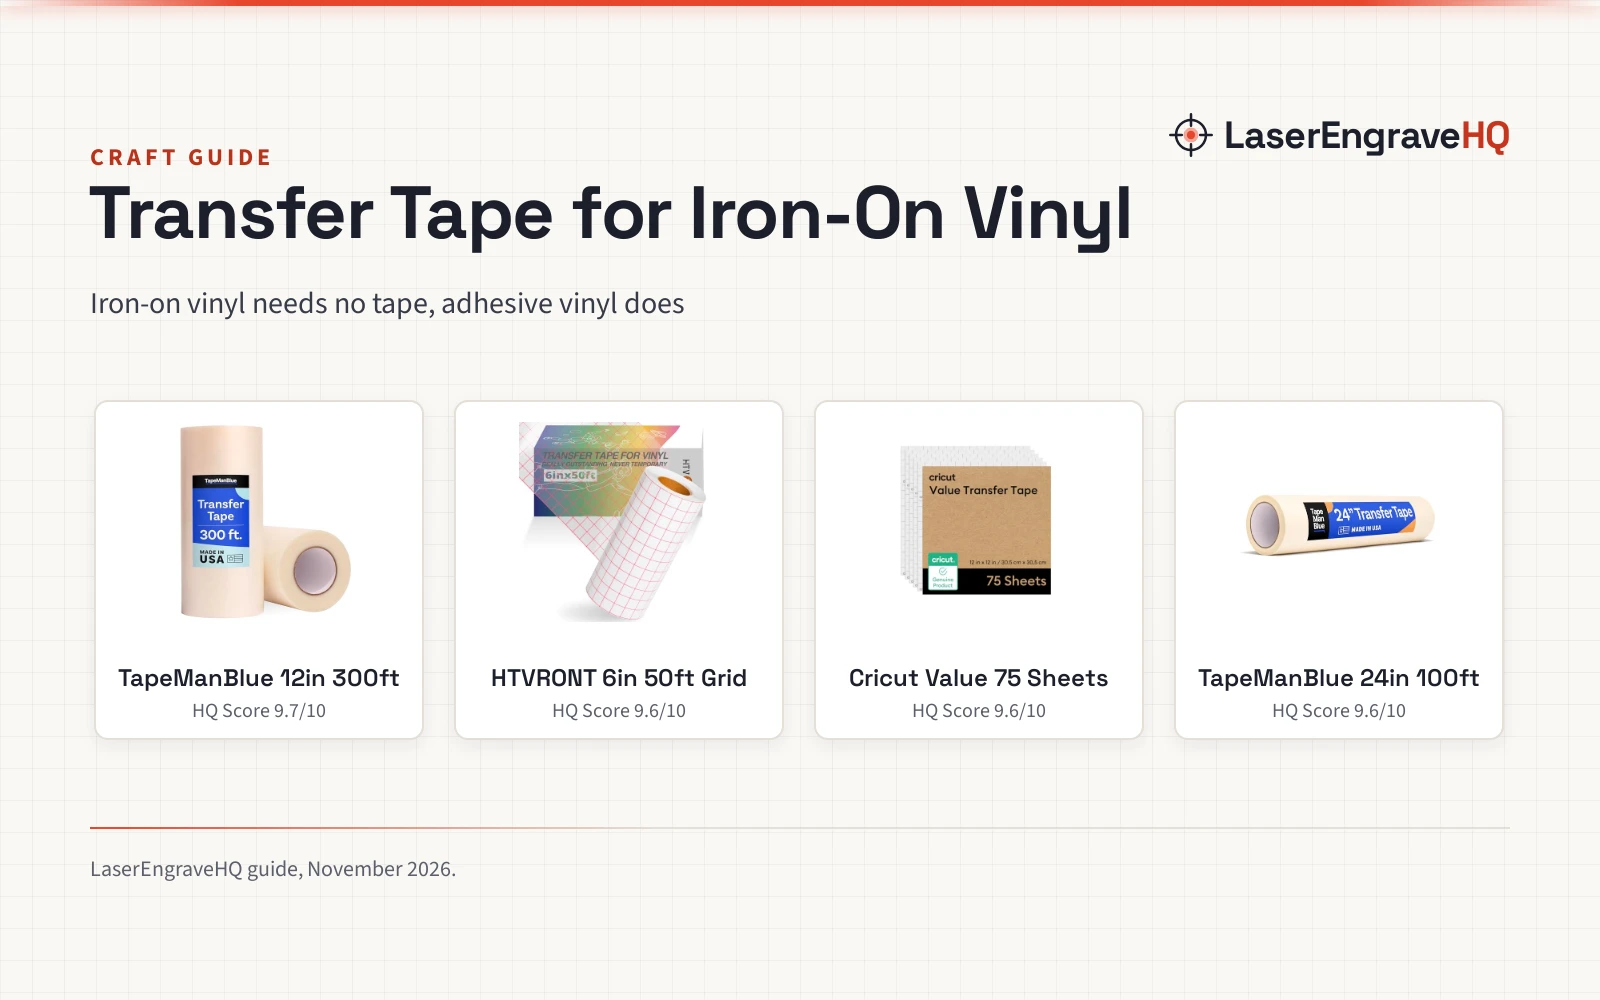
Cut the design on adhesive vinyl with a vinyl cutter, then clear the excess vinyl so only the design stays on its backing. The Cricut tape below suits Maker and Explore machines, and the Frisco tape suits Cricut vinyl cutters.
Step 2: Cut the transfer tape to size
Cut a piece of transfer tape that covers the whole design, with extra around the edges for handling. The tape here is 12 in wide, so a piece cut to the design length covers designs up to 12 in wide.
Step 3: Press the tape onto the vinyl
Lay the tape sticky-side down on the vinyl and press it flat with a scraper or a firm edge, working from the center outward. The HTVRONT 100 ft (on Amazon) roll includes a free scraper for this step.
Step 4: Lift the design
Peel the tape up slowly, and the vinyl design should lift with it. If a piece stays behind, lay the tape back down and press that spot again.
Step 5: Place the design and peel the tape away
Set the taped design on the surface and use the grid, where the tape has one, to line it up, then press it flat again and peel the tape away, leaving the vinyl on the surface.
Transfer tape for the job
The tape matters most in the cutting, pressing and placement steps above: the grid, where the tape has one, helps with measuring and alignment, the scraper, where included, handles pressing, and the tack decides whether the vinyl lifts cleanly. The rolls below cover those steps.
Common mistakes to avoid
- Using a tape that excludes the vinyl type.
- Cutting the tape smaller than the design.
- Skipping the pressing step.
- Placing the design without checking the alignment.
How to use transfer tape: the short version
- Cut the vinyl design.
- Cut transfer tape that covers the design.
- Press the tape onto the vinyl.
- Lift the tape so the vinyl comes with it.
- Place the design, press it flat and peel the tape away.
FAQ: lasers and CNC
What is transfer tape used for?
Transfer tape carries a cut vinyl design from its backing to a surface, keeping the spacing and alignment of the design. The listings name signs, stickers, decals, walls, doors and windows, plus ceramics, glass, metal, plastic and wood.
Does transfer tape work with glitter vinyl?
It depends on the tape. The Cricut listing says its tape is not recommended for glitter or shimmer vinyl, and the Frisco listing says its tape is not for glitter or holographic vinyl. The HTVRONT 20 ft listing says its tape matches glitter vinyl.
Can transfer tape be reused?
The Frisco Craft listing states its tape can be reused up to 5 times. The other listings do not state reuse, so treat reuse as stated only for that roll.
What surfaces can transfer tape stick to?
The listings name signs, stickers, windows, walls, ceramics, glass, metal, plastic and wood, plus doors, phone cases and tumbler cups. The HTVRONT 20 ft listing describes its surfaces as smooth.
What does medium tack mean?
Medium tack is the balance the HTVRONT listings describe: strong enough to lift and hold the vinyl, and light enough to release it without residue. The HTVRONT rolls state medium tack, and the Frisco roll states medium strength.
Related: the craft machines hub, best transfer tape for Cricut, best transfer tape holder and best vinyl printer and cutter. Also see our best craft machines for stickers.