Honeycomb Bed vs Blade Table: Which One Should You Buy?
A practical guide comparing honeycomb beds and blade tables for laser cutting: evaluate flashback reduction, small-part support, airflow, cleaning demands, and project matching.

On this page
Top picks at a glance
As an Amazon Associate I earn from qualifying purchases.
- 1
 Creality Honeycomb Working Table Set 320x320mm Steel9.7/10View on Amazon
- 2
 Upgraded Oxide Coating Honeycomb Laser Bed 440x440mm9.7/10View on Amazon
- 3
 UniTak3D Honeycomb Laser Bed 400x400mm Working Table for9.6/10View on Amazon
- 4
 Dofiki Steel Honeycomb Laser Bed Specifically Designed for P3View on Amazon
- 5
 Skouphy Honeycomb Laser Bed for Falcon A1 Laser Engraver withView on Amazon
- 6
 Puikos Honeycomb Laser Bed 400 x 400 mm Working Table ForView on Amazon
- 7
 Update Heat-Resistant Coating Honeycomb Laser BedView on Amazon
- 8
 ACMER Honeycomb Laser Bed with Aluminum PlateView on Amazon
- 9
 Dofiki Honeycomb Laser Bed for Wecreate Vision 20W 40W LaserView on Amazon
When cutting wood signs, acrylic displays, leather patches or craft blanks, choosing between a honeycomb bed vs blade table determines cut cleanliness and how much soot stains your workpieces. The answer comes down to part size and material rigidity: choose a honeycomb bed for small components, delicate cutouts and flexible veneer that need continuous support, and choose a blade table for rigid plywood or thick acrylic sheets where minimizing backside flashback marks is your priority. Below is the step-by-step breakdown.
Other machines to compare
 Dofiki Steel Honeycomb Laser Bed Specifically Designed for P3Check price on Amazon
 Skouphy Honeycomb Laser Bed for Falcon A1 Laser Engraver withCheck price on Amazon
 Puikos Honeycomb Laser Bed 400 x 400 mm Working Table ForCheck price on Amazon
 Update Heat-Resistant Coating Honeycomb Laser BedCheck price on Amazon
 ACMER Honeycomb Laser Bed with Aluminum PlateCheck price on Amazon
 Dofiki Honeycomb Laser Bed for Wecreate Vision 20W 40W LaserCheck price on Amazon
LaserEngraveHQ earns a commission from purchases made through these links, at no extra cost to you. Read our affiliate disclosure.
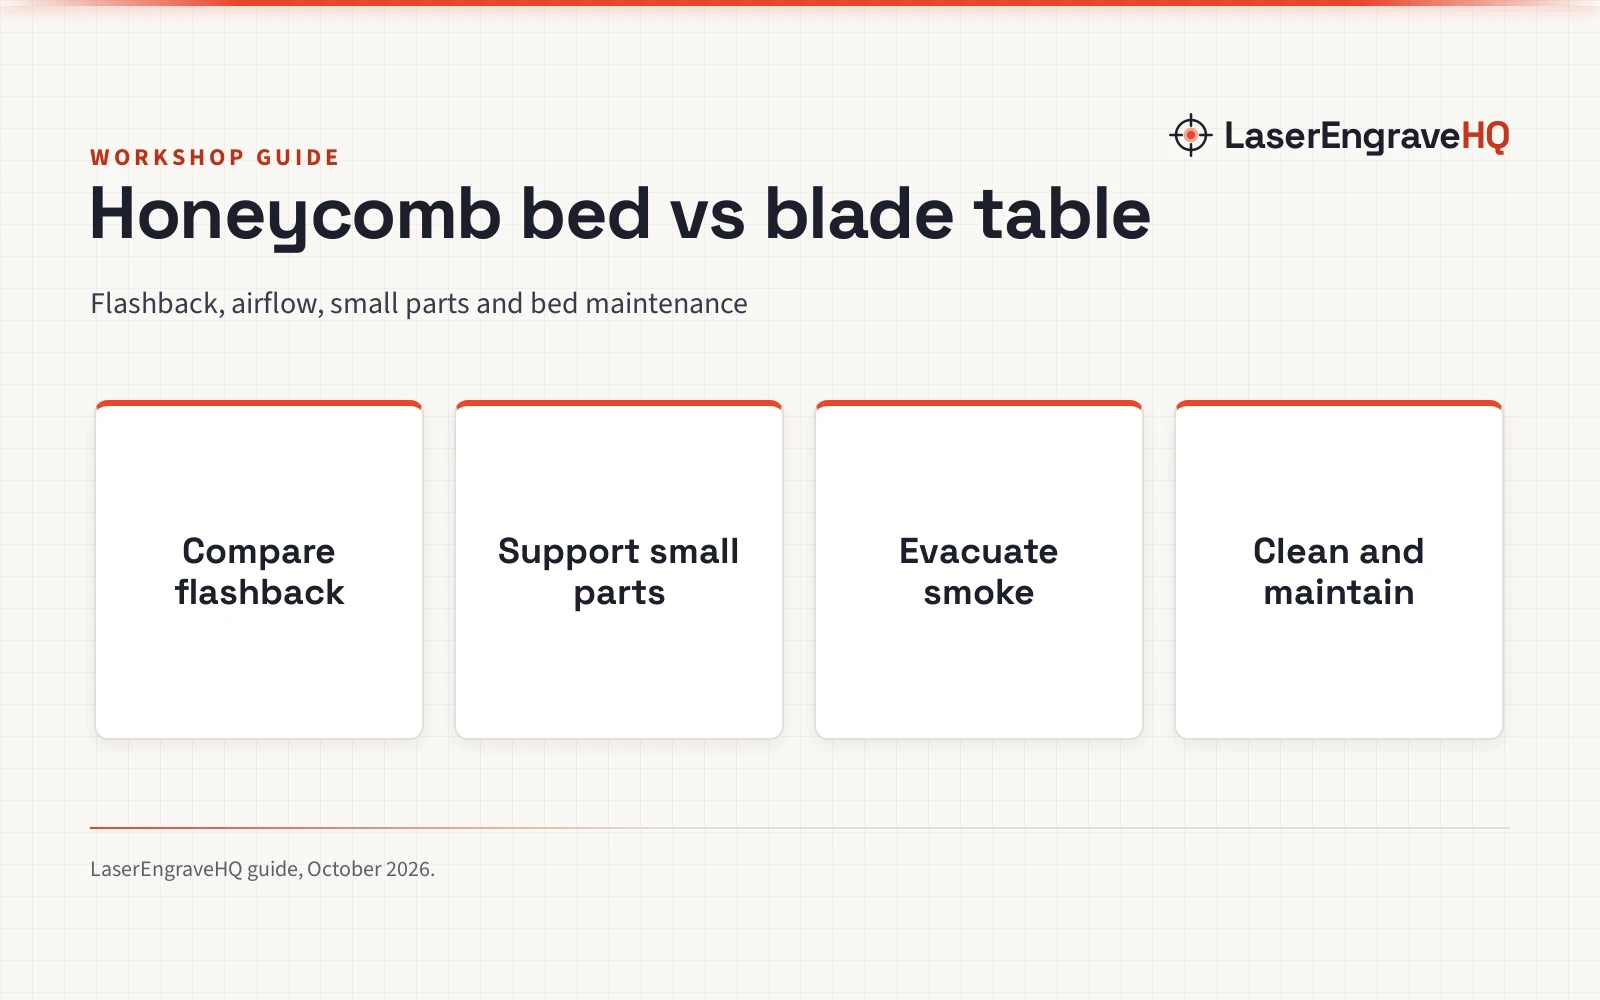
Neither surface eliminates burns without proper air assist and dialed power settings. While blade tables minimize backside flashback on rigid panels, small cut pieces require a honeycomb grid to prevent drop-through.
Step 1: Understand how each work surface supports materials
A honeycomb bed uses a network of hexagonal metal cells to support materials across the entire frame. Small items like earrings, wooden keychains and thin veneer lie flat without tilting or dropping out of alignment. A blade table uses parallel vertical slats; rigid panels span across them easily, but small cut parts can fall between the slats, and flexible sheets can sag and throw off laser focus.
Honeycomb listings specify concrete cell dimensions and areas. Creality lists an 8mm aperture honeycomb design on its 500 x 500 mm working table (also listed as 19.68” x 19.68”) with an 8.8 pounds weight. Longer lists a compact 300 x 200 mm table with 9mm apertures, alongside a 440 x 440 mm working table. For larger machines, NEJE lists a 530 x 850 mm platform (20.87 x 33.46 inches) with a stated 22mm (0.87 inch) honeycomb diameter. In contrast, blade tables feature open spaces between parallel slats without enclosed cell walls. Our laser engraver accessories for beginners guide covers how bed dimensions integrate with machine frames.
Step 2: Compare flashback reduction and underside cut quality
Flashback occurs when the laser beam exits the bottom of the cut kerf and strikes underlying metal, bouncing reflected beam energy back into the workpiece underside. This creates scorch marks, charring or melted spots along the reverse side.
On a honeycomb bed, the beam crosses the top edges of the hexagonal cell walls during through-cuts. While an aluminum backing plate shields the workbench below, reflections from bare metal cell walls can leave localized grid marks on the underside of sensitive wood or acrylic. Masking tape and dialed cut power help reduce these marks, as outlined in our guides on how to prevent burn marks when laser cutting wood and how to laser cut acrylic without melting edges.
Blade tables excel at flashback reduction. Because thin vertical blades leave wide open air beneath the cut line, the beam discharges downward without striking metal under most of the path. Furthermore, individual slats can often be removed from their slots to clear metal away from critical vector lines.
Step 3: Evaluate airflow dynamics and smoke evacuation
Cutting wood and acrylic vaporizes resin and creates smoke that must clear the cut line rapidly. On a honeycomb bed, air assist forces smoke downward through individual cells toward the bottom plate, but soot can build up against cell walls over long jobs.
A blade table provides open horizontal channels beneath the frame, allowing exhaust fans to pull smoke away with minimal resistance. Pairing either bed with a reliable air assist pump prevents charring along cut edges, as detailed in our air assist vs no air assist overview and best laser air assist guide.
Workshop ventilation must follow OSHA standards by venting fumes outdoors or through a multi-stage filter, as covered in our fume extractor guide. Keep a suitable fire extinguisher near the machine, since trapped hot debris under high heat can ignite if left unattended.
Step 4: Check workholding options and material flatness
Bowed or warped plywood pushes cuts out of sharp focus. Honeycomb beds offer flexible workholding because makers can push hold-down pins into open cells to secure warped blanks flat. Iron or steel honeycomb grids also support magnetic hold-down pins: Cregrant3D lists an 18.1 x 13.6 inch honeycomb platform that includes 5 magnetic suction magnets to pin warped wood flat. For flatter stock, check our guide to the best plywood for laser cutting.
Blade tables offer fewer hold-down points for warped sheets. Because the gaps between blades are open, push-pins have nowhere to seat. Clamping is restricted to the outer frame, which cannot flatten a cupped spot in the center of a sheet as effectively as distributed magnets on a steel honeycomb bed.
Step 5: Factor in workshop cleaning and long-term maintenance
Laser cutting wood releases sticky sap, while acrylic creates condensed residue that coats work surfaces. Honeycomb beds collect soot and resin inside hundreds of narrow cells, requiring full removal from the machine, degreaser baths and scrubbing with a stiff brush. Repeated laser passes also erode thin aluminum cell walls over time.
Blade tables simplify maintenance. Flat vertical slats accumulate less residue and can be scraped clean with a putty knife or wiped with solvent. When a slat gets notched or warped, you can flip it upside down or replace that individual blade without replacing the whole table.
Step 6: Match the work surface to your project materials
Match the table to your projects and materials:
- Choose a honeycomb bed for: small jewelry, earrings, keychains, paper crafts, veneer patches, fabric and jobs needing magnetic pins to flatten thin stock.
- Choose a blade table for: large signs, thick plywood panels, acrylic display sheets and work requiring clean, flashback-free undersides.
Work surfaces must support material weight without sagging. Cloudray lists a 400 x 400 mm honeycomb working table assembled from a set of 4 plates measuring 400 x 100 mm with a stated load capacity of 110 lbs, confirming that modular metal grids support substantial load. However, blade tables remain preferred for thick panels due to underside clearance.
Follow workshop material rules: never cut PVC, vinyl, PVC-based faux leather, polycarbonate or ABS. When cut, PVC and vinyl release corrosive chlorine gas that damages optics and metal parts, while polycarbonate and ABS emit toxic fumes and create fire hazards. See our guide on materials you should never laser cut.
Common mistakes to avoid
- Cutting small components on a blade table without a catch tray, letting pieces fall between slats.
- Allowing sap and soot to collect inside honeycomb cells, creating a flare-up hazard.
- Running a honeycomb bed without an aluminum backing panel, risking burn damage to the workbench below.
- Leaving removable slats directly beneath critical cut paths when underside scorch marks must be avoided.
- Using uncertified tinted shields instead of safety eyewear matching the laser wavelength and optical density.
Honeycomb bed vs blade table: the short version
- Choose a honeycomb bed for small parts, delicate cutouts and flexible stock needing full support.
- Choose a blade table for large rigid plywood or acrylic panels where avoiding flashback marks is critical.
- Use magnetic pins on steel honeycomb beds to flatten bowed blanks before cutting.
- Remove slats beneath primary cut paths where possible to minimize underside metal contact.
- Pair either surface with active air assist, outdoor exhaust and a nearby fire extinguisher.
- Clean surfaces regularly to remove sap and maintain open airflow paths.
Many workshops adopt a hybrid setup: keeping a blade table installed for sheet goods, and setting a portable honeycomb bed on top for small blanks or magnetic clamping. For comparisons, browse our honeycomb bed for laser cutter guide and our honeycomb vs slat bed laser comparison.
FAQ: lasers and CNC
What is the main advantage of a blade table over a honeycomb bed?
The main advantage is flashback reduction. Because thin vertical blades leave wide open air beneath the cut line, the laser beam rarely strikes metal under the workpiece, avoiding backside scorch marks on wood and acrylic.
Can small parts fall through a blade table?
Yes. Small cutouts and delicate blanks can fall between slats or tilt into the beam path. For small parts, a honeycomb bed provides continuous grid support.
How do you clean a honeycomb bed compared to a blade table?
A honeycomb bed requires soaking in degreaser to dissolve sap inside narrow cells. A blade table is easier to clean because individual slats can be scraped with a putty knife or wiped down separately.
Can you use magnets on a honeycomb laser bed?
Yes, if the honeycomb grid is iron or steel rather than aluminum. Iron grids allow makers to use magnetic hold-down pins to flatten bowed plywood.
Can you place a honeycomb bed on top of a blade table?
Yes. Many makers leave the blade table in place and set a portable honeycomb bed on top when cutting small pieces, thin veneer or flexible materials.
Do you still need an aluminum plate under a honeycomb bed?
Yes. An aluminum backing plate stops direct laser penetration and protects the tabletop from heat scorch damage during deep cuts.
Related: our laser accessories category, honeycomb bed for laser cutter guide, and honeycomb vs slat bed laser comparison. Also see our guides on how to prevent burn marks when laser cutting wood, honeycomb laser bed alternative DIY, and laser engraver accessories for beginners.