CNC Milling Machine Setup for Beginners
A beginner guide to CNC milling machine setup: square the vise, indicate the fixed jaw, set the work stop, clamp the part and check the opening cut.

On this page
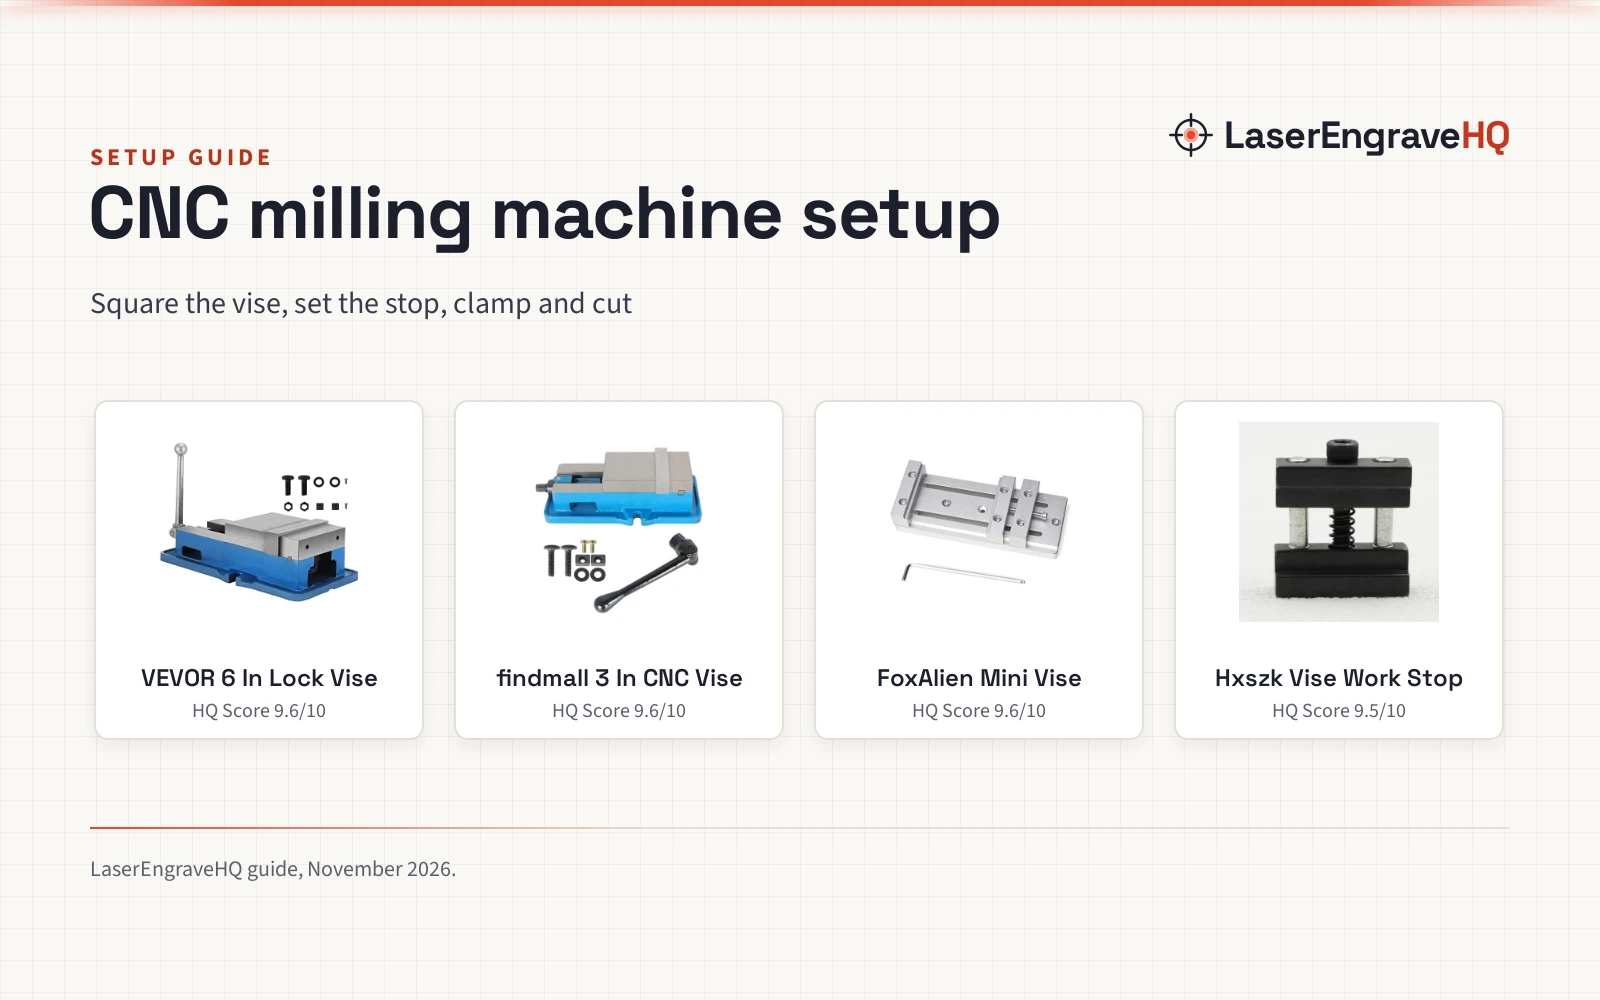
Top picks at a glance
As an Amazon Associate I earn from qualifying purchases.
- 1
 VEVOR 6 Inch ACCU Lock Down Vise Precision Milling9.6/10View on Amazon
- 2
 findmall 3 Inch Accuracy CNC Mill Vise Without9.6/10View on Amazon
- 3
 FoxAlien Mini Low Profile Bench Vise Workholding9.6/10View on Amazon
- 4
 Hxszk Milling Vise Quick Clamp Work Stop9.5/10View on Amazon
CNC milling machine setup starts with a vise that holds the work firm, a fixed reference point, and a zero you can return to. This guide walks through the setup: square the vise, indicate the fixed jaw, set the work stop, and clamp the part.
LaserEngraveHQ earns a commission from purchases made through these links, at no extra cost to you. Read our affiliate disclosure.
VEVOR 6 Inch ACCU Lock Down Vise Precision Milling
A 6-inch lock-down milling vise, rated accurate to 0.002 inch on parallelism and squareness.
Pros
- 6-inch jaw width with a 5.9-inch jaw opening
- Accurate to 0.002 inch on parallelism and squareness
- Fine-ground clamp surface holds the workpiece without shaking
- Screw rod resists deforming and wear
Cons
- 49.38 lb needs a planned lift onto the table
- 18.0 x 13.0 x 6.0 in size crowds a small mill table
- No warranty term is stated
- 5.9-inch jaw opening caps the width of stock it can hold
findmall 3 Inch Accuracy CNC Mill Vise Without
A 3-inch CNC mill vise without a base, with a jaw up to 3.19 inches wide.
Pros
- Jaw width up to 3.19 inches, opening 3.03 inches
- Dual through-bolts spread lateral force during clamping
- Hemispherical pressure structure applies stable downward pressure at 45 degrees
- Ergonomic rotary handle adjusts clamping force and angle
Cons
- Ships without a base
- 0.94-inch jaw height limits the grip on tall workpieces
- 9.84-inch overall length needs a clear run of table space
- No warranty term is stated
FoxAlien Mini Low Profile Bench Vise Workholding
A mini low-profile aluminum bench vise, sized 20 x 8 x 4 cm, for FoxAlien CNC routers.
Pros
- Holds work by the edges; engraving area stays clear
- Fits Masuter Pro, Masuter 3S, ProMAX, XE-Ultra, XE-PRO and Vasto
- High-quality aluminum body for strength and stability
- Easy-to-adjust screws give a tight and stable hold
Cons
- Maximum holding length of 13 cm suits small blanks only
- Compatibility list names FoxAlien machines only
- Aluminum body, not steel like the other vises here
- One vise per order; a two-vise setup needs a second unit
Hxszk Milling Vise Quick Clamp Work Stop
A quick-clamp work stop in hardened steel with a black oxide finish, fitting vise jaws from 1/2 to 1 inch.
Pros
- Quick-clamp mechanism engages and releases by hand
- Repeatable part placement across machining cycles without re-indicating
- Fits vise jaws from 1/2 to 1 inch wide
- Hardened steel body with black oxide finish resists wear and rust
Cons
- One work stop per order; staged operations need extra units
- Fits jaws from 1/2 to 1 inch only
- A stop sets position only; it does not clamp the workpiece
- Mounts onto vise jaws only, so it needs a vise to work
Step 1: Square the vise to the table
Set the vise on a clean table, fixed jaw parallel to the table travel. Snug the hold-down bolts, then indicate along the fixed jaw and tap the vise until the needle stays still across the jaw. A vise rated accurate to 0.002 inch gives a known starting point.
Step 2: Indicate the fixed jaw and set zero
With the vise square, indicate the fixed jaw and set the work zero on its face. The fixed jaw face is the reference for that zero, so the zero you set here is the zero the program uses. Record the zero position so you can return to it.
Step 3: Set the work stop for repeat parts
A work stop gives the extra reference point, along the jaw, so each new part sits in the same place as the last one. Mount the stop on the vise jaw, slide the part against it, and clamp. When the stop repeats the position, the zero you set earlier still holds.
Step 4: Clamp the part and check the opening cut
Clamp against the fixed jaw and keep the part seated flat on the vise base. Take a light opening cut and measure it against the zero you set. If the cut lands where the program expects it, the setup is sound. If it does not, re-indicate the fixed jaw.
The gear for this CNC milling machine setup
The vise holds the work for the squaring and clamping steps, and the work stop holds the repeat position.
Common mistakes to avoid
- Clamping against the moving jaw instead of the fixed jaw.
- Tightening the vise bolts fully before indicating the fixed jaw.
FAQ: lasers and CNC
How do I square a milling vise to the table?
Snug the hold-down bolts, then indicate along the fixed jaw and tap the vise until the needle stays still. A vise rated accurate to 0.002 inch gives a known starting point.
What jaw width do I need for a small CNC mill?
Match the jaw to the parts you cut. The VEVOR vise has a 6-inch jaw with a 5.9-inch opening, and the findmall vise (on Amazon) opens to 3.03 inches.
Do I need a work stop for repeat parts?
A work stop pays off when you cut the same part more than once. The Hxszk stop fits vise jaws from 1/2 to 1 inch wide and repeats the part position without re-indicating. For single parts, the fixed jaw face sets the zero without a stop.
Can I use a bench vise on a CNC router?
A low-profile vise made for the router works well. The FoxAlien vise (on Amazon) measures 20 x 8 x 4 cm, holds blanks up to 13 cm long, and fits Masuter Pro, Masuter 3S, ProMAX, XE-Ultra, XE-PRO and Vasto machines.
Related: the CNC router hub, how to choose a desktop CNC router, CNC milling machine parts and types of milling machines. Also see our best CNC router for small business and best CNC router for sign making guides.