Sewing Machine Parts Labeled: Diagram and Guide
A labeled guide to the parts of a sewing machine, from the spool pin and thread path to the needle, presser foot, feed dogs and bobbin, with the controls that set each stitch.

On this page
Top picks at a glance
As an Amazon Associate I earn from qualifying purchases.
- 1
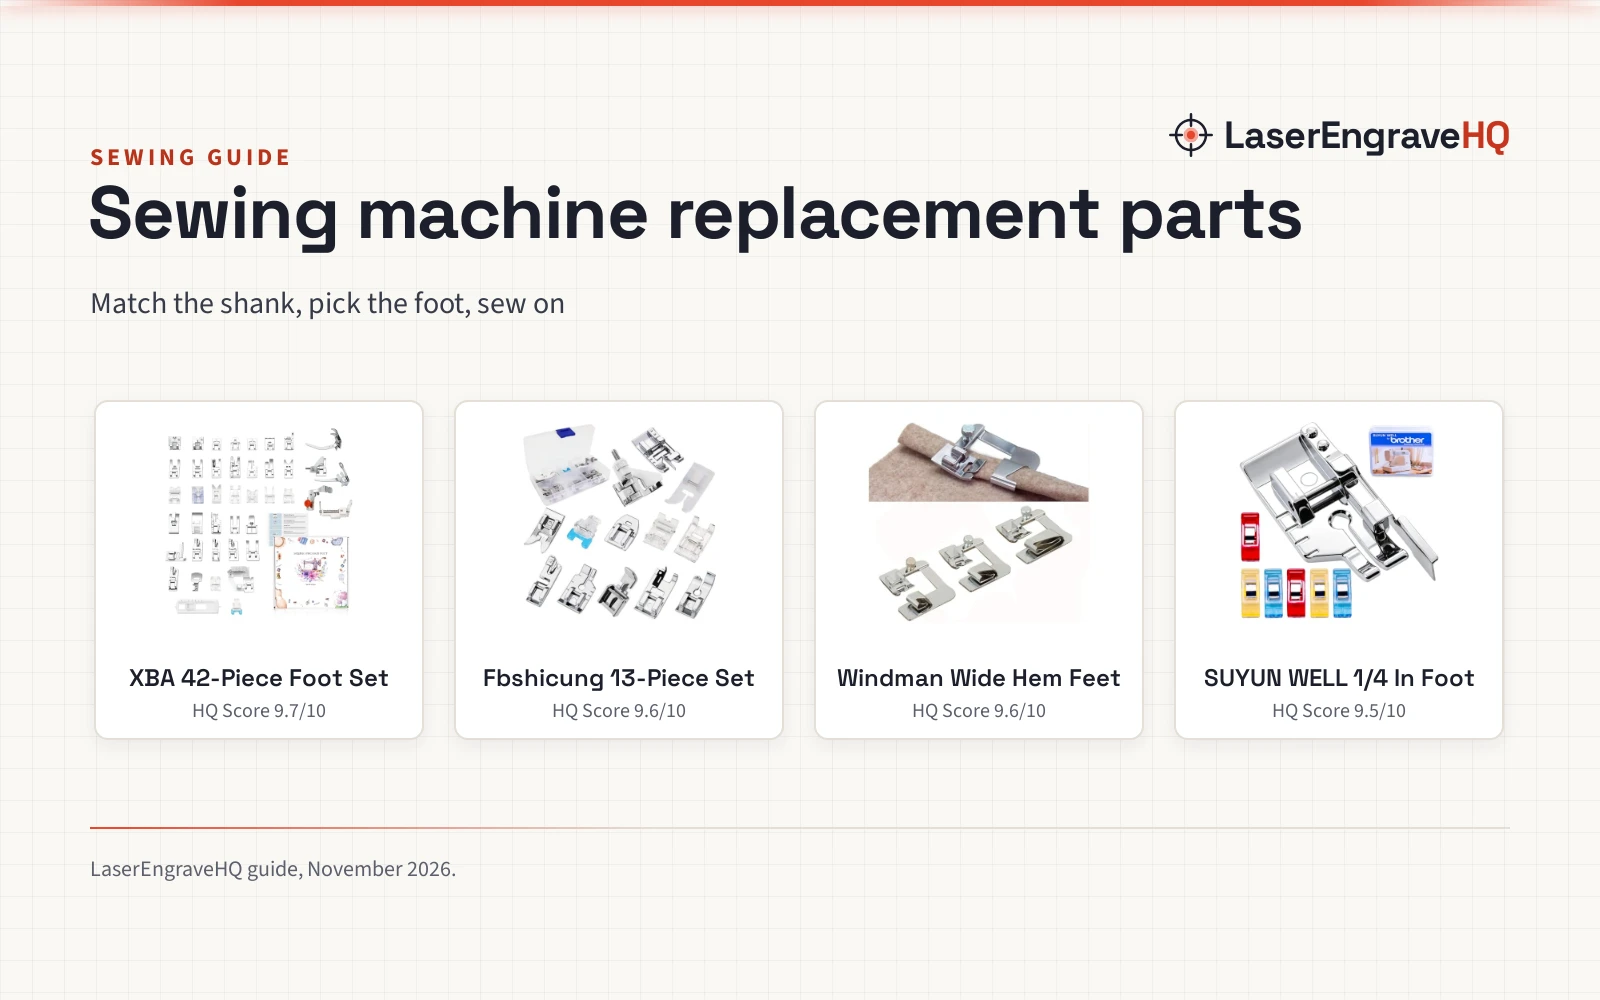
 Presser Foot Set 42Pcs9.7/10View on Amazon
- 2
 Fbshicung 13Pcs Presser Feet Set for Household Sewing Machine9.6/10View on Amazon
- 3
 Windman 3 Sizes Wide Rolled Hem Pressure Foot Sewing Machine9.6/10View on Amazon
A sewing machine looks plain until a stitch goes wrong, and then every small part on the front of the machine starts to matter. Sewing machine parts labeled turns that front view into a map: the spool pin where the thread starts, the tension discs that set the pull, the needle and bobbin that form the stitch, and the presser foot that holds the fabric steady. This guide names each part in thread-path order, following the thread from the spool to the finished seam.
LaserEngraveHQ earns a commission from purchases made through these links, at no extra cost to you. Read our affiliate disclosure.
Part names and positions vary by machine model, so the names here are the common ones found on most household machines. Check the manual for the model on the table when a part sits in a different spot or carries a different name.
Step 1: Spool pin and thread guides
The thread path starts at the top of the machine. The spool pin is the peg that holds the spool of thread, and the thread leaves the spool, passes through a thread guide, and runs down toward the tension discs. A thread guide is a small loop or slot that helps keep the thread on its path. Thread comes on spools in many colors: a 30-spool set of polyester thread gives 50 yards on each spool, 1,500 yards in total.
Step 2: Tension discs and take-up lever
From the guides, the thread runs between the tension discs, flat discs that squeeze the thread and set how tightly it pulls through the fabric. A tension dial, where fitted, changes the squeeze; balanced tension helps the top thread and bobbin thread meet inside the fabric instead of looping on the surface. After the discs, the thread hooks up through the take-up lever, the small arm that rises and falls with each stitch and pulls the thread taut. Missing the take-up lever leaves slack in the thread, and slack shows up as loops on the underside of the seam. Thread the discs and the lever in order, with the presser foot raised so the discs sit open and the thread seats between them.
Step 3: Needle bar, needle and presser foot
The needle bar is the vertical bar that carries the needle up and down, and the needle clamp is the small screw that holds the needle in the bar. The needle carries the top thread down through the fabric and back up, and its eye must face the direction the manual shows, or it can skip, shred or snap. Below the needle sits the presser foot, the flat foot that presses the fabric against the stitch plate and keeps it from lifting. A presser foot lifter, usually at the back of the machine, raises and lowers the foot, and different feet suit different jobs, from a standard foot for straight seams to a zipper foot for close work. Pins hold the layers while the foot holds them down: a pin cushion set with 100 pins, each 2.1 in long, keeps them within reach. A needle threader saves fumbling with the eye; the best needle threader guide compares models for hand and machine sewing, and the best embroidery machine needles guide covers needles for embroidery work.
Step 4: Stitch plate, feed dogs and bobbin
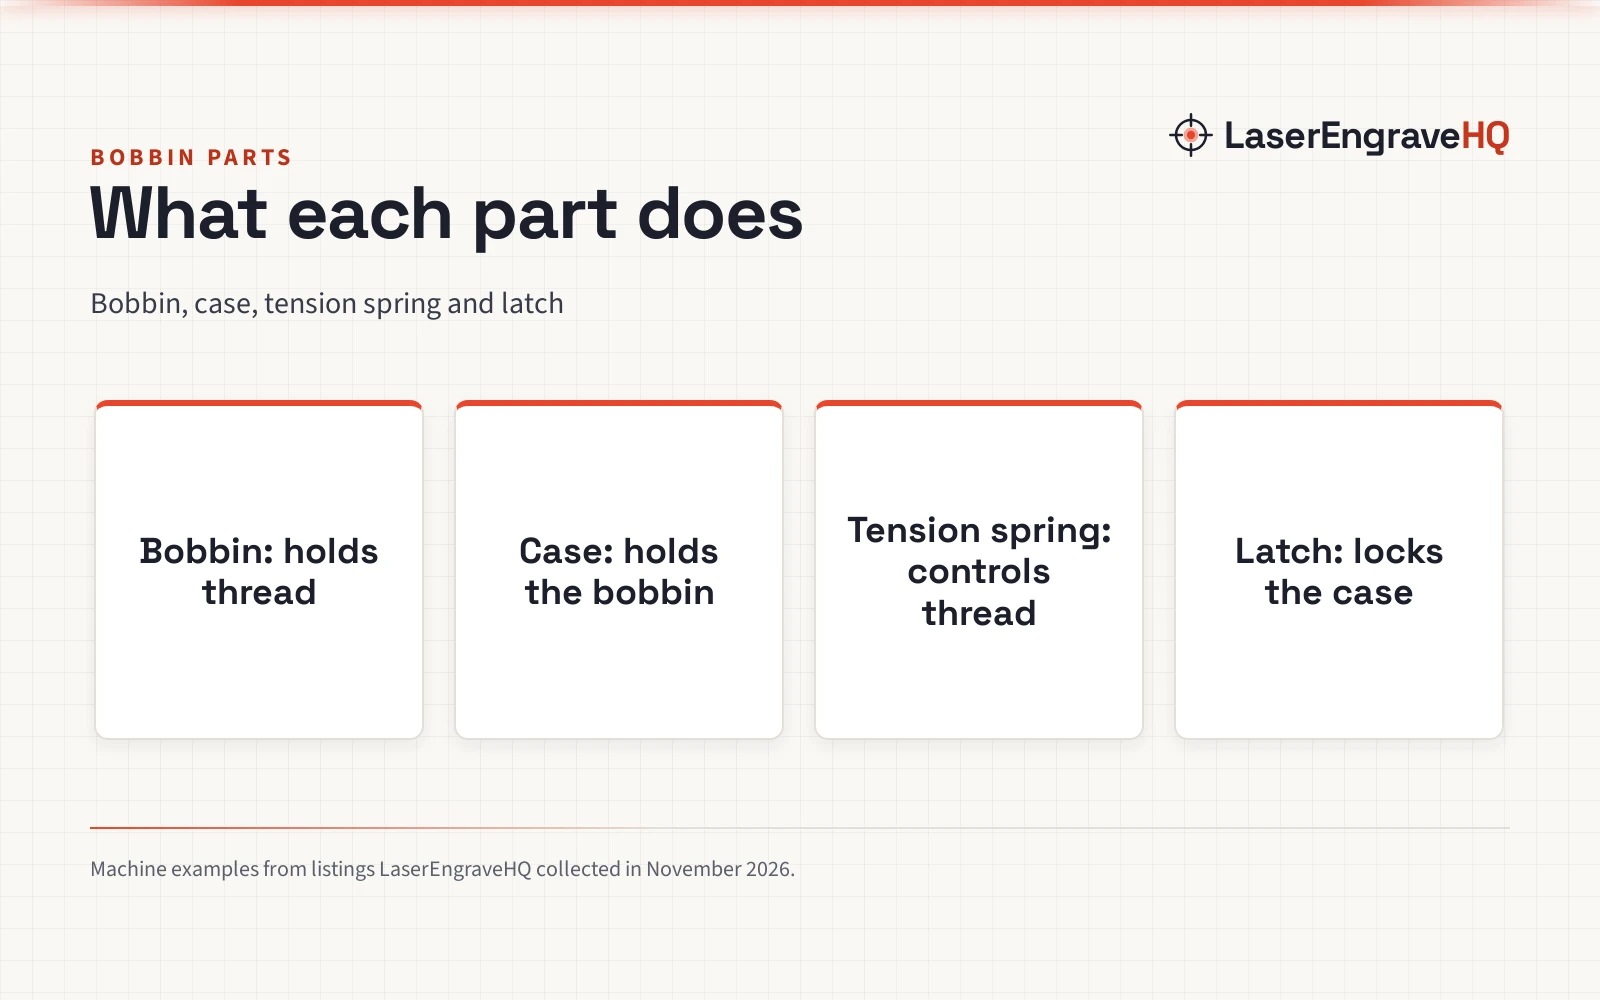
Under the presser foot sits the stitch plate, the flat metal plate with a slot for the needle and often lines that mark the seam allowance. The feed dogs are the toothed rows that poke through slots in the plate, grip the fabric from below, and walk it forward stitch by stitch. Below the plate sits the bobbin, a small spool that holds the lower thread, in a bobbin case that sets the lower tension on front-loading machines, or a drop-in compartment on others. The top thread loops around the bobbin thread to lock each stitch, so a bobbin wound with the wrong thread can cause tangles under the fabric. A 72-piece thread assortment pairs 36 colors of thread with 36 matching bobbins, 400 yards on each spool, so the bobbin thread can match the top thread. A thread holder keeps the spools feeding smoothly; see the best sewing machine thread holder guide.
Step 5: Handwheel, reverse lever and stitch controls
On the right side of the machine sits the handwheel, the large wheel that turns the needle by hand so the needle can be positioned for the seam. Turning the handwheel toward you moves the needle up and down; turn it until the needle is at its highest point before threading. The reverse lever, sometimes called a backstitch lever, sews backward while held down on many machines; backstitching at the start and end helps keep stitches from unraveling. Stitch selectors set the stitch type, length and width: for example, straight stitch for seams, zigzag for edges that fray, and stretch for knit fabric. Many machines have a thread cutter on the side that trims the thread at the end of a seam, and the bobbin winder, usually on top, winds fresh bobbins from a spool. Never oil the handwheel or selectors; oil only the points the manual names, if any; the best sewing machine oil guide compares oils.
Step 6: Marking, measuring and cutting helpers
A labeled diagram also covers the helpers that sit beside the machine. Tailor’s chalk marks fabric: a box of 10 pieces comes in 4 colors, blue, red, white and yellow, with HB hardness for lines that can be removed by washing. Heat-erasable pens mark lines that vanish with heat from an iron: a set of 4 pens comes with 8 refills, 2 refills for each pen, covering up to 3000 ft. A sewing kit gathers the small tools together: a more than 200-piece set holds 43XL thread and yarn snips, an 8-inch fabric scissors and a 4-inch small scissors, with the heavy-duty scissors cutting more than 8 layers of fabric, in a bag measuring 11 inches by 7.8 inches by 1.6 inches. A sewing machine light attaches to the machine with its adhesive backing and lights the needle area: a dimmable LED light measuring 5.5 inches by 0.8 inches by 8.0 inches fits most household machines. The best LED lamp for sewing machine guide compares lamps for the needle area, and the best sewing scissors and thread snips under 10 guide covers cutting tools.
Common mistakes to avoid
- Threading the machine with the presser foot down, so the thread does not seat between the tension discs.
- Skipping the take-up lever, which leaves slack that shows up as loops under the seam.
- Forgetting the bobbin thread, so the top thread has nothing to lock the stitch against.
- Guessing at part names instead of checking the manual for the model on the table.
- Sewing without pins or a foot that suits the fabric, so the layers shift as the feed dogs walk them forward.
Sewing Machine Parts Labeled: The Short Version
- Set the spool on the spool pin and run the thread through the guides.
- Seat the thread between the tension discs and hook it through the take-up lever.
- Thread the needle, place the fabric under the foot, then lower the presser foot.
- Check the bobbin below the stitch plate, and the bobbin case if the machine has one.
- Turn the handwheel to place the needle, then sew, backstitching at the start and the end of the seam.
- Mark, measure and cut beside the machine, then press the finished seam.
FAQ: lasers and CNC
What is the spool pin on a sewing machine?
The spool pin is the peg on top of the machine that holds the spool of thread while it feeds into the thread path, keeping the spool steady so the thread unwinds smoothly.
Where does the thread go after the tension discs?
After the tension discs, the thread hooks up through the take-up lever, then runs down to the needle. The take-up lever rises and falls with each stitch and pulls the thread taut as the stitch forms.
What do the feed dogs do?
The feed dogs are the toothed rows under the stitch plate that grip the fabric from below and walk it forward as the needle stitches, so the stitches space out instead of piling up in the same spot.
Why does a sewing machine need a bobbin?
The bobbin holds the lower thread, and the top thread loops around it to lock each stitch in place. A 72-piece thread assortment pairs 36 colors of thread with 36 matching bobbins, so the lower thread can match the top thread.
What is the presser foot for?
The presser foot presses the fabric flat against the stitch plate so the needle can pass through it cleanly and the feed dogs can move it forward; different feet suit different jobs, from a standard foot for straight seams to a zipper foot for close work.
Related: the sewing machine parts and accessories, sewing and embroidery machines and best sewing machine presser feet. Also see the best mini vacuum for sewing machine cleaning.