How to Polish Acrylic After Laser Cutting
A clear, practical route to polish acrylic after laser cutting: clean the piece, sand the edges smooth, then work through a three-step polish kit to bring back the shine.

On this page
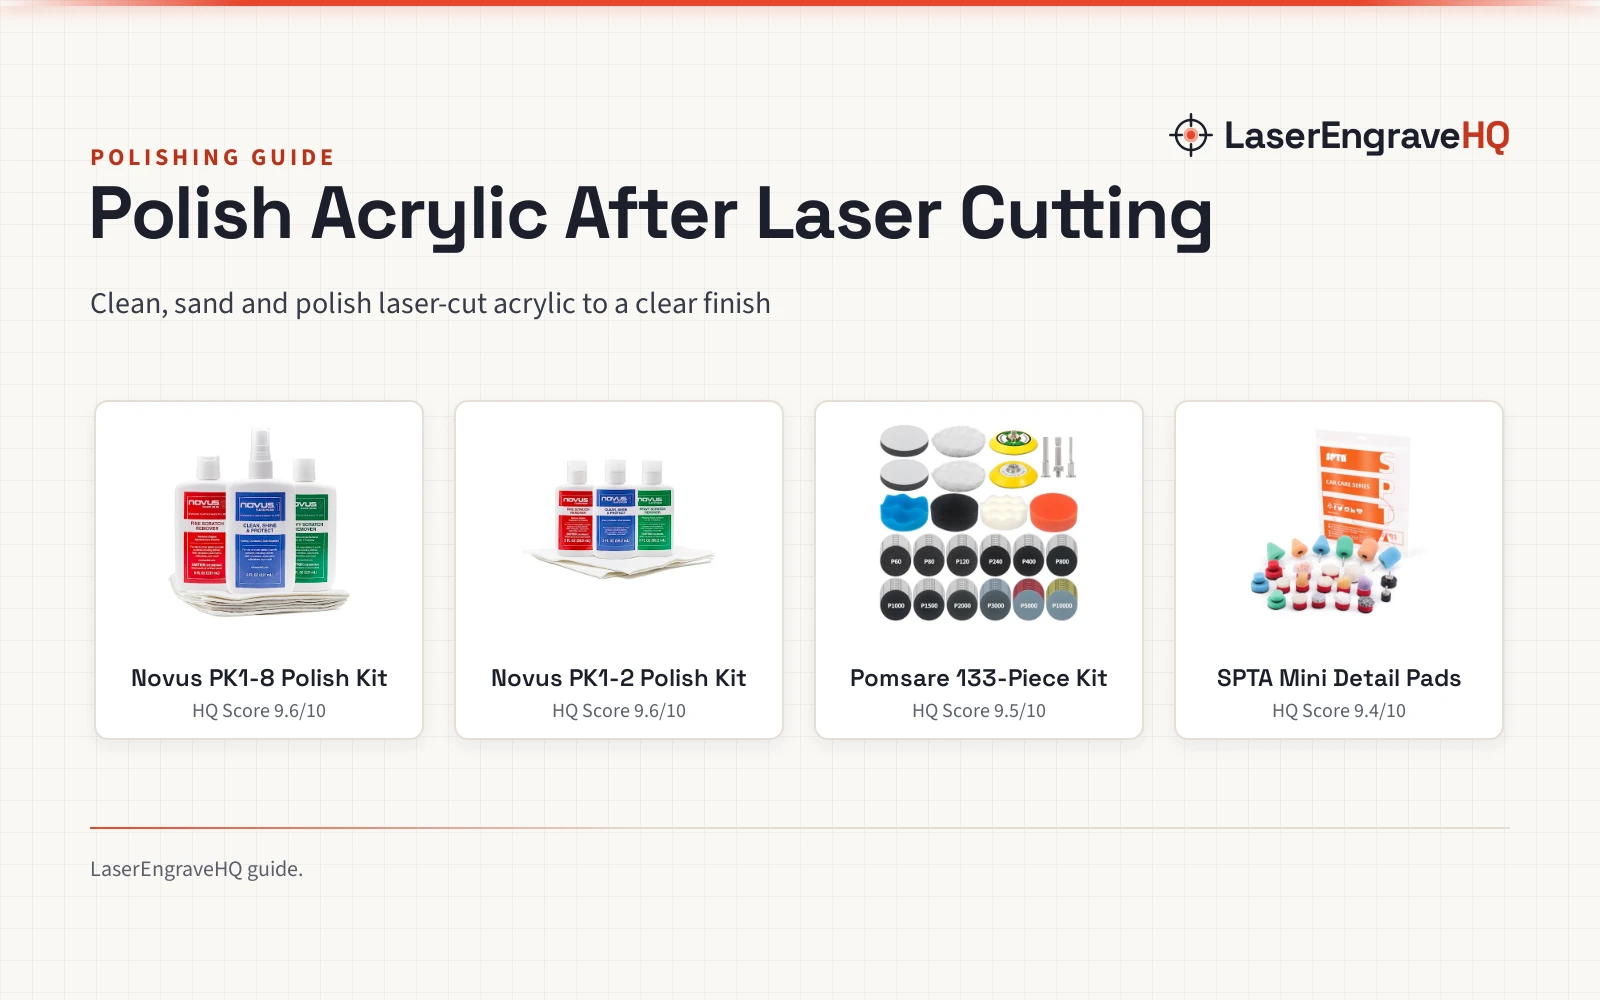
Top picks at a glance
As an Amazon Associate I earn from qualifying purchases.
- 1
 NOVUS-PK1-8 | Plastic Clean & Shine #19.6/10View on Amazon
- 2
 NOVUS-PK1-2 | Plastic Clean & Shine #19.6/10View on Amazon
- 3
 133 PCS Sanding Disc Drill Polishing Kit Sanding9.5/10View on Amazon
- 4
 Mini Buffing Polishing Pads9.4/10View on Amazon
How to polish acrylic after laser cutting is a short routine: clean the piece, sand the cut edges smooth, then polish with a compound kit until the haze clears and the surface looks clear again. The steps below follow that order, and the gear section lists the kits that cover each stage.
LaserEngraveHQ earns a commission from purchases made through these links, at no extra cost to you. Read our affiliate disclosure.
NOVUS-PK1-8 | Plastic Clean & Shine #1
A three-step Novus kit with 8 ounce bottles of Clean and Shine, Fine Scratch Remover and Heavy Scratch Remover, plus Polish Mates towels.
Pros
- Covers the full routine: heavy scratch removal, fine scratch removal, then clean and shine
- 8 ounce bottles suit repeated work on signs and display cases
- Polish Mates towels are included, so the kit is ready to use
- Works on acrylic, polycarbonate and similar plastics, per the listing
Cons
- No warranty term is stated
- Warns against use on coated plastics and UV-protected surfaces
- Try it on a small hidden area first, per the maker
- The 8 ounce bottles take more shelf space than the smaller kit
NOVUS-PK1-2 | Plastic Clean & Shine #1
The same three-step Novus system in 2 ounce bottles: Clean and Shine, Fine Scratch Remover and Heavy Scratch Remover, with Polish Mates towels.
Pros
- Same three-step routine: heavy scratch removal, fine scratch removal, then clean and shine
- 2 ounce bottles suit occasional polishing and small pieces
- Polish Mates towels included
- Removes hazing and scratches from acrylic and plexiglass, per the listing
Cons
- No warranty term is stated
- Small bottles run out sooner on large panels
- Warns against use on coated plastics and UV-treated surfaces
- Try it on a small hidden area first, per the maker
133 PCS Sanding Disc Drill Polishing Kit Sanding
A 133-piece sanding and polishing kit with 3 inch wet and dry discs, hook and loop backing pads and imitation wool buffing pads for rotary tools.
Pros
- 133 pieces cover sanding and polishing in one kit
- 3 inch discs suit wet and dry use on acrylic edges
- Hook and loop backing pads swap fast, per the listing
- Silicon carbide discs marked with grit size
Cons
- No warranty term is stated
- Needs a rotary tool or drill, not part of the kit
- Small discs suit edges and small areas, not large flat panels
- Worn discs need replacing, though pads are washable and reusable
Mini Buffing Polishing Pads
A 32-piece set of mini sponge polishing pads with two self-adhesive back pads for rotary tools, drills and polishers, made for tight areas.
Pros
- 32 mini pads reach tight areas
- Two back pads switch between smaller and larger sponge pads
- Hook and loop backing swaps pads fast
- The listing states a 6 months warranty
Cons
- No stated grit range: finishing pads, not sanding discs
- Sponge pads suit light polishing, not heavy scratch removal
- The listing states no pad diameter
- Made for small areas, not large flat panels
How to Polish Acrylic: Clean, Sand, Polish, Protect
Laser cutting leaves edges that look frosted. Polishing works in stages: cleaning lifts the marks, sanding levels the edge, and compound brings back the shine.
Clean the Piece First
Start with a clean surface: dust and grit trapped under a pad add scratches. Wash and dry the piece first, then use the Novus #1 Clean and Shine in the kits below.
Sand the Edges Smooth
Laser-cut edges feel rough, and polish alone cannot level them. Sand the edges with the discs in the Pomsare kit (on Amazon), working through the grits in order, wet or dry as the kit allows. Wipe dust away between stages.
Polish with Compound
Work the compound in with a pad, using the heavy scratch remover first where the marks need it, then the fine scratch remover to refine the finish. The Novus kits pair #3 Heavy Scratch Remover with #2 Fine Scratch Remover. Try the polish on a small hidden area first, and keep it away from coated plastics and UV-treated surfaces, as the Novus listings warn.
Finish and Protect
Finish with a last pass of cleaner for shine, then store the piece in a display case or wrapped in a soft cloth.
The Gear for How to Polish Acrylic
The stages above need a cleaner, a scratch remover and pads that fit the piece, and the kits below cover those jobs.
Mistakes to Avoid
- Polishing a dirty piece: grit under the pad adds scratches.
- Skipping the sanding stage: a rough edge stays rough if it only gets polish.
- Using scratch remover on a coated surface: the Novus listings warn against coated plastics and UV-treated surfaces.
- Starting on the visible face: try the polish on a small hidden area first.
FAQ: lasers and CNC
Can you polish acrylic?
Yes. Acrylic takes a polish well when the surface is clean and the work moves from sanding to compound in stages.
How do you polish an acrylic edge?
Sand the edge smooth first, then polish it with compound. The Pomsare kit supplies the sanding discs, and the Novus #3 and #2 removers handle the polish.
What do you use to polish acrylic after laser cutting?
A three-step polish kit covers the routine: a heavy scratch remover, a fine scratch remover and a cleaner. The Novus PK1-8 and PK1-2 kits both hold that set.
Can you polish acrylic with a rotary tool?
Yes. The Pomsare sanding kit and the SPTA mini pads (on Amazon) both attach to rotary tools. The hook and loop backing swaps pads fast.
What should you avoid when polishing acrylic?
Avoid coated plastics, UV-treated surfaces and eyeglass lenses. Try the polish on a small hidden area first.
Related: the how to engrave acrylic with diode laser guide, the acrylic vs wood for laser engraving comparison and the frosted vs clear acrylic for laser engraving guide.