How to Laser Engrave Leather without Burning: A Practical Workshop Guide
A practical step-by-step guide to laser engraving leather without burning: choose safe materials, manage power and speed, use masking tape, and clean finished work.

On this page
Top picks at a glance
As an Amazon Associate I earn from qualifying purchases.
- 1
 xTool M2 20W Color Craft Laser Engraver9.7/10View on Amazon
- 2
 xTool M2 20W Laser Engraver9.7/10View on Amazon
- 3
 xTool P2S 55W CO2 Laser Cutter9.7/10View on Amazon
- 4
 LONGER RAY5 Mini Laser EngraverView on Amazon
- 5
 LONGER Ray5 Laser Engraver,Ray5 miniS 5.5W Laser EngraverView on Amazon
- 6
 Huhumy 5 Pieces Laserable Leather Sheets Leatherette SheetsView on Amazon
- 7
 ilauke Wood Squares 4x4 InchView on Amazon
- 8
 Plywood 12PcsView on Amazon
- 9
 3 mm Baltic Birch Plywood 1/8 x 12 x 20 InchView on Amazon
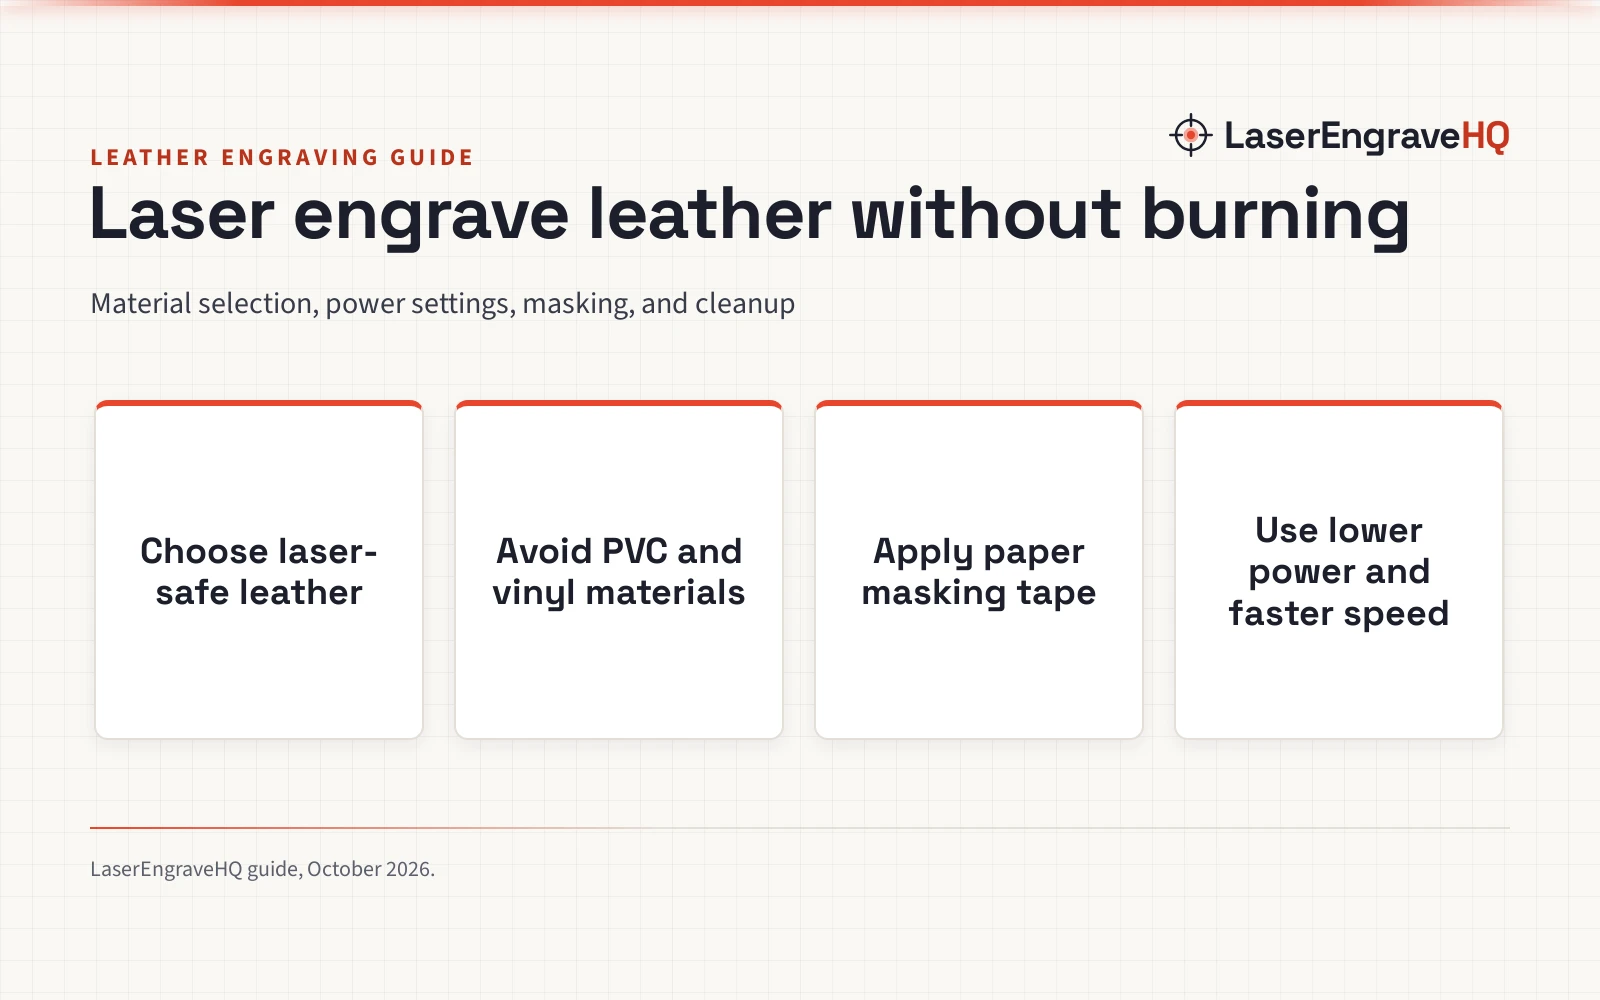
How to laser engrave leather without burning requires reducing laser power, increasing travel speed, applying paper masking tape over the surface, and ensuring sharp beam focus. Leather scorches when excessive heat dwells on organic fibers, so rapid movement and protective masking prevent smoke stains and burnt edges. The sections below explain material selection, power management, focal setup, and post-engraving maintenance step by step.
Other machines to compare
 LONGER RAY5 Mini Laser EngraverCheck price on Amazon
 LONGER Ray5 Laser Engraver,Ray5 miniS 5.5W Laser EngraverCheck price on Amazon
 Huhumy 5 Pieces Laserable Leather Sheets Leatherette SheetsCheck price on Amazon
 ilauke Wood Squares 4x4 InchCheck price on Amazon
 Plywood 12PcsCheck price on Amazon
 3 mm Baltic Birch Plywood 1/8 x 12 x 20 InchCheck price on Amazon
LaserEngraveHQ earns a commission from purchases made through these links, at no extra cost to you. Read our affiliate disclosure.
Never engrave or cut faux leather made from PVC or vinyl. When heated by a laser, PVC releases toxic hydrogen chloride gas and corrosive fumes that harm workshop occupants and corrode optical lenses and machine rails. Always ensure any synthetic material is laser-safe polyurethane (PU) or use genuine leather hides.
Step 1: Choose safe leather and avoid vinyl
The type of leather you select determines how the material responds to heat. Genuine vegetable-tanned cowhide is widely favored for laser work because natural plant tannins react to laser heat by darkening into a rich brown shade with crisp edges. Oil-tanned leather can also be engraved cleanly when masked, though surface oils produce additional smoke during processing. For example, Ringsun lists genuine full-grain cowhide tooling leather sheets at 2mm thickness, with sheet dimensions of 23.8 by 12 inches.
Synthetic leather blanks are popular for commercial patches and key fobs, but you must verify the chemical composition before placing them on your worktable. Polyurethane (PU) leatherette is laser-safe and produces dark, legible markings. Huhumy lists laserable PU leatherette sheets at 3/64 inches thickness, measuring 12 by 24 inches (31 by 61 cm). For smaller gift items, Tikjiua lists PU leather key fob blanks measuring 40 by 65 mm (2.56 by 1.57 inches), while iFForce lists laserable hat patches measuring 3.5 by 2.5 inches and round patches at 2.5 by 2.5 inches.
Never place PVC faux leather, vinyl, or bonded leather containing chlorinated compounds in your laser machine. Burning PVC produces hydrochloric acid vapors that irritate lungs and quickly corrode guide rails and stepper motors. Review our guide to materials you should never laser cut to identify dangerous synthetics before buying blanks. For project blanks and patch options, see our guide to leather patches for laser engraving.
Step 2: Match your laser machine to leather engraving
Laser engraving on organic leather does not require high wattage. Diode lasers absorb readily into organic hide surfaces. For example, the Longer Ray5 mini listing specifies an optical output of 2.5W, an ultra-fine spot size of 0.04mm by 0.04mm, and 0.01mm engraving accuracy. That level of optical output provides sufficient power to mark leather cleanly without deep burns.
Higher-wattage lasers can also engrave leather effectively, provided you dial the output down to low percentage thresholds. The Longer Ray5 miniS listing specifies a 5.5W optical output diode laser with a 130 by 120 mm working area, while the BlazeX M3 specifies a 10W optical output diode laser with 0.01mm precision. When operating a 5.5W or 10W module on leather, keeping energy density low prevents excessive depth and prevents brittle, scorched edges.
If your workshop crafts items across both wood and leather goods, our review of the best laser engraver for wood details diode platforms that handle both organic materials. You can also compare material options in our guide to what materials can a laser engraver cut.
Step 3: Mask the leather surface before engraving
Applying masking tape to the leather surface is an effective way to prevent scorch halos and smoke residue. As the laser beam vaporizes leather oils and surface grain, smoke rises and deposits soot onto adjacent areas. On untreated or light-colored leather, this soot creates stubborn discoloration that is difficult to wash away without damaging the hide.
Standard blue painter tape or light-tack paper transfer tape shields the surrounding grain. Lay the tape smoothly across the engraving area and burnish it down using a plastic scraper or roller to eliminate air bubbles and loose edges. The laser beam vaporizes cleanly through the paper layer into the leather beneath, while the surrounding tape catches drifting soot. Once engraving finishes, peeling the tape away reveals crisp artwork with pristine margins.
Step 4: Dial in low power and high travel speed
Balancing speed and power is essential for clean leather laser settings. Deep burning occurs when the laser beam dwells in one position long enough to heat the underlying material past its scorching threshold. To prevent this heat accumulation, configure your control software for fast travel speeds and minimal optical output.
Both the Longer Ray5 mini and Longer Ray5 miniS listings cite rated speeds up to 12,000mm/min, demonstrating the rapid movement modern desktop diode gantries can achieve. Using brisk travel speed reduces the duration of thermal contact on the surface. When establishing baseline settings, begin with modest power and faster travel speeds. If the marking appears faint, run an additional pass rather than boosting power. A single pass at excessive wattage chars the leather fibers, whereas multiple light passes produce deep color contrast while preserving the soft, supple feel of the material.
To examine baseline settings across diode modules, review our laser engraver speed and power settings chart before configuring your design files.
Step 5: Set precise focal distance and assist airflow
Beam focus directly influences the clarity and heat delivered to leather. A sharply focused beam concentrates energy into a compact focal point, vaporizing surface pigment cleanly with minimal heat diffusion into surrounding fibers. An out-of-focus beam widens the focal spot, resulting in blurry details and fuzzy edges instead of crisp engraving lines. The Longer Ray5 mini listing highlights a 0.04mm spot size, illustrating how a fine beam profile concentrates optical energy. Follow our walkthrough on how to focus a diode laser engraver to calibrate your focal block accurately.
Airflow management requires careful moderation when processing leather. While air assist is vital for cutting thick timber, heavy air pressure on leather can force oily smoke into the open pores of the hide. Keep air assist at low pressure just sufficient to shield the lens from soot without disturbing the work surface. Our review of the best laser air assist pumps covers adjustable air controls suitable for delicate materials.
Step 6: Run a calibration sample on scrap material
Hides are natural organic products, meaning density, moisture level, and oil content vary across sections of the same skin. A setting that engraves cleanly on thick shoulder leather may scorch thinner belly material. Before engraving an expensive blank or assembled leather item, always perform a trial run on a scrap offcut from the identical hide.
Create a small matrix of small squares in your software, varying speed and power across columns and rows. Run this trial pattern on masked scrap leather to identify the threshold where dark contrast appears without cratering, burning, or stiffening the hide. Inspect the trial squares under good lighting and flex the scrap piece to ensure the engraved lines remain pliable.
Step 7: Clean soot and condition the finished leather
After the laser process finishes, leave the project on the bed for a moment to allow smoke and odors to clear through your exhaust system. Carefully peel away the masking tape at a shallow angle to prevent lifting surface fibers. If minor soot remains along fine vector outlines, dab the surface gently with a dry microfiber cloth or a cloth lightly dampened with clean water. Avoid using harsh chemical solvents or rubbing alcohol, which strip tanning oils and discolor leather finishes.
For synthetic blanks such as the VMYTH 12.6 by 10.2 inches sheets (sold in packs of 12) or iFForce leatherette patches, a quick wipe with a clean damp cloth removes surface debris without discoloration. For genuine vegetable-tanned leather, laser heat removes natural moisture, leaving engraved areas dry. Applying a light coat of leather balm or neatsfoot oil restores suppleness, enriches contrast, and seals the carved lines against dirt.
Common mistakes to avoid
- Attempting to engrave PVC or vinyl synthetic leather, which produces hazardous hydrogen chloride fumes.
- Using excessive laser power that cuts deeply into the hide and turns leather brittle.
- Skipping paper surface masking, leaving sticky smoke stains across the grain.
- Engraving with an out-of-focus laser beam that produces blurry, fuzzy details.
- Using aggressive air assist pressure that pushes airborne soot into warm leather pores.
- Proceeding with production runs without verifying settings on scrap material first.
How to laser engrave leather without burning: the short version
- Verify your material is genuine leather or laser-safe PU leatherette, never PVC or vinyl.
- Apply low-tack paper masking tape smoothly across the leather surface to capture soot.
- Select low laser power output and high travel speed to minimize thermal dwell time.
- Focus the laser beam precisely to its narrowest focal point.
- Run a calibration sample on scrap hide to identify clean contrast settings.
- Engrave the workpiece, peel the masking tape away, and condition genuine leather with leather balm.
FAQ: lasers and CNC
What type of leather is best for laser engraving?
Vegetable-tanned cowhide is widely considered the best natural leather for laser engraving because vegetable tannins react to heat by turning dark brown with minimal charring. Oil-tanned leather and laser-safe polyurethane (PU) leatherette also engrave cleanly when masked. Avoid chrome-tanned leather with heavy chemical coatings, and never process PVC synthetic leather.
Why does laser engraved leather smell like burnt hair?
Genuine animal hide is composed of protein and keratin fibers. When vaporized by a concentrated laser beam, these proteins release an odor similar to singed hair. Synthetic PU leatherette produces a milder synthetic smell. Always operate your machine with active exhaust ventilation or a dedicated air filtration system, as discussed in our guide to the best fume extractor for laser engraver.
Should I dampen leather before laser engraving?
No. While some leather crafters case or wet leather before hand tooling, dampening leather before laser engraving is counterproductive when your goal is to avoid burning. Moisture prevents paper masking tape from adhering securely, and trapped water boils under the laser beam, generating hot steam that warps the hide and produces blotchy, scorched edges. Keep leather dry and use low power settings instead.
What laser power is needed to engrave leather?
Diode lasers with modest optical output are well suited for leather engraving. Listing specifications show capable options across wattage tiers: the Longer Ray5 mini specifies a 2.5W optical output diode laser, while more powerful machines like the 5.5W Longer Ray5 miniS or 10W BlazeX M3 can also be used effectively by reducing power percentages in your software to prevent scorched lines.
Do I need air assist when engraving leather?
Low air assist helps protect your optical lens from smoke deposits. However, high air assist pressure should be avoided during leather engraving because strong airflow forces oily smoke particles directly into the open pores of the leather, creating permanent dark smudges around the design.
What safety equipment should I use when laser engraving leather?
Always wear safety glasses with certified optical density matching your laser wavelength, as detailed in our laser safety glasses guide. In addition, ensure your workshop has proper exhaust venting, keep a fire extinguisher nearby, and never leave an active laser job unattended.
Related: the laser engraver hub, our reference on do laser engravers need ventilation, and our guide on why are my laser engravings blurry. For workspace setup, explore our walkthrough on how to start a laser engraving business and our starter list of laser engraver accessories for beginners.



