Fiber Laser Engraving Settings for Brass: Step-by-Step Setup Guide
A step-by-step workshop guide to fiber laser engraving settings for brass: adjust speed, power, frequency, hatch spacing, and focal height for clean surface marks and deep relief.

On this page
Top picks at a glance
As an Amazon Associate I earn from qualifying purchases.
- 1
 GWEIKE G2 Max 50W Fiber Laser Engraver with 3D & Deep9.7/10View on Amazon
- 2
 ComMarker B4 20W Fiber Laser Engraver9.6/10View on Amazon
- 3
 WeCreat Lumos Flex 15W Fiber & 15W Diode Dual Laser Engraver9.6/10View on Amazon
Fiber laser engraving settings for brass require balancing pulse frequency, marking speed, laser power, line spacing, and precise focal height to manage the metal’s high thermal conductivity and reflective surface. Surface marking on a galvo fiber laser pairs moderate power with higher scan speeds and tight hatch spacing, while deep brass engraving demands slower speeds, overlapping passes, and adequate pulse energy to vaporize material without scorching edges. This guide explains how to dial in each parameter step by step.
LaserEngraveHQ earns a commission from purchases made through these links, at no extra cost to you. Read our affiliate disclosure.
Brass alloys differ in zinc content and surface finish, so published settings always require calibration on your specific material. Because every laser source and lens combination behaves differently, treat manufacturer figures as baseline starting points rather than rigid rules.
Step 1: Establish precise focal height and beam alignment
Achieving clean brass engraving begins with exact beam focus. Brass reflects near-infrared light efficiently when the beam is even slightly out of focus. A defocused beam spreads optical energy across a broader spot size, preventing the laser from reaching the ablation threshold required to vaporize metal. This causes unwanted heat transfer into surrounding areas rather than clean material removal.
Most fiber laser marking systems use a flat-field F-theta lens that dictates the focal distance and marking area. For example, the ComMarker listing and Cloudray listing both ship with interchangeable field lenses covering 110×110 mm and 200×200 mm workspaces. Smaller lenses provide a tighter focal spot and higher energy concentration for deep relief carving, whereas larger lenses expand the field at the expense of energy density.
Focusing methods vary across hardware. The GWEIKE listing highlights dual red light positioning, while OMTech lists dual red dot locators to align focal height over a 200×200 mm bed. By contrast, the LaserPecker listing notes a fixed 200 mm distance ruler on its 2.4-pound unit, but states that metal engraving is not supported. For brass marking, verify focal distance on scrap stock before starting production.
Step 2: Balance laser power and pulse frequency
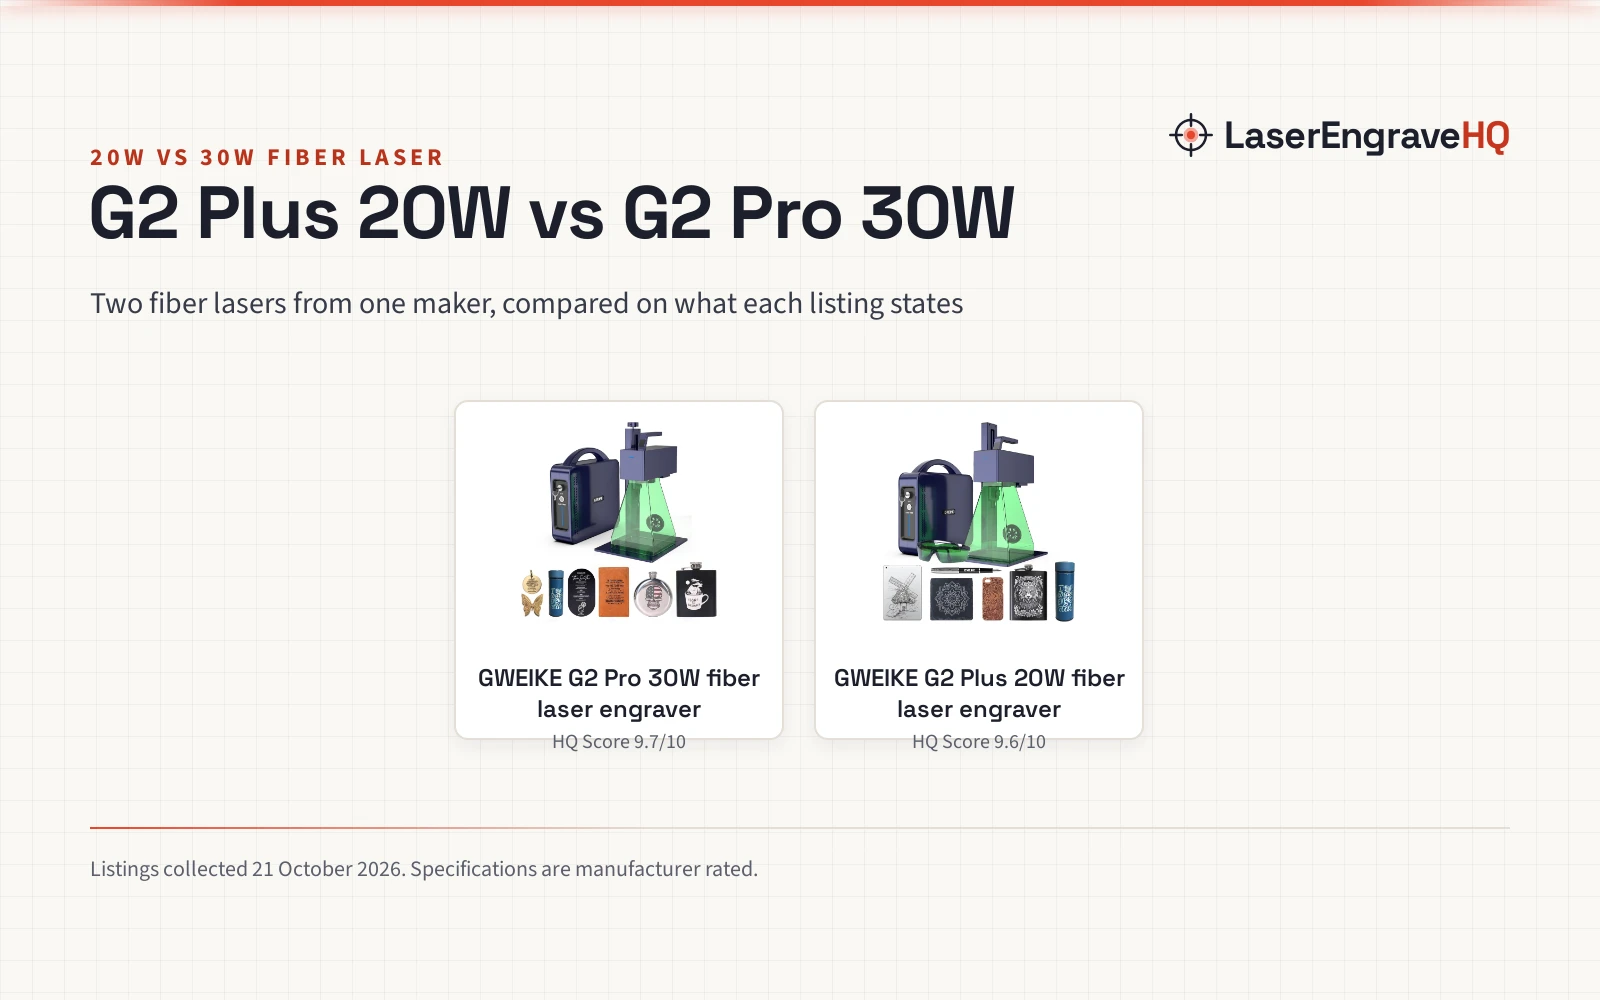
Laser power determines the rate of thermal energy delivered to the workpiece. On fiber lasers operating at a 1064 nm wavelength, power specifications indicate true optical output rather than electrical wall draw. The GWEIKE listing specifies a 20W optical output on its base unit and 30W on its Pro edition. ComMarker lists a 30W Max laser source, Monport specifies a 30W source, OMTech lists a 50W output, Cloudray lists a 60W model, and Ovsuqu features a 100W JPT MOPA source. Higher optical wattage removes brass volume faster per pass, though excessive power on small items can cause surface discolouration.
Pulse frequency, measured in kilohertz, controls how many laser bursts strike the metal each second. Standard Q-switched fiber lasers link pulse energy directly to repetition rate. For instance, the ComMarker listing states a frequency range of 20-60 kHz, where lower frequencies increase peak pulse energy to penetrate reflective brass, and higher frequencies deliver gentler pulses suited for surface polishing.
MOPA fiber lasers provide independent control over pulse duration and repetition rate. Listings from SFX, Monport, and Ovsuqu state an adjustable pulse duration of 2-500 ns alongside a repetition frequency of 1-4000 kHz. Monport highlights this flexibility for color marking and deep metal engraving, while SFX specifies a maximum pulse energy of 2.0 mJ and Ovsuqu states 1.5 mJ. On brass, short pulses minimize heat accumulation, whereas wider pulses deliver aggressive material removal for 2.5D relief carving.
Step 3: Dial in marking speed and hatch line spacing
Marking speed refers to how rapidly the galvanometer mirrors sweep the laser beam across the work area. Galvanometer systems move dramatically faster than gantry machines. The GWEIKE and ComMarker listings cite galvanometer speeds up to 15000 mm/s. Monport and Cloudray list speeds up to 10000 mm/s, while OMTech rates its 50W machine at 7000 mm/s. SFX lists a scanning speed of 7 m/s.
For brass marking, scan speed dictates residence time. High scan speeds produce shallow surface marks or light frosting because the beam sweeps past before intense heat can penetrate the substrate. Deep engraving requires reduced scan speeds to allow optical energy to vaporize the metal. Matching speed to power prevents scorching and ensures crisp edge definition.
Hatch spacing, or line interval, determines the gap between adjacent laser passes inside filled vectors. If hatch lines are spaced too far apart, toolpaths leave visible ridges. Listing specifications reflect the mechanical precision of these systems: GWEIKE lists a precision of 0.001 mm, SFX lists a re-position precision of 0.002 mm, Cloudray, ComMarker, and Monport list 0.01 mm resolution, and OMTech lists 0.1 mm accuracy. Tight, overlapping hatch spacing ensures uniform surface ablation without untreated bands.
Step 4: Configure hatch patterns and multipass execution
Brass conducts thermal energy rapidly, making pattern selection critical. Fixed-direction hatching sweeps across the graphic in a single orientation, which can create microscopic trenches. Cross-hatching applies alternating line angles across successive layers, producing a smooth floor in deep relief carvings.
Achieving measurable depth in brass requires executing multiple layered passes rather than cutting deeply in a single heavy pass. Listings indicate realistic depth capabilities across machine classes: ComMarker states an engraving depth of 0.3-0.5 mm, Cloudray lists deep engraving capabilities of 0.5 mm, and SFX lists an engraving depth up to 1.0 mm. Achieving a 1.0 mm relief in dense brass demands multiple successive passes with debris clearing between cycles.
Operators frequently insert a cleanup pass between heavy ablation cycles. A cleanup pass uses higher scan speed, reduced power, and tight line spacing to sweep away residual brass slag and zinc soot without digging deeper. Rotating the hatch angle perpendicular or diagonal to prior passes prevents the beam from tracking into preexisting micro-grooves, yielding sharp graphic boundaries.
Step 5: Manage workshop ventilation and safety controls
Engraving brass produces fine metal dust, airborne particulates, and vaporized zinc. Inhaling metal fumes presents serious health hazards, and settling dust can contaminate galvanometer mirrors. Workshops must utilize dedicated exhaust systems routed outdoors or multistage fume extractors equipped with HEPA media and activated carbon. Consult our fume extractor guide for ventilation recommendations.
Eye protection is mandatory. Fiber lasers emit near-infrared radiation invisible to the human eye, meaning blink reflexes offer no defense against scattered reflections. Safety glasses must provide certified optical density rated for the 1064 nm wavelength. Check our laser safety glasses guide before operating open-beam equipment.
Review the stated safety class of your equipment. ComMarker and SFX list Class 1 laser output in their descriptions. Cloudray and Ovsuqu cite Class 2 safety levels, and GWEIKE lists a Class 4 safety level. The Monport listing mentions Class 5, though official FDA and IEC standards define Class 4 as the highest hazard tier. Class 4 open-frame units demand full room safety precautions. Both GWEIKE and ComMarker highlight emergency stop switches. For workshop requirements, see our laser classes explained guide.
Maintain strict material discipline. Never use a laser on PVC, vinyl, PVC-based artificial leather, polycarbonate, or ABS. While listings from SFX and Ovsuqu mention non-metals like ABS and PVC among industrial applications, thermal decomposition of chlorinated plastics produces hydrogen chloride gas that destroys laser optics and damages lungs. Review our guide to materials you should never laser cut.
Common mistakes to avoid
- Running jobs out of focus, which reflects optical energy and fails to penetrate the brass surface.
- Attempting deep engraving in a single slow pass, causing molten slag buildup and burnt edges.
- Using a single hatch angle, resulting in visible striping and uneven pocket bottoms.
- Failing to vent vaporized zinc and metal soot, contaminating workshop air and delicate optical lenses.
- Attempting to process reflective brass on a standard diode laser without understanding wavelength absorption limits.
Fiber laser engraving settings for brass: the short version
- Focus the galvanometer lens precisely on the brass surface using red light alignment or physical calibration blocks.
- Select optical power appropriate for your goal, reserving lower power for surface marks and higher power for deep relief.
- Set pulse repetition frequency and scan speed, running higher frequency and faster speeds for surface etching and lower frequency with slower speeds for material ablation.
- Apply cross-hatching with tight line spacing to eliminate ridges and maintain an even floor.
- Run repeated progressive passes rather than a single heavy cycle, clearing soot between passes.
Consistent results on brass come down to methodical calibration: document your settings for each brass alloy, maintain clean optics, and run calibration samples before committing to production pieces.
FAQ: lasers and CNC
What are the best fiber laser engraving settings for brass?
Optimal fiber laser engraving settings for brass depend on your machine’s laser source, field lens, and whether your objective is surface marking or deep relief. For surface etching on a Q-switched unit such as the 30W ComMarker (operating across 20-60 kHz), operators pair moderate power with higher scan speeds and pulse frequencies. On higher-powered systems like the 50W OMTech (rated up to 7000 mm/s) or 60W Cloudray (rated up to 10000 mm/s), faster scan speeds prevent scorching. For deep engraving on any fiber laser, lower pulse frequencies maximize pulse energy, slower scan speeds increase residence time, and multiple cross-hatched passes ablate material layer by layer without warping the brass.
Can a fiber laser engrave glass?
Standard clear glass is transparent to the 1064 nm wavelength emitted by fiber lasers, so the beam passes through without marking. However, listings such as GWEIKE G2 and G2 Pro state support for dark glass. For clear glass engraving, CO2 lasers or UV lasers represent the appropriate choices because their wavelengths are absorbed by silica.
Can a fiber laser engrave wood?
A fiber laser cannot effectively engrave bare wood. Bare wood lacks efficient absorption at the 1064 nm near-infrared wavelength, causing the beam to pass through or leave irregular scorched patches rather than vaporizing cleanly. For woodworking, diode and CO2 lasers are the standard choices. While 1064 nm fiber machines can mark darker organic materials such as leather (as stated on GWEIKE and Monport listings), raw lumber requires visible diode or long-wave infrared beams. The LaserPecker listing specifies wood and leather engraving because it is a non-metal diode unit that does not support metal.
Can a fiber laser engrave plastic?
Yes, fiber lasers can mark a wide variety of opaque plastics. Listings from GWEIKE, SFX, ComMarker, Ovsuqu, and Monport all list plastic marking capabilities. The laser alters pigments or foams the polymer surface to create crisp serial numbers and logos. However, always verify polymer composition and never process PVC, vinyl, polycarbonate, or ABS due to toxic fumes.
How much does a fiber laser cutter cost?
Fiber laser marking and cutting machines fall into distinct investment tiers depending on source type and wattage. Compact 20W and 30W desktop galvo markers represent the entry tier for small workshops. Mid-range 50W and 60W MOPA units with expansive marking fields and rotary axes occupy the intermediate bracket for production shops. High-powered 100W systems and industrial cutters represent commercial investments. We suggest budgeting separately for exhaust filtration, rotary attachments, and safety enclosures.
What is the difference between Q-switched and MOPA fiber lasers for brass?
Standard Q-switched fiber lasers link pulse duration to frequency, typically operating across narrower bands such as 20-60 kHz. MOPA lasers allow operators to adjust pulse duration from 2-500 ns and frequency from 1-4000 kHz independently. On brass, MOPA technology gives finer control over heat input, enabling precise surface polishing, detailed 2.5D relief engraving, and controlled oxidation without warping thin blanks.
Related: the laser engraver hub, our guide to the best fiber laser engraver, and the fiber laser engravers directory. Also see our guides on what is a fiber laser engraver and how deep can a fiber laser engrave.