Button Maker Troubleshooting: Common Fixes
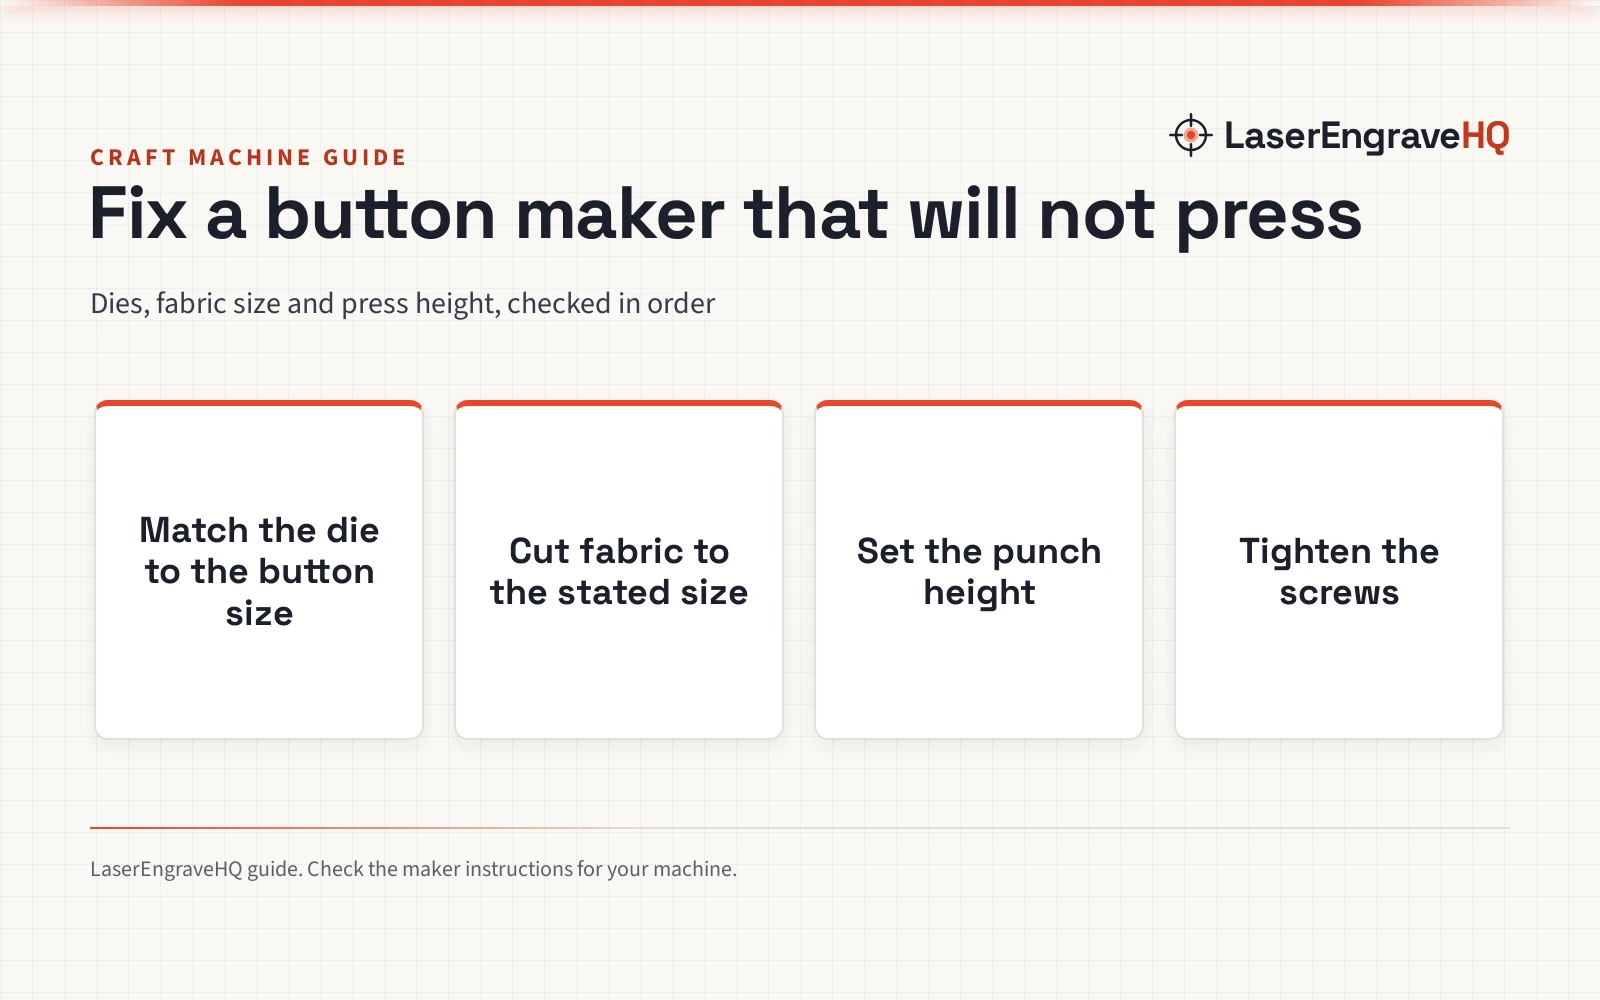
Button maker troubleshooting starts with matching the die to the button, cutting the fabric to the stated size, and setting the press height before pressing again.

On this page
A fresh piece of fabric, a shell and a back laid out on the bench, and the handle comes down but the button will not hold together. Button maker troubleshooting starts with the parts in front of you: the die, the fabric, the shell and the back, checked in that order. Most presses fail over a small mismatch between those parts, and the fix is usually a swap or an adjustment rather than a new machine.
As an Amazon Associate I earn from qualifying purchases. LaserEngraveHQ earns a commission from purchases made through these links, at no extra cost to you. Read our affiliate disclosure.
Button maker troubleshooting: what to check first
Work through the press in order: die size, fabric size, punch height, then the screws that hold the machine steady. Change each part in turn and press again before changing another part, so the fix that works is the one you can see. The sizes below come from the fabric button makers in the reference listings: a POWLAB press with dies for 18mm, 25mm and 30mm buttons, and a Yalando press (on Amazon) with dies for 16mm, 18mm, 20mm, 24mm, 28mm, 32mm and 36mm buttons. For the full pressing sequence, see the guide to how to work a button maker.
The button will not close
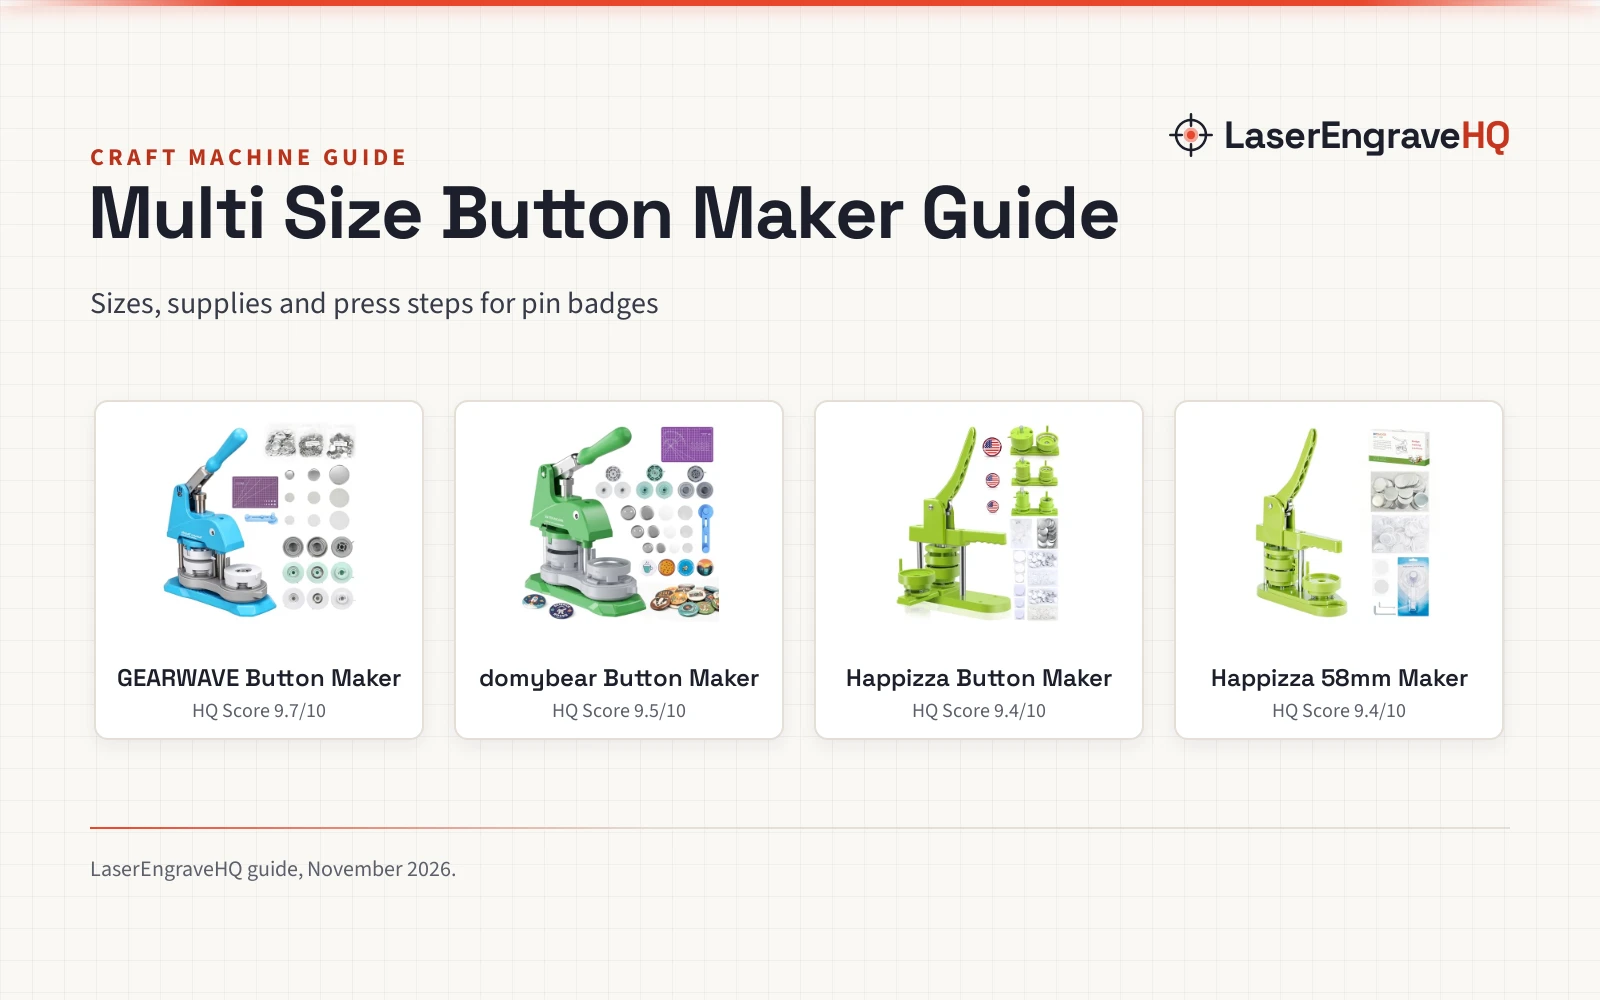
A button that will not close usually has the wrong die under it. Dies are size specific, so a die made for a 25mm button will not finish a 30mm shell, and a die made for a 30mm button will not hold an 18mm shell in place. Check the size marked on the die against the size of the button parts, then swap in the die that matches. The POWLAB press ships with dies for 18mm, 25mm and 30mm buttons and 300 buttons, 100 of each size. The Yalando press ships with 7 sets of dies and 7 packages of buttons, a set and a package for each of its sizes, 16mm, 18mm, 20mm, 24mm, 28mm, 32mm and 36mm. For presses that cover several sizes, see the multi size button maker guide.
The fabric tears or bunches
Fabric that tears or bunches at the press is usually cut to the wrong size. The fabric must be larger than the button: the POWLAB listing gives 34mm of fabric for an 18mm button, 41mm for a 25mm button and 46mm for a 30mm button. A piece cut too small pulls tight and splits at the edge, while a piece cut too large folds under the shell and bunches at the rim. Cut a fresh piece to the stated size and press again. The maker also gives a sizing formula: for a button of 1.8cm, (1.8/2+0.8)*2=3.4cm of fabric. See the button maker size chart for the full list of sizes.
The press feels stuck, or the rod sits low
When the lower rod sits too short, the mold cannot close properly, and the press feels stuck halfway down. The POWLAB listing says to hit the top rod with a hammer, or to use a sturdy table to push it, until the rods sit at the stated heights: the top rod at 7.5cm (2.95 inches) and the lower rod at 14cm (5.5 inches). Check the rod heights before pressing again, and adjust the punch height with the joint handle or the anti-collision rubber screw if the head still lands short. The punch height sets how far the head travels, so a head set too low crushes the button and a head set too high leaves the shell open.
The machine moves while you press
A press that shifts on the bench gives uneven buttons, because the die and the shell drift apart as the handle comes down. Tighten the screws firmly with a wrench so the machine stays put, and check them again after the press has been moved or stored. The POWLAB press is cast iron, and its weight of 11.68 pounds helps it stay steady, but screws left loose will still let it walk across the bench. Set the machine on a flat, steady surface and hold the base while pressing if the bench is smooth.
The button falls apart after pressing
A button that looks finished and then falls apart has usually been pressed with the wrong fabric size or the wrong punch height. Re-check the fabric against the stated sizes, 34mm for an 18mm button, 41mm for a 25mm button and 46mm for a 30mm button, and check that the shell, fabric and back all sit in the die made for that size. If the parts still separate, raise or lower the punch head with the joint handle or the anti-collision rubber screw and press again. Fabric that is too thin for the die can also slip, so use a firmer fabric or soft leather, the materials the POWLAB press is made for.
Spots on the machine
Small spots on the cover of the machine come from uneven metal pouring during casting, and the maker states that they do not affect use. Wipe them clean if they bother you, and leave the working parts alone: the spots are cosmetic, and the dies, rods and handle are what decide whether a button presses cleanly.
When to ask the maker
When the press still will not close after the die, fabric and height have all been checked, ask the maker. The POWLAB listing says the maker replies and provides service within 24 hours. Describe the button size, the die size and the fabric size you used, so the answer can point at the mismatch instead of guessing. When a press needs parts or a die that the listing does not offer, the best button maker guide shows presses with wider die ranges.
FAQ: lasers and CNC
Why does my button maker jam halfway through a press?
The lower rod is usually sitting too short for the mold to close. Hit the top rod with a hammer, or use a sturdy table to push it, until the top rod sits at 7.5cm (2.95 inches) and the lower rod at 14cm (5.5 inches), then press again.
What size fabric does an 18mm button need?
34mm of fabric. The maker sizing formula gives 41mm of fabric for a 25mm button and 46mm for a 30mm button.
Can I use dies from another button maker on this press?
Only when the thread and size match. The Yalando press also takes dies with M8 thread sizes, so check the thread size on the die before ordering spares.
Why do my buttons fall apart after pressing?
The fabric size or the punch height is usually wrong. Re-check the fabric against the stated sizes and adjust the punch head with the joint handle or the anti-collision rubber screw, then press again.
Do spots on the machine mean it is broken?
No. Spots on the cover come from uneven metal pouring, and the maker states that they do not affect use. The dies, rods and handle decide whether a button presses cleanly.
Related: the craft machines hub, the button maker size chart, the how to work a button maker guide and the best button maker roundup.