LightBurn vs LaserGRBL: Which One Should You Buy?
A practical guide comparing LightBurn vs LaserGRBL: evaluate operating systems, design tools, controller compatibility, camera support, and learning curve to pick the right laser software.

On this page
Top picks at a glance
As an Amazon Associate I earn from qualifying purchases.
- 1
 Longer New LightBurn Camera Kit for Laser Engravers9.5/10View on Amazon
- 2
 Lightburn BasicsView on Amazon
- 3
 SVPRO 8MP USB Lightburn Camera Module with MicrophoneView on Amazon
- 4
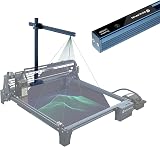 SCULPFUN CAM500 Lightburn CameraView on Amazon
- 5
 ComMarker B4 20W Fiber Laser EngraverView on Amazon
LightBurn vs LaserGRBL comes down to your operating system, your budget and whether you want a full design canvas or a focused machine streamer. LaserGRBL is a free, open-source program that runs on Windows and serves as a reliable G-code sender for entry-level diode machines when you already create your vector artwork in external software. LightBurn requires a paid license, runs on Windows, macOS and Linux, and provides an all-in-one workshop environment combining vector drawing, multi-layer process sequencing, camera positioning and wide hardware support ranging from desktop diode units to digital signal processor and galvo fiber markers. The sections below compare both options across essential workshop categories so you can choose the right workflow.
Other machines to compare
 Lightburn BasicsCheck price on Amazon
 SVPRO 8MP USB Lightburn Camera Module with MicrophoneCheck price on Amazon
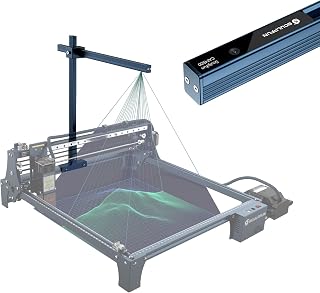 SCULPFUN CAM500 Lightburn CameraCheck price on Amazon
 ComMarker B4 20W Fiber Laser EngraverCheck price on Amazon
LaserEngraveHQ earns a commission from purchases made through these links, at no extra cost to you. Read our affiliate disclosure.
Software preference depends heavily on how you prepare files. LaserGRBL focuses strictly on running jobs on Windows computers connected to GRBL boards, while LightBurn serves as both a design canvas and a machine controller across multiple computer platforms.
Step 1: Check operating system compatibility
Operating system support is the immediate dividing line between these two platforms. LaserGRBL is built strictly as a Windows application. While some community members attempt to run LaserGRBL on alternative operating systems through emulation layers, native support does not exist for Apple macOS or Linux. If your primary workshop computer is a Mac or a Linux workstation, running LaserGRBL requires ongoing troubleshooting or third-party virtualization.
LightBurn provides native, cross-platform support across Windows, macOS and Linux. You download the native installer for your operating system, connect your machine over USB or network bridge, and begin configuring parameters immediately. Our walkthrough on how to set up LightBurn for a diode laser explains the initial communication steps. If you work inside an Apple ecosystem or prefer Linux workstations, LightBurn is the straightforward choice.
Step 2: Understand the difference between an editor and a sender
The core difference between these two applications lies in their software architecture. LaserGRBL is primarily a machine controller and G-code streamer. It opens prepared G-code files, raster image formats or vector outlines, translates them into movement commands and streams those commands line by line across a serial connection to the machine. It does not provide graphic creation tools. If you need to draw geometry, adjust node paths or add custom typography, you must prepare the artwork in external graphic software and export the file. Beginners exploring software options can consult our guide on laser engraving software for beginners.
LightBurn functions as both a full graphic layout editor and a machine controller. You can import vector files, or you can draw directly on the virtual workspace using native vector tools, text layout engines and shape generators. You do not need to switch between an illustration package and a separate sender application to reposition an element or alter an engraving boundary. Understanding these distinctions helps clarify how file preparation works, as detailed in our guide to laser engraver file types.
Step 3: Evaluate vector design and layout tools
Vector capabilities determine how much preparation you must complete before sending a job to the machine. In LaserGRBL, vector editing does not exist. You can position an imported vector file on the virtual bed, scale it proportionally and select a streaming speed, but you cannot modify geometry, create offset paths, weld intersecting shapes or manipulate anchor points. When a design requires slight adjustments to fit a physical blank, you must return to your external vector software, edit the file, re-export and load the revised file into LaserGRBL.
LightBurn includes an extensive collection of vector editing tools tailored directly to laser workflows. You can generate geometric primitives, apply boolean operations such as union, difference and intersection, and create inward or outward contour offsets to account for beam kerf. LightBurn also features a built-in vector tracing engine that converts imported bitmap artwork into editable vector lines without external software. To explore this feature, read how to trace an image in LightBurn. Having these editing capabilities within the machine controller eliminates repetitive file exports.
Step 4: Compare layer controls and job settings
Multi-step projects require distinct parameter settings for different parts of an artwork. A finished sign might feature raster engraving for background textures, fine vector scoring for intricate lettering, and complete vector cutting around the exterior border. LaserGRBL handles single-process jobs easily, but executing multiple operations requires running distinct files sequentially or manually modifying job streams between runs.
LightBurn organizes jobs using a color-coded layer structure. Each layer functions independently, allowing you to assign dedicated speed, power, pass counts and air assist states to specific elements in your design. The software processes these layers in your preferred order during a single run, commonly scoring fine detail lines on a clean surface first, filling raster engraving next, and performing perimeter cutting last so parts remain firmly positioned in the material bed until finished. To dial in ideal settings across diverse blanks without guessing, makers use structured calibration charts, as outlined in how to make a material calibration grid in LightBurn.
Step 5: Check machine and controller compatibility
Controller compatibility determines whether your equipment can communicate with the software. LaserGRBL focuses strictly on microcontrollers running GRBL or GRBL-compatible motion firmware. These open-source motion control boards are common on entry-level, open-frame diode laser engravers. LaserGRBL communicates smoothly with standard USB serial interfaces, making it a reliable utility for budget desktop engravers. However, it cannot control digital signal processor boards or galvo marking heads. For background on motion boards, read our comparison of GRBL vs proprietary CNC controller architectures.
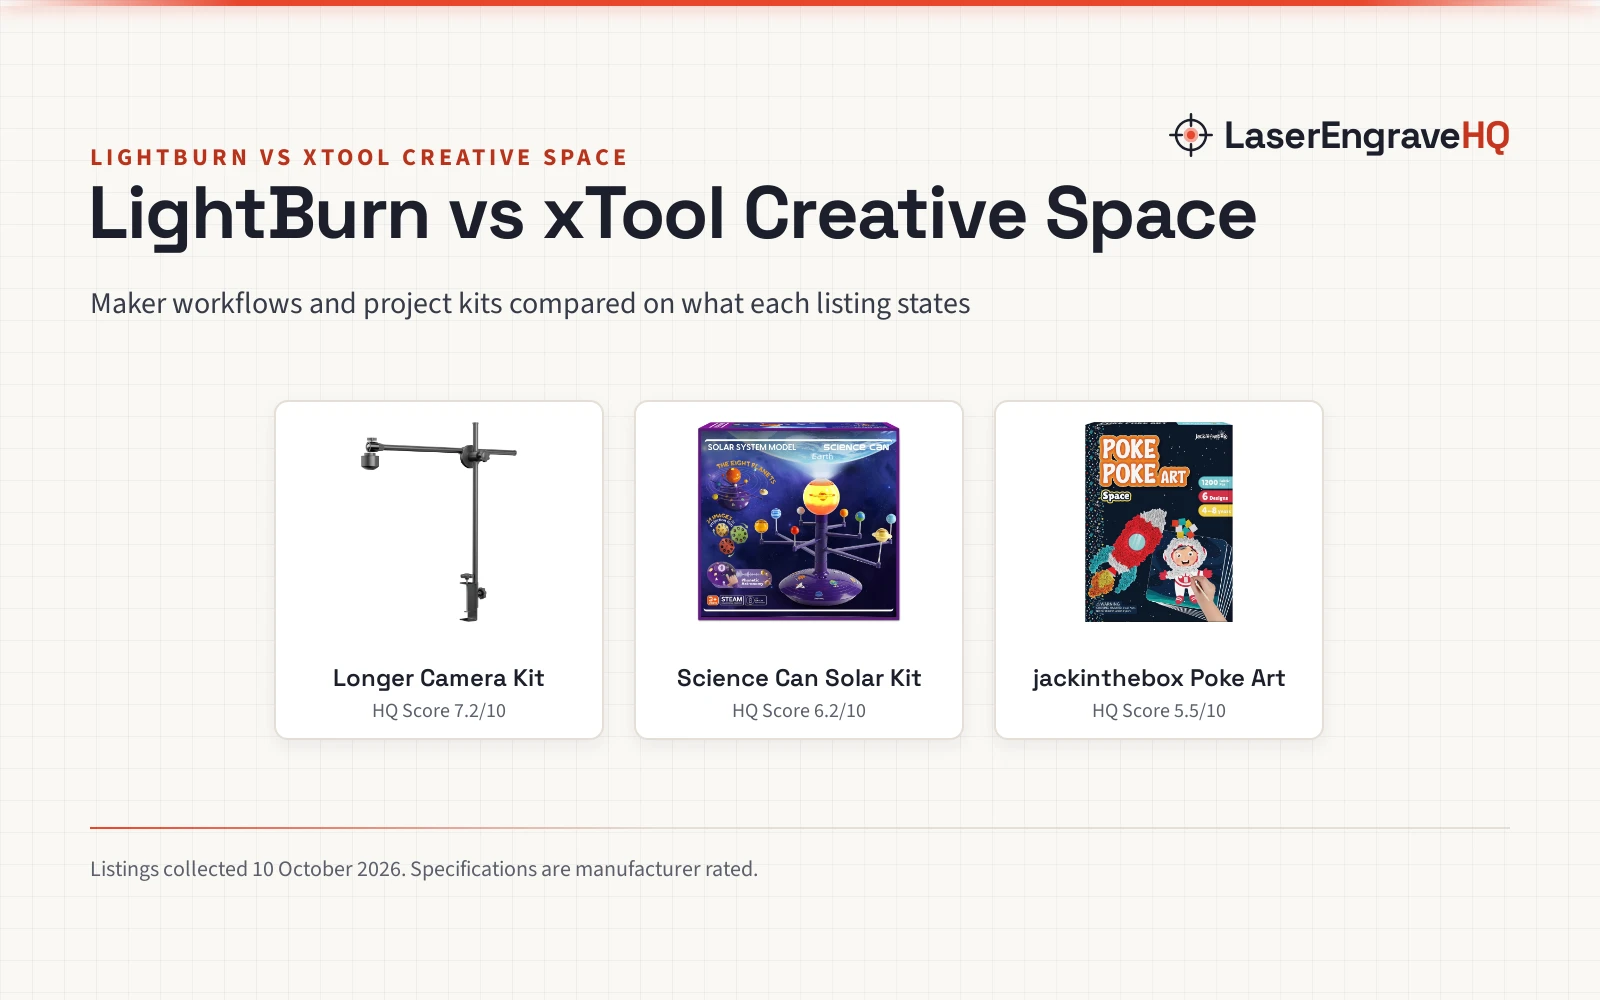
LightBurn supports standard GRBL boards, but its compatibility extends across commercial hardware controllers, including Smoothieware, Ruida and other digital signal processor systems, as well as galvo fiber laser markers. For example, the ComMarker B4 fiber laser engraver listing highlights a 50W fiber source, a 1064 nm wavelength, marking speeds reaching 15000mm/s, and a stated 1.95mW pilot alignment beam with FDA accession reporting, listing compatibility across Windows 7, 8, 10 and 11 alongside macOS when operated under LightBurn. LaserGRBL cannot operate this class of high-speed galvo equipment. Makers evaluating different software ecosystems can also read our LightBurn vs xTool Creative Space comparison or browse the wider laser software section to see how controllers integrate with workshop tools.
Step 6: Weigh camera alignment and advanced features
Workspace alignment tools save substantial material and setup time. In LaserGRBL, positioning relies on manual framing routines, where the laser head traces the outer rectangular boundary of your design using a low-power beam or crosshair pointer. You align your physical workpiece manually underneath the gantry until the perimeter matches your blank.
LightBurn features integrated camera capture and calibration tools. When you mount a supported USB camera above the machine bed, LightBurn captures the physical bed surface, corrects for lens optical distortion and projects an overhead image of your material directly onto your digital workspace. You can drag artwork visually onto specific wood grains, leather scraps or irregular blanks without measuring coordinates. Stated camera listings illustrate these hardware options: the LONGER camera kit specifies a 5MP digital camera designed for positioning, while the SVPRO USB camera module features an 8MP sensor with a fixed-focus 105-degree viewing angle that preserves calibration across runs. While the ELP camera module lists a 16MP sensor with a 68-degree viewing angle, operators must note that autofocus lenses can shift focal geometry during alignment, making fixed-focus optics the standard choice for overhead workspace mapping.
Step 7: Match software cost and learning curve to your goals
Financial cost and operator time shape this decision. LaserGRBL is completely free and open source. If you have recently purchased an entry diode engraver and want to verify machine motion and basic engraving without additional software expense, LaserGRBL provides a functional entry point. However, because LaserGRBL lacks vector creation tools, operators must learn and maintain two separate applications: an outside graphic design package and the streaming utility.
LightBurn requires purchasing a paid license key following an initial trial period. While it requires an upfront investment, it combines graphic design, layout editing, parameter libraries and machine streaming into a single, cohesive workflow. For makers selling custom items or operating busy workshop spaces, consolidating file preparation inside one program recovers that investment quickly through saved setup hours. For an in-depth financial and operational evaluation, consult our guide on whether is LightBurn worth it. Whichever platform you choose, ensure your workspace includes proper ventilation, such as equipment reviewed in our fume extractor guide, and certified eye protection detailed in our laser safety glasses guide.
Common mistakes to avoid
- Attempting to run LaserGRBL on macOS or Linux systems without native software support.
- Expecting LaserGRBL to create original vector artwork or manipulate node paths without external software.
- Neglecting multi-layer job sequencing when combining engraving, scoring and cutting passes.
- Skipping ventilation and eye protection during setup, regardless of which software controls the laser.
- Purchasing advanced digital signal processor or galvo fiber equipment and assuming an entry-level G-code sender can drive it.
LightBurn vs LaserGRBL: the short version
- Choose LaserGRBL if you use Windows, operate on a strict budget, run a standard diode engraver and prefer drawing vectors in external design programs.
- Choose LightBurn if you require native compatibility on Windows, macOS or Linux workstations.
- Select LightBurn if you want an integrated environment combining vector drawing, node editing and machine control in one program.
- Pick LightBurn if your workflow benefits from color-coded multi-layer processing, material parameter libraries and overhead camera positioning.
- Select LightBurn if you plan to upgrade from desktop diode engravers to digital signal processor or galvo fiber marking machines.
FAQ: lasers and CNC
Is LaserGRBL completely free to use?
Yes. LaserGRBL is open-source software available without purchasing a software license key. It is developed and maintained through community contributions.
Can LaserGRBL run on Apple macOS?
LaserGRBL does not provide native support for macOS. It is programmed specifically for Windows operating systems. Mac users who require native laser design and machine control typically choose LightBurn.
Does LightBurn support diode laser engravers?
Yes. LightBurn provides extensive support for standard GRBL-compatible diode laser engravers, connecting through standard USB serial ports alongside higher-end industrial controllers.
Can you design vector graphics inside LaserGRBL?
No. LaserGRBL is built as a machine controller and G-code sender. It does not contain vector drawing or typography tools. You must generate vector designs in external software and import them into LaserGRBL.
Which software is better for a beginner?
LaserGRBL offers a low-barrier introduction for Windows users wanting to verify diode hardware without software cost. However, LightBurn provides an easier long-term learning curve for most beginners because it eliminates switching between external vector drawing programs and separate machine streaming utilities.
Related: the laser software hub, our LightBurn software guide, and our guide on how to set up LightBurn for a diode laser. Also see our advice on how to choose a laser engraver.