How to Build a Laser Engraver Enclosure: Step-by-Step DIY Guide
A step-by-step guide on how to build a laser engraver enclosure: select fire-resistant materials, size the workspace, install exhaust ventilation, and wire safety interlocks.

On this page
Top picks at a glance
As an Amazon Associate I earn from qualifying purchases.
- 1
 Genmitsu L8 Laser Engraver9.7/10View on Amazon
- 2
 Laser Engraver Integrated Enclosure with LED Light9.6/10View on Amazon
- 3
 Creality Laser Engraver Enclosure V2.0 Fireproof and9.6/10View on Amazon
- 4
 WECREAT Vision 20WView on Amazon
- 5
 BlazeX M3 10W Laser Engraver MachineView on Amazon
- 6
 Laser Engraver 10W for DIY MakerView on Amazon
- 7
 Laser Engraver 20W Enclosure Laser Cutter 300x300mm LargeView on Amazon
- 8
 Genmitsu Kiosk 2.5W 2500mW Portable Laser Engraver SafetyView on Amazon
- 9
 Genmitsu Kiosk 5W 5000mW Laser EngraverView on Amazon
To understand how to build a laser engraver enclosure, assemble a rigid, fire-resistant cabinet around your machine, install powered negative-pressure exhaust ventilation to route smoke outdoors, and wire safety interlocks that halt the beam if the lid opens. Building a DIY enclosure contains fumes, dampens operating noise, and shields stray light. The steps below cover sizing, materials, ventilation, and wiring.
Other machines to compare
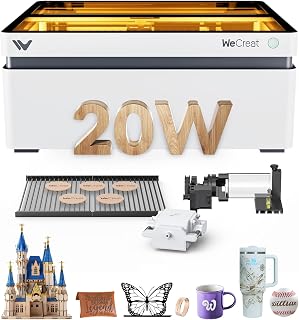 WECREAT Vision 20WCheck price on Amazon
 BlazeX M3 10W Laser Engraver MachineCheck price on Amazon
 Laser Engraver 10W for DIY MakerCheck price on Amazon
 Laser Engraver 20W Enclosure Laser Cutter 300x300mm LargeCheck price on Amazon
 Genmitsu Kiosk 2.5W 2500mW Portable Laser Engraver SafetyCheck price on Amazon
 Genmitsu Kiosk 5W 5000mW Laser EngraverCheck price on Amazon
LaserEngraveHQ earns a commission from purchases made through these links, at no extra cost to you. Read our affiliate disclosure.
An enclosure contains smoke and scattered light, but never replaces fire oversight. Keep a fire extinguisher within reach, vent exhaust lines outdoors, and never leave an operating laser unattended.
Step 1: Plan dimensions and internal machine clearance
Measure your laser frame footprint, adding clearance for gantry travel, motor brackets, drag chains, and air assist tubing along the X, Y, and Z axes. Sizing the cabinet too close to the idle frame risks collisions during homing or rapid engraving.
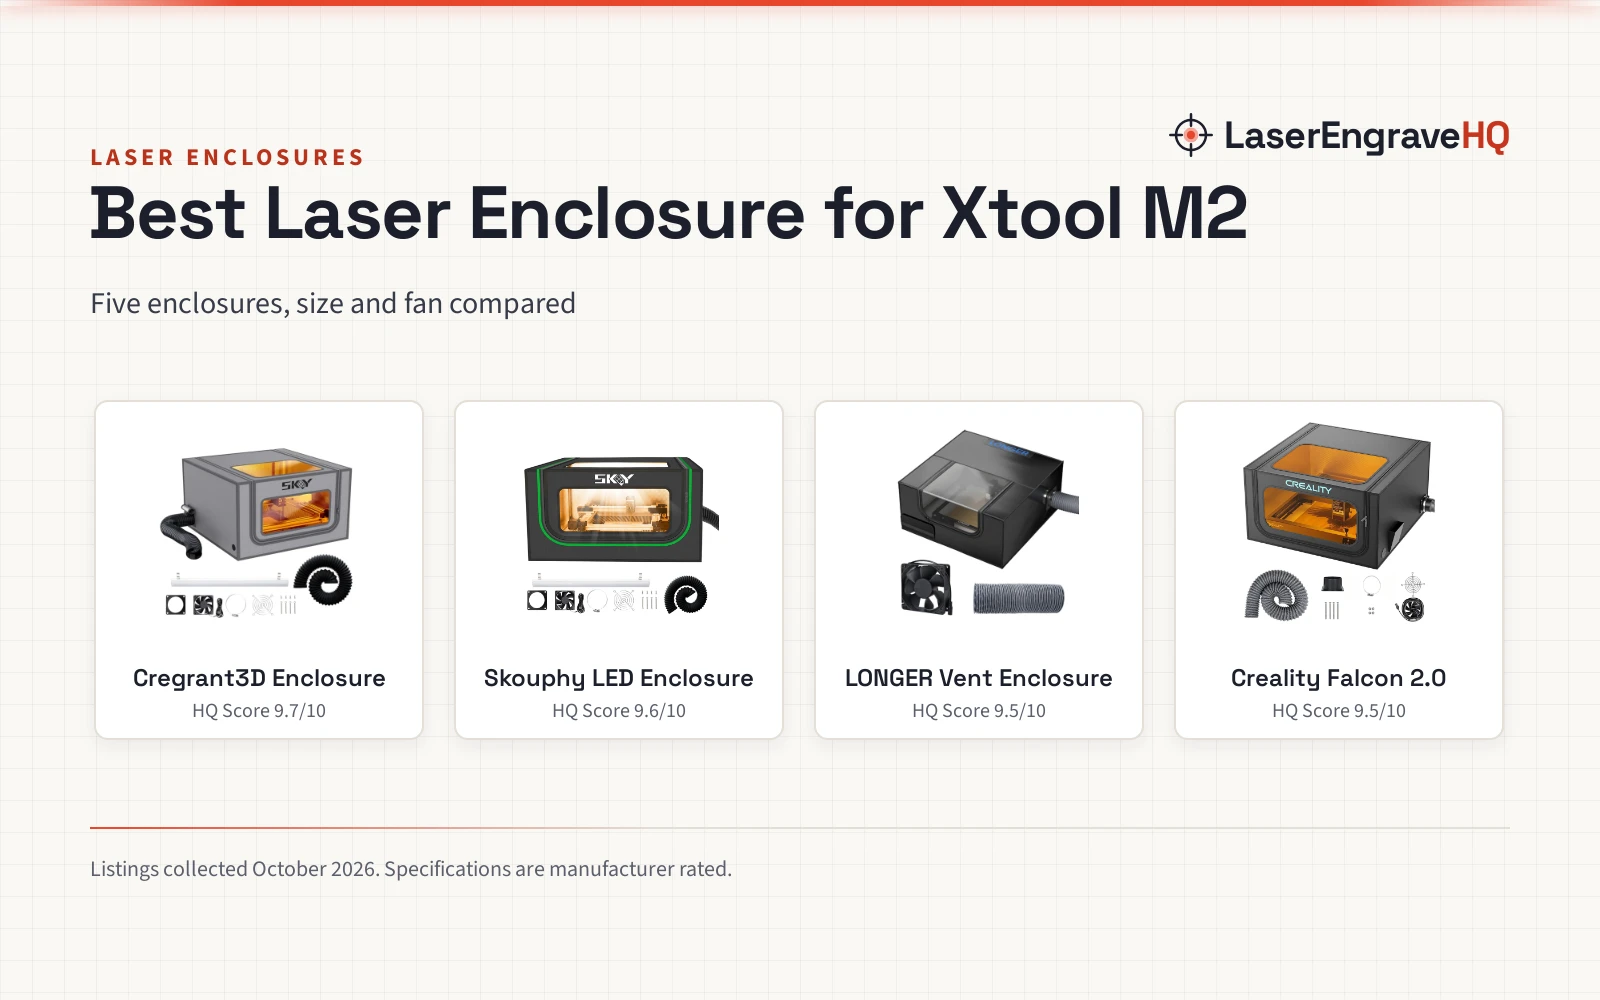
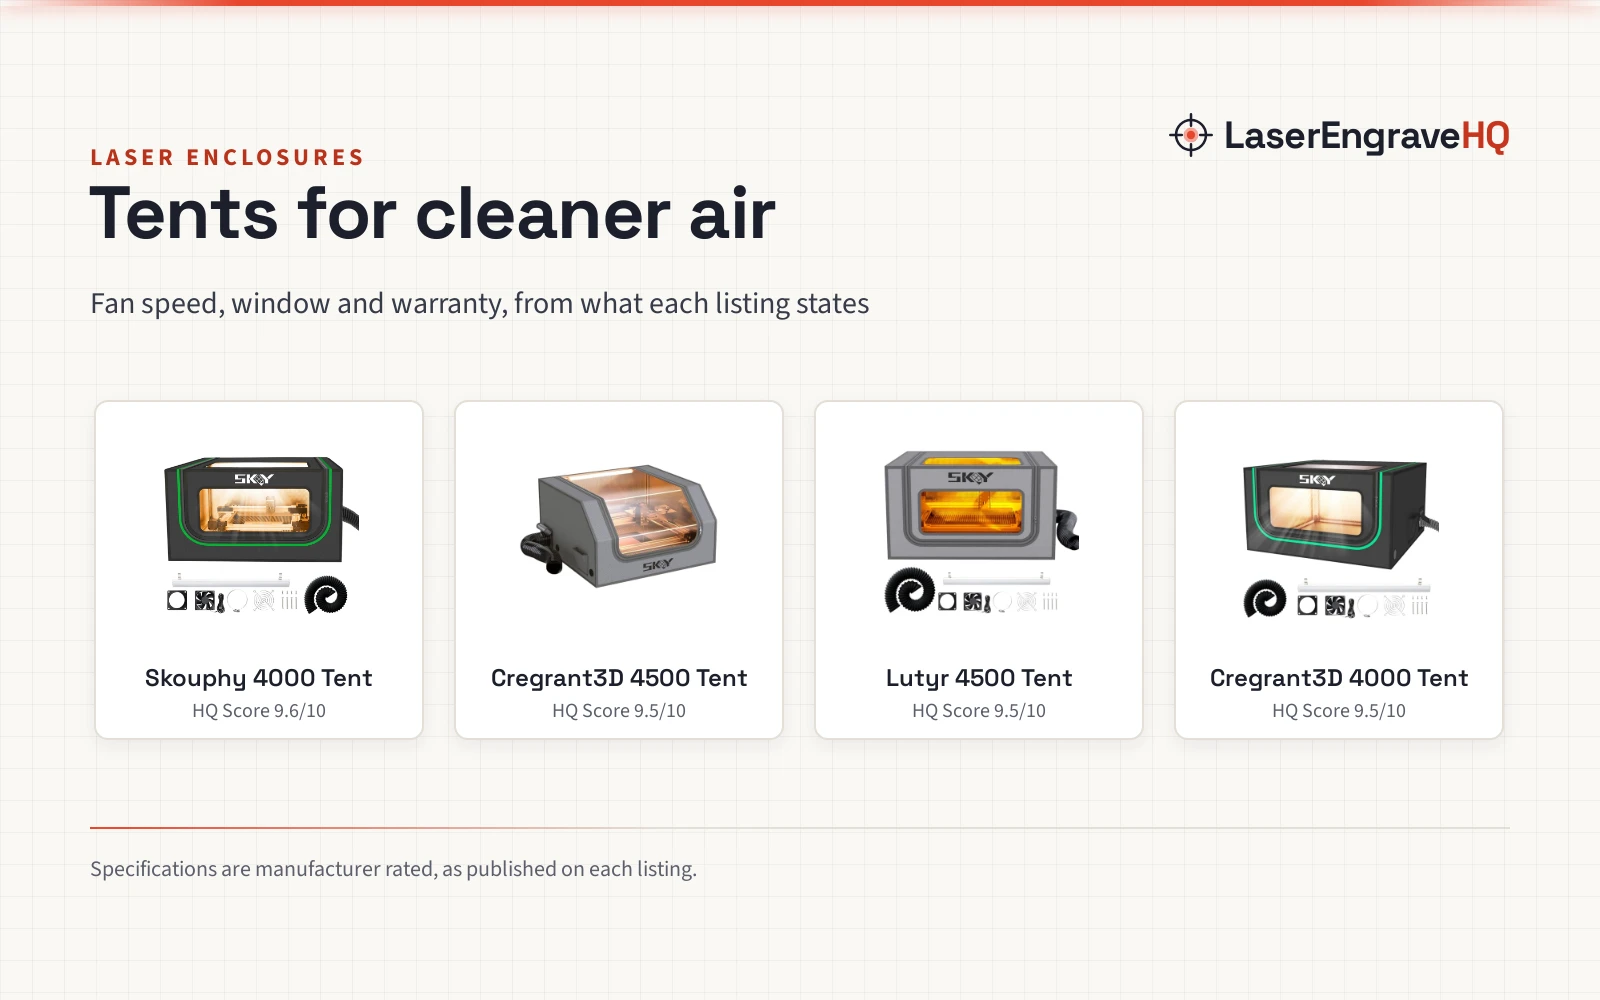
Account for vertical clearance if using accessories. For universal tent covers, Skouphy lists dimensions of 720 by 720 by 400 mm (28.3 by 28.3 by 15.7 inches) to clear rotary rollers. Cregrant3D lists 700 by 720 by 400 mm (27.5 by 28.3 by 15.7 inches). For benchtop cabinets, Crafit lists interior space of 24.8 inches wide by 27.1 inches deep by 12.6 inches high. In contrast, dedicated desktop covers are more compact: Genmitsu lists 362.7 by 294.6 by 210.3 mm (14.28 by 11.60 by 8.28 inches) for its Kortek cover, and Ortur houses a 300 by 210 mm work area inside a 470 by 400 by 214 mm body. Reviewing an open frame vs enclosed laser engraver clarifies clearance needs when swapping workpieces over a honeycomb bed for laser cutter setup.
Step 2: Select fire-resistant enclosure materials
Laser cutting generates intense heat and combustion sparks, making flame resistance essential. Frames typically use aluminum extrusions, steel tubing, or hardwood. For cabinet walls, select sheet aluminum, galvanized sheet steel, or dense fiberboard with intumescent fire-resistant paint. Commercial enclosures show practical materials: Skouphy uses steel pipe supports with flame-retardant fabric, Cregrant3D uses aluminum mold oxford cloth, and Crafit pairs a metal frame with heat-resistant wood.
Avoid combustible plastics, thin cardboard, or unrated decorative acrylic. Never build walls or viewing ports from PVC, vinyl, polycarbonate, or ABS. As noted in our guide to materials you should never laser cut, PVC and vinyl produce corrosive hydrogen chloride gas that damages optics, while polycarbonate and ABS emit dense toxic smoke.
Step 3: Construct the cabinet frame and sealed panels
Assemble a rigid structural skeleton to prevent machine vibration during rapid passes. Fasten floor, rear, and side panels securely. If building a bottomless hood, ensure the bottom edge seals firmly against your workbench surface.
Seal panel joints and seams with fire-resistant silicone or high-density foam gasketing to prevent smoke leaks. Cregrant3D uses an integrated stitched bottom to prevent smoke escape at the base, while Crafit uses magnetic doors to keep access panels closed during cutting. For wiring, drill dedicated pass-through openings sealed with grommets. Crafit integrates four cable management holes to route power, data, and air lines cleanly without air leaks.
Step 4: Install exhaust ventilation and intake airflow
Passive enclosures trap smoke until the lid opens, allowing concentrated plumes into your shop. As detailed in our guide on whether do laser engravers need ventilation, mechanical exhaust creates negative pressure that continuously evacuates combustion particles.
Mount an exhaust port high on the rear or side panel, opposite a filtered intake vent positioned low on the opposite wall to establish a cross-draft. Fan ratings vary across commercial designs: Skouphy includes a 4000 RPM ventilation fan, Cregrant3D specifies a 4500 RPM fan, Gluwphy integrates a 5000 RPM turbo fan on its enclosed diode platform, and Crafit pairs a 20W fan with a 2m flexible exhaust pipe. Compare blower options in our exhaust fan for laser enclosure guide, or vent into a multi-stage filter from our best fume extractor for laser engraver review when outdoor venting is impossible.
Pairing exhaust with pressurized air assist clears smoke at the focal point. Gluwphy lists an air assist system supplying up to 30 liters/minute of airflow to reduce surface scorching. Find compatible pumps in our best laser air assist guide.
Step 5: Add viewing windows and internal illumination
Monitoring jobs catches flare-ups early, but viewing ports require certified radiation shielding. Standard colored plastic or tinted acrylic does not protect eyes without an optical density rating matching the laser wavelength. Without a verified rating, continue wearing protective eyewear from our laser safety glasses guide.
An effective alternative is an internal USB camera paired with an opaque lid. The Ortur R2 features a built-in camera to monitor cutting, while Genmitsu provides camera-compatible lid structures. For visibility inside closed cabinets, add low-heat interior illumination. Cregrant3D adds a 5-watt light strip to its enclosure tent to illuminate workpieces without excess heat.
Step 6: Integrate safety interlock switches and wiring
Safety interlocks pause the laser when an enclosure opens, preventing beam exposure. Genmitsu installs a built-in limit switch that halts laser operation when the cover opens, while BlazeX integrates smart sensors that trigger an automatic stop if the machine tilts or the lid opens. Wire magnetic reed switches or microswitches in series with controller door-sensor pins to replicate this function.
Commercial designs show how makers implement containment: Ortur advertises its R2 as a fully enclosed Class 1 laser machine, Gluwphy notes compliance with Class 1 laser device safety requirements, BlazeX lists a Class 1 safety rating, and Longer equips its Ray5 platform with an acrylic cover for Class 1 eye protection alongside a door pause sensor. Add an exterior emergency stop switch to cut power instantly if flare-ups occur. Crafit provides a switch-controlled power strip with 3 AC outlets for one-button shutdown of engraver, fan, and lighting.
Guidance from FDA CDRH and OSHA workplace standards highlights the value of beam enclosures and functional interlocks for home workshops.
Step 7: Verify airflow seals and fire safety before cutting
Before cutting materials, inspect all mechanical, electrical, and ventilation systems. Power on the exhaust blower and inspect joints with an incense stick to confirm air pulls inward, verifying negative pressure throughout the cabinet.
Verify that door limit switches pause the controller and confirm ducting discharges outdoors freely. Keep an ABC-rated fire extinguisher and fire blanket within arm reach. For pre-built alternatives, review our best enclosed laser engraver guide for turnkey Class 1 enclosures.
Common mistakes to avoid
- Using untreated cardboard, thin foam board, or easily ignited plastics for walls.
- Using PVC, vinyl, ABS, or polycarbonate, which produce toxic fumes under laser heat.
- Building without clearance for gantry travel, drag chains, or rotary rollers.
- Relying on passive ventilation that allows smoke and odor to leak into living areas.
- Assuming unrated tinted plastic provides eye protection without certified optical ratings.
- Omitting an emergency stop switch or door limit switches.
- Leaving an operating laser engraver unattended inside the enclosure.
How to build a laser engraver enclosure: the short version
- Measure your laser footprint, adding clearance for gantry travel and rotary rollers.
- Select flame-retardant materials like sheet aluminum, steel tubing, or treated wood.
- Assemble the frame and seal seams with silicone or gaskets to prevent smoke leaks.
- Mount an exhaust fan and ducting to create negative pressure and vent outdoors.
- Install a certified laser-rated window or camera alongside low-heat LED lighting.
- Wire door limit switches to pause the beam when opened, plus an exterior power switch.
FAQ: lasers and CNC
Do I need an exhaust fan for a DIY laser engraver enclosure?
Yes. An enclosure contains smoke, but powered exhaust is needed to create negative pressure and vent combustion fumes safely outdoors.
Can I use clear acrylic for the enclosure viewing window?
Standard clear acrylic does not filter laser radiation. A viewing window requires a certified optical density rating matching the beam wavelength, or use an internal camera.
What dimensions should I use for a laser engraver enclosure?
Dimensions depend on your machine. Universal covers like Skouphy measure 720 by 720 by 400 mm (28.3 by 28.3 by 15.7 inches) to clear rotary rollers, while compact covers like Genmitsu KT-LPC measure 362.7 by 294.6 by 210.3 mm (14.28 by 11.60 by 8.28 inches).
What materials are dangerous to use when building a laser enclosure?
Never use PVC, vinyl, polycarbonate, or ABS. They emit toxic vapors and corrosive hydrogen chloride gas under heat, damaging equipment and health.
How do door interlock switches protect the operator?
Limit switches, such as those on Genmitsu enclosures, automatically pause the laser when the door opens, preventing accidental beam exposure.
Related: browse our laser accessories hub, compare models in our exhaust fan for laser enclosure guide, and discover complete Class 1 systems in our best enclosed laser engraver roundup.