How to Prevent Burn Marks When Laser Cutting Wood: A Practical Workshop Guide
A practical step-by-step guide on how to prevent burn marks when laser cutting wood using air assist, masking tape, honeycomb bed elevation, and tuned machine settings.

On this page
Top picks at a glance
As an Amazon Associate I earn from qualifying purchases.
- 1
 OMTech 100W CO2 Laser Engraver with 4 Way Pass Through Air9.7/10View on Amazon
- 2
 VEVOR 60W CO2 Laser Engraver9.6/10View on Amazon
- 3
 ATOMSTACK 48W Laser Engraver9.6/10View on Amazon
- 4
 4 Pack Double-Sided Pre-Painted Colored Plywood SheetsView on Amazon
- 5
 ilauke Wood Squares 4x4 InchView on Amazon
- 6
 Plywood 12PcsView on Amazon
- 7
 3 mm Baltic Birch Plywood 1/8 x 12 x 20 InchView on Amazon
- 8
 Baltic Birch PlywoodView on Amazon
- 9
 30 Pack Basswood Sheets 12"x12"x1/8"View on Amazon
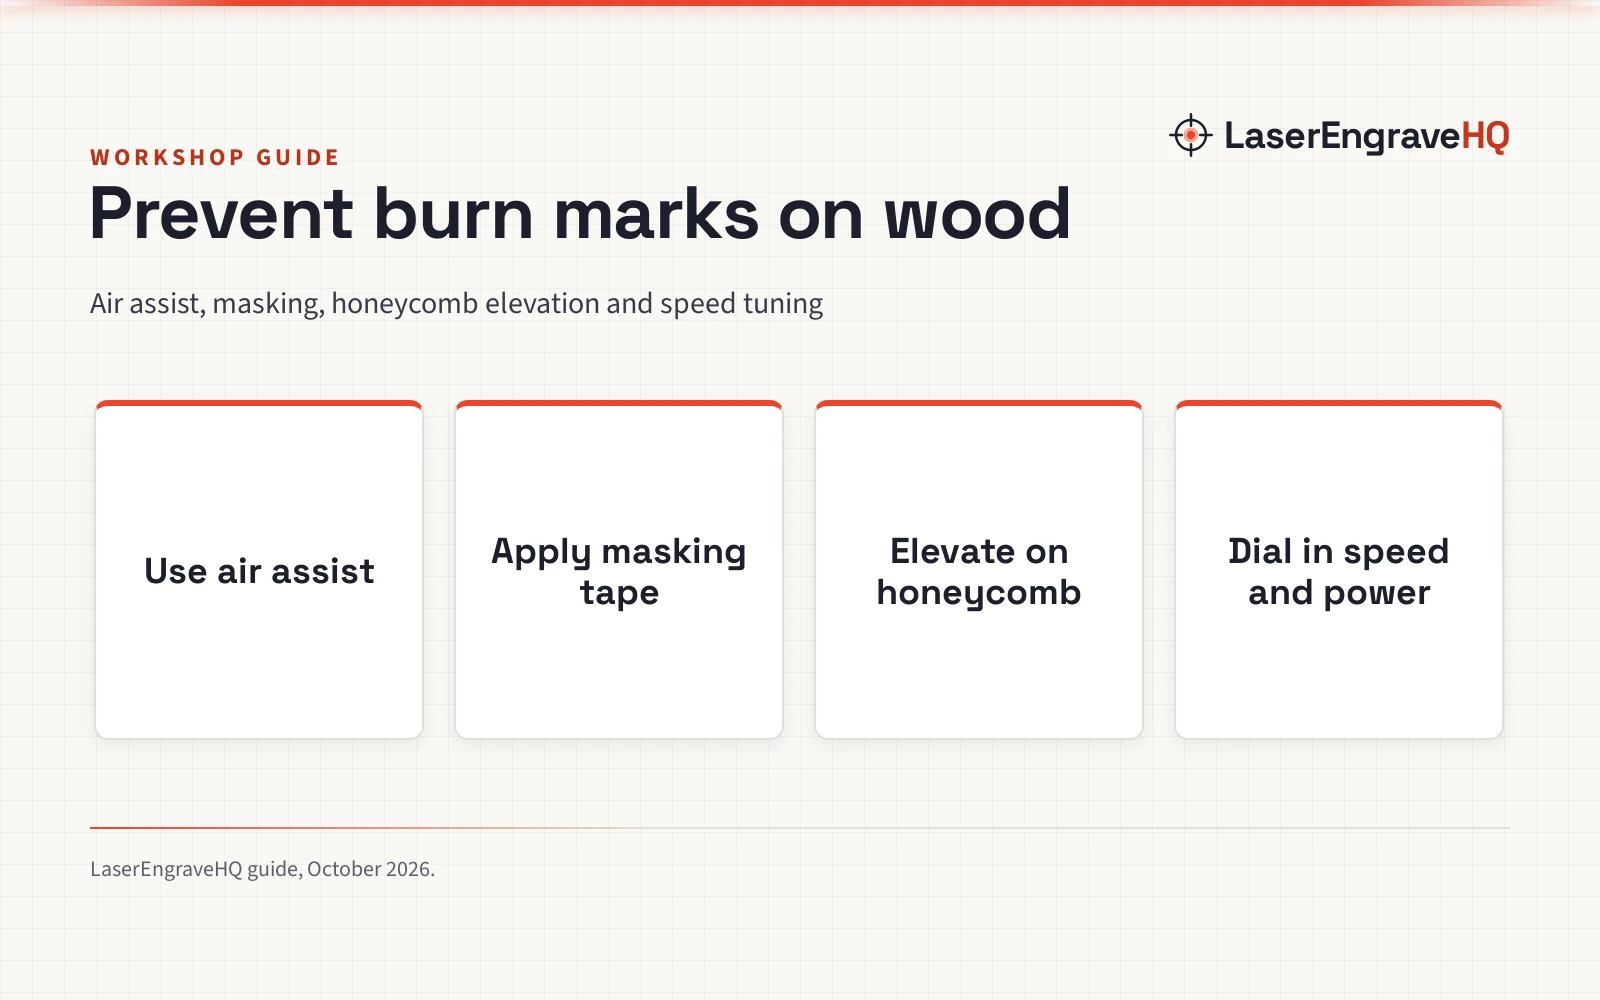
How to prevent burn marks when laser cutting wood comes down to controlling heat and smoke: run continuous air assist, apply paper masking tape, elevate the workpiece on a honeycomb bed, and tune travel speed and optical power. These steps stop resin vapor from settling on the surface and prevent scorching caused by heat buildup. The sections below explain each workshop method step by step.
Other machines to compare
 4 Pack Double-Sided Pre-Painted Colored Plywood SheetsCheck price on Amazon
 ilauke Wood Squares 4x4 InchCheck price on Amazon
 Plywood 12PcsCheck price on Amazon
 3 mm Baltic Birch Plywood 1/8 x 12 x 20 InchCheck price on Amazon
 Baltic Birch PlywoodCheck price on Amazon
 30 Pack Basswood Sheets 12"x12"x1/8"Check price on Amazon
LaserEngraveHQ earns a commission from purchases made through these links, at no extra cost to you. Read our affiliate disclosure.
Laser optical power and beam focus differ between diode and CO2 machines, so calibration runs on scrap boards are essential before cutting final work. Adjust air assist flow and travel rate until the laser cuts through without leaving dark halos.
Step 1: Install and run continuous air assist
Air assist is essential for preventing scorched edges and surface staining on wood. When a laser beam vaporizes wood cellulose and resin, it generates smoke, soot, and combustible vapors. Without air pressure at the nozzle, these hot vapors ignite into flames along the cut line and deposit sticky resin halos on the surrounding wood.
A dedicated air assist system directs a continuous stream of pressurized air through the nozzle straight into the kerf. This airflow blows vaporized resin and smoke away before they condense, quenches flare-ups at the cut point, and cools the cut boundary. Makers upgrading their setup can compare pump options in our best laser air assist guide.
Step 2: Mask wood surfaces with paper transfer tape
Even with air assist, smoke can drift across the workpiece. Applying protective masking tape to both faces of the board creates a physical barrier that shields the wood fibers from smoke and heat marks.
Use paper application tape, commonly sold as transfer tape. When the laser fires, it cuts cleanly through the paper layer, and vaporized wood resin deposits on the disposable paper rather than on your timber. After cutting, peel the paper away to reveal clean wood underneath. Smooth the tape firmly with a roller to eliminate air pockets where smoke could seep underneath. Never use vinyl or PVC films; review our materials you should never laser cut guide for hazards associated with chlorine-based plastic films.
Step 3: Elevate the workpiece on a honeycomb bed
Underside burn marks occur when wood rests directly on a flat metal plate or solid tray. As the laser penetrates through the timber, energy strikes the solid backing and reflects upward into the wood, scorching the bottom face while trapping smoke.
An open honeycomb table eliminates this problem by providing open space beneath the cut path. Smoke and heat drop away freely through the grid cells rather than collecting beneath the board. Manufacturer specifications show how these accessories support airflow. For example, the Creality honeycomb panel measures 500mm*500mm (19.7″ * 19.7″) and includes 4 silicone heightening feet that create a 2/5″ gap beneath the frame for smoke exhaust. Similarly, ACMER lists a 300 x 300 x 22 mm honeycomb cutting table with an aluminum backing plate to catch debris, and Cloudray provides a coated honeycomb table measuring 400x400mm with a 2mm plate thickness. Compare models in our honeycomb bed for laser cutter guide.
Step 4: Select laser-ready wood with low resin content
The chemical composition and internal structure of your timber affect how severely edges scorch. Resinous softwoods like pine contain natural sap that boils into dark soot under laser heat. Construction plywood also contains dense adhesive lines that resist cutting and cause charring.
For clean results, select uniform hardwoods or specialized craft plywood. Species such as basswood, maple, and cherry have tight grain structures that cut smoothly with minimal tar. For craft projects, Creatorally lists basswood craft sheets measuring 11.7″ x 8.27″ with 3mm thickness, engineered specifically to reduce charring and edge peeling during laser cuts. Selecting sheets with void-free cores ensures cut lines remain clean. Find suitable stock in our best plywood for laser cutting guide.
Step 5: Optimize cutting speed, optical power, and passes
Laser scorching is largely a function of heat dwell time: the longer a beam lingers on a single spot, the more heat conducts outward into the wood grain. Running the machine at very slow travel speeds chars the cut walls and produces darkened kerfs.
To reduce heat accumulation, use the highest travel speed that achieves complete penetration. If cutting in a single pass requires moving so slowly that edges burn, switch to multiple rapid passes at lower power. Dividing the cut allows the channel to cool slightly between sweeps, preventing deep thermal charring. Choosing a machine with sufficient optical output from our guide to the best laser engraver for wood provides the capability needed for clean cuts. Refer to our laser engraver speed and power settings chart to determine ideal settings for your stock.
Step 6: Focus the laser beam precisely and clean the optical lens
A poorly focused laser beam broadens the spot diameter, scattering energy across a wider area. This diffuse focal spot reduces cutting efficiency, forcing operators to lower travel speed or increase power, which worsens scorching around the cut.
Set your focal distance carefully before starting each run. Place the manufacturer focus block or gauge directly between the laser nozzle and the wood surface to ensure the beam waist concentrates energy cleanly. Additionally, keep optical surfaces clean. Wood smoke and vaporized resins settle on the protective lens over time, absorbing energy and distorting the beam shape. Wipe the lens regularly with optical lens tissue dampened with isopropyl alcohol. Learn focal alignment in our guide on how to focus a diode laser engraver, and follow maintenance steps in how to clean a laser engraver lens.
Step 7: Clean residual marks after cutting
Even with masking, air assist, and tuned settings, delicate cuts or complex fretwork may show minor surface shadows. Having a consistent cleanup procedure ensures finished pieces look clean and professional.
After removing the workpiece from the bed, peel off the paper transfer tape. If any slight smoke residue bypassed the tape along interior cutouts, use a clean microfiber cloth dampened with isopropyl alcohol or denatured alcohol to wipe the surface. Alcohol dissolves wood resins quickly without raising the grain. For flat boards, a light pass with fine sandpaper on a sanding block removes faint yellowing in moments. For intricate ornaments with fragile bridges, a soft brush dampened with alcohol cleans soot out of tight corners without applying mechanical stress.
Common mistakes to avoid
- Cutting wood directly on a solid metal tray without an elevated honeycomb bed.
- Running jobs without active air assist or with an underpowered air pump.
- Using vinyl or plastic adhesive tape instead of paper transfer tape.
- Setting travel speed too slow in an attempt to cut in a single pass rather than using multi-pass cuts.
- Neglecting regular cleaning of soot deposits on the optical lens.
- Attempting to cut resin-saturated softwoods or construction plywood.
- Leaving protective masking tape on the wood for weeks after cutting, which leaves gummy adhesive.
How to prevent burn marks when laser cutting wood: the short version
- Attach continuous air assist to blow smoke and resin vapor away from the cut line.
- Cover both sides of the wood with paper transfer masking tape before cutting.
- Place the board on a honeycomb bed to stop underside back-flash.
- Choose laser-grade plywood or low-resin hardwoods like basswood.
- Increase travel speed and use multiple passes to reduce heat dwell time.
- Ensure precise optical focus and keep the laser lens clean.
- Remove remaining tape and wipe with alcohol or sand lightly if minor residue appears.
Consistent application of these workshop practices delivers clean, light edges and keeps the wood face completely free of yellow halos.
FAQ: lasers and CNC
Why does laser cutting wood cause dark burn marks?
Burn marks occur because laser cutting relies on intense thermal energy to vaporize wood cellulose. The heat generates smoke laden with vaporized resins and soot, which deposits on cooler surfaces around the cut. Insufficient airflow or slow travel speeds allow heat to conduct outward, charring the adjacent wood fibers.
What type of tape should be used for laser masking?
Standard paper transfer tape, also known as application tape in the sign industry, is the best choice. It features a thin paper backing and a mild natural adhesive that burns away cleanly along the cut path and peels off without leaving gummy residue. Never use PVC or vinyl-based tapes.
Does air assist eliminate all scorch marks on wood?
Air assist eliminates the vast majority of smoke deposits and quenches open flames at the cut kerf. When combined with paper masking tape and an elevated honeycomb table, it prevents almost all visible burn marks across both faces of the board.
Why do burn marks appear on the bottom of laser cut wood?
Underside burn marks occur when the laser beam passes through the timber and reflects off a solid metal tray or spoilboard underneath. The reflected beam and trapped smoke scorch the bottom surface. An open honeycomb bed allows the beam and smoke to pass through freely, eliminating underside back-flash.
How do I remove scorch marks from wood if I forgot to use masking?
Lightly sand the surface with fine sandpaper, or wipe the wood with a clean microfiber cloth dampened with isopropyl alcohol or denatured alcohol. Alcohol dissolves resin deposits without raising the grain of the wood.
Can I cut through thick wood without burning the edges?
Thicker stock requires more thermal energy, which naturally produces darker cut walls. To minimize edge charring, use high-pressure air assist, set the beam focus into the center of the material, and run multiple faster passes rather than one slow, heavy pass.
Related: the laser engraver hub, our laser accessories guide, the best laser air assist guide, and our honeycomb bed for laser cutter comparison. Also see our review of the best plywood for laser cutting.



