Why Is My Laser Engraver Not Cutting Through: Step-by-Step Troubleshooting Guide
A step-by-step troubleshooting guide explaining why your laser engraver is not cutting through materials, with fixes for focus, dirty optics, power settings and air assist.

On this page
Top picks at a glance
As an Amazon Associate I earn from qualifying purchases.
- 1
 OMTech 100W CO2 Laser Engraver with 4 Way Pass Through Air9.7/10View on Amazon
- 2
 VEVOR 60W CO2 Laser Engraver9.6/10View on Amazon
- 3
 ATOMSTACK 48W Laser Engraver9.6/10View on Amazon
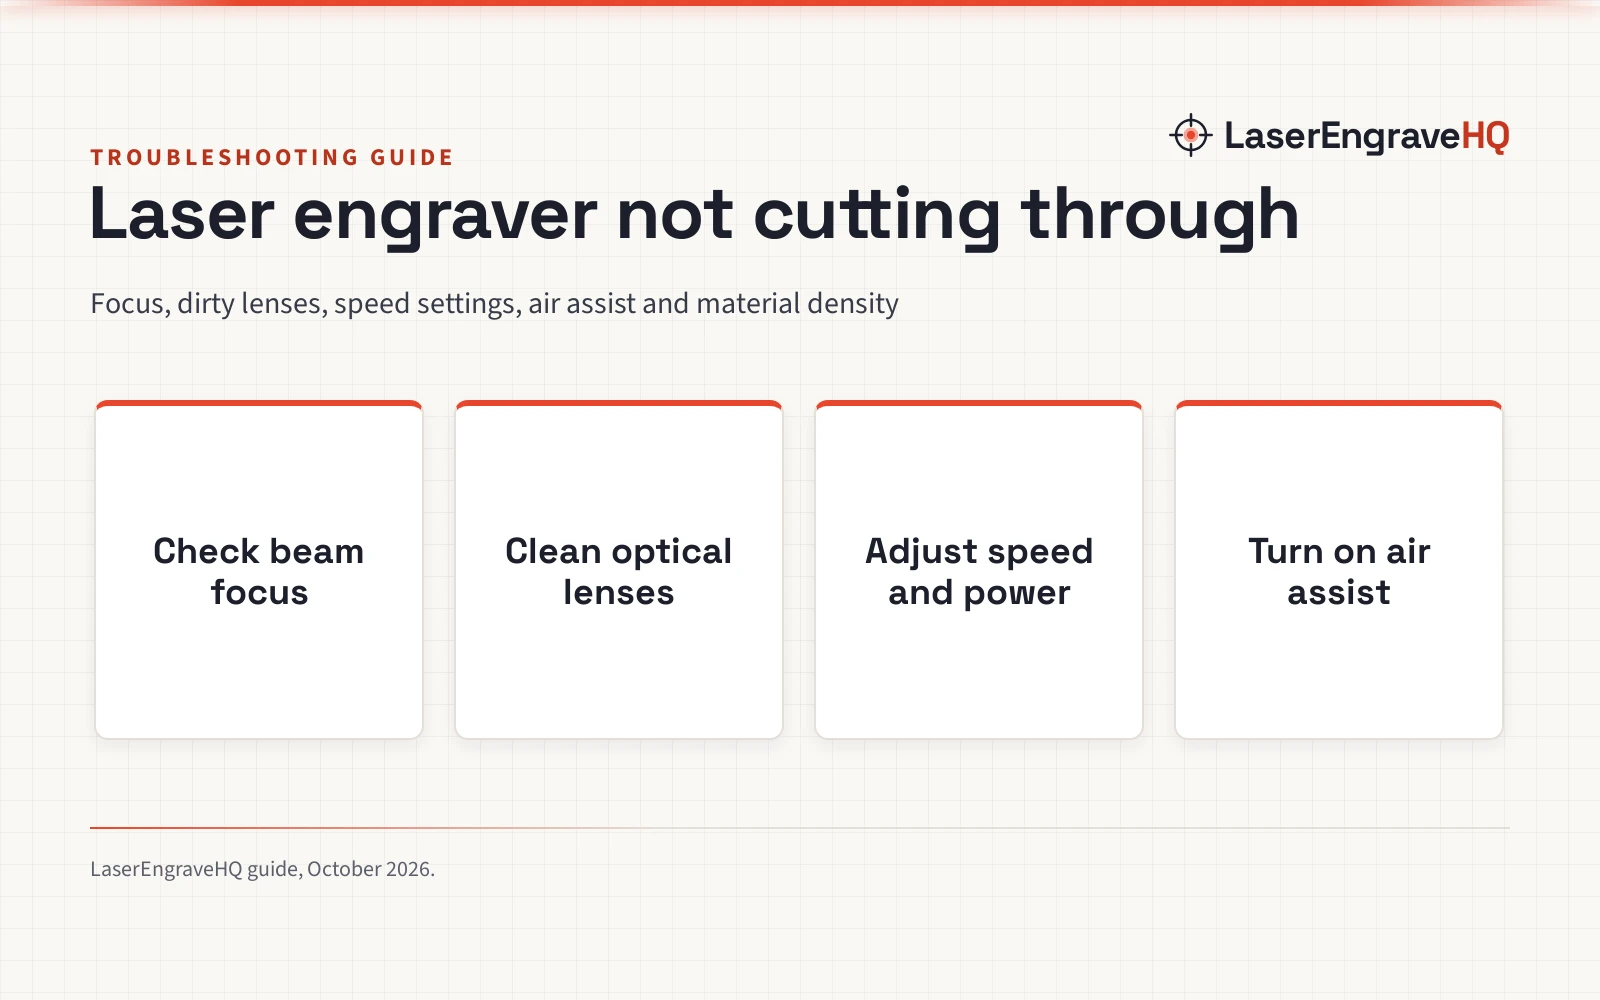
Why is my laser engraver not cutting through comes down to several primary factors: incorrect focal distance, a dirty or damaged optical lens, travel speed set too fast for the available laser power, lack of air assist, or inconsistent material density. When the laser beam loses focus or optical power diminishes along the beam path, the energy density drops below the threshold needed to vaporize the workpiece. The sections below walk through each troubleshooting step in order, diagnosing hardware alignment, software settings, and material limits so you can restore clean cuts.
LaserEngraveHQ earns a commission from purchases made through these links, at no extra cost to you. Read our affiliate disclosure.
Before adjusting mirrors, cleaning lenses, or inspecting internal components, always power down the machine and disconnect the power supply. Always wear certified laser safety glasses matched to your machine’s exact wavelength and optical density, as detailed in our laser safety glasses guide. Tinted acrylic panels or orange shields without an official rating do not provide protection. Never attempt to cut PVC, vinyl, PVC faux leather, polycarbonate or ABS, because these materials release corrosive fumes that damage optical components and workshop machinery.
Check beam focus and focal distance
Laser cutting relies on concentrating optical energy into a microscopic focal spot. If your laser head sits too high above or too close to the workpiece, the beam strikes the surface as an unfocused cone of light. Instead of vaporizing a narrow kerf through the stock, the dispersed energy scorches the surface without cutting through.
Focal spot dimensions vary by machine design. For instance, the listing for the ACMER S1 specifies a 0.04mm laser spot, while the ACMER S2 listing specifies a 0.08 × 0.08 mm laser spot with 0.01 mm precision. For autofocus systems, the listing for the xTool P2S CO2 laser cutter publishes 0.001” autofocus via its LiDAR ranging system. When focal gauges or autofocus probes slip out of calibration, that precise focal spot widens significantly, and cutting efficiency drops immediately.
To restore sharp focus, verify your focal spacer block or measuring probe against a flat piece of scrap material. On diode lasers, focus is typically set right at the top surface for thin materials. When cutting thicker stock, lowering the focal point slightly into the thickness of the board helps keep the narrowest waist of the beam centered within the cut line.
Clean optical lenses and verify mirror alignment
Cutting organic materials like wood and leather generates smoke, vaporized adhesives, and sticky resins. Over time, these airborne particulates settle directly on the optical lens and protective glass. Even a thin layer of soot absorbs incoming laser photons, robbing the beam of cutting energy and causing heat buildup that can crack the lens coating.
Inspect the underside of your laser module or cutting head under bright light. If the lens appears cloudy, hazy, or spotted, clean it gently with an approved optical wipe or a cotton swab moistened with optical cleaning fluid. Never wipe optical glass with a dry cloth or abrasive paper, which scratches delicate anti-reflective coatings.
On CO2 laser cutters, unaligned mirrors cause power loss before the beam reaches the focusing lens. If mirrors drift out of square along the gantry rails, the beam clips the edge of an aperture or strikes the final lens off-center, causing weak cuts that worsen toward the corners of the working area. Inspect mirror paths to confirm the beam hits dead center on every optical transfer point.
Adjust travel speed and optical power
A frequent mistake when cutting is using travel speeds suited only for surface engraving. Severing material fibers requires sustained beam dwell time. If the carriage moves too quickly across the workpiece, the laser beam leaves the cut area before vaporizing through the full thickness of the stock.
Always distinguish true optical output power from total electrical system power, and separate cutting feed rates from maximum engraving speeds. For example, while the ACMER S2 listing advertises engraving speeds up to 10000mm/min alongside a 48W total system power, through-cutting with its 7W optical output requires far slower travel, rated for up to 13 mm paulownia wood and 6 mm black acrylic with multiple passes. Similarly, the Creality Falcon A1C listing advertises rapid engraving speeds up to 15000 mm/min, but its 5W optical output (5000mW, with an optional 1.2W infrared module) is designed for lighter cutting passes. On compact dual-beam systems, the LaserPecker LP4 listing pairs a 10W diode laser with a 2W infrared module, publishing cutting capability through wood up to 8mm thick and dark opaque acrylic up to 5mm thick.
Thick or dense materials require substantially higher optical wattage. The xTool P2S CO2 laser cutter listing publishes a 55W laser output (55000mW) capable of cutting all colors of acrylic up to 20mm thick and black walnut up to 18mm in a single pass, whereas its rated speed of up to 600mm/s applies to high-speed engraving rather than deep cutting. If you are operating entry-level hardware, our diode laser engravers hub details optical output tiers and beam shapes. For budget setups, our guide to the best laser engraver under 500 reviews realistic cutting boundaries for entry-level machines.
If your cuts remain incomplete, lower your travel speed in your software while maintaining maximum optical cutting power. On diode machines with modest optical wattage, configure multiple passes rather than an excessively slow single pass, which increases charring and fire risk. Higher-wattage CO2 cutters can achieve clean cuts in a single pass once travel speed is dialed in.
Turn on air assist and use a honeycomb bed
Cutting wood or acrylic without pressurized air assist severely impairs beam penetration. As the laser beam burns into the stock, dense smoke and charred dust rise into the kerf. This airborne debris scatters the laser beam, absorbing optical energy before it can strike the bottom of the cut groove.
Air assist delivers a concentrated stream of air through a specialized nozzle straight into the cut trench. This stream blows away smoke, clears char, and quenches open flames, leaving a clean path for subsequent passes. Upgrading to a dedicated pump from our laser air assist guide provides the steady airflow necessary for thorough cuts.
Material support underneath the stock is equally critical. If material sits flat on a solid metal sheet, vaporized smoke has nowhere to escape and bounces off the backing plate, burning the underside and blocking the exit kerf. Placing your workpiece on a dedicated support from our honeycomb bed for laser cutter guide resolves this issue. Listings for expanded aluminum honeycomb grid cores specify cell sizes such as 1/8″ cell, 1/4″ cell, or 1/2″ cell grids across sizes like 12″x12″x .500″, 18″x24″x 1.00″, and 34″x28″x 1.00″. These open cells allow air assist to push smoke and residue cleanly out the bottom of the cut.
Inspect material thickness and internal glue lines
Not all materials cut with equal ease, even when they appear identical from the outside. Plywood, for instance, consists of alternating wood veneers bonded with synthetic adhesives. Construction-grade plywood often hides dense interior glue pockets, hollow voids, and knots that laser beams cannot cleanly penetrate.
MDF and particle boards contain dense resin binders that require significantly more beam energy to penetrate than lightweight woods like paulownia. When cutting engineered boards, source high-grade Baltic birch or craft plywood from our wood sheets for laser engraving guide, which feature uniform core layers and laser-compatible bonding glue.
Moisture content and material warpage also prevent complete cuts. If a plywood sheet bows upward from the work bed, the cut line moves out of the optimal focal plane. Use hold-down pins to secure warped sheets firmly against your honeycomb grid before starting a cut job.
Common mistakes to avoid
- Using engraving travel speeds instead of slower cutting speeds.
- Neglecting to clean soot and resin residue from optical lenses before cutting.
- Focusing the beam against a raised corner on warped stock instead of the cutting region.
- Cutting dense wood without pressurized air assist to evacuate smoke from the kerf.
- Using construction-grade plywood with dense, flame-retardant interior glue seams.
- Leaving an active laser cutting job unattended without fire suppression equipment nearby.
Why is my laser engraver not cutting through: the short version
- Verify your focal distance using your machine’s focus gauge or autofocus sensor.
- Inspect and clean the optical lens and mirrors with optical cleaner to remove soot.
- Reduce travel speed in your software while maintaining high optical output power.
- Turn on pressurized air assist to clear smoke and debris from the cut kerf.
- Elevate your workpiece on an open honeycomb cutting bed to allow smoke escape.
- Use multiple passes on lower-power lasers, or adjust focal depth into thick material.
- Select laser-grade plywood with consistent interior cores and laser-safe adhesives.
FAQ: lasers and CNC
Why did my laser engraver cut through yesterday but not today?
A sudden loss of cutting capability is almost always caused by dirty optics, an accidental focal height change, or mechanical slippage. Smoke deposits accumulate on the focusing lens after extended use, blocking optical power. Inspect the lens surface for haze, confirm that the focal gauge matches your current workpiece height, and check that the gantry belts have not loosened.
Does air assist make a difference when cutting through wood?
Yes. Air assist directs a pressurized jet of air straight into the cut kerf. This clears away smoke, vaporized resin, and charred debris that would otherwise absorb laser photons. Air assist also prevents surface burning and suppresses flare-ups, allowing the beam to penetrate deeper with each pass.
Should I increase power or decrease speed if my laser is not cutting through?
Decreasing travel speed is usually the most effective adjustment. Slowing the laser head gives the beam greater dwell time to vaporize the entire material thickness. If your software is already set near maximum rated optical output, reducing carriage speed will allow deeper penetration.
Why is my laser cutter only cutting through in some spots?
Uneven cuts across a workpiece indicate either material warpage, an unlevel work bed, or interior glue pockets. If the wood bows upward or downward, the surface moves outside the narrow focal zone. Use hold-down clamps or honeycomb pins to pull the board completely flat against your cutting grid.
Can a diode laser cut clear acrylic?
No. Diode laser engravers emit blue visible light that passes straight through clear acrylic without absorption. To cut clear or translucent acrylic, a CO2 laser cutter is necessary because its infrared beam wavelength is absorbed by transparent plastics. Diode lasers can cut dark, opaque acrylic sheets when proper focus and speed are applied.
How do I handle dense hardwoods that resist cutting?
Dense hardwoods require careful speed calibration to avoid excessive charring. On lower-power diode machines, running multiple passes at moderate travel speeds helps prevent burning, and lowering the focus slightly between passes keeps the beam waist focused deeper in the cut. Always ensure high-volume exhaust ventilation to safely extract wood smoke.
Related: the laser engraver hub, diode vs CO2 laser and 10W laser engraver with air assist. Also see our laser engraver for beginners guide. Also see our how to choose a laser engraver.



