Singer Heavy Duty Sewing Machine Maintenance: A Step-by-Step Guide
Singer heavy duty sewing machine maintenance covers lint removal, light oiling of moving metal parts and wiping away excess so heavy fabrics sew smoothly.

On this page
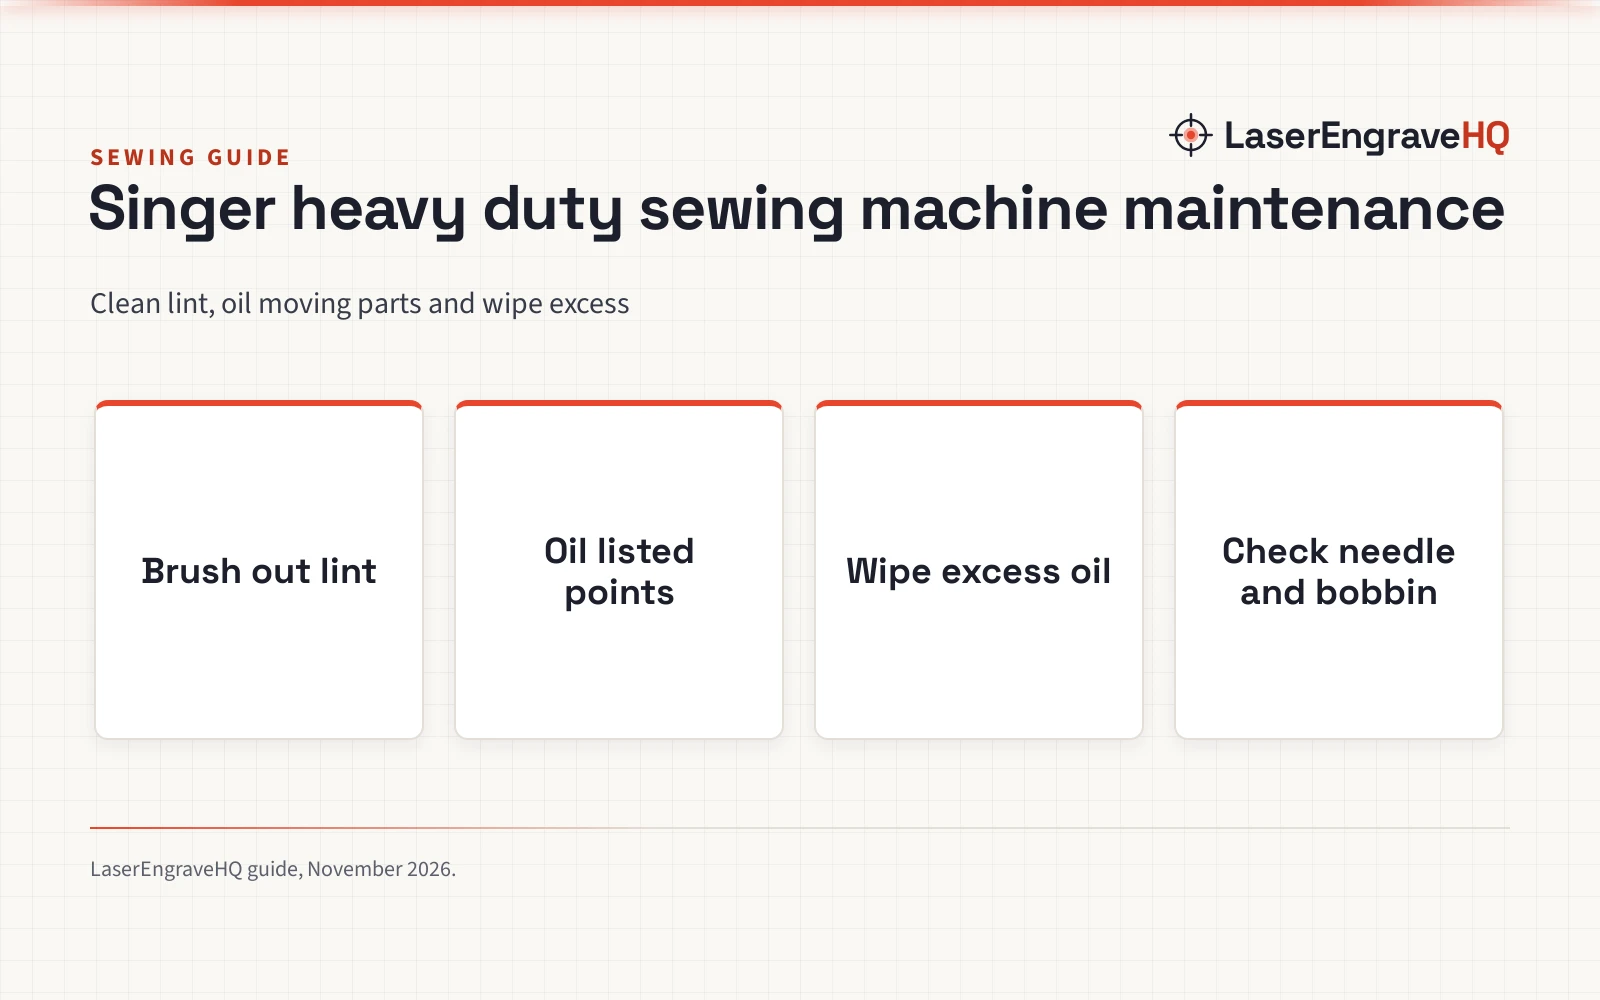
Denim hems, canvas totes, upholstery repairs and thick layered seams all ask more from a home machine than light cotton does, and lint plus dry moving parts make that work harder than it needs to be. Singer heavy duty sewing machine maintenance means removing lint and thread dust from the bobbin and hook areas, adding light machine oil only to the moving metal points your manual lists, and wiping away excess, which helps heavy fabrics feed and stitches form as the machine is designed to.
As an Amazon Associate I earn from qualifying purchases. LaserEngraveHQ earns a commission from purchases made through these links, at no extra cost to you. Read our affiliate disclosure.
Follow your machine manual for the correct oiling points. Makers of oil kits describe common points such as the needle bar and bobbin area, but your model manual decides where oil belongs and where it does not.
Step 1: Gather cleaning and oiling supplies
Keep the brush, cloth and oil within reach before you open any covers. Our sewing machine maintenance kit guide covers the routine: a brush for lint, a cloth for wiping, and light oil with a precision applicator.
For concrete sizes, the maker lists the ZUAON kit (on Amazon) as 2 oz / 60 ml of odorless lubricating oil with a precision needle-tip applicator, cleaning brush and cloth. The maker lists the WINUSD kit as a 2oz (60ml) bottle of clear sewing machine oil with dual-head cleaning brushes and a soft cleaning cloth.
Step 2: Clean lint and thread dust before oiling
Oil on top of lint holds dust against moving parts, so cleaning comes before oiling. Turn the machine off, unplug it, open the needle plate area as your manual directs, and brush out the bobbin area and hook area; brush the needle bar area where your manual shows access.
The ZUAON maker describes using the cleaning brush to sweep away lint, thread dust and loose fibers before oiling, then using the cloth to wipe excess oil after application. The WINUSD maker describes a dual-head brush with a flat brush for surface lint and a spiral brush for tight crevices. Lift out packed fibers rather than pushing them deeper.
Step 3: Oil only the points your manual lists
With lint cleared, add light oil sparingly to the moving metal points your manual names. Kit makers describe recommended oiling points such as the needle bar, bobbin area, hook area, shafts, bearings and other metal moving parts, and the WINUSD maker also names joints and internal moving parts.
Use the precision applicator to place small, controlled drops rather than a stream. The ZUAON maker says the applicator helps reduce messy over-application, and the WINUSD maker describes clear, low-viscosity oil that penetrates quickly without sticky residue. Avoid belts, electronic parts and any area your manual says to leave dry. If you are unsure which oil your model needs, read what weight is sewing machine oil and how to oil a Singer sewing machine.
Step 4: Wipe excess and clear the bobbin area
After oiling, wipe every oiled point so only a thin film remains. Excess oil can mark fabric and attract dust. Turn the handwheel toward you by hand, as your manual directs, so oil spreads, then wipe again if oil appears on the needle plate.
Sew on scrap fabric until the seam looks clean and no oil marks appear. See sewing machine oil vs grease if you are deciding between the two.
Step 5: Check the needle, thread path and bobbin seating
Check the parts that affect stitch quality on heavy fabric. A bent needle can skip stitches, a mis-seated bobbin can cause tangles, and a missed thread guide can change tension. Rethread fully, reseat the bobbin, and replace a bent or dull needle.
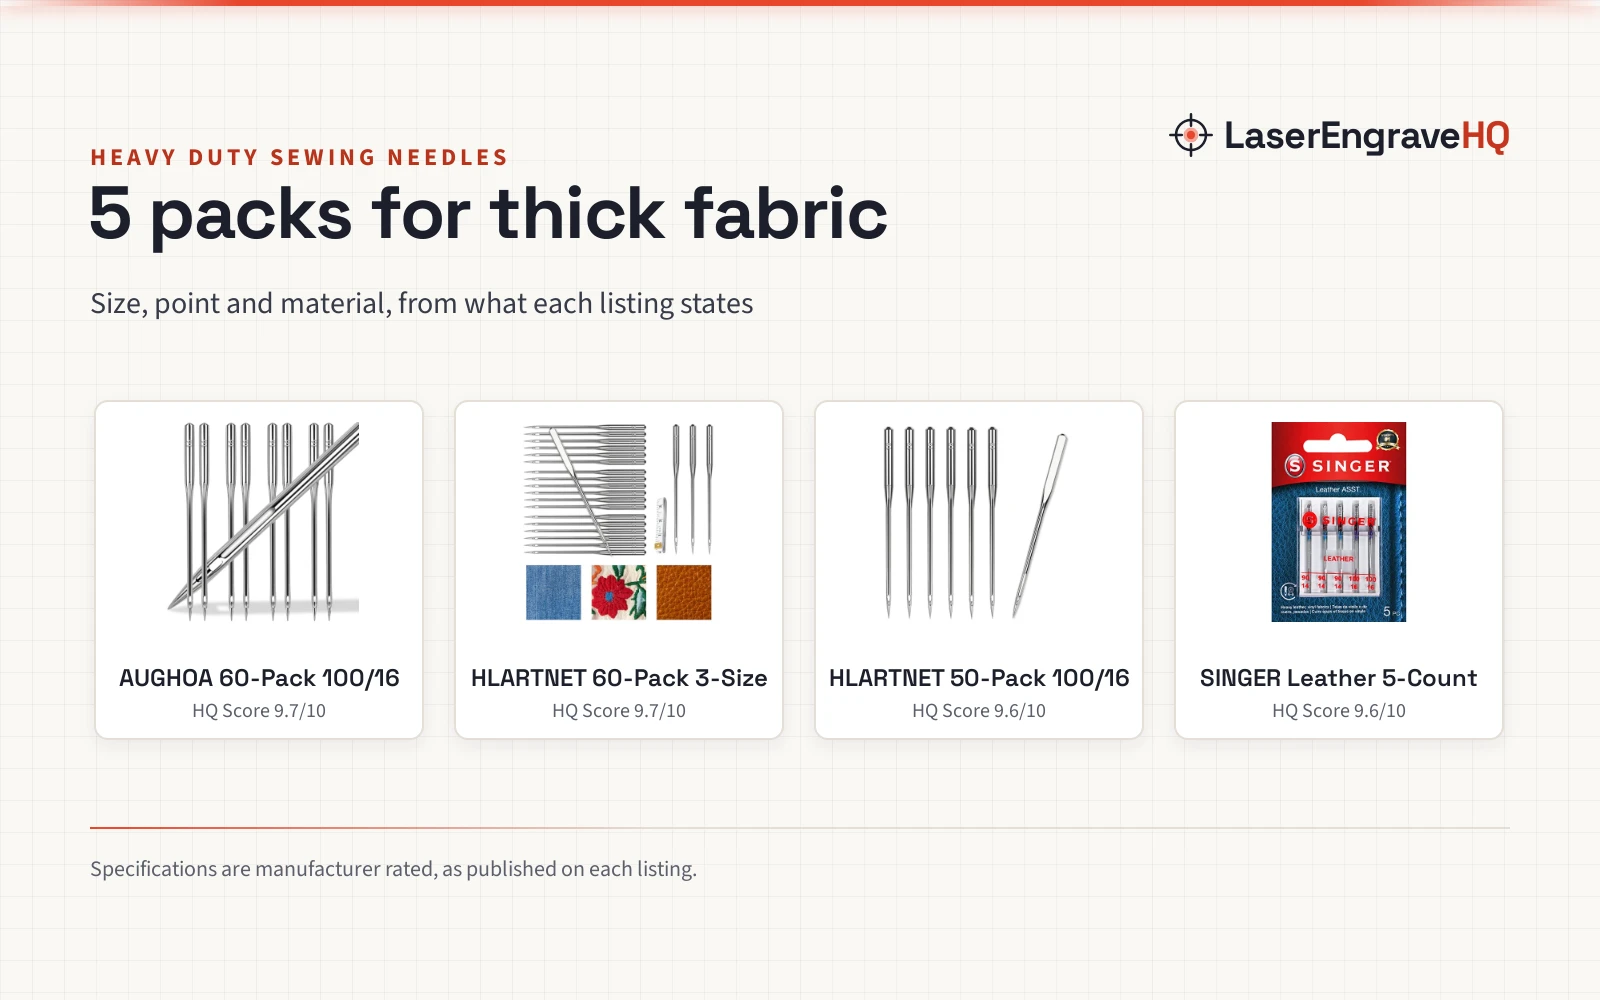
For heavy layers, needle choice matters as much as oiling. See best heavy duty sewing machine needles for thick fabric and how to thread a Singer heavy duty sewing machine.
Step 6: Store oil and tools so they stay clean
Close the oil bottle, wipe its tip, and store it upright with the brush and cloth in a clean box or pouch. Keeping lint off the applicator tip prevents grit from reaching oiled points during the next cleaning, and a clean cloth keeps dust from returning to parts you just cleaned.
Check the bottle before use and read does sewing machine oil go bad if the oil looks cloudy.
Step 7: Know when cleaning and oiling are not enough
Cleaning and oiling do not repair worn gears, timing problems or damaged hook parts. If the machine still skips stitches, grinds, or feeds unevenly after cleaning, oiling, rethreading and a needle change, stop sewing heavy layers and seek repair guidance.
Our learn how to repair sewing machines guide outlines basic checks and tools.
Common mistakes to avoid
- Oiling before brushing out lint, which traps dust against moving parts.
- Adding a stream of oil instead of small controlled drops from a needle-tip applicator.
- Oiling belts, electronic parts or any point your manual says to leave dry.
- Leaving excess oil on the needle plate, where it can mark the next project.
- Sewing heavy layers with a bent or dull needle after maintenance is done.
Singer heavy duty sewing machine maintenance: the short version
- Turn the machine off, unplug it and gather a brush, cloth and light machine oil.
- Brush lint and thread dust from the bobbin area, hook area and needle bar area.
- Add small drops of oil only to the moving metal points your manual lists.
- Wipe away excess oil and sew on scrap fabric until seams look clean.
- Rethread the machine, reseat the bobbin and replace a bent or dull needle.
- Store the oil, brush and cloth clean and upright for the next cleaning.
FAQ: lasers and CNC
How often should a Singer heavy duty machine be cleaned and oiled?
Follow your manual for timing, and clean whenever lint is visible around the bobbin area, hook area or needle bar, especially after denim and canvas projects.
What kind of oil is used for sewing machine maintenance?
Kit makers describe light machine oil for sewing machines. The maker lists ZUAON oil as odorless in a 2 oz / 60 ml kit, and WINUSD oil as clear, low-viscosity oil in a 2oz (60ml) bottle. Use the type your manual names.
Where does oil go on a sewing machine?
Kit makers name points such as the needle bar, bobbin area, hook area, shafts, bearings, joints and other metal moving parts. Your manual confirms which points apply to your model and which areas should stay dry.
Can too much oil cause problems?
Yes. Excess oil can mark fabric and attract dust. Place small controlled drops with a precision applicator, wipe oiled points so only a thin film remains, and sew on scrap fabric before returning to a project.
Should lint be removed before oiling?
Yes. The ZUAON maker describes brushing away lint, thread dust and loose fibers before oiling, then wiping excess oil after application. Cleaning ahead of oiling keeps dust from mixing with fresh oil.
What if stitches stay uneven after maintenance?
Recheck needle condition, threading and bobbin seating, since each affects stitch quality on heavy fabric. If uneven stitches or grinding sounds continue after those checks, look for repair guidance rather than adding more oil.
Related: the sewing and embroidery machines hub, sewing machine maintenance kit and best sewing machine oil. Also see our how to oil a Singer sewing machine guide. Also see our heavy duty sewing machine for beginners guide.