Pottery for Beginners: Starter Tools and Steps
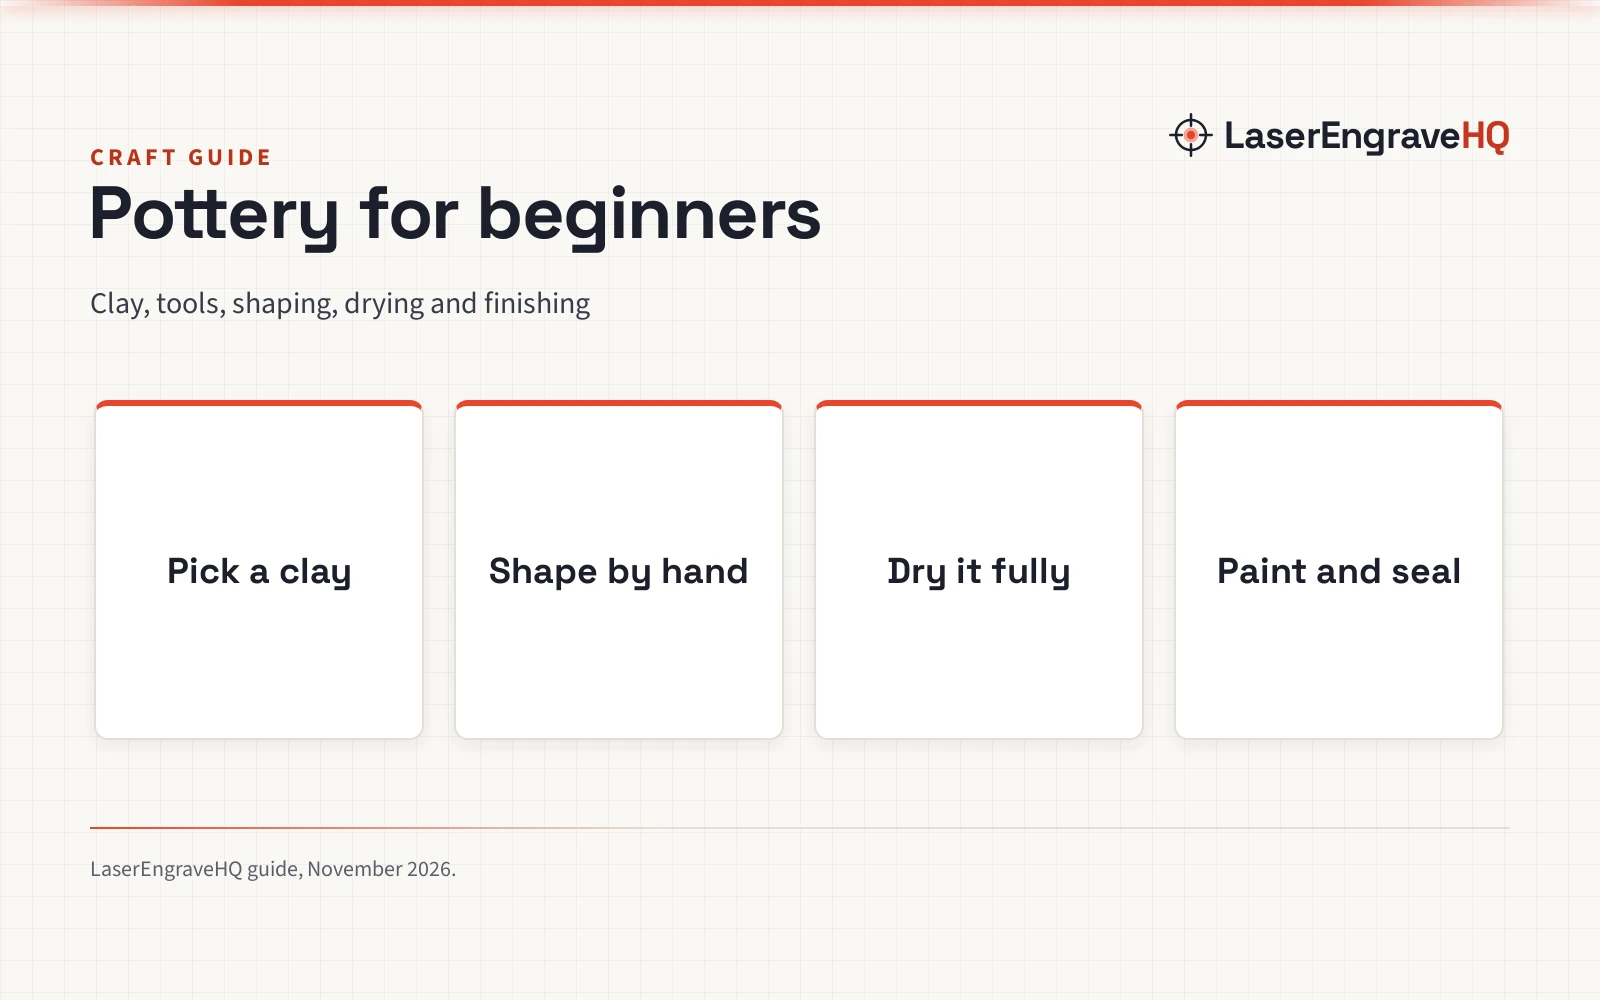
Pottery for beginners starts with air dry clay, hand tools and a first piece shaped by hand, then drying, painting and sealing.

On this page
Pottery for beginners starts with a simple idea: shape soft clay into something useful, let it dry, then finish it so it lasts. A mug, a plant pot, a small bowl or a vase all begin the same way, with clay, hands and a flat surface. This guide walks through the clay to pick, the tools to gather, the shaping, drying and finishing steps, and the mistakes that waste the most clay.
As an Amazon Associate I earn from qualifying purchases. LaserEngraveHQ earns a commission from purchases made through these links, at no extra cost to you. Read our affiliate disclosure.
Drying and firing times vary by clay, piece thickness and kiln, so this guide gives no fixed times. Follow the instructions that come with the clay and the kiln.
Step 1: Choose air dry clay or kiln-fired clay
The first choice is the clay, and it decides whether a kiln is needed at all. Air dry clay hardens in open air, with no oven or kiln, which makes it the usual starting point for a home project. Kiln-fired clay, such as stoneware or porcelain, needs firing in a kiln to become hard and strong, and it suits pieces that will hold food or drink when paired with a food-safe glaze. The clay types guide explains the common clays in plain terms, and the best clay for pottery page compares picks for wheel work and hand building.
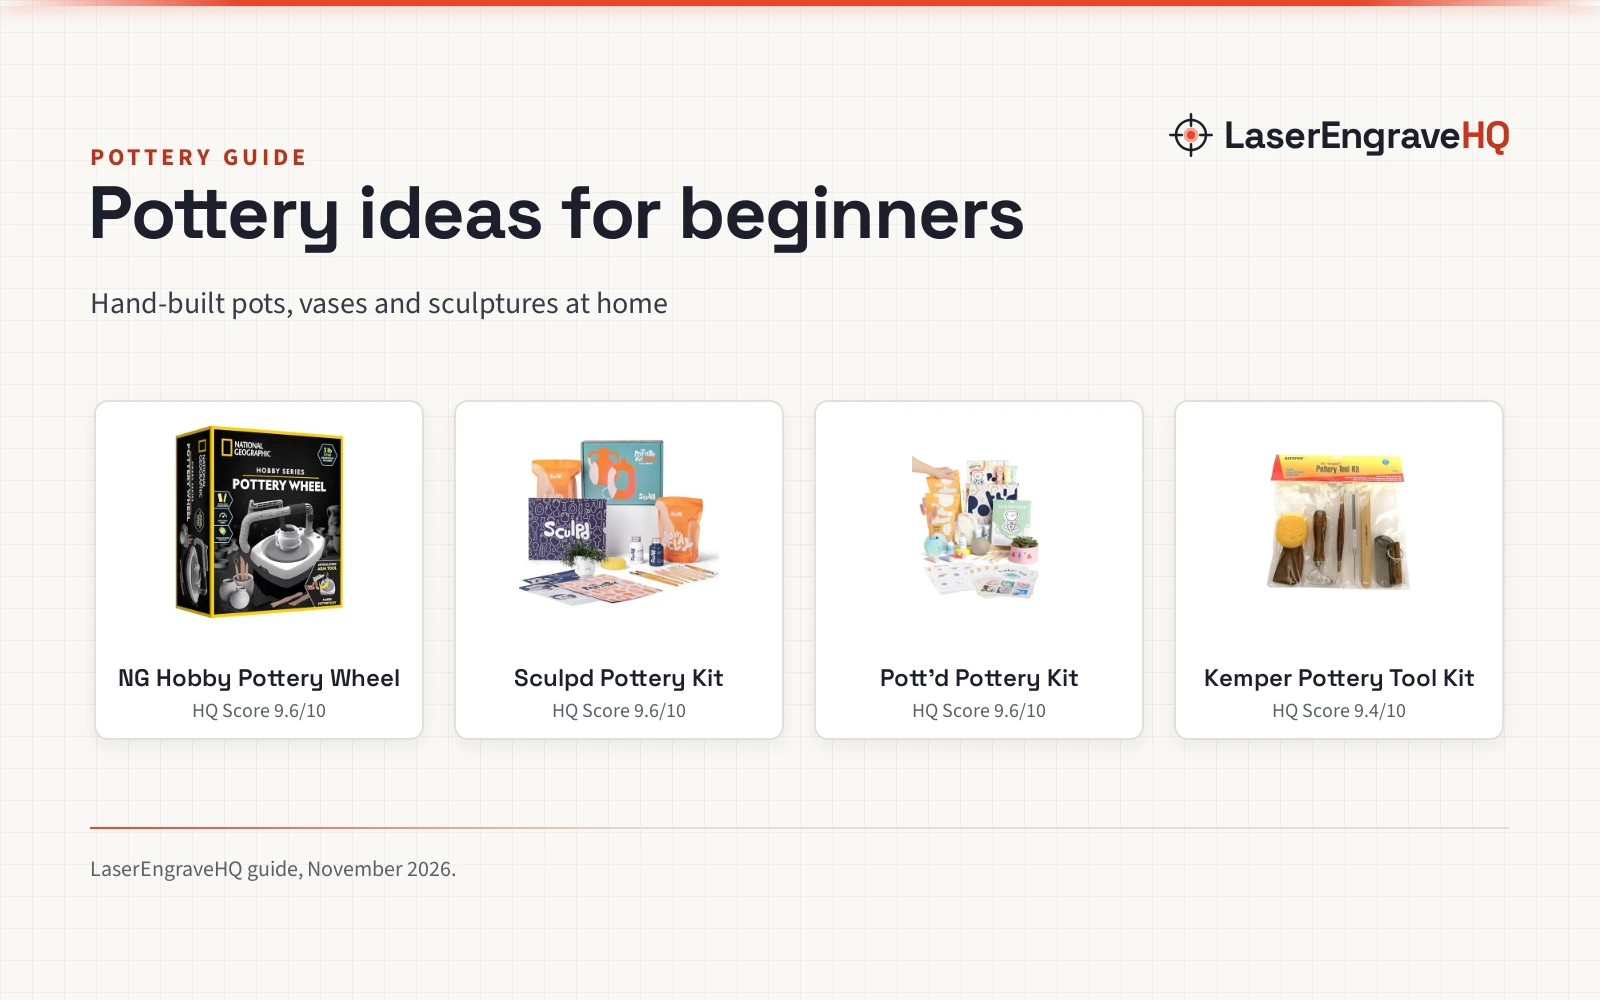
A starter kit shows what a first batch of supplies looks like. The Sculpd kit lists 4 lbs of air dry clay, a 5-piece sculpting tool set, brushes, waterproof gloss varnish and a potter’s sponge, with enough clay for 2 people. Its clay is natural stone-grey in color, and the maker says the varnish gives a ceramic-looking glossy finish and makes pieces 100% waterproof. The polymer clay vs air dry clay comparison helps when the choice is between clay types that harden in different ways.
Step 2: Gather the starter tools
Pottery needs few tools to start, and most of them are simple. A flat work surface, a bowl of water, a sponge, a cutting wire, a needle tool, a rib for smoothing and a set of brushes cover shaping, trimming and finishing. A 5-piece sculpting tool set, like the one in the Sculpd kit, covers the shaping and carving work for a first piece. The best pottery tools page compares tool sets for beginners.
Keep the work area simple: a wipe-clean surface, a water bowl within reach, and a place to set wet pieces where they will not be knocked. An apron and a towel keep clay off clothes, and a plastic sheet or a damp cloth keeps unused clay from drying while shaping continues.
Step 3: Shape a first piece by hand
Hand building covers the main ways to shape clay without a wheel. A pinch pot starts as a ball of clay pressed open with a thumb and shaped with fingers. Coiling stacks rolls of clay into walls, and slab building joins flat sheets of clay into boxes and cylinders. Each method suits simple shapes, and each one teaches how clay moves, thins and joins.
Before shaping, knead the clay to work out air pockets and to make the texture even. Trapped air can split a piece as it dries, so press and fold the clay until it feels uniform. Keep the walls even in thickness, smooth the joins with a wet finger or a sponge, and add a little water when the surface starts to drag. The handbuilding ideas page lists beginner projects and the tools each one needs. A wheel is not required to start, and the pottery wheel for beginners guide explains what changes when a wheel enters the picture.
Step 4: Dry the piece before finishing
Drying is the step beginners rush, and rushing it causes cracks. Set the piece aside in a still spot away from direct sun and drafts, and let it dry until it feels dry all the way through and no longer cool to the touch. Turn the piece now and then so every side dries at a similar pace, and cover thin parts loosely if they dry faster than the rest.
Wait until the piece is fully dry before painting, glazing or sealing. Paint and varnish trap moisture when they go on too early, and a damp piece can crack or peel as it finishes drying. Patience here saves more pieces than any tool.
Step 5: Paint, glaze and seal
Finishing depends on the clay. Air dry pieces take paint once fully dry, and a coat of varnish seals the surface and gives the glossy, ceramic look. The Sculpd kit varnish is made for air dry clay, and the maker says it makes pieces 100% waterproof, which matters for plant pots that hold damp soil. Pottery painting ideas show what to paint on mugs, plates and planters.
Kiln-fired pieces are usually fired once before glazing: glaze goes on the fired piece, and a further firing turns it into the hard, glassy surface. Underglaze can go on before the first firing or on the fired piece. Use a glaze labeled food-safe for mugs, bowls and plates that will hold food or drink. The best underglazes for pottery page compares underglaze picks for beginners.
Step 6: Fire in a kiln, or skip the kiln
Air dry clay needs no kiln, which is why it suits a first project at home. Kiln-fired clay needs access to a kiln, and many beginners use a community studio, a class or a school kiln before buying one. A kiln needs ventilation, a heat-proof surface and space around it, and eye protection when opening a hot kiln or handling hot ware.
Check that the clay and glaze suit the kiln’s firing range, and follow the instructions that come with the clay. Matching clay and glaze matters more than the brand on either one, and a mismatch can craze or peel. The easy clay ideas page lists simple air-dry projects for a first session at home.
Common mistakes to avoid
- Skipping the kneading, so trapped air splits the piece as it dries.
- Drying a piece too fast or in a draft, so thin parts crack.
- Making walls uneven, so one side dries and shrinks before the other.
- Painting or sealing before the piece is fully dry.
- Using a glaze that is not labeled food-safe on a mug or bowl.
- Firing clay and glaze that do not suit each other.
Pottery for Beginners: the short version
- Pick air dry clay for a first piece with no kiln, or kiln-fired clay with studio access.
- Gather the tools: sponge, water, cutting wire, shaping tools and brushes.
- Shape by hand: pinch, coil or slab.
- Dry the piece slowly until fully dry.
- Paint or glaze, then seal or fire.
- Start small, finish the piece, then make the next one bigger.
FAQ: lasers and CNC
What clay should a beginner start with?
Air dry clay is the usual starting point when there is no kiln, since it hardens in open air. Kiln-fired clay suits a beginner with access to a studio kiln and plans for food-safe pieces. The clay types guide compares the common clays.
Do I need a kiln to start pottery?
No. Air dry clay hardens without an oven or kiln, so a first project needs no firing at all. A kiln is needed only for kiln-fired clay, and many beginners use a community studio kiln. The air dry clay for beginners guide covers supplies and tools for kiln-free starts.
Do I need a pottery wheel to start?
No. Pinch pots, coiled pieces and slab pieces are all made by hand, and a wheel is a later step for round, even forms. The pottery wheel for beginners guide explains what to look for when the time comes.
What tools do I need for pottery?
A sponge, a bowl of water, a cutting wire, a needle tool, a rib and brushes cover most beginner work. A 5-piece sculpting tool set, like the one in the Sculpd kit, covers shaping and carving. The best pottery tools page compares tool sets.
Can I make air dry pottery waterproof?
Yes, with varnish. Paint the piece once it is fully dry, then seal it with a varnish made for air dry clay. The Sculpd kit varnish is made for air dry clay, and the maker says it makes pieces 100% waterproof.
What can I make as a first pottery project?
A pinch pot, a small bowl, a plant pot or a simple vase all suit a first session. The pottery for beginners ideas page and the easy clay ideas page list simple projects to try at home.
Related: the pottery and glass hub, best clay for pottery and best air dry clay. Also see handbuilding ideas.