How to Test a Proximity Sensor
A practical guide to the inductive proximity sensor check: identify NPN or PNP, wire it, power it and bring iron within its detection distance.

On this page
Top picks at a glance
As an Amazon Associate I earn from qualifying purchases.
- 1
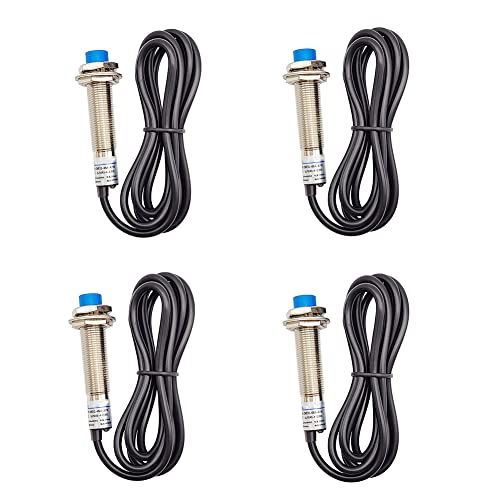 Haldzemo Inductive Proximity Sensor M129.5/10View on Amazon
- 2
 Haldzemo Inductive Proximity Sensor SN04-N9.5/10View on Amazon
- 3
 Twidec/M12 Approach Sensor Inductive Proximity9.4/10View on Amazon
- 4
 5Pcs Inductive Proximity Sensor Switch, NPN NO9.4/10View on Amazon
When a CNC router stalls mid-cut or a laser head will not home, the cause is often a small sensor that has stopped seeing metal, and how to test a proximity sensor is the skill that finds out whether the sensor or the wiring is at fault. The check is simple: identify the sensor type, wire it as its listing states, power it, and bring a piece of iron close to watch the output change. The steps below use only the figures the sensor listings publish, so you can follow them with the sensor in front of you.
LaserEngraveHQ earns a commission from purchases made through these links, at no extra cost to you. Read our affiliate disclosure.
Haldzemo Inductive Proximity Sensor M12
A 4 pack of M12 inductive proximity sensors, NPN NO with a 4mm detection distance, a 6-36V DC supply, 300mA current output and a 500Hz frequency.
Pros
- 4mm detection distance in a 12mm diameter M12 body
- Wide 6-36V DC supply range with 300mA current output
- 500Hz switching frequency, per the listing
- Ships as a 4 pack for spares or several machines
Cons
- No warranty term is stated
- No cable length is stated
- No LED indicator is stated
- No stated weight or body material
Haldzemo Inductive Proximity Sensor SN04-N
A 4 pack of SN04-N inductive proximity sensors, NPN NO with a 4mm detection distance, a 5-30VDC supply, 300mA current output and an LED working indicator, with 4 SN brackets.
Pros
- LED working indicator shows when metal is sensed
- Ships as a 4 pack with 4 SN brackets
- 4mm detection distance, NPN NO, 3 wire
- 5-30VDC supply with 300mA current output
Cons
- No warranty term is stated
- Spec table lists NumberOfItems as 0 while the title and bullets say 4 pack
- No cable length is stated
- No stated body size or weight
Twidec/M12 Approach Sensor Inductive Proximity
A single M12 inductive proximity sensor, PNP NO with a 4mm detection distance, a 6-36V DC supply, 300mA current output and a stated net weight of 44g.
Pros
- PNP NO output, the only PNP listing here
- 4mm detection distance with a 12mm diameter body
- 6-36V DC supply with 300mA current output
- Stated net weight of 44g with a plastic and alloy body
Cons
- No warranty term is stated
- Box holds a switch, not a pack
- No LED indicator is stated
- No switching frequency is stated
5Pcs Inductive Proximity Sensor Switch, NPN NO
A 5 pack of M8 inductive proximity sensors, NPN NO with a 2mm detection distance, a 6-36V DC supply and 3-wire output.
Pros
- 5 pack of sensors for several machines or spares
- Compact M8 body with a 2mm detection distance
- NPN NO output with a 6-36V DC supply
- Detects iron, per the listing
Cons
- No warranty term is stated
- Title says 5 pcs while the spec table lists NumberOfItems as 1
- Shortest detection distance here at 2mm
- No current output, frequency or cable length is stated
Step 1: Identify the sensor
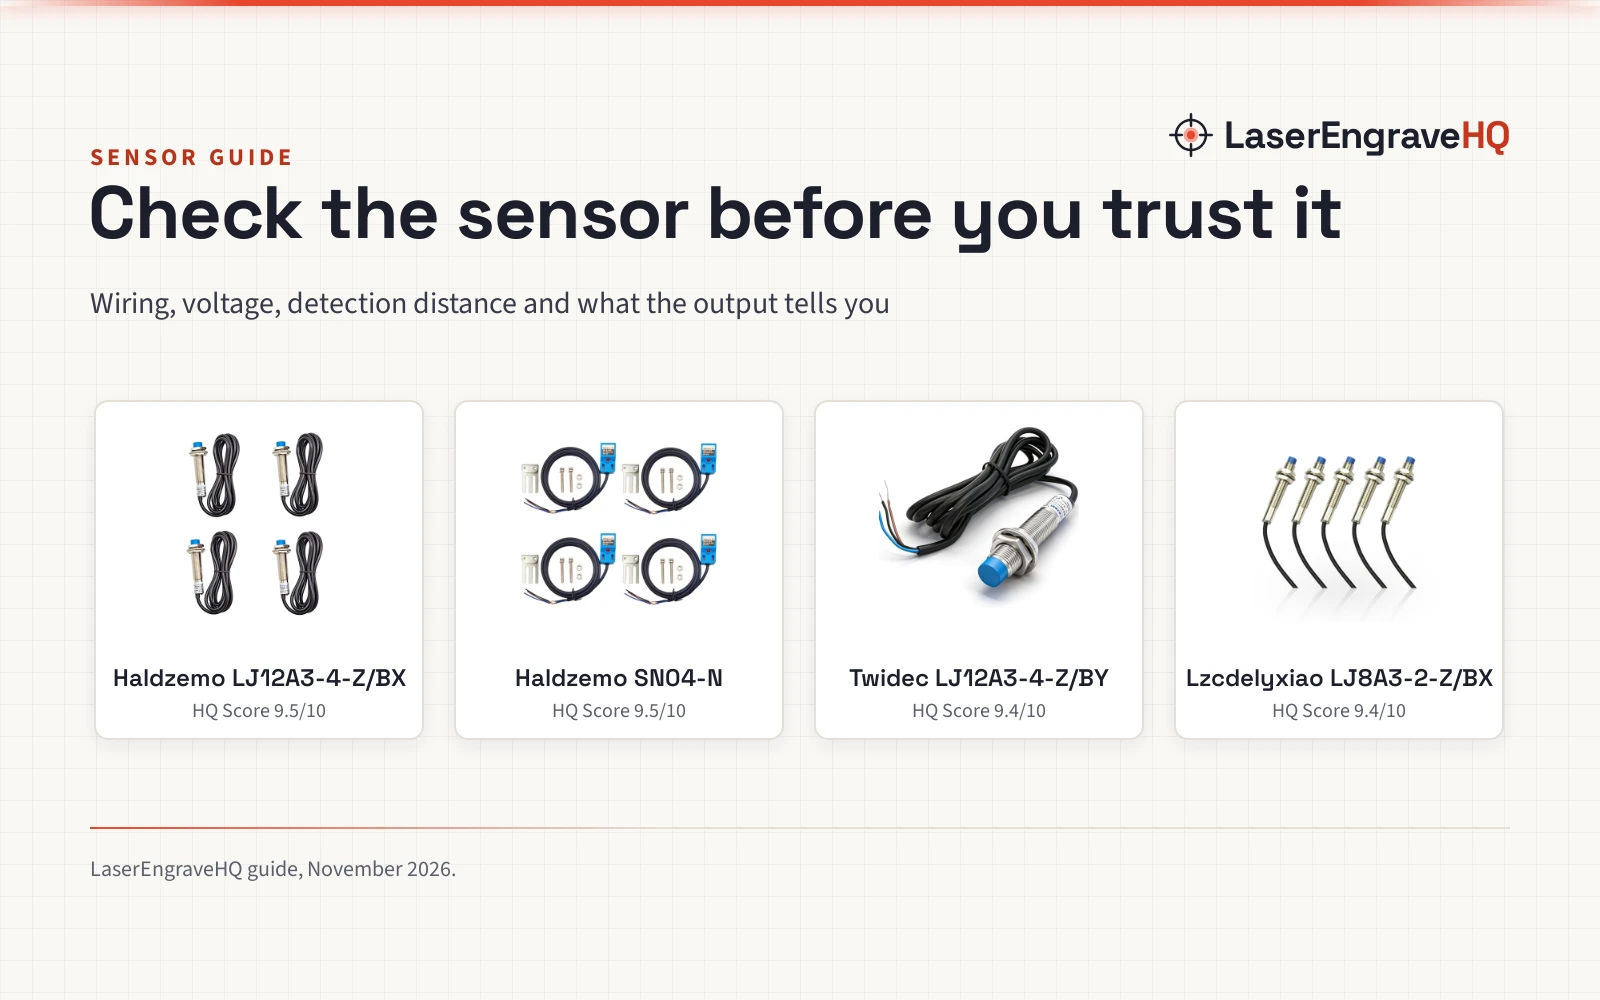
Start with the sensor in your hand and read its model and output type. The listings here cover NPN and PNP types, all normally open: the Haldzemo LJ12A3-4-Z/BX, the Haldzemo SN04-N (on Amazon) and the Lzcdelyxiao LJ8A3-2-Z/BX are NPN NO, while the Twidec LJ12A3-4-Z/BY (on Amazon) is PNP NO. Note the body size too: the LJ12A3 models are M12, while the Lzcdelyxiao is M8. Knowing NPN or PNP matters because each type switches the load in its own way, so a sensor wired for the wrong type will not behave as expected.
Step 2: Wire the sensor
The Haldzemo listings state the 3-wire colours: brown connects to positive, blue connects to negative, and black connects to the load as the signal output. The Twidec listing names the same three wire colours for its 3-wire type. Connect brown and blue to the supply, then connect black to the load, and keep the connections as the listing states them. The Haldzemo LJ12A3-4-Z/BX (on Amazon) and the Twidec list a supply of 6-36V DC, the Lzcdelyxiao lists DC 6-36V, and the Haldzemo SN04-N lists 5-30VDC, so match the supply to the sensor you hold. Three of the listings state a current output of 300mA; the Lzcdelyxiao listing states no current output. If you are unsure which wire is which, check the listing for your model before you power anything.
Step 3: Power it and bring iron close
With the wiring in place, power the sensor at its listed supply voltage and bring a piece of iron toward the sensing face. Two listings name iron as the object the sensor detects, while the Haldzemo listings describe a target object or metal objects. The Haldzemo LJ12A3-4-Z/BX, the Twidec and the Haldzemo SN04-N list a detecting distance of 4mm, while the Lzcdelyxiao lists 2mm. Move the iron in slowly until the output changes, then move it away and watch the output change back. The sensor responds to iron, so other metals may not trigger it the same way, and the listing is the guide for what it detects.
Step 4: Read the output
Watch for the change the sensor is built to give. On the Haldzemo SN04-N, the LED working indicator lights when the sensor senses metal, since the sensor is normally open, and the light goes off when the metal moves away. On the other listings, which state no LED, watch the load instead: the listing states that when the proximity switch is close to a target object, it sends out a control signal. If the output changes as the iron moves in and out of range, the sensor is responding. If nothing changes, recheck the wiring colours, the supply voltage and the distance, in that order.
How to test a proximity sensor: what the result means
A sensor that switches as iron moves in and out of range is responding as its listing describes. A sensor that stays silent may be wired wrong, powered outside its listed voltage, or held too far from the iron, so check each point against the listing before you replace anything. A sensor that switches at a distance well beyond its listed detection distance may be sensing a larger piece of metal than the listing expects, so repeat the check with a smaller piece of iron. When the sensor responds cleanly at its listed distance, it has passed the check the listing supports.
The gear
The sensors below are the models this guide draws on: each listing states the output type, supply voltage and detection distance you need for the steps above.
FAQ: lasers and CNC
How do I know if a proximity sensor is NPN or PNP?
Read the listing for your model. The Haldzemo LJ12A3-4-Z/BX, the Haldzemo SN04-N and the Lzcdelyxiao LJ8A3-2-Z/BX are NPN NO, while the Twidec LJ12A3-4-Z/BY is PNP NO. The model number carries the type: BX marks NPN and BY marks PNP on the LJ12A3 models.
What voltage does an inductive proximity sensor need?
It depends on the model. The Haldzemo LJ12A3-4-Z/BX, the Twidec and the Lzcdelyxiao list a supply of 6-36V DC, while the Haldzemo SN04-N lists 5-30VDC. Match the supply to the sensor you hold.
What metal should I use for the sensor check?
Iron. The Twidec and Lzcdelyxiao listings name iron as the object the sensor detects, and the other listings describe sensing metal objects. Use iron for the check, since other metals may not trigger the sensor the same way.
How close does the metal need to be?
Within the listed detection distance: 4mm for the Haldzemo LJ12A3-4-Z/BX, the Twidec and the Haldzemo SN04-N, and 2mm for the Lzcdelyxiao LJ8A3-2-Z/BX. Bring the iron in slowly until the output changes.
What do the brown, blue and black wires do?
Brown connects to positive, blue connects to negative, and black connects to the load as the signal output. That wiring is stated in the Haldzemo listings and matches the 3-wire type the Twidec listing describes.
Related: the what is a CNC router machine guide, best stepper driver for X-Carve and best emergency stop button. Also see our how to set up a spoilboard on a CNC.