How to Engrave Photos on Wood with a Laser: A Step-by-Step Guide
A step-by-step guide to engraving photos on wood with a laser: choose fine-grain basswood boards, prepare high-contrast image files, focus the beam, and burn clean details.

On this page
Top picks at a glance
As an Amazon Associate I earn from qualifying purchases.
- 1
 xTool S1 40W Laser Cutter and Laser Engraver for Tumblers9.7/10View on Amazon
- 2
 xTool M2 20W Color Craft Laser Engraver9.7/10View on Amazon
- 3
 OMTech 100W CO2 Laser Engraver with 4 Way Pass Through Air9.7/10View on Amazon
- 4
 ROBOTIME 6-Pack Laser Wood Sheets 1/8"View on Amazon
- 5
 LONGER RAY5 Laser EngraverView on Amazon
- 6
 PYD Life 12 Pack Sublimation Hardboard Blanks MDF Bulk 12"View on Amazon
- 7
 ilauke Wood Squares 4x4 InchView on Amazon
- 8
 Plywood 12PcsView on Amazon
- 9
 3 mm Baltic Birch Plywood 1/8 x 12 x 20 InchView on Amazon
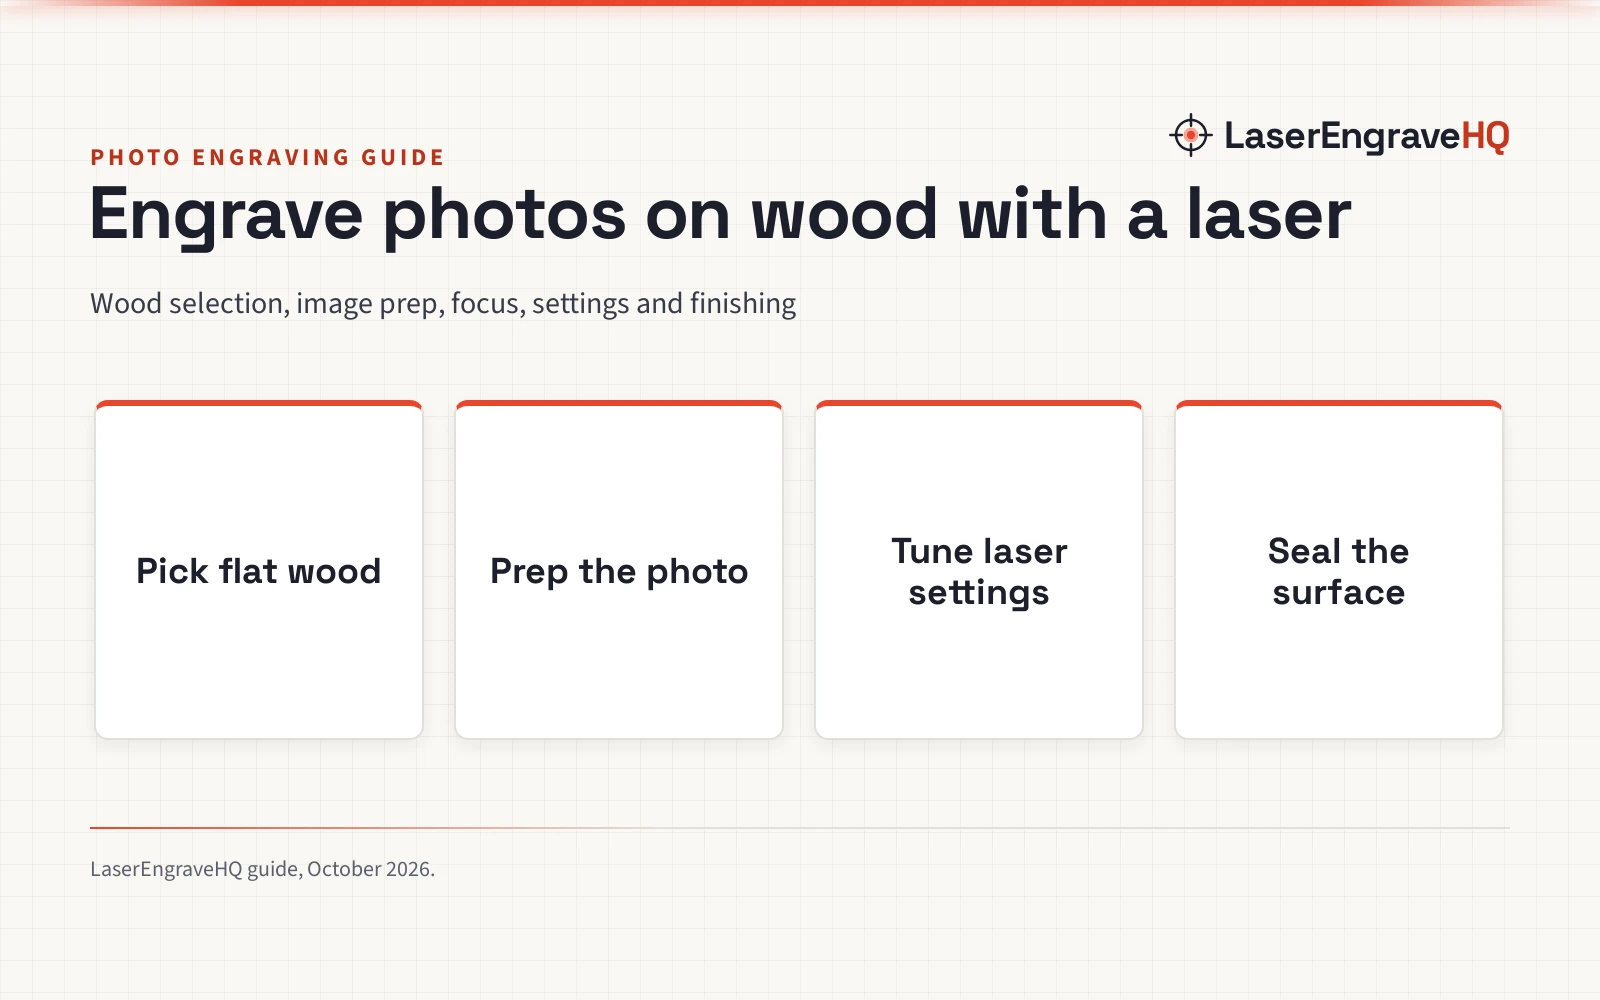
How to engrave photos on wood with a laser comes down to a clear workflow: select a pale, fine-grain wood blank, crop and increase the contrast of your image, convert the file to a dithered bitmap in your software, focus the laser beam sharply on the surface, calibrate power and speed on scrap cutoffs, run the raster pass, and apply a clear protective seal. The sections below explain each step in order, highlighting the adjustments that produce clean, recognizable wooden portraits with rich midtones.
Other machines to compare
 ROBOTIME 6-Pack Laser Wood Sheets 1/8"Check price on Amazon
 LONGER RAY5 Laser EngraverCheck price on Amazon
 PYD Life 12 Pack Sublimation Hardboard Blanks MDF Bulk 12"Check price on Amazon
 ilauke Wood Squares 4x4 InchCheck price on Amazon
 Plywood 12PcsCheck price on Amazon
 3 mm Baltic Birch Plywood 1/8 x 12 x 20 InchCheck price on Amazon
LaserEngraveHQ earns a commission from purchases made through these links, at no extra cost to you. Read our affiliate disclosure.
Wood is an organic material with natural grain variations. A setting that burns cleanly on a board can engrave darker or lighter on another piece from a different harvest. Always verify your burn settings on scrap cutoffs of the identical wood stock before engraving your final photo piece.
Step 1: Choose flat, fine-grain wood blanks
Wood grain acts as the background of your engraved image. Coarse woods like oak or pine have heavy growth rings that scorch unevenly, creating dark stripes across faces and eyes. For photo engraving, pick a fine-grained, pale hardwood or craft plywood that provides uniform density and high visual contrast.
Basswood is widely regarded as an ideal choice because of its pale hue and tight grain. For example, ROBOTIME lists 6-pack sets of 3mm (1/8-inch, or 0.13 inches) wood sheets in basswood, walnut, and birch sized at 12 x 16 inches (305x420mm) with a stated thickness tolerance of ±0.2mm and a poplar core. In mixed-wood packs of this kind, the pale basswood and birch sheets are well suited for photo engraving, whereas dark woods like walnut provide low visual contrast against dark laser burns. VMYTH similarly lists 12×12-inch 3mm boards featuring basswood and paulownia surfaces over a poplar core. For rustic plaques with bark edges, Enjoy The Kraft publishes basswood blanks in sizes including 11 × 7 inches, 13 × 9 inches, and 16 × 12 inches with a thickness of approximately 3/4 inch. For further material choices, see our guide to the best wood for laser engraving photos.
Flatness is essential for sharp focus. If a craft board arrives warped, use the flattening method published by ROBOTIME: spray both sides of the board with water or wipe it down with a damp cloth, lay the board on a flat surface, weigh it down with a heavy object, and allow it to flatten before engraving.
Step 2: Prepare and optimize the photo file
Unprocessed camera photos frequently engrave as dark, muddy silhouettes because lasers burn wood fibers rather than printing gray ink. Careful file preparation in image editing software creates the tonal separation a laser requires.
Crop tightly around the subject’s face to highlight facial details. Remove busy backgrounds such as outdoor foliage or wallpaper so visual clutter does not compete with the portrait. Next, convert the picture to grayscale and increase midtone contrast. Brighten highlights, lift deep shadows so dark hair retains distinct separation, and apply edge sharpening to define eyes, lips, and facial borders. Save the file in a high-resolution raster format like PNG, JPG, or BMP. For more on raster formatting, see our guide on laser engraver file types.
Step 3: Select engraving software and dithering modes
Engraving software translates your image into machine movements. Diode laser setups commonly use LightBurn or LaserGRBL. Compare application features in our laser photo software comparison.
Because organic wood fibers tend to burn or remain untouched rather than revealing consistent continuous shades, error-diffusion dithering algorithms typically produce more dependable photographic detail than raw power modulation. Dithering arranges individual laser pulses closer together for dark shadows and farther apart for pale highlights. Algorithms like Jarvis, Stucki, and Floyd-Steinberg generate smooth skin gradations without harsh banding, while Atkinson delivers crisp separation for vintage portraits. Set your software line interval to match the laser beam spot size so scan lines touch cleanly without overlapping.
Step 4: Set up machine focus and workshop safety
Precise hardware focus ensures crisp dot placement. For example, the Longer RAY5 listing publishes a 2.5W diode laser with a 0.04×0.04mm laser spot, 0.01mm repeat accuracy, rated engraving speeds up to 12000mm/min, and a 131×140mm work area. Use the manufacturer’s focus block to set the exact distance between the lens and the top surface of the wood. An unfocused beam widens the spot, muddying facial details.
Safety preparations must come before firing the beam. Wood engraving generates continuous smoke that must be vented outdoors or through a dedicated air filter. Compare options in our fume extractor guide. Wear eyewear only if its listing states an optical density and wavelength range matching your laser, as unrated orange acrylic shields do not provide verified protection; see our laser safety glasses guide. Keep a fire extinguisher within reach and never leave an active machine unattended. Never engrave PVC, vinyl, PVC-based faux leather, polycarbonate, or ABS, as they release corrosive and harmful fumes.
Step 5: Calibrate power and speed on scrap material
Finding the proper power and travel speed prevents overburning. Excessive power or slow travel speeds turn fine facial details into dark charcoal, while insufficient power leaves a faint, washed-out mark.
Run a calibration matrix on a scrap cutoff of the identical wood stock before starting your final workpiece. In LightBurn, generate a matrix of sample swatches across varying speeds and power levels using your chosen dithering mode. Inspect the burned swatches under indirect light to find the setting that yields rich brown shadows while keeping highlights clean and uncharred. Keep air assist set to a gentle airflow to shield the lens from soot without blowing smoke residue into light grain areas.
Step 6: Engrave the photo and clean the surface
Place your blank flat on the engraving bed, securing it with hold-down pins if needed. Frame the boundary in your software to ensure the photo sits squarely on the wood. Most control applications support horizontal raster scanning: bi-directional scanning engraves in both directions to reduce overall job time, while unidirectional scanning engraves in a single direction to eliminate dot misalignment if your machine gantry shows mechanical backlash. Keep exhaust ventilation running continuously throughout the run.
When the burn completes, inspect the surface for smoke staining. If a light haze surrounds dark areas, dampen a clean microfiber cloth with isopropyl alcohol and gently wipe the wood. Alcohol removes smoke residue without raising the grain or damaging fine details. Avoid heavy pressure that could force soot into open pores.
Step 7: Apply a protective seal to preserve the image
Unsealed wood absorbs ambient humidity and skin oils, which can dull photographic contrast over time. Protect your finished engraving with a spray-on clear coat. Liquid finishes applied with brushes or rollers can drag residual soot across pale sections, while an aerosol matte or satin lacquer seals the surface evenly without smudging.
Once dry, your piece is ready for display. Asbanzerks wood photo frames provide tabletop display fitting 4 x 6-inch, 5 x 7-inch, and 6 x 8-inch pictures, while Nozn publishes 8″L x 8″W wood panels with a stated thickness of 0.25 inches suitable for wall mounting. If you plan to sell personalized photo boards, review machine recommendations in our best laser engraver for small business guide.
Common mistakes to avoid
- Using coarse-grained timber like oak or pine that distorts facial features.
- Engraving unprocessed photos without boosting contrast and sharpening borders.
- Skipping scrap calibration runs and scorching the primary wood blank.
- Allowing the laser beam to fall out of focus, which creates blurry, overlapping burn dots.
- Applying liquid finishes with a brush, which smudges loose soot across pale highlights.
- Operating an active machine without ventilation or leaving it unattended.
How to engrave photos on wood with a laser: the short version
- Select a pale, fine-grain wood blank such as basswood.
- Crop the picture, remove busy backgrounds, and boost contrast in image software.
- Import the file into LightBurn or LaserGRBL and select an error-diffusion dithering algorithm.
- Focus the laser lens precisely to the top surface of the wood.
- Calibrate travel speed and power on a scrap piece of the same wood stock.
- Run the engraving pass with horizontal raster scanning and active exhaust ventilation.
- Clean away smoke residue with an alcohol-dampened cloth and spray a clear protective coat.
FAQ: lasers and CNC
What is the best wood for engraving photos with a laser?
Basswood is the most dependable choice due to its light color, tight grain, and uniform density, which allow dark burned dots to display sharp contrast. Birch and maple plywood sheets are also practical alternatives. See our guide to the best wood for laser engraving photos for further details.
Can a diode laser engrave detailed photos on wood?
Yes. Diode lasers with small focal spots, such as the 0.04×0.04mm spot on the Longer RAY5, resolve fine dithering patterns effectively on pale hardwoods.
Should I use grayscale or dithering for laser photo engraving?
Dithering is generally preferred for wood photo engraving. Because wood burns rather than displaying true continuous tones, dithering patterns like Jarvis or Stucki simulate smooth shading by varying dot placement without overburning.
How do I prevent dark smoke stains around my photo engraving?
Maintain active exhaust ventilation to clear smoke immediately, use gentle air assist to protect the lens, and wipe away light residue with a cloth dampened with isopropyl alcohol after engraving.
Do I need air assist for photo engraving on wood?
A light airflow is helpful to protect the optical lens and keep vapor from settling onto the wood surface, but high air pressure can push soot into light highlights and should be avoided.
Related: the laser engraver hub, best laser engraver for wood, how to start a laser engraving business and best selling laser engraved products on Etsy.



