How to Trace an Image in LightBurn: A Practical Step-by-Step Guide
A step-by-step guide to tracing images in LightBurn: import bitmap artwork, adjust threshold controls, clean up vector paths, and assign laser layers.

On this page
How to trace an image in LightBurn comes down to converting a raster bitmap into cut or engrave vector paths using the built-in Trace Image tool. You import a bitmap graphic, right-click the artwork to open the trace window, adjust the threshold sliders until the preview outlines every edge cleanly, accept the vectors and delete the source graphic. The sections below walk through each step in order, with the settings and cleanup habits that produce crisp vector lines for your projects.
As an Amazon Associate I earn from qualifying purchases. LaserEngraveHQ earns a commission from purchases made through these links, at no extra cost to you. Read our affiliate disclosure.
Vector tracing cannot create detail that is absent from a blurry or low-resolution file. Starting with sharp artwork and high-contrast black silhouettes produces clean cutting vectors without tedious manual node adjustment.
Step 1: Prepare and import the raster graphic
LightBurn supports standard raster image formats including PNG, JPG and BMP. The built-in tracing algorithm detects transitions between light and dark pixels to generate vector geometry. Crisp black-and-white graphics produce clean outlines immediately, whereas artwork with soft shadows or subtle color gradients requires careful threshold tuning. If you are looking for ready-to-run vector designs rather than tracing rough graphics, see our guide on where to find laser cut files and SVG designs.
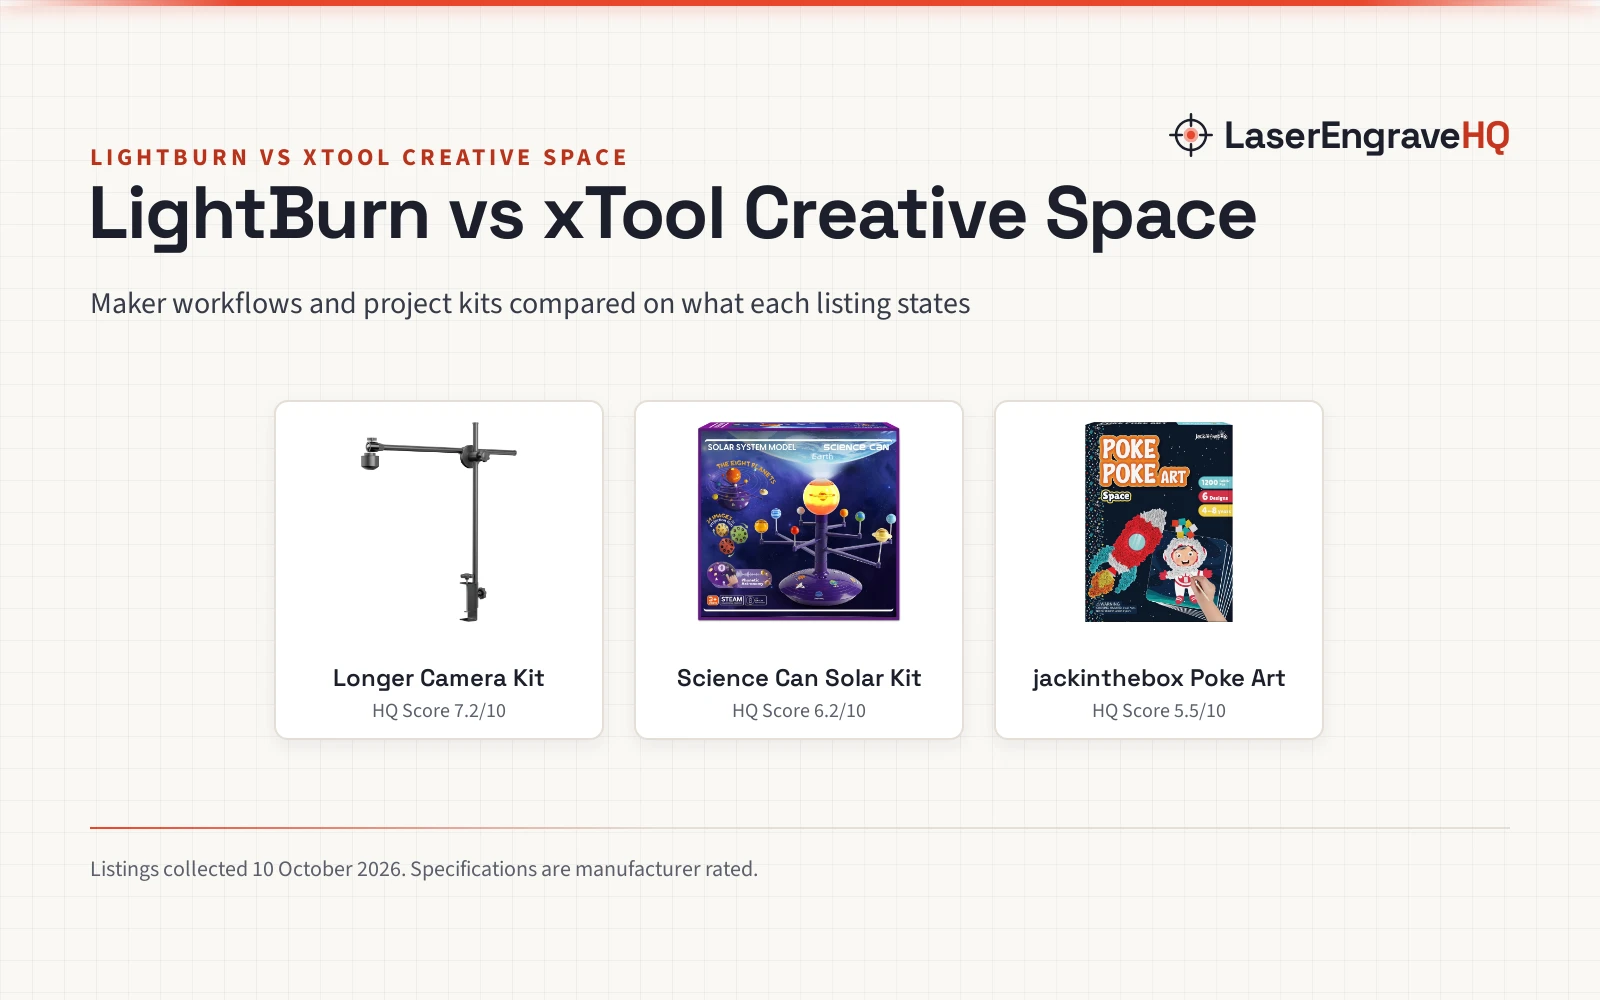
To import your graphic, click the Import option from the top File menu or drag the file directly onto the workspace grid. Position the image within your machine boundaries. If you are digitizing physical drawings created with pen and paper, starting with high illumination makes tracing far simpler. For example, the LitEnergy light pad listing reports illumination up to 5000 lux across dimensions of 12.6 inches by 9.0 inches with a thickness of 0.2 inches (5mm). Alternatively, when aligning physical artwork or workpieces directly on the laser bed, the Longer camera listing cites 5MP resolution, reports coverage across an area of 740x560mm compared to a 400x400mm range, and lists positioning accuracy of less than 1mm in LightBurn.
Step 2: Open the LightBurn trace window
Select your imported raster graphic by clicking on it with the standard selection cursor. When selected, the image boundary displays active selection handles. Open the tracing tool by right-clicking the graphic and choosing Trace Image from the context menu, or by clicking Tools in the top menu bar and selecting Trace Image.
The Trace Image dialog opens over your main workspace. The window shows a large preview panel on the left and parameter controls on the right. You can pan around the preview window by holding your mouse wheel or right button, and zoom using the scroll wheel. Inspecting the artwork at close magnification lets you verify how cleanly vector paths follow small corners and thin lines before accepting the result.
Step 3: Adjust threshold and tracing controls
The controls on the right panel govern how LightBurn interprets raster pixels. The primary setting is the Threshold slider. Adjusting the threshold slider alters the brightness level at which pixels become part of the dark foreground or the light background. Moving the slider allows you to separate fine lettering and silhouettes from background textures. Toggle between sketch mode and standard smooth mode depending on whether your image contains thin pencil-like strokes or broad solid shapes.
For graphics with a white background, enable the Ignore White checkbox. When selected, LightBurn ignores the outer white field and traces only the interior dark artwork. Leaving this option disabled on white-background files causes the software to generate an unnecessary rectangular border around the outer perimeter of the image. Use the Fade Image slider to dim the background bitmap, making the bright magenta trace outlines stand out clearly during preview adjustments.
Step 4: Inspect vectors and discard the source bitmap
Before generating the final vectors, examine the magenta preview paths across detailed sections of your design. The Smoothness setting controls how much the algorithm rounds jagged pixel transitions into flowing curves, though high settings can round off intended sharp corners. The Optimize setting simplifies paths by merging nearly collinear points and reducing node counts, though setting it too aggressively can flatten subtle curves into straight lines.
Ensure the Delete Image After Trace option is checked if you no longer need the original bitmap on your laser bed. Leaving this option enabled automatically removes the raster file when you click OK, leaving only the newly created vector geometry. If you prefer to keep the original graphic for visual reference, leave the box unchecked and move the raster graphic onto a separate tool layer.
Step 5: Clean up paths and assign laser layers
Click OK to complete the trace and place the vector geometry onto your workspace. When the Group Output option is enabled in the trace window, LightBurn groups the resulting paths together, allowing you to reposition the entire design without misaligning individual elements. If you notice unwanted artifacts from stray specks in the original image, ungroup the design, select the errant shapes and delete them.
Select the Edit Nodes tool to inspect vector nodes along intricate corners. Smoothing awkward anchor points or removing redundant nodes produces faster head travel and smoother cuts on your laser engraver. Verify whether LightBurn is the right platform for your overall production workflow by reading our guide on whether LightBurn is worth it.
Once the vectors are clean, assign each shape to an appropriate laser layer from the cuts palette at the bottom of the screen. Assign paths intended for through-cutting or surface scoring to line layers, and assign closed shapes intended for pocket engraving to fill layers. For designs combining both, arrange your cut order so internal cutouts and engraving passes finish before the outer perimeter is cut. Always maintain safe workshop practices: verify adequate ventilation before running jobs, and never laser hazardous materials such as PVC, vinyl, ABS, or polycarbonate, which release toxic fumes and corrosive acids.
Common mistakes to avoid
- Importing low-contrast or pixelated artwork that forces the threshold algorithm to create jagged, stepped vector paths.
- Leaving the Ignore White setting unchecked on white-background files, creating an unwanted vector border around the image perimeter.
- Setting smoothness or optimization sliders too high, which can round off intended sharp corners or flatten subtle curves into straight lines.
- Leaving open, unjoined vector loops when intending to run a solid fill engraving layer.
- Attempting to trace continuous-tone photographs for engraving instead of engraving them directly as dithered bitmaps.
How to trace an image in LightBurn: the short version
- Import a clean raster graphic into the LightBurn workspace using the File menu.
- Select the image, right-click, and choose Trace Image to open the preview dialog.
- Adjust the threshold slider until the magenta outline captures all intended details cleanly.
- For white backgrounds, enable Ignore White, and check Delete Image After Trace if the source bitmap is unneeded.
- Click OK, inspect the vectors with the node editor, and assign the shapes to your target cut or fill layer.
FAQ: lasers and CNC
Can LightBurn trace color photographs?
LightBurn can trace color photographs, but the threshold algorithm treats all pixels by brightness rather than hue. High-contrast line art and silhouettes produce crisp vector paths, while continuous-tone photographs with gradual shading often create cluttered, overlapping vector loops. For photographs, laser makers typically achieve better results by engraving the image directly as a dithered bitmap rather than converting it into vector paths. If you need a cutout outline for a photo subject, create a high-contrast silhouette in image editing software before importing.
Why does my traced vector have a double outline?
LightBurn traces the perimeter of dark shapes rather than tracing a single centerline. When artwork contains lines that have thickness, the algorithm traces along both edges of the stroke, creating a closed loop that appears as two parallel outlines. To produce a single vector line, use vector design software with centerline tracing capabilities, draw single-stroke vector paths directly, or use LightBurn’s node editing tool to break the loop and delete the extra path segment.
What raster file formats work best for tracing?
Lossless formats such as PNG and BMP generally produce the cleanest results because they avoid the compression artifacts common in JPG files. Compression artifacts can create faint halos around dark shapes that the threshold slider interprets as stray vector paths. High-contrast graphics with sharp boundaries between artwork and background minimize the need for manual node cleanup.
How do I separate traced vector elements into different layers?
When the Group Output setting is used during tracing, LightBurn groups all resulting paths together. To assign individual components to distinct cut or engrave layers, select the design, right-click and choose Ungroup. You can then select individual paths or sub-assemblies and assign them to separate color-coded layer entries in the cuts palette.
Is LightBurn vector tracing suitable for beginners?
The built-in trace tool in LightBurn is approachable for beginners because it provides immediate visual feedback through the magenta preview outline. Makers can learn vector preparation directly within the laser control interface rather than switching between multiple external graphic design packages. Beginners evaluating machines can review our guide to the best laser engraver for beginners.
Can I use external software instead of the LightBurn trace tool?
Yes, makers frequently use dedicated vector design programs to convert bitmaps into SVG files prior to importing into LightBurn. While external tools offer advanced node-level vectorization features and centerline tracing, LightBurn handles standard line art, logos, and silhouettes directly within the workspace. For an overview of starter software options, see our guide on laser engraving software for beginners.
Related: the laser software hub, our practical guide on how to set up LightBurn for a diode laser and our walkthrough of laser engraver file types. Also see our comparison of dedicated tools in our laser photo software comparison.