Is LightBurn Worth It? A Practical Laser Software Guide
A practical guide to deciding if LightBurn is worth it: compare its core design features, camera alignment, cut controls and license terms against free software.

On this page
Top picks at a glance
As an Amazon Associate I earn from qualifying purchases.
- 1
 Longer New LightBurn Camera Kit for Laser Engravers9.5/10View on Amazon
- 2
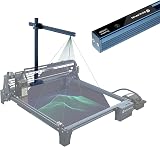 SCULPFUN CAM500 Lightburn CameraView on Amazon
- 3
 Lightburn BasicsView on Amazon
- 4
 SVPRO 8MP USB Lightburn Camera Module with MicrophoneView on Amazon
- 5
 ComMarker B4 20W Fiber Laser EngraverView on Amazon
Is LightBurn worth it for your workshop? For anyone moving beyond basic hobby burns, LightBurn is worth it because it combines vector design creation, layer-by-layer laser control and machine management into a single offline program. While basic free utilities can handle straightforward engraving projects, LightBurn streamlines multi-operation jobs, reduces wasted material and provides fine control over speed and power. This guide examines its feature set, camera positioning, hardware support and licensing model step by step so you can decide when to make the switch.
Other machines to compare
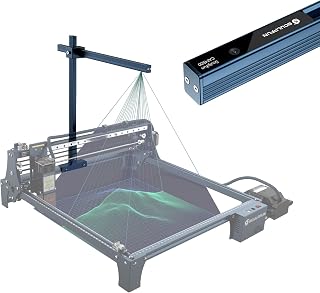 SCULPFUN CAM500 Lightburn CameraCheck price on Amazon
 Lightburn BasicsCheck price on Amazon
 SVPRO 8MP USB Lightburn Camera Module with MicrophoneCheck price on Amazon
 ComMarker B4 20W Fiber Laser EngraverCheck price on Amazon
LaserEngraveHQ earns a commission from purchases made through these links, at no extra cost to you. Read our affiliate disclosure.
LightBurn requires a paid license key after its evaluation period, but we do not publish exact retail dollar figures because vendor pricing and regional currencies change over time. Check the official LightBurn website for current license tier pricing. You do not need to buy software before purchasing equipment, as most machines include basic bundled utilities.
Step 1: Understand what LightBurn actually does
Many newcomers assume laser engravers work like standard paper printers where you click print from any graphics program. In reality, a laser requires machine-level instructions that direct motor movement, beam firing and travel speeds. Basic setups often force makers to create artwork in one program, export a file, open an intermediate utility to generate toolpaths, and use separate sender software to stream commands to the machine.
LightBurn combines these functions into a unified workspace. You can import standard graphics, draw vector shapes directly on the grid, assign different power and speed settings to distinct layers, and stream commands directly to the laser controller. If you are exploring machine options, read our guide on how to choose a laser engraver to understand how machine controllers interact with computer software.
Step 2: Compare LightBurn with free laser software
Most budget diode lasers ship with access to open-source control software or basic proprietary mobile applications. While these free options allow you to burn an initial logo, they reveal limitations quickly as projects become more ambitious.
Free utilities typically lack comprehensive vector drawing tools, requiring you to perform every text change or shape resize in external design software before re-importing. Furthermore, free tools often struggle with complex multi-operation jobs, such as engraving fine detail on wood and cutting out the perimeter in a single uninterrupted run. LightBurn handles sequential operations seamlessly through color-coded layer controls, letting you engrave, score and cut in the exact sequence you specify. For a detailed breakdown of beginner options, visit our laser engraving software for beginners guide.
Step 3: Evaluate built-in vector design and layout tools
A major advantage of LightBurn is that it functions as a competent vector editor. You do not need to switch back and forth between external vector suites for everyday tasks like adding text, drawing geometric boundaries, offsetting outlines or welding overlapping shapes.
Its node editing tools let you fine-tune vector paths directly on the canvas. The boolean tools allow you to union, subtract and intersect overlapping vectors, which is essential for creating custom badges, signs and interlocking assemblies. LightBurn also includes an automatic image trace function that converts bitmap graphics into crisp vector cut lines. To learn how different file formats behave during cutting and engraving, consult our laser engraver file types guide.
Step 4: Master cut layers, kerf offset and material libraries
Precision laser work relies on repeatable settings. LightBurn assigns operations by color, allowing you to establish multiple distinct layers in a single design file. For example, a single project can feature light surface engraving, dark contrast marking, vector scoring and full perimeter cutout passes.
The software includes a reusable material library where you can save proven speed, power and pass settings for specific substrates like birch plywood, vegetable-tanned leather and dark acrylic. This eliminates guesswork and prevents ruined blanks on repeat production runs. LightBurn also provides kerf offset adjustments, automatically compensating for the width of the laser beam so interlocking mortise-and-tenon joints fit together snugly. Refer to our laser engraver speed and power settings chart for establishing reliable baselines.
When establishing cut layers for unfamiliar materials, always follow strict workshop safety protocols. Never laser PVC, vinyl, PVC-based faux leather, polycarbonate or ABS. PVC and vinyl release corrosive chlorine gas that damages optical lenses and workshop machinery, while polycarbonate and ABS emit toxic fumes, melt excessively and pose severe fire risks.
Step 5: Check hardware compatibility and camera alignment
LightBurn supports a broad spectrum of laser architectures, including diode lasers, CO2 glass tubes and galvo fiber systems across major controller standards. It offers a dedicated rotary setup tool, allowing you to configure object diameters and rotary steps without manually rewriting your controller’s base firmware motion settings. If you work with cylindrical objects, our guide on how to set up a rotary on a laser engraver covers mechanical installation.
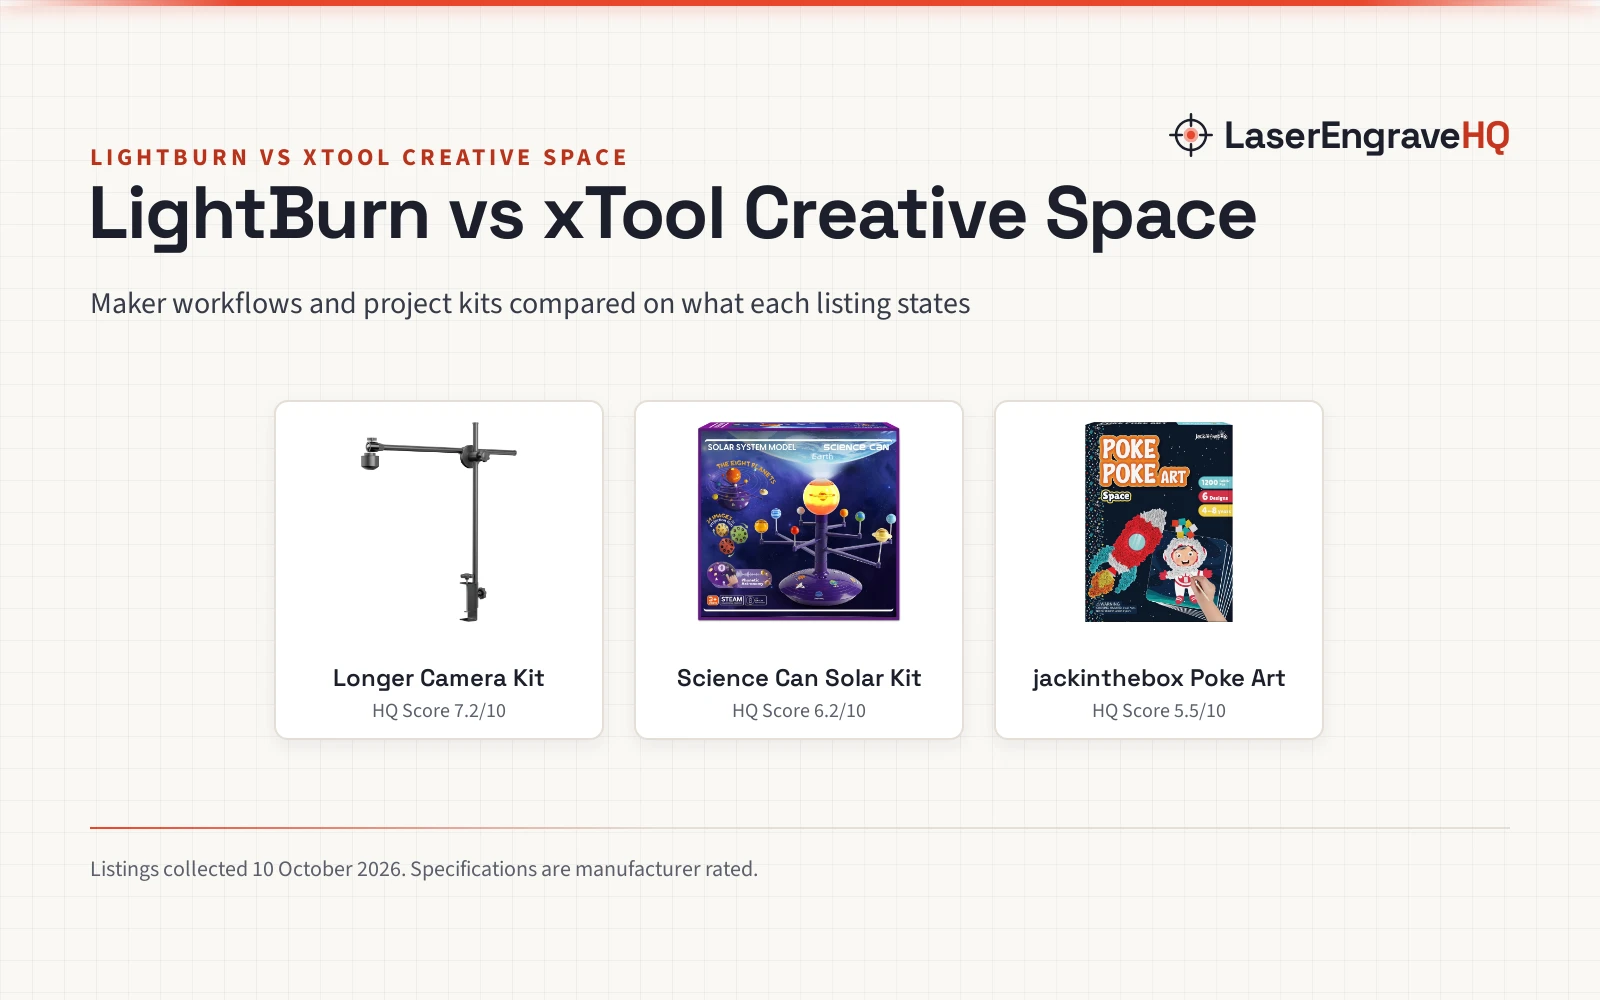
An especially powerful productivity feature of LightBurn is overhead camera integration. By mounting an aligned camera above the bed, the software overlays an undistorted live image of the work area directly onto your virtual design grid. This allows you to drag artwork visually onto irregular scrap wood or small blanks without manual jogging. For example, the listing for the Longer camera kit claims coverage for a 740x560mm area, contrasting that with what the maker terms a 400x400mm range, and reports positioning accuracy under 1mm alongside a 5MP sensor. This level of visual placement saves substantial setup time during multi-item production runs.
Step 6: Understand the LightBurn license model
Software pricing models across the maker industry increasingly lean toward recurring monthly subscriptions. In contrast, the LightBurn license uses a maker-friendly perpetual licensing structure. When you purchase a license key, you own that version of the software permanently.
The purchase includes access to software updates for a designated initial renewal cycle. Once that update window concludes, your installed software continues to run indefinitely without mandatory renewal fees. If future releases introduce compelling features you wish to access, you can renew update access at a discounted rate, or choose to remain on your current stable release. Furthermore, the software runs completely offline once activated, meaning you never lose machine access due to internet outages or server disruptions.
Step 7: Decide if your workflow justifies the upgrade
Whether LightBurn is worth it ultimately depends on the frequency and complexity of your engraving projects. If you operate an entry-level laser only occasionally to burn basic pre-made clip art onto wood coasters, free bundled software can accomplish the task without added expense.
However, if you produce personalized gifts, craft products for sale, or regularly combine vector cutting with raster engraving, LightBurn rapidly pays for itself. The time saved by not juggling multiple file conversion utilities, combined with the reduction in spoiled blanks through visual camera positioning and cut libraries, makes it an indispensable asset. Makers planning to sell products on craft marketplaces can browse our best laser engraver for small business guide, while beginners seeking capable hardware can examine our best laser engraver for beginners and best laser engraver for wood guides.
Common mistakes to avoid
- Upgrading software before learning core machine focus and optical cleaning routines.
- Overpaying for separate vector illustration suites when LightBurn handles node editing and typography natively.
- Ignoring the material library and manually guessing speed or power parameters for every new job.
- Overlooking kerf offset compensation when cutting interlocking boxes or fine wood inlays.
- Failing to calibrate camera alignment before running production jobs on expensive pre-finished blanks.
Is lightburn worth it: the short version
- Start with bundled or free utilities to understand basic laser movement and optical focus.
- Upgrade to LightBurn when you require multi-layer cutting and engraving within a single job file.
- Utilize native vector editing, kerf offset adjustments and automatic path optimization to streamline drafting.
- Integrate camera alignment to drag and drop artwork directly onto irregular blanks without tedious manual jogging.
- Store proven speed, power and pass counts in the reusable material library to avoid spoiled inventory.
- Rely on the perpetual offline license for uninterrupted workshop production without monthly subscription overhead.
For casual hobbyists running occasional pre-made files, free software can suffice. For active makers seeking precision, speed and production efficiency, LightBurn is well worth the investment.
FAQ: lasers and CNC
Is LightBurn free or a one-time purchase?
LightBurn is not free, but it uses a perpetual license rather than a monthly subscription model. Makers can evaluate the complete software during a demo period before purchasing a license key. Once purchased, your version remains fully functional indefinitely, with optional renewals available for major future feature releases.
Can I use LightBurn on multiple computers?
A standard LightBurn license key permits activation across multiple computers belonging to a single user. This allows you to design projects on a primary office desktop and operate the laser from a dedicated workshop laptop without purchasing separate keys.
Does LightBurn work without an internet connection?
Yes. LightBurn operates entirely offline once installed and activated. Unlike cloud-dependent browser software that requires constant network connectivity, it processes all toolpaths, vectors and machine commands locally on your computer.
Is LightBurn suitable for absolute beginners?
Yes. While it offers deeper functionality than basic starter apps, the interface is structured logically around familiar design tools. Beginners who take the time to learn basic layer assignment and framing quickly find it more reliable and intuitive than patchwork software setups.
Which laser machines are compatible with LightBurn?
LightBurn supports a broad range of machine controllers, including standard GRBL, Smoothieware, Ruida and galvo systems used across diode, CO2 and fiber equipment. Always verify your machine’s controller type against published software compatibility before acquiring a license.
Do I need separate design software if I use LightBurn?
Not necessarily. LightBurn contains powerful vector creation, text layout, node editing, boolean combination and image tracing tools. While complex artistic illustrations can be created in external graphic suites and imported directly, standard signs, gifts, boxes and decorative items can be designed entirely within LightBurn.
Related: the laser software hub, our laser engraving software for beginners guide and our laser photo software comparison. For machine selections, explore our best laser engraver for beginners, best laser engraver for small business and best laser engraver for wood roundups.