How to Focus a Diode Laser Engraver: A Practical Setup Guide
A step-by-step guide to focusing a diode laser engraver: learn how fixed and adjustable focus modules work, set the correct focal distance, and verify spot sharpness.

On this page
Top picks at a glance
As an Amazon Associate I earn from qualifying purchases.
- 1
 SCULPFUN iCube Ultra Dual 1.2W IR and 12W Diode Laser Engraver9.4/10View on Amazon
- 2
 Creality Falcon2 Pro S 40W Enclosed Diode Laser Cutter and9.4/10View on Amazon
- 3
 AtomStack Kraft Enclosed Dual Laser Cutter9.4/10View on Amazon
- 4
 Acmer S2 20W Laser EngraverView on Amazon
- 5
 Acxico 1Pcs 405nm-488nm Blue Laser Diode Collimation FocusView on Amazon
- 6
 Creality Falcon A1C 5W AI Laser Engraver with AI CameraView on Amazon
- 7
 LASER TREE 10W Laser Engraver ModuleView on Amazon
- 8
 MCWlaser CVD ZnSe Focus Lens Dia: 20mm FL: 2"/ 50.8mm for CO2View on Amazon
- 9
 MCWlaser CO2 PVD ZnSe Laser Lens Focal Focus Lens Dia: 18mmView on Amazon
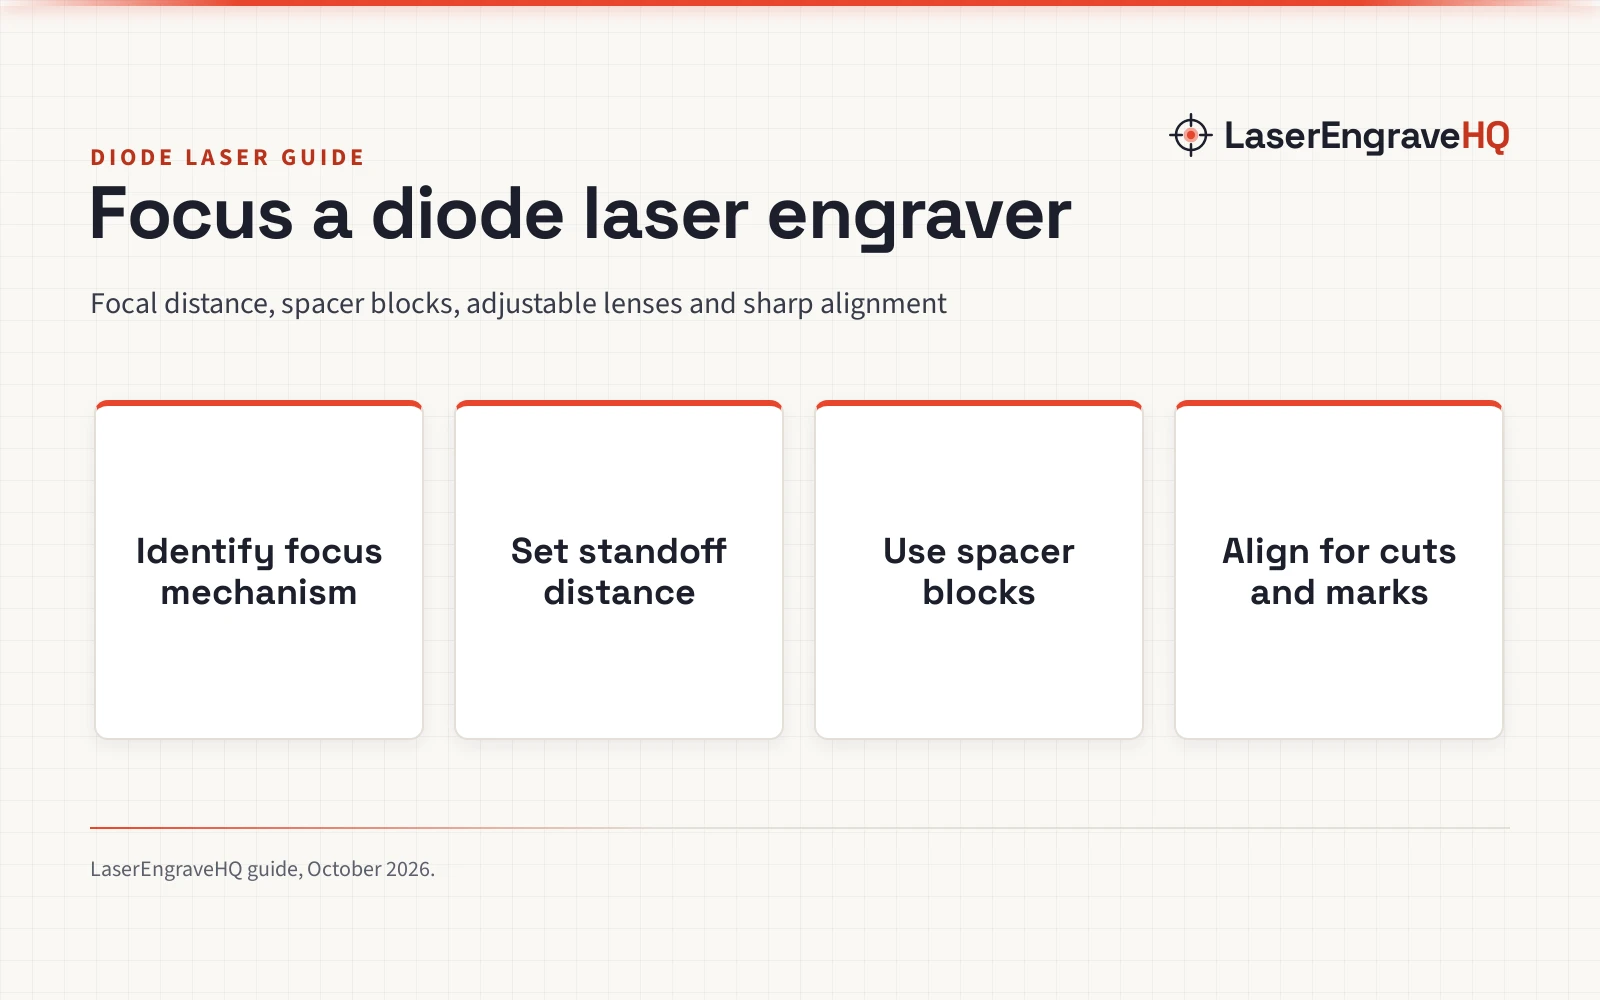
Learning how to focus a diode laser engraver requires setting the exact distance between the laser lens and the workpiece so the beam converges to its smallest point. On fixed-focus diode modules, you set this distance by placing a manufacturer spacer block on the material, lowering the laser head until it contacts the block, and tightening the carriage thumb screws. On adjustable-focus modules, you rotate the lens ring under low-power framing until the projected spot reaches its sharpest size. Correct focus ensures crisp details and clean cuts.
Other machines to compare
 Acmer S2 20W Laser EngraverCheck price on Amazon
 Acxico 1Pcs 405nm-488nm Blue Laser Diode Collimation FocusCheck price on Amazon
 Creality Falcon A1C 5W AI Laser Engraver with AI CameraCheck price on Amazon
 LASER TREE 10W Laser Engraver ModuleCheck price on Amazon
 MCWlaser CVD ZnSe Focus Lens Dia: 20mm FL: 2"/ 50.8mm for CO2Check price on Amazon
 MCWlaser CO2 PVD ZnSe Laser Lens Focal Focus Lens Dia: 18mmCheck price on Amazon
LaserEngraveHQ earns a commission from purchases made through these links, at no extra cost to you. Read our affiliate disclosure.
Fixed-focus diode modules operate at a set focal distance determined by their optical design. Because spacer heights vary across makers, spacer blocks should not be swapped between different laser brands. Always use the gauge plate designed for your specific module.
Step 1: Identify your diode laser focus mechanism
Before adjusting height, determine whether your engraver uses a fixed-focus module or an adjustable-focus lens assembly. Many desktop models in our diode laser engravers category use fixed-focus designs where the lens remains stationary inside the housing and the operator adjusts the entire module along the z-axis rail.
In contrast, adjustable-focus modules feature an external knurled ring around the optical barrel. Rotating this ring changes the internal lens position. For example, LASER TREE lists an adjustable focus range of 20mm to 50mm on its 4W module, allowing manual beam adjustment without moving the gantry bracket.
Step 2: Set the laser focus distance on fixed-focus modules
Setting focus on a fixed-focus module relies on a physical spacer block, stepped gauge, or fold-down kickstand. Many entry-level machines, including models highlighted in our budget laser engraver guide, include an acrylic or aluminum focus plate in the box.
Place your material flat on the bed. Place the spacer block directly on top of the workpiece beneath the laser casing. Loosen the carriage thumb screws, slide the module down until its dedicated reference ledge rests gently against the spacer, and tighten the screws firmly. Remove the spacer before powering on. For example, LASER TREE specifies a fixed focus length of 45mm for several replacement modules, using focus fixing plates to set that spacing.
Step 3: Adjust focus on manual ring modules
If your module features an adjustable lens ring, focusing requires visual calibration. Place the workpiece on the machine bed, put on certified laser safety glasses, and activate low-power framing mode in your control software to project a dim beam without charring the surface.
Observe the projected light spot on your material. Turn the knurled lens ring slowly. As the lens moves, the spot will shrink from a fuzzy blur toward a sharp, narrow point. Stop turning at the moment the spot reaches its sharpest, smallest boundary. Once focused, disable framing mode. Never place fingers across the beam exit while turning the ring.
Step 4: Verify focal accuracy with a ramp check
A ramp line check provides physical confirmation of your focal point. Place an uncut scrap board on the laser table with one end elevated on a thin wood shim, creating a gentle incline.
Focus the laser on the center of the incline with your standard spacer block. Run a straight vector line down the length of the incline at high speed. The beam will pass through out-of-focus, sharp, and out-of-focus zones. Inspect the line under good lighting: the narrowest point indicates the true optical focus. If engravings remain wide or fuzzy after focusing, consult our guide on why are my laser engravings blurry.
Step 5: Adjust focal depth for cutting versus engraving
Surface engraving and deep cutting benefit from different focal placements. For fine raster engraving and sharp text, position the focal point directly on the workpiece surface to maximize power density. For example, ACMER lists a compressed laser spot size of 0.09 × 0.1mm on its 20W module, while Gluwphy specifies a focal spot of 0.06 x 0.04 mm on its 20W unit, producing precise surface detail.
For through-cutting, focusing directly on the surface leaves lower material layers inside the diverging beam cone. Lower the laser module slightly so the narrow beam waist sits inside the center of the sheet thickness. If your machine fails to separate sheets cleanly, see our guide on why is my laser engraver not cutting through.
Step 6: Maintain optical cleanliness and check auto focus
Smoke and resin settle on optical glass during cutting, scattering laser light and widening the focal spot. Inspect the protective lens window regularly and clean it with an optical swab moistened with isopropyl alcohol.
Certain newer machines incorporate auto focus systems to streamline setup. For instance, Creality Falcon features auto focus alongside an AI camera with design positioning accuracy up to 0.1mm on its 5W enclosed desktop machine. Whether your engraver uses manual spacer plates or automated positioning, clean optics and rigid bracket clamping remain essential. Always operate in a ventilated space and consult our laser safety glasses guide to verify proper eye protection for 450nm diode light.
Common mistakes to avoid
- Leaving the spacer block on the workpiece when starting a job, causing the laser head to strike it.
- Focusing on warped boards without securing them flat to the honeycomb bed first.
- Using spacer blocks from another laser brand with different focal lengths.
- Neglecting resin build-up on the protective lens, which expands the focal spot.
- Attempting to laser hazardous materials like PVC, vinyl, polycarbonate, or ABS, which release corrosive fumes.
How to focus a diode laser engraver: the short version
- Place the workpiece flat on the machine bed.
- For fixed-focus units, rest the manufacturer focus block on the material under the module reference ledge.
- Loosen carriage screws, lower the module onto the spacer, and tighten the screws firmly.
- Remove the spacer block from the work area before firing the laser.
- For adjustable ring units, rotate the lens barrel under low-power framing until the beam spot reaches minimum width.
- Verify focal sharpness on scrap material before starting your final engraving run.
FAQ: lasers and CNC
What is the correct laser focus distance for a diode engraver?
The correct distance is determined by the module optics. Fixed-focus diode engravers use a specific standoff distance established by the manufacturer, gauged using an included spacer block.
How often do you need to focus a diode laser engraver?
Refocus whenever you switch to a workpiece of different thickness, change materials, or reinstall the laser head. Even small thickness variations shift the focal plane.
Should you focus on the top surface or inside the material for cutting?
Focus on the top surface for crisp engraving. For through-cutting, lower the focal point slightly into the center of the material thickness to balance beam energy.
Why are my laser engravings blurry after setting focus?
Blurry lines usually stem from dirty protective glass, loose gantry belts, or warped boards. Clean the lens with isopropyl alcohol and secure the workpiece flat.
Does air assist affect diode laser focus distance?
Air assist does not alter optical focal length. However, ensure spacer blocks measure from the module reference ledge rather than resting against an uneven air nozzle tip.
Related: laser engraver for beginners, how to choose a laser engraver, and how thick can a 10W diode laser cut. Also see our overview of laser engraver accessories for beginners.