How to Set Up a Rotary on a Laser Engraver: A Step-by-Step Guide
A step-by-step guide to setting up a rotary on a laser engraver: connect the motor, raise the frame, set roller or chuck parameters in LightBurn, and engrave clean cylinders.

On this page
Top picks at a glance
As an Amazon Associate I earn from qualifying purchases.
- 1
 Creality Honeycomb Working Table Set 320x320mm Steel9.7/10View on Amazon
- 2
 Genmitsu L8 Laser Engraver9.7/10View on Amazon
- 3
 ATOMSTACK F40 Air Assist 10-60 L/min Laser Air Support Pump9.6/10View on Amazon
- 4
 Longer Rotary Roller SeriesView on Amazon
- 5
 ORTUR YRC1.0View on Amazon
- 6
 Creality Laser Rotary Roller for Engraving Curved SurfaceView on Amazon
- 7
 Rotary Roller ProView on Amazon
- 8
 LaserPecker LP2 Laser Engraver with RollerView on Amazon
- 9
 LaserPecker LP4 Dual-Laser Engraver with Rotary & SlideView on Amazon
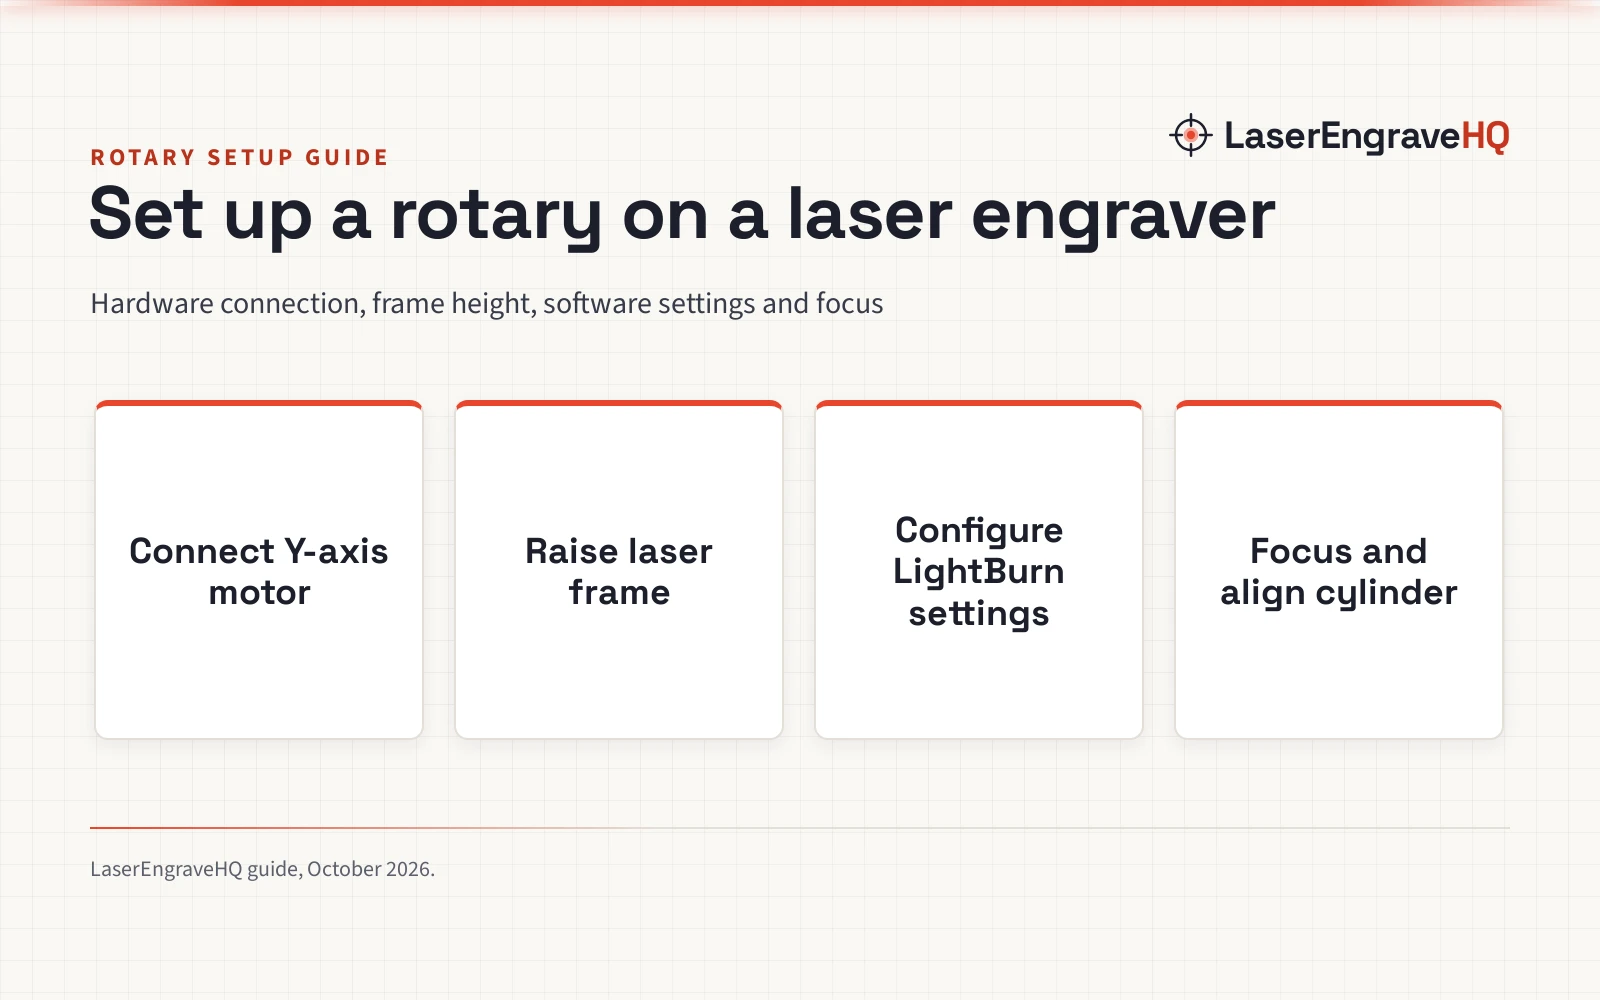
How to set up a rotary on a laser engraver involves plugging the rotary stepper motor into the Y-axis driver port, elevating the machine frame so the cylinder clears the gantry, entering the rotary mechanism type and dimensions in your control software, and focusing the beam onto the cylinder apex. Working with cylindrical items expands what a desktop laser can produce, from customized drinkware and bottles to curved wooden handles. The sections below walk through each phase in order, covering hardware connections, frame clearance, LightBurn configuration, focal adjustment, and workshop safety.
Other machines to compare
 Longer Rotary Roller SeriesCheck price on Amazon
 ORTUR YRC1.0Check price on Amazon
 Creality Laser Rotary Roller for Engraving Curved SurfaceCheck price on Amazon
 Rotary Roller ProCheck price on Amazon
 LaserPecker LP2 Laser Engraver with RollerCheck price on Amazon
 LaserPecker LP4 Dual-Laser Engraver with Rotary & SlideCheck price on Amazon
LaserEngraveHQ earns a commission from purchases made through these links, at no extra cost to you. Read our affiliate disclosure.
Always switch off machine power before disconnecting or plugging in any stepper motor cable. Disconnecting stepper leads while the controller motherboard receives power can cause electrical spikes that damage the stepper motor drivers.
Step 1: Choose between roller and chuck attachments
Rotary attachments come in two styles: rollers and chucks. Understanding how each style grips and turns a workpiece helps you select the correct hardware for your specific project.
Rotary rollers turn cylinders using parallel rubber-coated shafts. Friction rotates the object as the rollers turn, suiting straight-walled cans, bottles, and tumblers. Longer lists an adjustable diameter range of 6 to 200 mm on its roller, using a 70A rubber shaft for traction. Creality lists a diameter range from 5 mm to 120 mm with a 7-level gear adjustment on its module. However, tapered cylinders can wander along the rollers, and mugs with handles cannot complete a full rotation.
Rotary chucks clamp workpieces using expanding or contracting jaws on a motorized spindle. This mechanical grip prevents slipping on tapered drinkware, spheres, rings, and mugs with handles. Ortur specifies an engraving diameter range from 1 mm to 120 mm for cylinders, 25 mm to 150 mm for spheres, and 11 mm to 100 mm for rings, with 180-degree angle adjustment and 360-degree rotation. CREALITY FALCON lists angular control of 0.225 degrees on its chuck unit, supporting outside clamping from 1 to 110 mm and inside support from 25 to 75 mm.
For machines that include rotary hardware in the box, see our rotary laser engraver guide. Also browse the laser accessories category.
Step 2: Connect the rotary to the Y-axis stepper port
Desktop laser engravers operate along planar X and Y axes. To engrave cylinders on standard desktop machines, rotary motion substitutes for the Y-axis: the laser carriage travels along the X-axis while the rotary turns the object beneath it.
Power off the engraver and unplug the power supply. Disconnect the stepper motor cable from the Y-axis gantry motor or the controller expansion port. Plug the rotary attachment cable into this Y-axis port.
Longer supplies two wiring cables with white and black connector heads to accommodate motherboard pinout variations across different machine models. If the motor stutters or fails to rotate smoothly, switch to the alternate wiring harness. Place the rotary inside the bed with cables clear of moving rails.
Step 3: Elevate the laser frame and level the cylinder
A rotary attachment raises workpiece height above the baseboard, requiring adequate vertical clearance beneath the X-axis gantry.
Open-frame engravers typically require elevating the machine using rigid riser feet under each corner of the frame. TOOCAA lists machine frames constructed with 25 by 70 mm profiles that use riser bases to provide clearance for its 5-in-1 rotary roller kit. Ensure each corner sits level so the frame remains stable.
Align the rotary parallel to the X-axis rail. Place the cylinder onto the rollers or chuck jaws, and place a spirit level along the top ridge. For tapered drinkware on rollers, raise the narrow end until the top surface sits level with the X-axis path. On hollow tumblers, placing internal ballast such as silicone beads or weights prevents the cylinder from slipping during rapid acceleration.
Step 4: Configure rotary parameters in LightBurn
Control software translates design graphics into rotational motion. For software fundamentals, consult our laser engraving software guide.
Launch LightBurn, open Laser Tools, and select Rotary Setup. Enable the rotary axis switch and select Roller or Chuck.
For rollers, enter the roller diameter and steps per rotation. For chucks, enter steps per rotation and the cylinder diameter measured with calipers at the engraving band. For machines requiring direct firmware step adjustments, apply the manufacturer’s stated parameters, such as Creality specifying a Y-axis step value modification to 60.375 before rotary operation and returning the value to 80 for flat engraving. Use the jog controls in software to confirm rotational direction, enabling reverse direction if the cylinder turns opposite to the command.
Step 5: Focus the laser beam on the cylinder apex
Focusing a laser on a rotary setup requires setting the focal distance to the cylinder apex, which is the highest vertical point directly beneath the laser nozzle.
Because the rotary turns the cylinder beneath the stationary Y position of the laser head, engraving always occurs along this top center line. Move the laser carriage along the X-axis over the cylinder, lower the laser module, and set the correct focal distance using your machine focal gauge. Secure the thumbscrews firmly so the module cannot shift during carriage motion.
On tapered objects where diameter changes along the cylinder length, verify that the top surface remains level along the full X-axis travel. When the top edge is level, the focal distance remains consistent across the entire length of the design.
Always verify material safety before heating any coated blank. Never engrave PVC, vinyl, PVC-based faux leather, polycarbonate, or ABS. Laser heat releases toxic hydrochloric fumes from these chlorinated materials, damaging optics and threatening health.
Step 6: Align graphics and verify rotational framing
In LightBurn, the horizontal X-axis aligns with cylinder length, while the vertical Y-axis corresponds to circumference.
Set Start From to Current Position, jog the laser to the starting point, and run a boundary frame preview. The laser head sweeps along the X-axis while the rotary turns the cylinder. Confirm the graphic stays clear of rims and handles, and ensure the cylinder does not walk along the rollers. For tumbler project advice, read our guide on how to engrave a tumbler with a rotary.
Step 7: Manage ventilation, air assist, and workshop safety
Engraving powder-coated drinkware generates vaporized pigment and fine smoke, requiring proper workshop protection.
Vent fumes outdoors or through an air purifier with HEPA and activated carbon filters. Check our fume extractor guide for filtration options.
Air assist directs pressurized airflow to the cut point, clearing debris and protecting the lens from vaporized residue. Connect a pump from our laser air assist guide to safeguard optics.
Wear certified safety goggles matching your laser wavelength and optical density. For protection specifications, see our laser safety glasses guide. Keep a fire extinguisher nearby and never leave a running job unattended.
Common mistakes to avoid
- Plugging or unplugging stepper cables with machine power on, risking driver damage.
- Leaving tapered drinkware unlevel, causing the laser beam to drift out of focus.
- Leaving rotary mode enabled when returning to flat sheet cutting.
- Skipping internal ballast in lightweight hollow tumblers, leading to roller slip.
- Engraving PVC, vinyl, or unknown polymers that generate corrosive chlorine gas.
How to set up a rotary on a laser engraver: the short version
- Turn off power and connect the rotary cable to the Y-axis stepper port.
- Elevate the laser frame on corner risers for gantry clearance when needed.
- Align the rotary parallel to the X-axis and level the top cylinder ridge.
- Open LightBurn Rotary Setup, select roller or chuck, and input the required roller or cylinder dimensions.
- Focus the laser nozzle on the cylinder apex using your focal gauge.
- Run a boundary frame preview to confirm tracking and design placement.
Verifying mechanical alignment and software parameters ensures clean, repeatable marks from the very first burn.
FAQ: lasers and CNC
Why does my tumbler slip on rotary rollers?
Smooth powder coat can slip on rubber rollers, especially with lightweight tumblers. Clean dust from the rollers and insert ballast, such as silicone beads or weights, inside the tumbler to provide downward traction.
Do I need frame risers to use a rotary attachment?
Most open-frame desktop diode engravers require risers because standard frames sit close to the work table, leaving insufficient vertical clearance beneath the gantry. However, enclosed machines or models with drop-down beds can accommodate rotary attachments without extra riser feet.
What is the difference between a roller and a chuck rotary?
Rollers rotate objects resting on parallel wheels via surface friction, ideal for straight cylinders. Chucks clamp items with jaws on a motorized spindle, holding tapered tumblers, spheres, and handled mugs securely.
Why does my rotary engrave stretched or squished graphics?
Distorted scaling happens when motor steps or rotary dimensions entered in software do not match the physical hardware. For a chuck rotary, entering a diameter larger than the actual cylinder causes squished graphics because the software commands fewer degrees of rotation per millimeter. For a roller rotary, scaling depends on roller diameter and motor steps rather than cylinder size. On specific hardware, manufacturers provide calibrated values, such as Creality listing a 60.375 step parameter for its rotary roller.
Can I engrave glass bottles on a diode laser?
Diode laser light passes through clear glass without marking. Apply laser marking paper, dark tempera paint, or masking to the surface so the coating absorbs the beam and fractures the glass.
How do I switch back to standard flat engraving?
Turn off the rotary switch in software, power down the laser, reconnect the Y-axis gantry motor cable, and confirm axis steps are restored to factory defaults, such as returning the step value to 80 on Creality machines.
Related: the laser engraver hub, the starter accessories guide, and our laser engraver starter guide. Also explore uses for a laser engraver and our laser safety hub.