How to Remove Machine Embroidery Without Damaging Fabric
A guide to removing machine embroidery without damaging fabric, with the seam rippers that handle dense stitching, delicate fabric and small corrections.

On this page
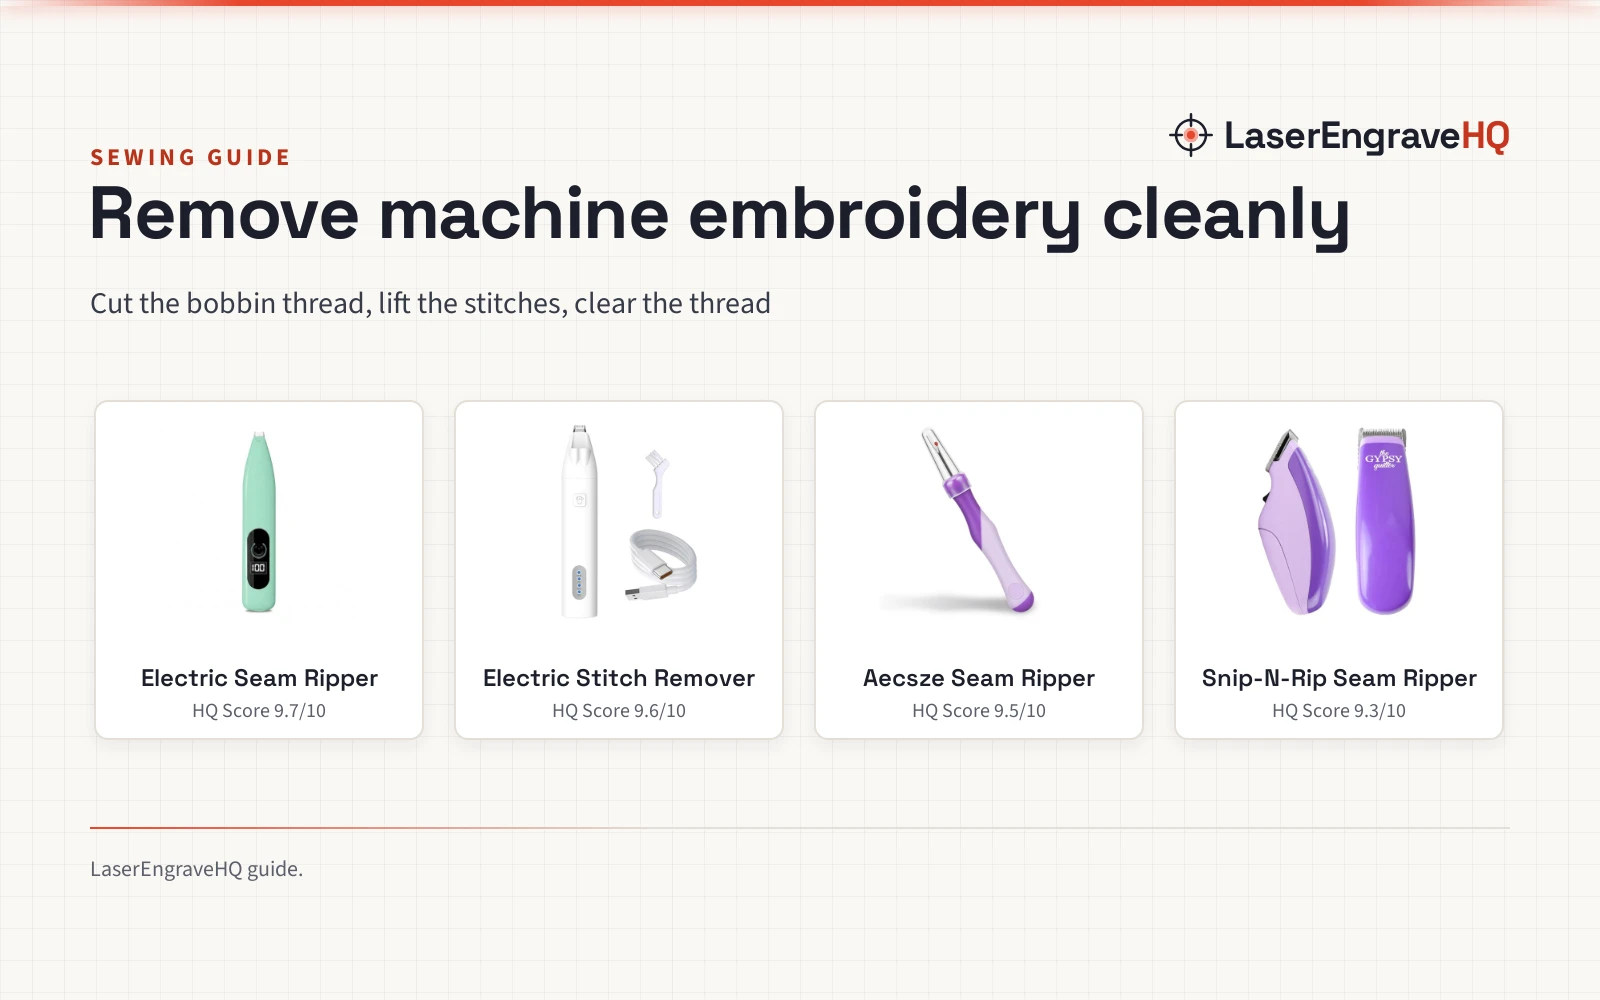
Top picks at a glance
As an Amazon Associate I earn from qualifying purchases.
- 1
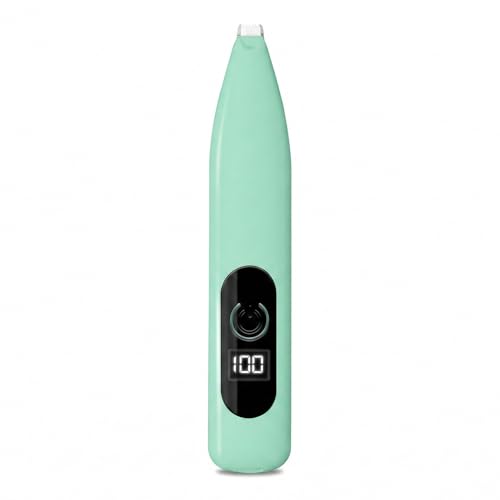 Electric Seam Ripper for Embroidery9.7/10View on Amazon
- 2
 Electric Stitch Remover Tool for Embroidery9.6/10View on Amazon
- 3
 Needle and Thread Seam Ripper9.5/10View on Amazon
- 4
 Snip-N-Rip Seam Ripper9.3/10View on Amazon
A finished piece with a design in the wrong place still holds value when the stitches come out cleanly. How to remove machine embroidery comes down to cutting thread on the back of the fabric, lifting the stitches with a seam ripper, and clearing the loose thread before the fabric is pressed and used again. The method below works through those moves in order, with the gear that fits each move.
LaserEngraveHQ earns a commission from purchases made through these links, at no extra cost to you. Read our affiliate disclosure.
| # | Product | HQ Score | Buy |
|---|---|---|---|
| 1 | Electric Seam Ripper for Embroidery | 9.7/10 | Buy on Amazon |
| 2 | Electric Stitch Remover Tool for Embroidery | 9.6/10 | Buy on Amazon |
| 3 | Needle and Thread Seam Ripper | 9.5/10 | Buy on Amazon |
| 4 | Snip-N-Rip Seam Ripper | 9.3/10 | Buy on Amazon |
Electric Seam Ripper for Embroidery
An electric embroidery removal tool rated at 7000 RPM, with a 0.43 inch head, a built-in LED light, two speeds and a 500mAh battery rated for up to 2 hours per USB-C charge.
Pros
- 7000 RPM, rated by the maker, slices through dense stitches
- 0.43 inch head reaches tight gaps and lace patterns
- Built-in LED light shows dark thread on dark fabric
- R-shaped safety edge and stay-cool blades cut thread close to the surface
Cons
- 6.3 x 1.18 x 1.18 in body is larger than a manual ripper
- Rechargeable battery needs charging before use
- High speed needs care on silk and lace
- Suits dense embroidery more than a loose seam
Electric Stitch Remover Tool for Embroidery
A rechargeable electric stitch remover with a built-in 500mAh battery, an LED light and an ergonomic plastic body, sized 6.18 x 1.14 x 1.1 in.
Pros
- 500mAh rechargeable battery, with no frequent battery replacements
- LED light gives clear visibility in low-light conditions
- Ergonomic handle suits extended use
- Suits professionals, beginners and crafting enthusiasts, per the maker
Cons
- Warranty is 2 Months, shorter than the 1 Year term on the top pick
- 6.18 x 1.14 x 1.1 in body is larger than a manual ripper
- Plastic body may feel less solid than a steel tool
- Electric cutting needs care on delicate fabric
Needle and Thread Seam Ripper
A 5.2 inch manual seam ripper in ABS and steel, with a red round mini ball at the tip and a non-slip handle, for hand sewing, knitting, cross stitch and embroidery.
Pros
- 5.2 inch tool is compact and practical for close work
- Red round mini ball at the tip protects fabric while removing stitches
- ABS and steel build is rust-resistant, sturdy and durable, per the maker
- Non-slip handle gives a comfortable grip
Cons
- Manual cutting is slow work on dense embroidery
- No light, so dark thread on dark fabric is harder to see
- Slim shape suits small corrections more than large dense designs
- No warranty term is stated
Snip-N-Rip Seam Ripper
A compact battery-powered seam ripper with high-quality steel blades and a cleaning brush, made to remove seams, serged stitches and embroidery designs.
Pros
- Compact design is easy to manage
- High-quality steel blades cut precisely
- Removes seams, serged stitches and embroidery designs
- Cleaning brush helps maintain blade cleanliness
Cons
- No warranty term is stated
- Battery power means the tool needs batteries to run
- No light for dark thread on dark fabric
- Compact size suits small jobs more than large dense designs
How to Remove Machine Embroidery Step by Step
Turn the fabric so the bobbin side faces up, and slide the point of a seam ripper under a short run of bobbin thread. Cut that thread, then lift the top stitches away in small sections, working across the design rather than pulling long runs at once. A soft brush clears the cut thread, and a gentle press from the back helps the fabric settle after the stitches are gone.
Work with patience on dense areas, and keep the blade close to the thread rather than the fabric. The maker of the top electric tool rates it at 7000 RPM for dense stitching, while a manual ripper gives more control around lace and delicate silk.
What to Check Before Cutting
Check the fabric and the stabilizer on the back before cutting anything. Look at how dense the stitching is, and whether the fabric is smooth, stretchy or open in weave. Silk and lace ask for a narrow head, a slower speed setting and a light touch.
The Gear That Handles Each Removal Step
Each tool below handles a different part of the removal: the electric tools cut dense stitching quickly, and the manual tools give close control around delicate fabric and small corrections.
FAQ: lasers and CNC
Can machine embroidery be removed without damaging fabric?
Often, when the work starts on the bobbin side and the blade cuts thread, not fabric. Cut the bobbin thread, lift the top stitches in small sections, and use the ball tip on the manual ripper here or the safety edge on the electric remover here around delicate fabric. Needle holes can remain in some fabrics after the thread is out, so check the area in good light before planning the next use.
What is the fastest way to remove machine embroidery?
The top electric remover is the fastest option here on stated figures. The maker of the top pick rates it at 7000 RPM and claims it saves 90% of the time spent on manual removal, and its 0.43 inch head reaches tight gaps and lace patterns. A built-in LED light shows dark thread on dark fabric, which keeps the work moving.
How do you remove embroidery from silk or lace?
Use a manual ripper with a ball tip for close control, and cut only the thread you can see clearly. The electric remover with the 0.43 inch head and R-shaped safety edge is rated by its maker for close work, so use its slower speed setting and a light touch if you choose it.
Do you need a seam ripper, or will scissors work?
A seam ripper is the better tool for this job. Its point slides under a stitch, and the ball tip on the manual ripper here and the safety edge on the electric remover here guard the fabric, while scissors cut with a wider bite and can nick the cloth. See embroidery scissors meaning.
What should you do after the stitches are out?
Brush away every loose thread, then press the fabric gently from the back so the weave settles. Check the area in good light for any thread that is still caught.
Related: the sewing and embroidery machines hub and embroidery scissors meaning. Also see how to use sewing pins.